1. Product Overview
This manual provides instructions for the LIVIAE Intelligent Brushless DC Speed Regulator, Accelerator Switch, and LCD Screen Controller. Designed for electric bicycles and scooters, this system offers efficient and responsive control over your vehicle's speed and provides clear operational data.

2. Specifications
| Feature | Description |
|---|---|
| Material | Plastics + LCD + Metal |
| LCD Display Model | LIVIAE |
| Controller Model | 36V / 48V (selectable) |
| Waterproof Rating | IP65 |
| Power | 350W |
| Display Dimensions | Width: 126mm, Height: 40mm |
| Handlebar Clamp Width | 110mm |
| Handlebar Diameter | 22mm |
| Weight | 0.197 kg (approx. for package) |

3. Package Contents
- 1 x LIVIAE LCD Display Panel
- 1 x Brushless DC Speed Regulator Controller
- 1 x 6-pin Instrument Cable
4. Setup and Installation
The LIVIAE controller and display system is designed for easy installation. Ensure your electric scooter is powered off before beginning installation.
4.1 Mounting the LCD Display
- Identify a suitable location on your scooter's handlebar (22mm diameter) for the LCD display.
- Loosen the screws on the display's clamp.
- Position the display and tighten the screws securely.
4.2 Connecting the Components
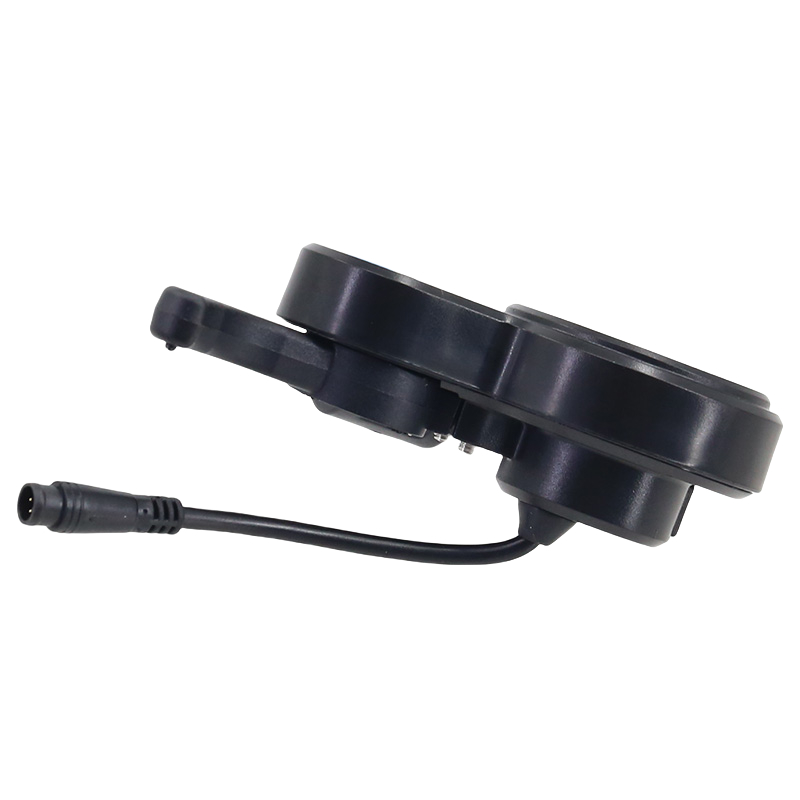
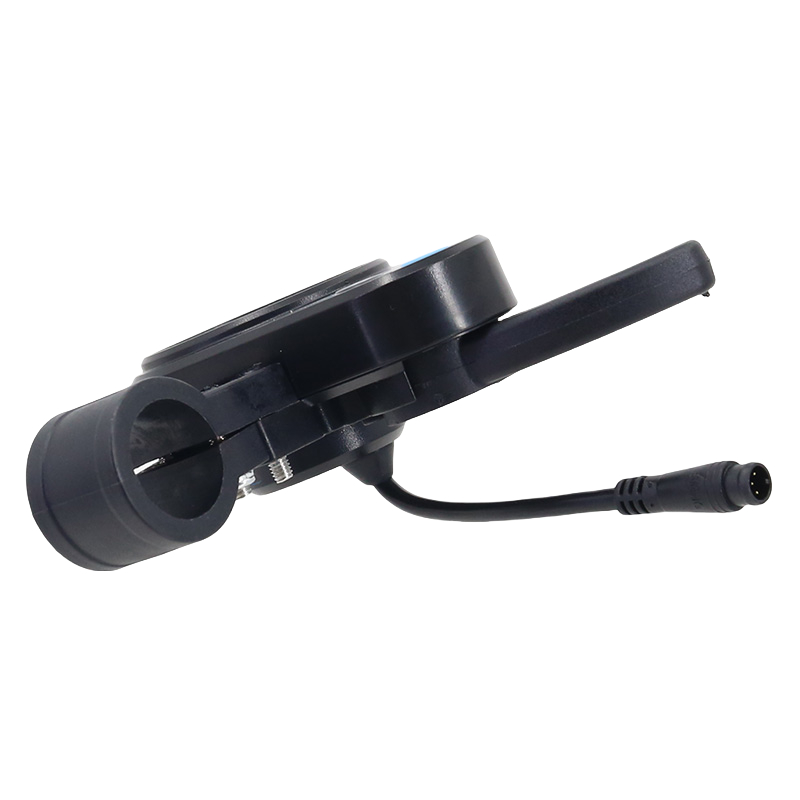
Refer to Figure 3 for a visual guide to the connections. The system includes a 6-pin instrument cable for connecting the display to the controller.

- Controller Placement: Mount the controller unit in a secure, dry location on your scooter, away from direct impact or excessive heat.
- Display Connection: Connect the 6-pin instrument cable from the LCD display to the corresponding port on the controller. Ensure the connection is firm.
- Motor Connection: Connect the motor phase wires (typically three thicker wires) from your scooter's motor to the corresponding ports on the controller.
- Battery Connection: Connect the battery power cables (typically red for positive, black for negative) to the controller's power input. Ensure correct polarity.
- Other Connections: Connect other accessories such as the accelerator, brake levers, and lights to their respective ports on the controller as per your scooter's wiring diagram.
Important: If you are unsure about the wiring, consult a professional or refer to your scooter's specific wiring diagram to avoid damage to the components.
5. Operating Instructions
The LCD display provides clear information and easy control over your electric scooter.
5.1 Powering On/Off
- To power on the system, press and hold the power button (usually marked with a power symbol) on the LCD display.
- To power off, press and hold the power button again until the display turns off.
5.2 Display Functions
The LCD display shows various operational data, including:
- Current Speed
- Battery Level
- Trip Distance
- Total Distance (Odometer)
- Error Codes (if any)
The backlight ensures visibility in dim environments.
5.3 Button Operations
The display features buttons for quick operation:
- Power Button: Powers the system on/off.
- Mode Button (M): Cycles through different display modes (e.g., speed, trip distance, total distance).
- Accelerator: The thumb throttle on the display unit controls the speed of the scooter. Gently press to accelerate.
6. Maintenance
Proper maintenance ensures the longevity and optimal performance of your LIVIAE controller and display system.
- Cleaning: Wipe the display and controller with a soft, damp cloth. Do not use abrasive cleaners or solvents.
- Water Resistance: The system has an IP65 waterproof rating, meaning it is protected against dust ingress and low-pressure water jets from any direction. Avoid submerging the unit in water or exposing it to high-pressure water.
- Connections: Periodically check all cable connections to ensure they are secure and free from corrosion.
- Storage: When not in use for extended periods, store the scooter and its components in a dry, cool place.
7. Troubleshooting
If you encounter issues with your LIVIAE system, refer to the following common problems and solutions.
| Problem | Possible Cause | Solution |
|---|---|---|
| Display does not turn on | No power, loose connection, faulty component. | Check battery charge. Ensure all power and instrument cable connections are secure. If problem persists, contact support. |
| Throttle not responding | Loose throttle connection, faulty throttle, controller issue. | Check the accelerator cable connection to the controller. Ensure the throttle is not physically stuck. If problem persists, contact support. |
| Inaccurate speed/data display | Sensor issue, incorrect settings. | Check motor hall sensor connections. Ensure display settings (e.g., wheel size) are correct. |
| Motor not engaging | Motor phase wires loose, hall sensor issue, controller fault. | Verify all motor and hall sensor connections to the controller. Check for any error codes on the display. |
8. User Tips
- Compatibility Check: Before purchasing or installing, always verify that the controller's voltage (36V or 48V) matches your scooter's battery system.
- Wiring Diagrams: For complex installations or if you are unsure, seek out a specific wiring diagram for your electric scooter model or consult with a qualified technician.
- Customer Service: If you have specific questions about the product or need assistance identifying the correct model for your scooter, do not hesitate to contact customer service for guidance.
9. Warranty and Support
For warranty information and technical support, please refer to the seller's specific terms and conditions at the time of purchase. Keep your proof of purchase for any warranty claims.
If you require assistance, please contact the E-lion Store customer service.


