
1. Product Overview
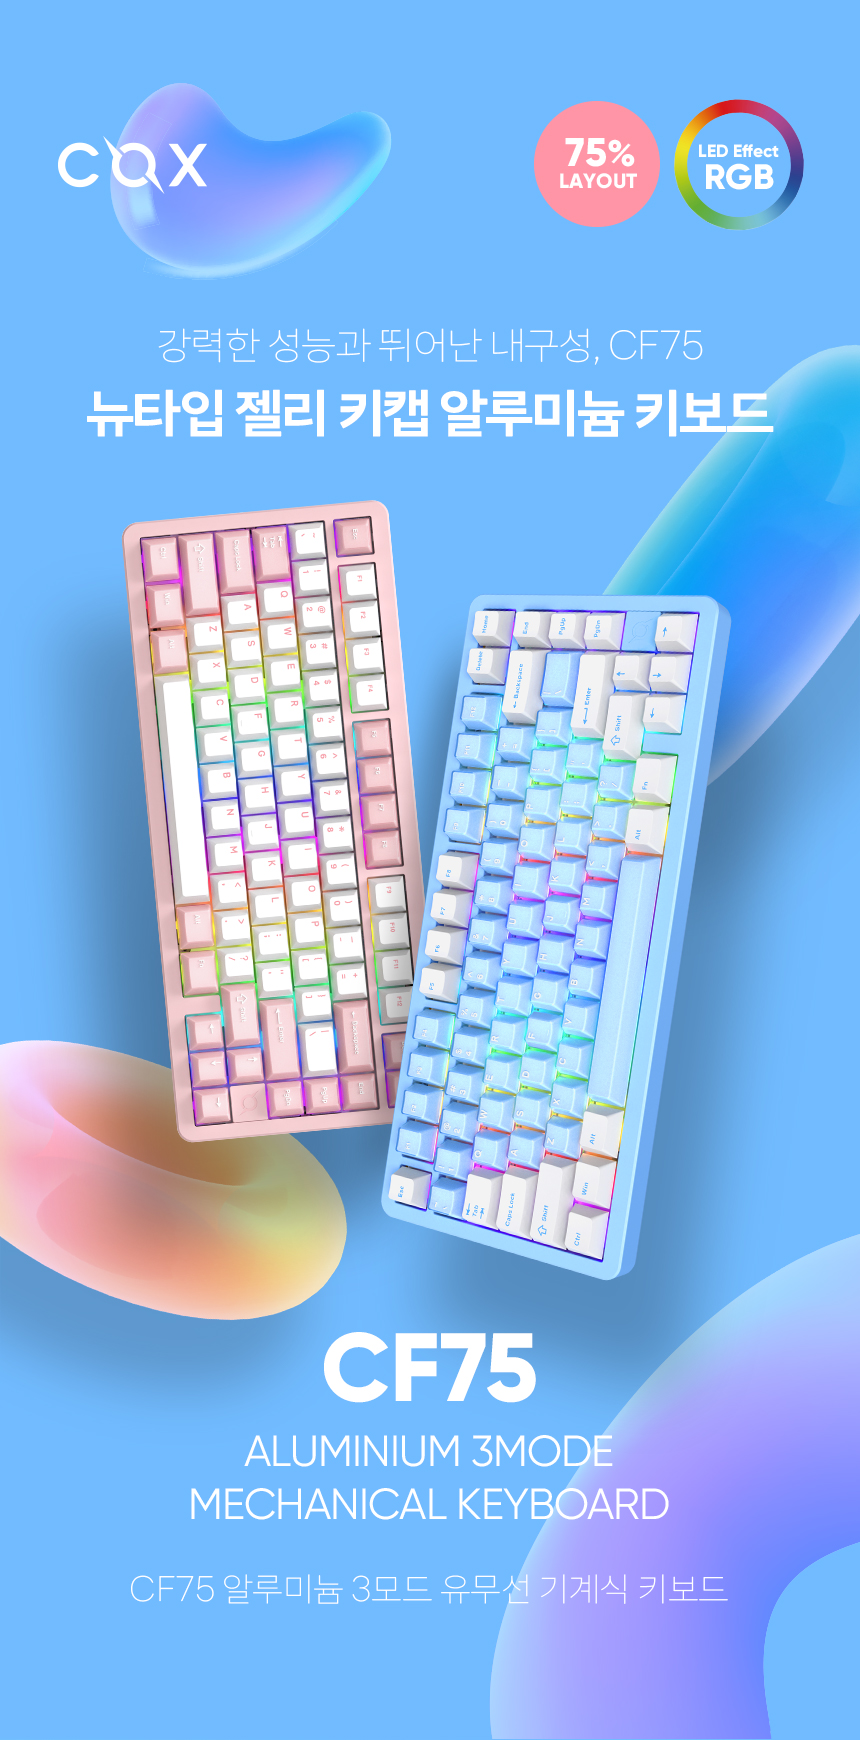
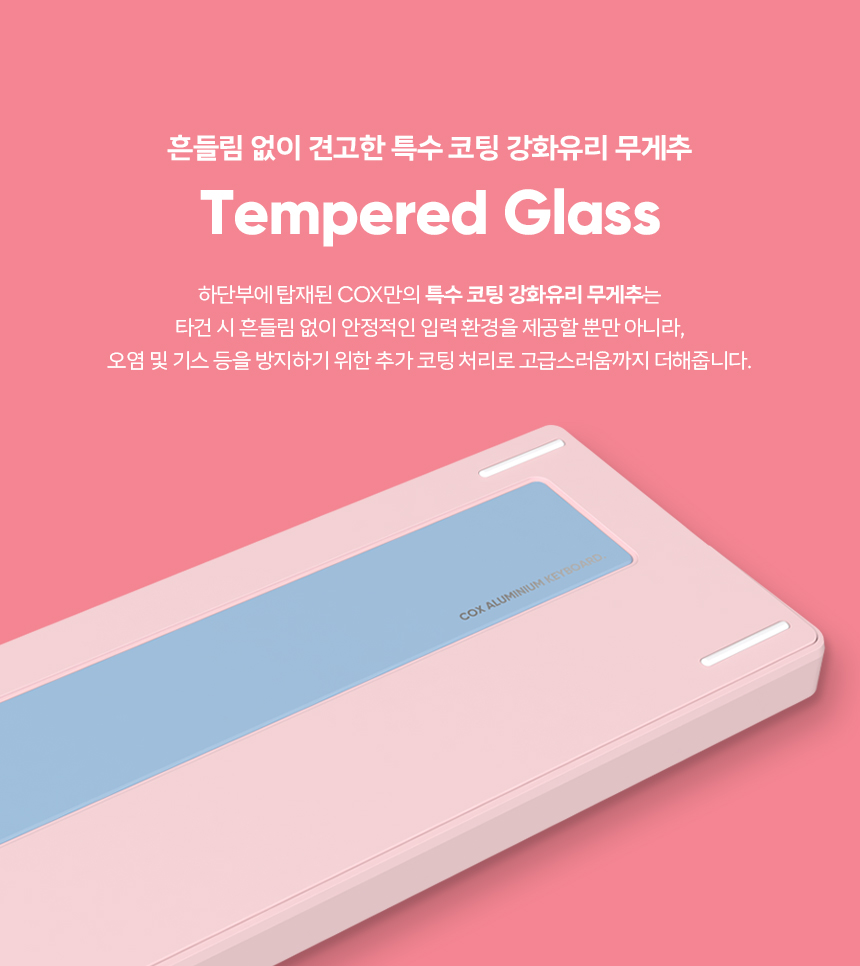
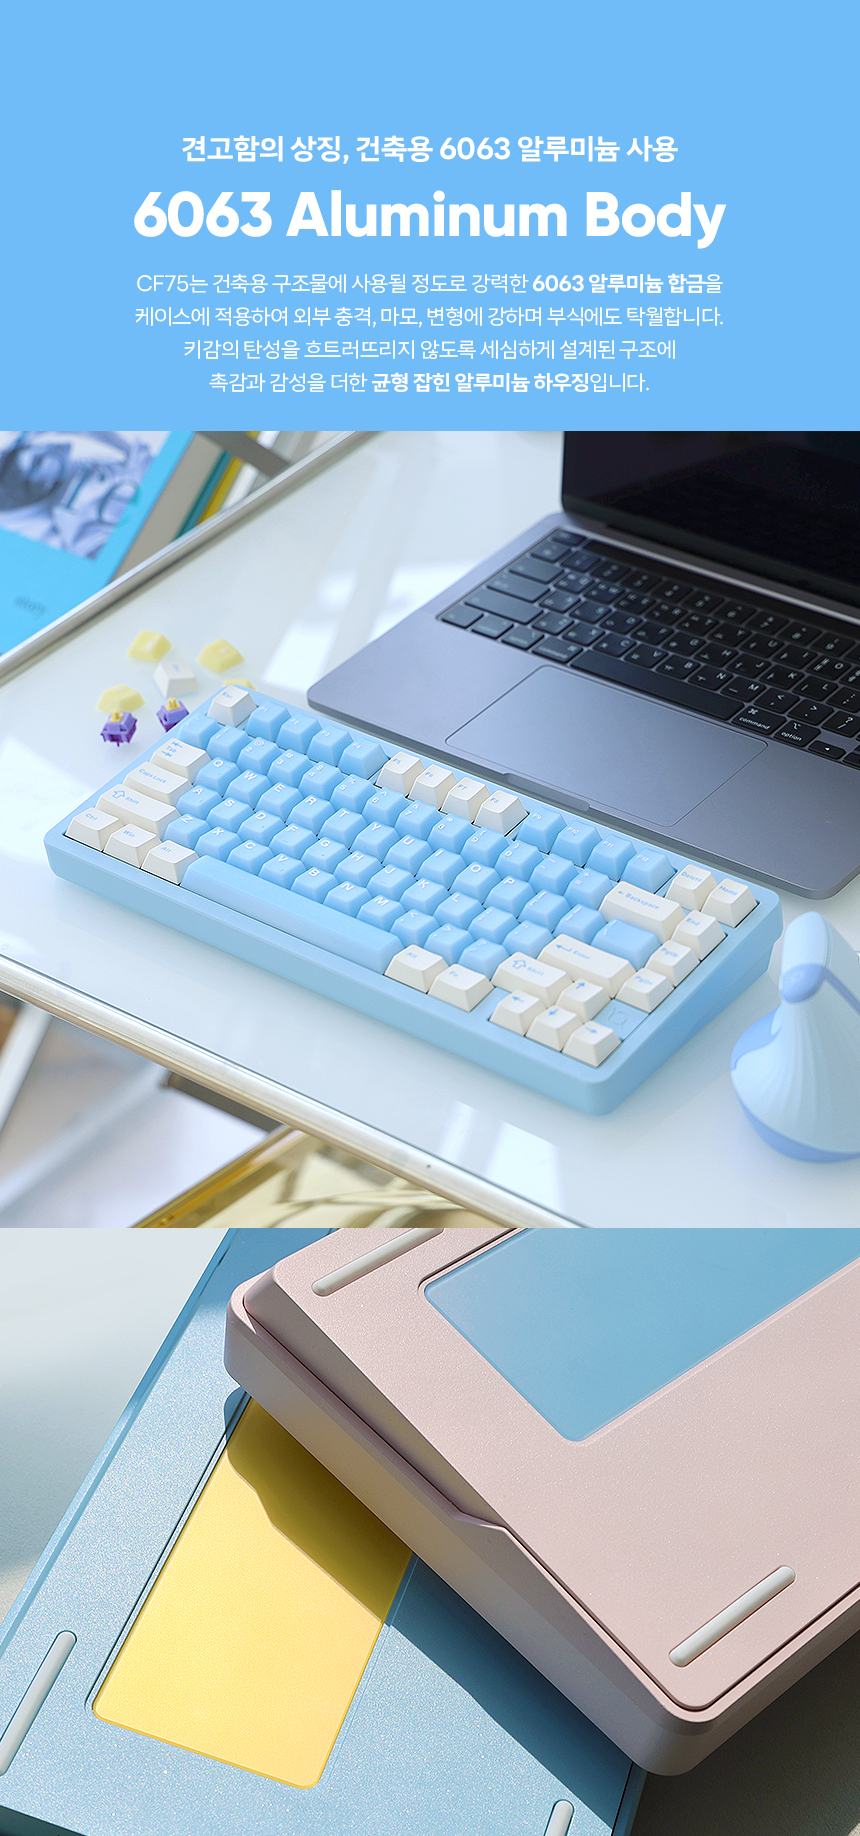
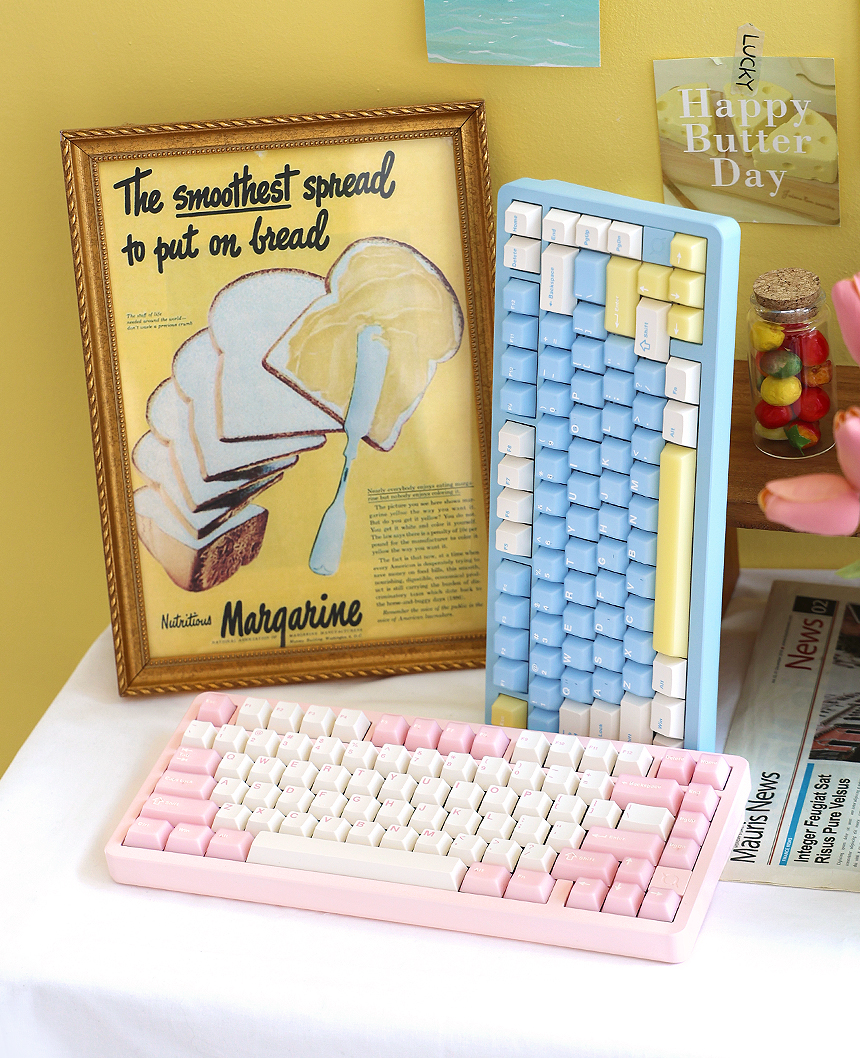
The Cox CF75 is a compact 75% layout mechanical keyboard designed for versatility and performance. It features a durable 6063 aluminum body, Jelly Double-Shot PBT keycaps, and offers three connectivity modes: wired USB Type-C, 2.4G wireless, and Bluetooth. The keyboard is equipped with customizable switches (HMX Ducking or Orange Linear) and vibrant RGB LED lighting, all configurable via VIA software.
2. Setup Guide
2.1 Power On/Off
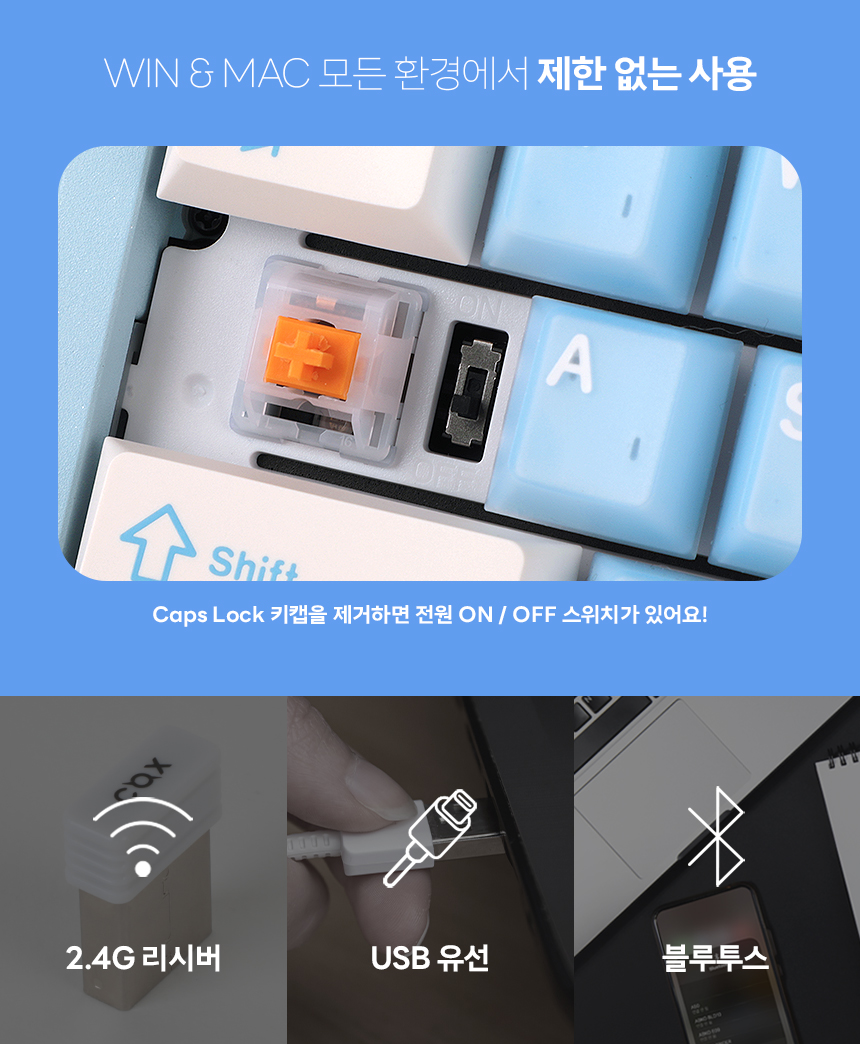
The power switch is located underneath the Caps Lock key. To access it, gently remove the Caps Lock keycap. Toggle the switch to ON or OFF as needed.
2.2 Connectivity Modes
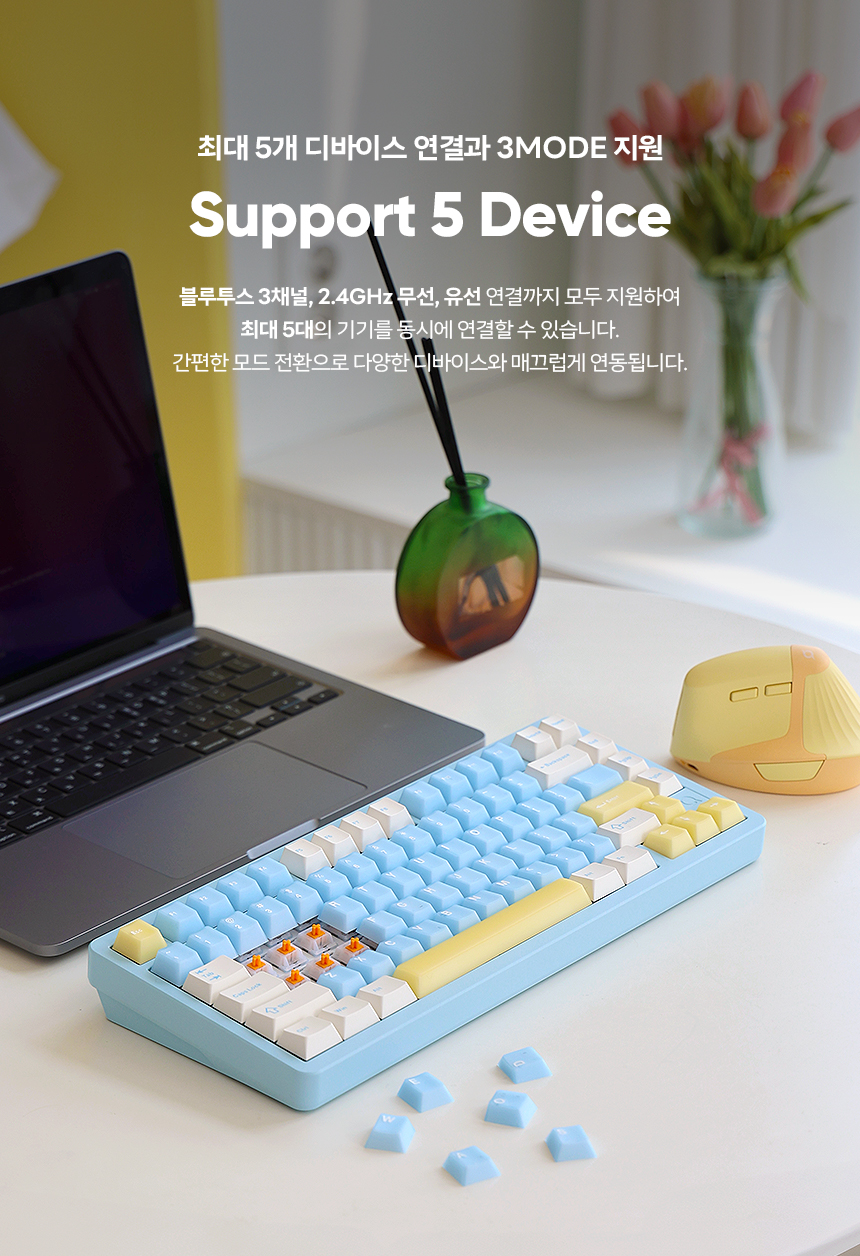
The CF75 keyboard supports three connection modes: USB Wired, 2.4G Wireless, and Bluetooth. You can connect up to 5 devices simultaneously (1 wired, 1 via 2.4G, 3 via Bluetooth).
2.2.1 USB Wired Connection
- Connect the provided USB Type-C cable to the keyboard and your computer.
- Press Fn + 5 for 3 seconds to enter USB mode.
- The LED indicator for key 5 will light up in yellow, indicating a successful connection.
2.2.2 2.4G Wireless Connection
- Insert the 2.4G receiver into a USB port on your computer.
- Press Fn + 4 for 3 seconds to enter 2.4G pairing mode.
- The LED indicator for key 4 will flash yellow. Once paired, it will remain solid yellow.
2.2.3 Bluetooth Connection
The keyboard supports up to 3 Bluetooth channels.
- Press Fn + 1, 2, or 3 for 3 seconds to enter Bluetooth pairing mode for the selected channel.
- The LED indicator for the selected key (1, 2, or 3) will flash blue, green, or cyan respectively.
- On your device (PC, smartphone, tablet), search for Bluetooth devices and select "CF75" to connect.
- Once paired, the LED indicator will remain solid.
- To switch between paired Bluetooth devices, press Fn + 1, 2, or 3 briefly.
Note: If the keyboard is not detected during Bluetooth pairing, ensure it's not already paired with another device or try resetting the Bluetooth connection on your device. For optimal performance, keep the keyboard within 30-60cm of your device.
3. Operating Instructions
3.1 Programmer Function Keys (FN Combinations)
The CF75 keyboard features various function key combinations using the Fn key for enhanced control and customization.
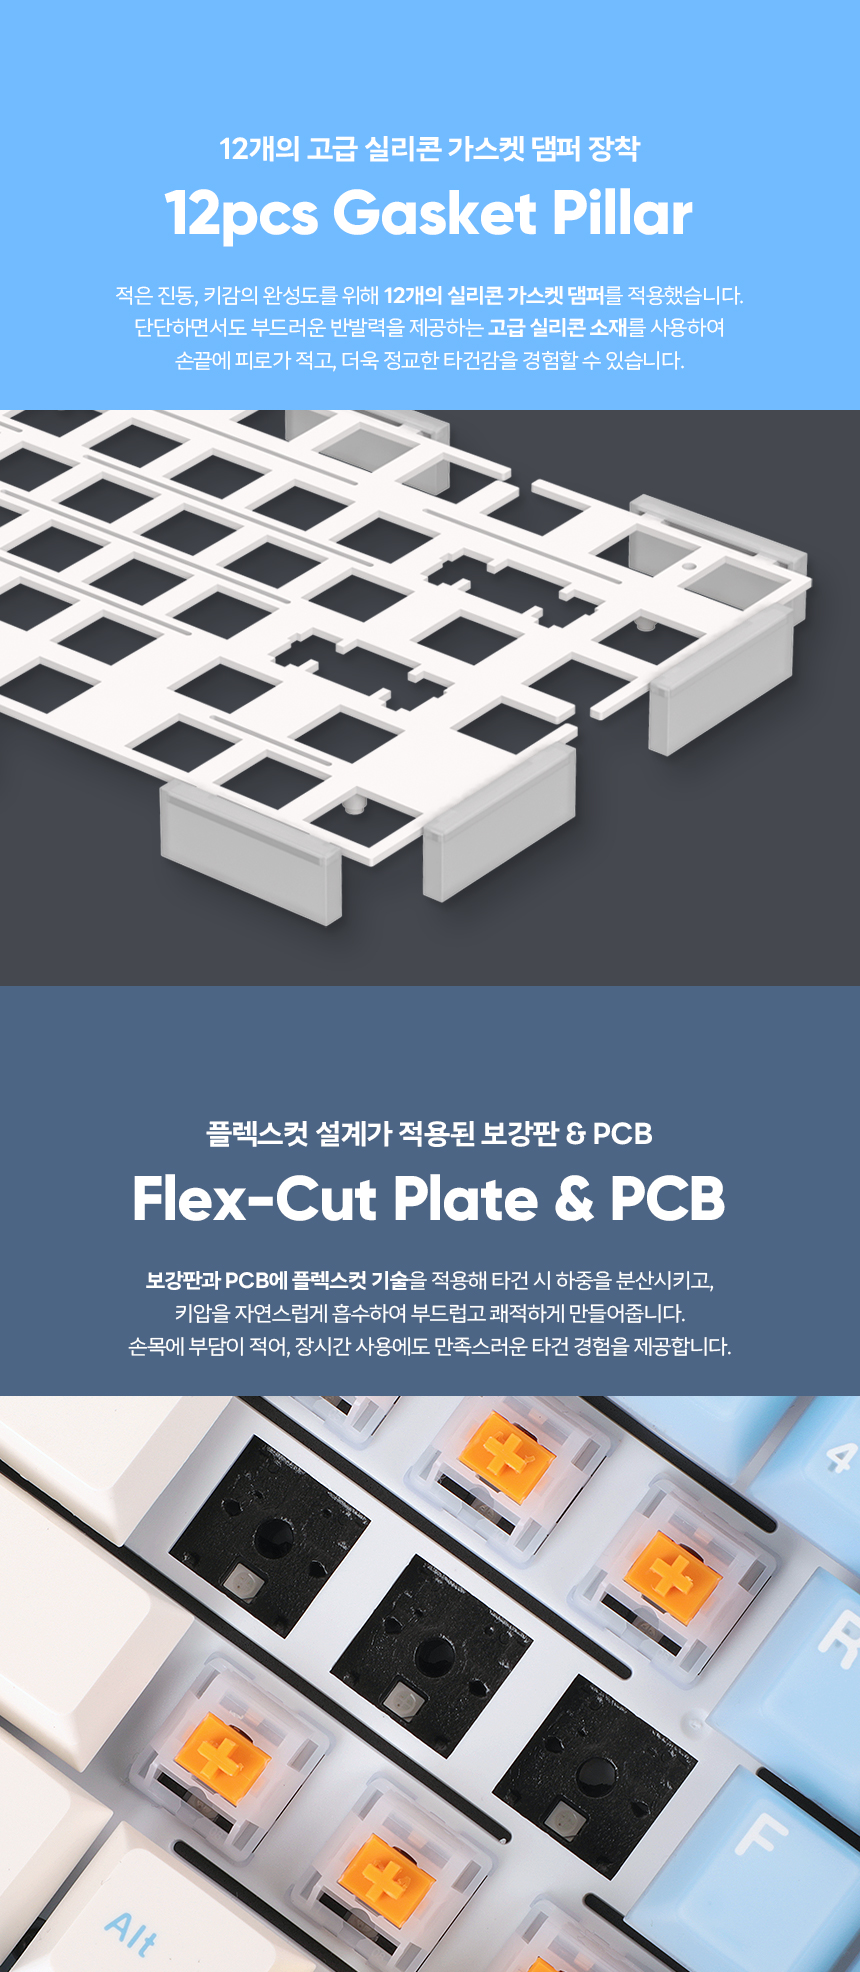
| Combination | Function |
|---|---|
| Fn + W | Switch to WIN Mode |
| Fn + A | Switch to MAC Mode |
| Fn + F1-12 | VIA Program Activation |
| Fn + PrtSc | Print Screen |
| Fn + Ins | Insert |
| Fn + ScrLk | Scroll Lock |
| Fn + Pause | Pause |
| Fn + Home | Home |
| Fn + End | End |
| Fn + PgUp | Page Up |
| Fn + PgDn | Page Down |
| Fn + Backspace | Backspace |
| Fn + Win | Win Lock |
| Fn + ESC | Reset (hold for 3 seconds) |
| Fn + DEL | Battery Status Display |
| Fn + ↑ | LED Brightness Adjustment |
| Fn + ↓ | LED Speed Adjustment |
| Fn + ← | LED Mode Change (16 modes) |
| Fn + → | LED Color Change |
3.2 RGB LED Effects
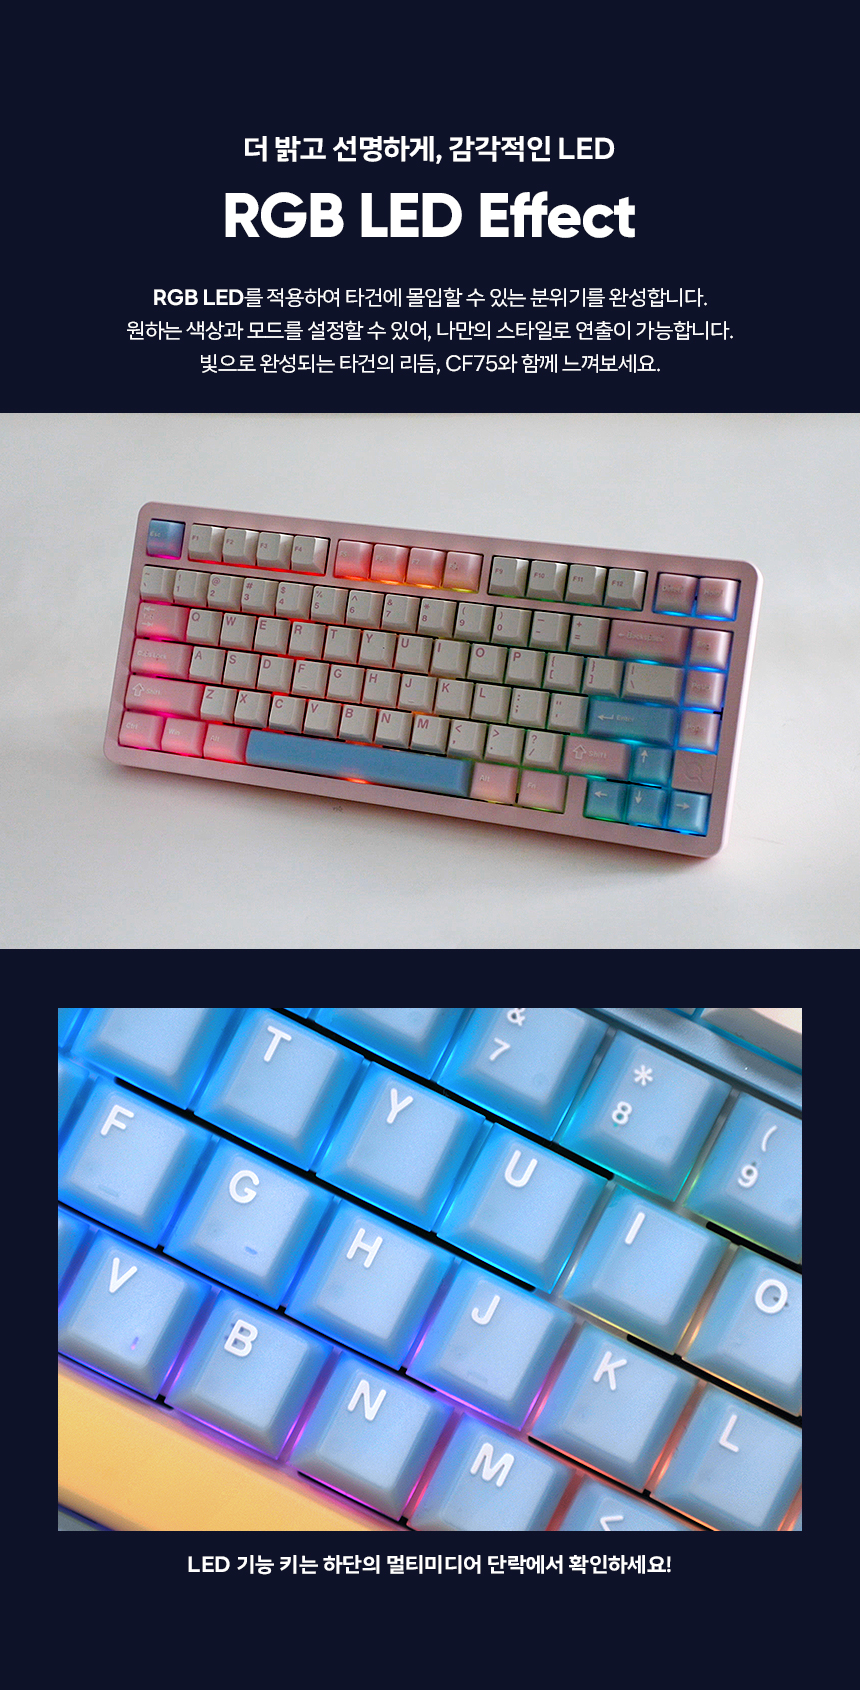
The CF75 keyboard features vibrant RGB LED lighting. You can customize the color, mode, and speed of the lighting effects using the FN key combinations mentioned above or through the VIA software.
3.3 VIA Software Customization
The CF75 keyboard supports VIA software, allowing for advanced customization of key mapping, RGB lighting, and macros. This provides a personalized typing experience.
4. Maintenance
4.1 Switch Swapping
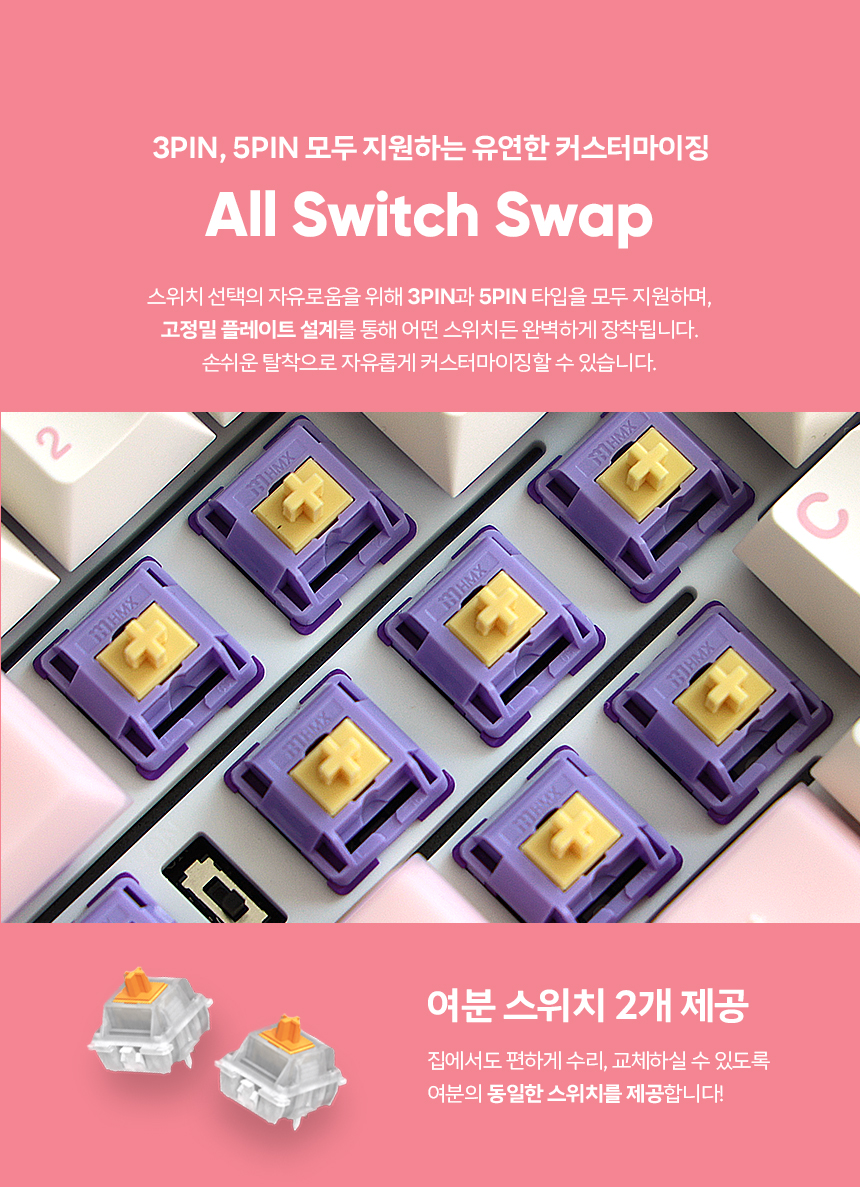
The CF75 keyboard features an 'All Switch Swap' design, supporting both 3-pin and 5-pin switches. This allows for easy customization and replacement of switches without soldering. Two extra switches are provided for convenience.
4.2 Keycap Care
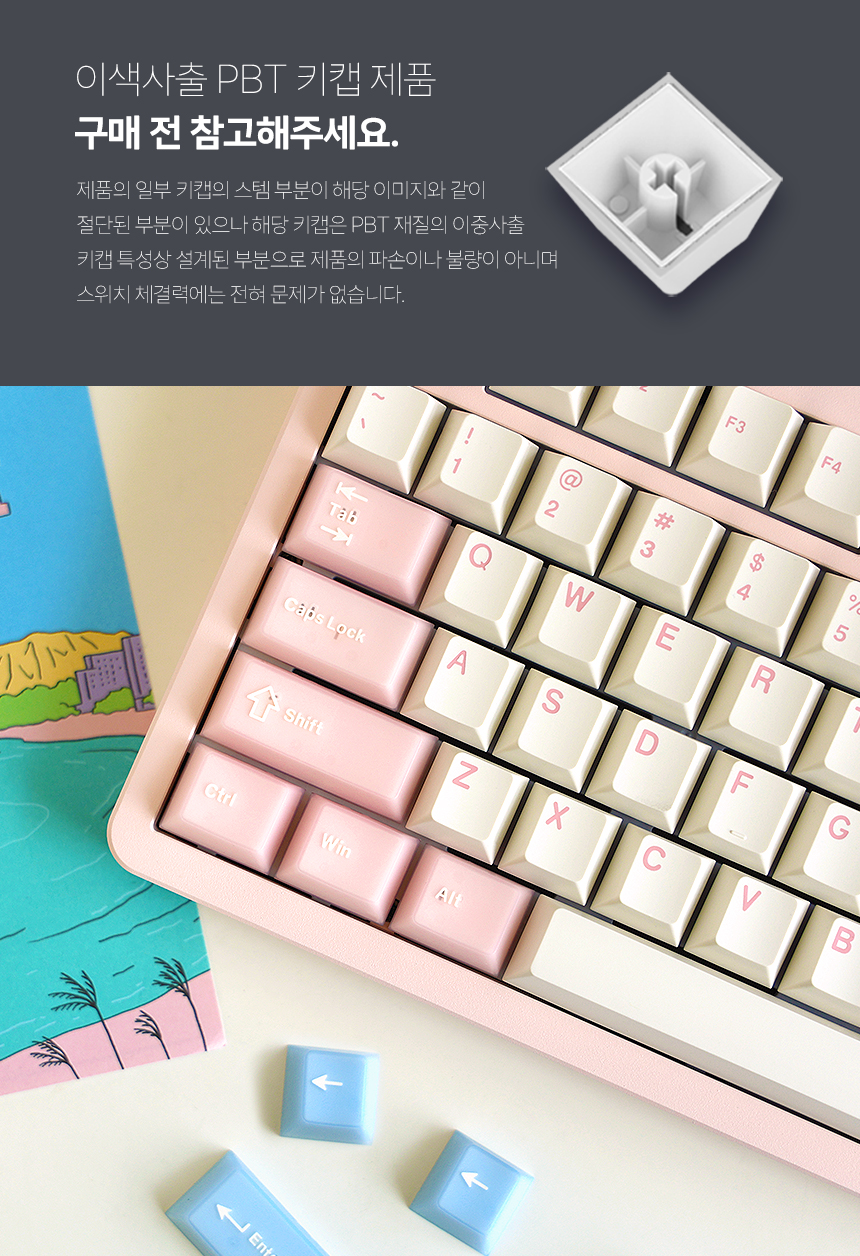
The keyboard uses Jelly Double-Shot PBT keycaps, known for their durability and unique texture. When removing keycaps, use a keycap puller to avoid damage. Some keycaps may have small imperfections on the stem due to the double-shot molding process; this is normal and not a defect.
4.3 Charging Precautions
WARNING:
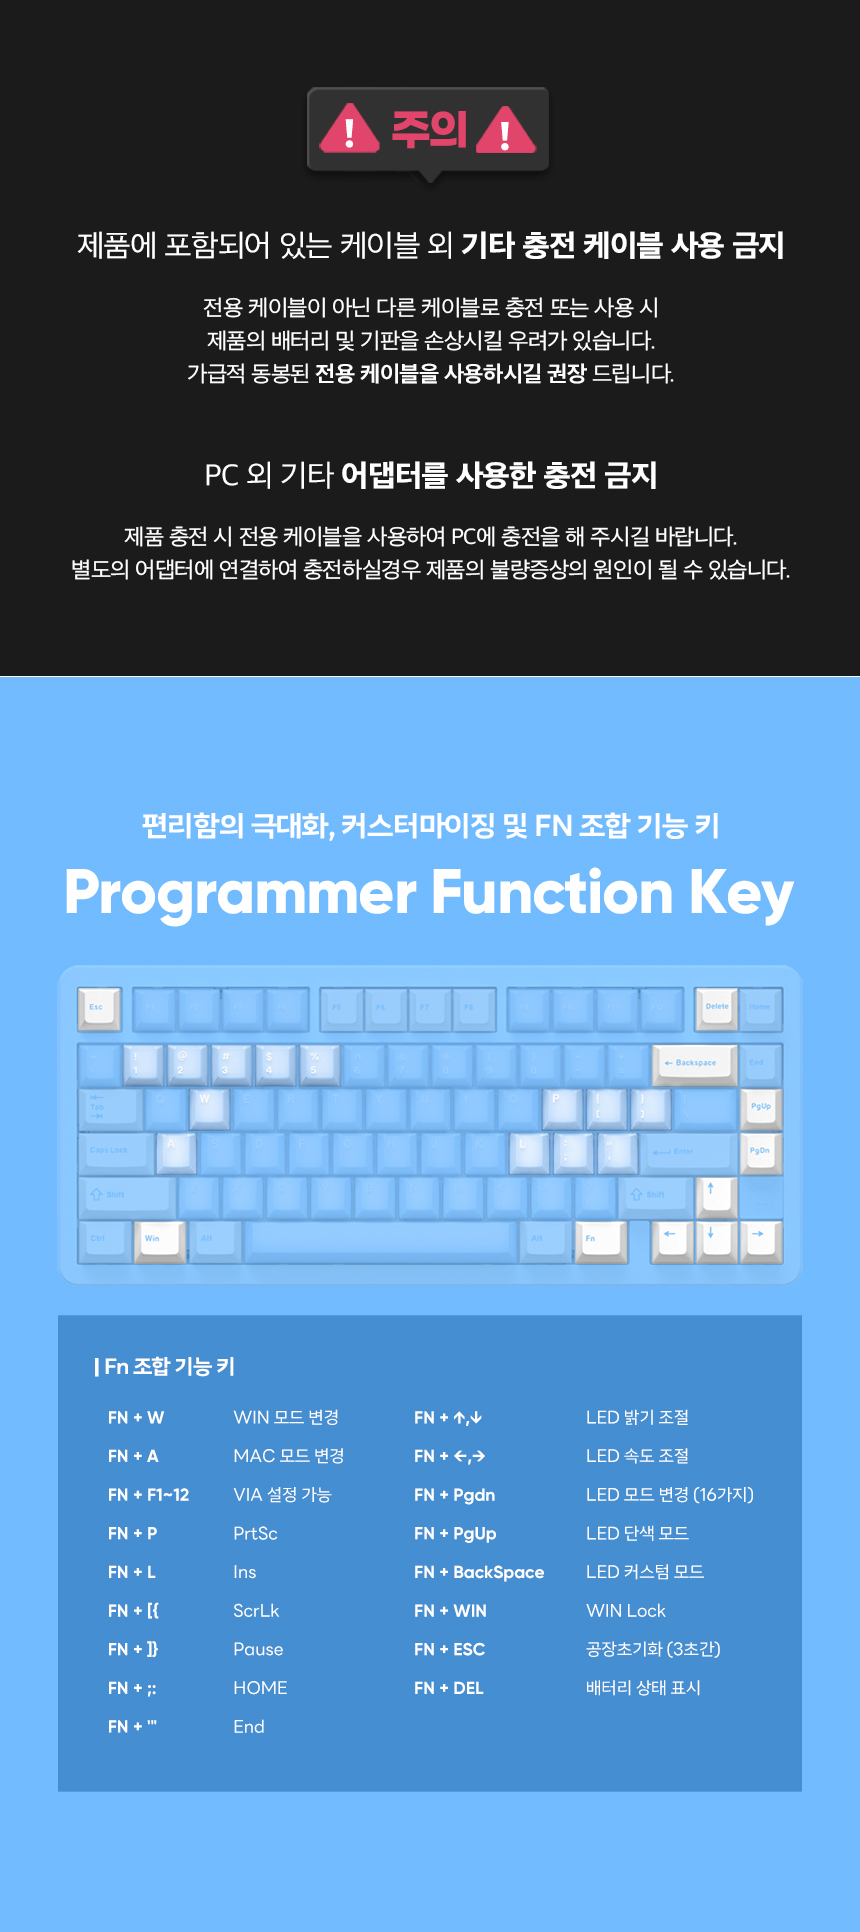
- Do NOT use charging cables other than the dedicated cable included with the product. Using incompatible cables may damage the product's battery or mainboard.
- Do NOT charge the keyboard using a PC or other adapters. Charging through a separate adapter may cause product malfunction.
5. Troubleshooting
5.1 Battery Status Check
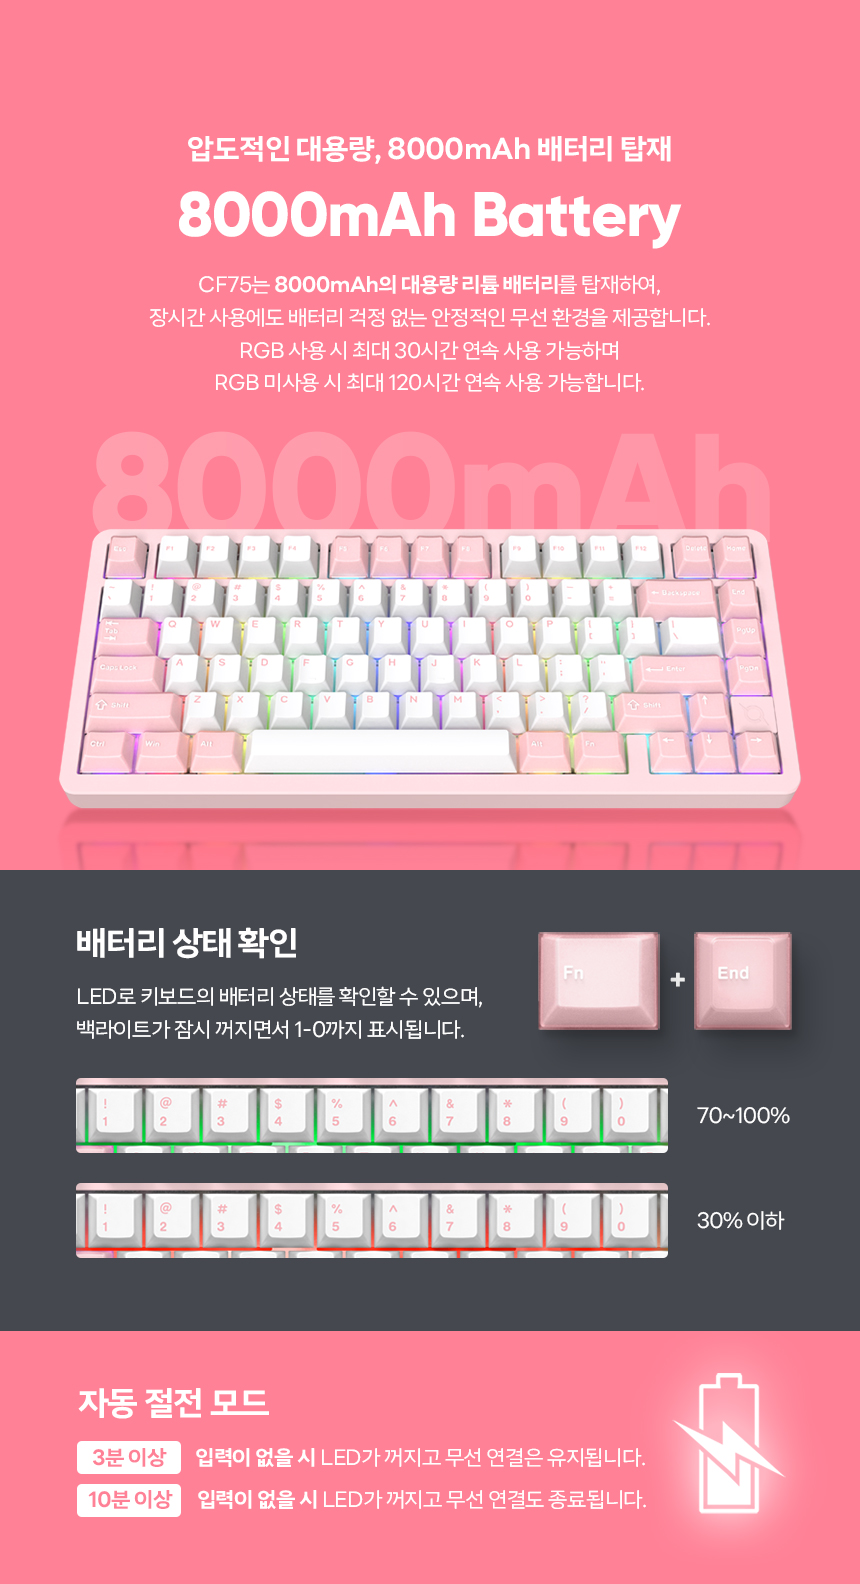
You can check the keyboard's battery status via the LED indicators. Press Fn + DEL to display the battery level.
- 70-100% Battery: LEDs for keys 1, 2, 3 will light up green.
- Below 30% Battery: LEDs for keys 1, 2, 3 will light up red.
5.2 Automatic Power Saving Mode
To conserve battery, the keyboard enters power-saving mode:
- After 3 minutes of no input: LEDs turn off, but the wireless connection is maintained.
- After 10 minutes of no input: LEDs turn off, and the wireless connection is terminated.
5.3 Connectivity Issues
- No connection: Ensure the power switch (under Caps Lock) is ON.
- 2.4G/Bluetooth not connecting: Try re-pairing the device following the instructions in Section 2.2.
- Bluetooth device not found: Ensure the keyboard is not already connected to another device. Delete the keyboard from your device's Bluetooth list and try pairing again.
6. Specifications
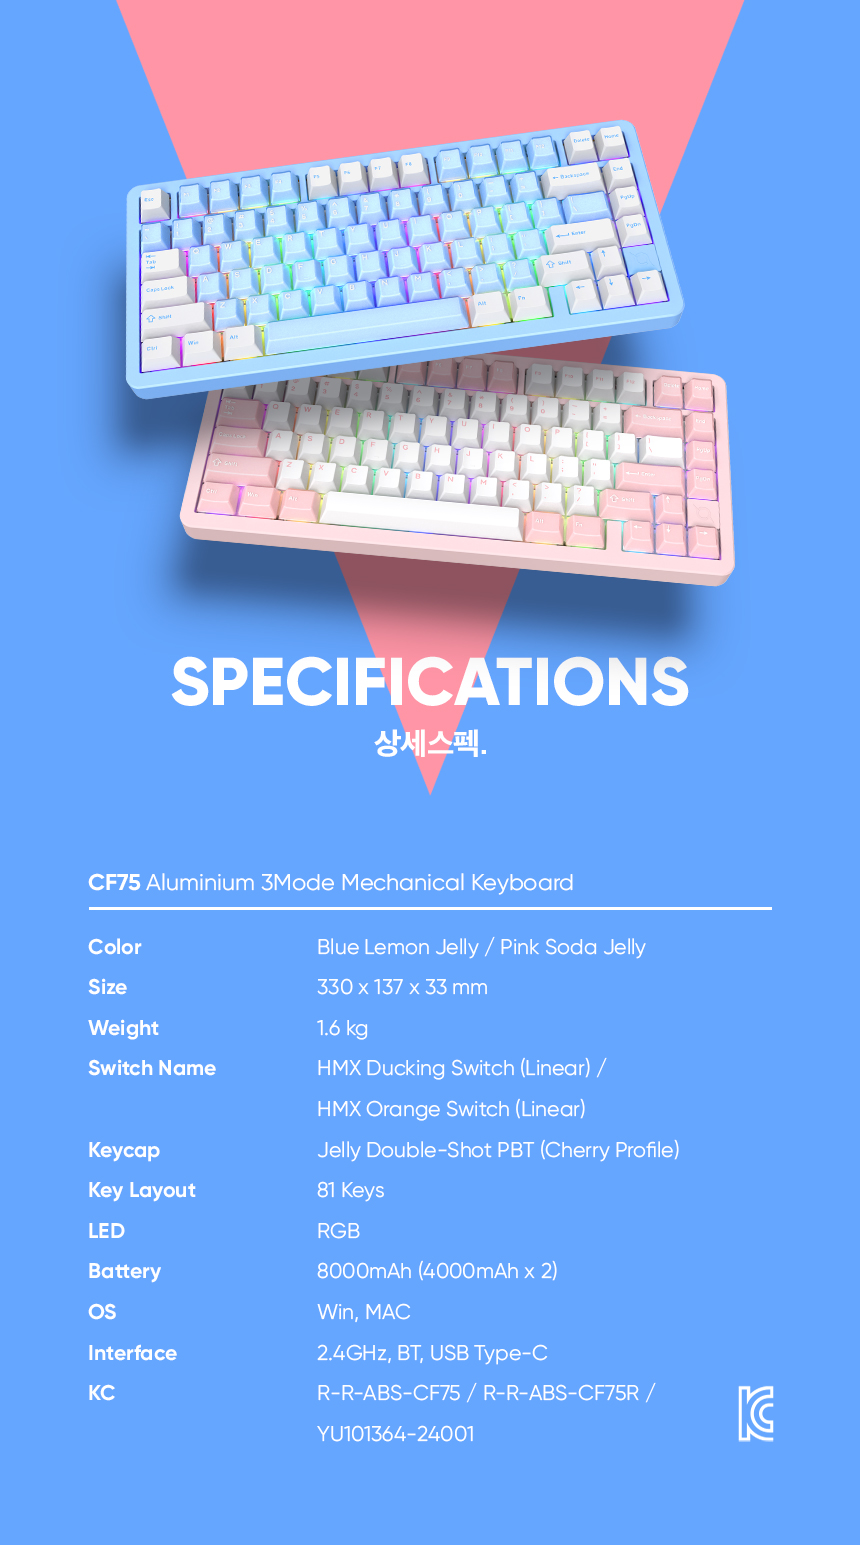
| Feature | Detail |
|---|---|
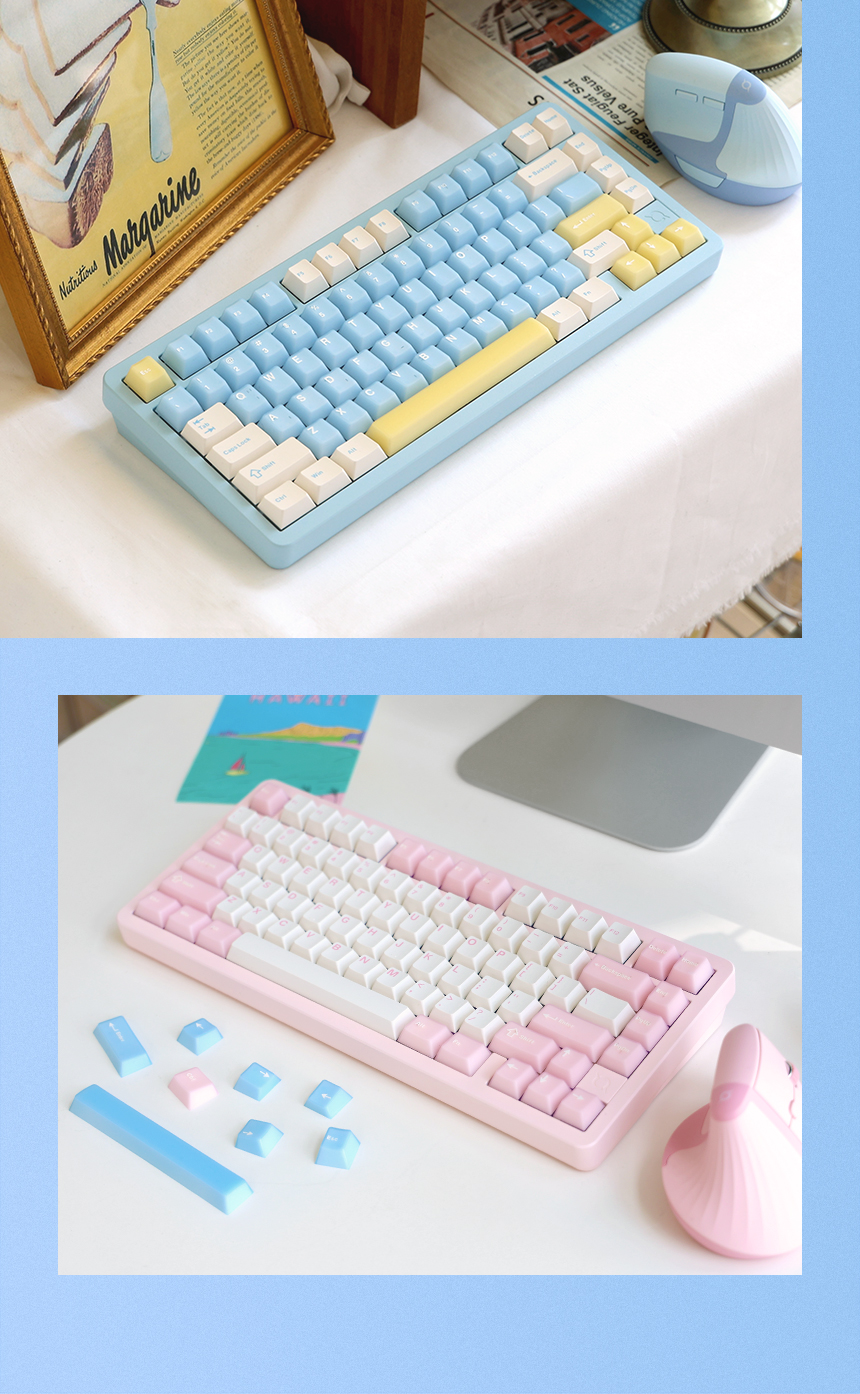
| Color | Blue Lemon Jelly / Pink Soda Jelly |
| Size | 330 x 137 x 33 mm |
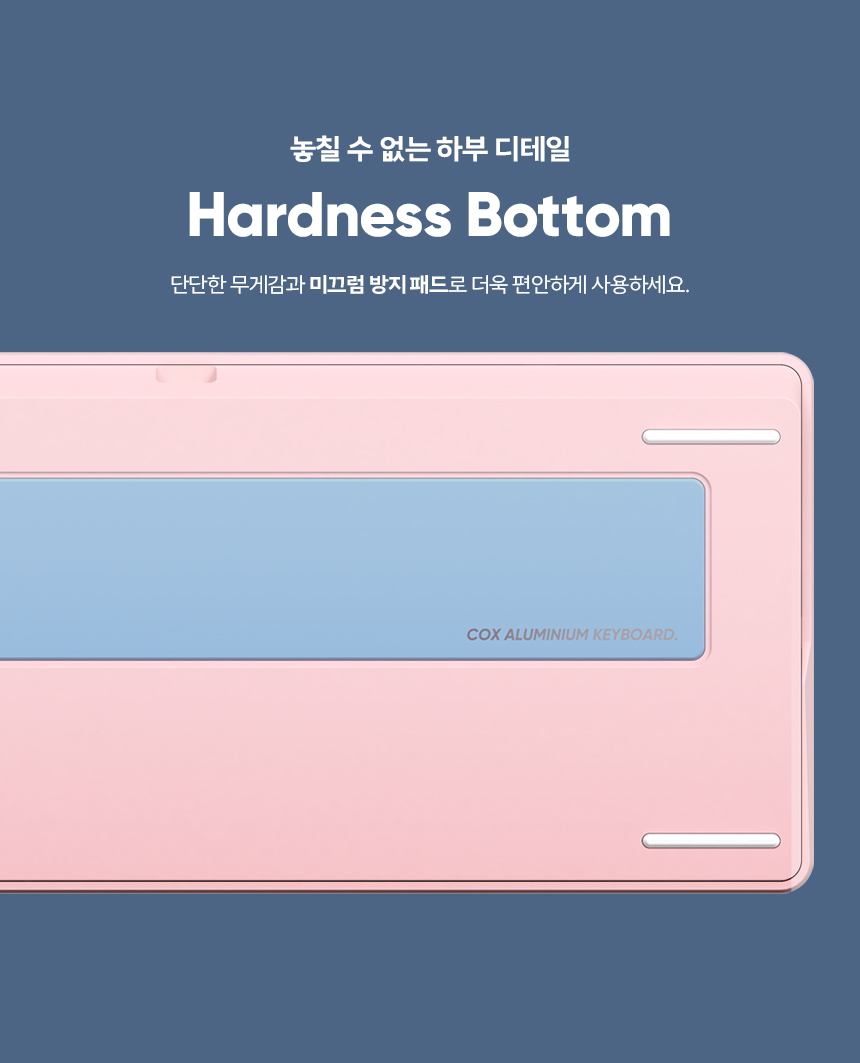
| Weight | 1.6 kg |
| Switch Name | HMX Ducking Switch (Linear) / HMX Orange Switch (Linear) |
| Keycap | Jelly Double-Shot PBT (Cherry Profile) |
| Key Layout | 81 Keys (75% Layout) |
| LED | RGB |
| Battery | 8000mAh (4,000mAh x 2) |
| OS Compatibility | Windows, macOS |
| Interface | 2.4GHz Wireless, Bluetooth, USB Type-C Wired |
| KC Certification | R-R-ABS-CF75 / R-R-ABS-CF75R / YU101364-24001 |
| Body Material | 6063 Aluminum |
| Stabilization | 12pcs Gasket Pillar |
| Sound Dampening | 5 Layer Anti-noise Pack |
6.1 Switch Specifications
| Property | Value |
|---|---|
| Upper Housing | PC |
| Lower Housing | PA66 |
| Stem | POM |
| Type | Linear |
| Operating Force | 45±5gf |
| Tactile Force | 50±5gf |
| Operating Travel | 2.0±0.4mm |
| Full Travel | 3.5±0.3mm |
| Property | Value |
|---|---|
| Upper Housing | PC |
| Lower Housing | PA66 |
| Stem | POM |
| Type | Linear |
| Operating Force | 42±5gf |
| Tactile Force | 48±5gf |
| Operating Travel | 2.0±0.5mm |
| Full Travel | 3.8±0.3mm |
7. Warranty and Support
COX provides comprehensive after-sales service for the CF75 keyboard.
7.1 Warranty Period
A 1-year free A/S service is provided from the date of purchase for product defects arising from normal use and conditions. This warranty covers functional, performance, and quality issues.
7.2 Initial Defects and Returns
- For products with initial defects within 10 days of purchase, exchanges or refunds are available. Proof of purchase (receipt, transaction statement, online purchase history) is required.
- After 10 days from the purchase date, product issues will be handled as free repairs, not exchanges.
7.3 Copyright Notice
All product-related materials (detailed pages, images, descriptions, etc.) created by (주)엠코 are protected by copyright. Unauthorized reproduction, distribution, copying, or modification of content without the consent of (주)엠코 is prohibited. Violations may result in civil and criminal penalties under Korean copyright law.
8. User Tips
- Experiment with Switches: The hot-swappable design allows you to try different switches. Consider purchasing a switch tester to find your preferred typing feel before investing in a full set.
- Customize with VIA: Take advantage of the VIA software to personalize your keyboard. Remap keys, create macros for frequently used commands, and fine-tune RGB lighting to match your setup or mood.
- Battery Management: For extended wireless use, monitor the battery status regularly using Fn + DEL. Charge the keyboard when the indicator shows below 30% to avoid interruptions.
- Clean Regularly: Use compressed air to remove dust and debris from between keycaps. For keycaps, a damp cloth with mild soap can be used, ensuring they are completely dry before reattaching.
- Firmware Updates: Check the official COX website periodically for any firmware updates. Updates can improve performance, add new features, or fix bugs.