1. Introduction
The IRiver IAB60 is a versatile audio system designed to enhance your daily life with multiple entertainment and utility features. It combines a CD player, FM radio, Bluetooth connectivity, wireless charging, and an alarm clock into a compact and stylish unit. This manual provides detailed instructions for setup, operation, and maintenance to ensure optimal performance and longevity of your device.

2. Package Contents
- IRiver IAB60 Main Unit
- Power Cable
- Remote Control
- User Manual (this document)
3. Setup
3.1 Power Connection
- Connect the provided power cable to the DC IN port on the rear of the IAB60 unit.
- Plug the other end of the power cable into a standard AC power outlet (100-240V, 60Hz).
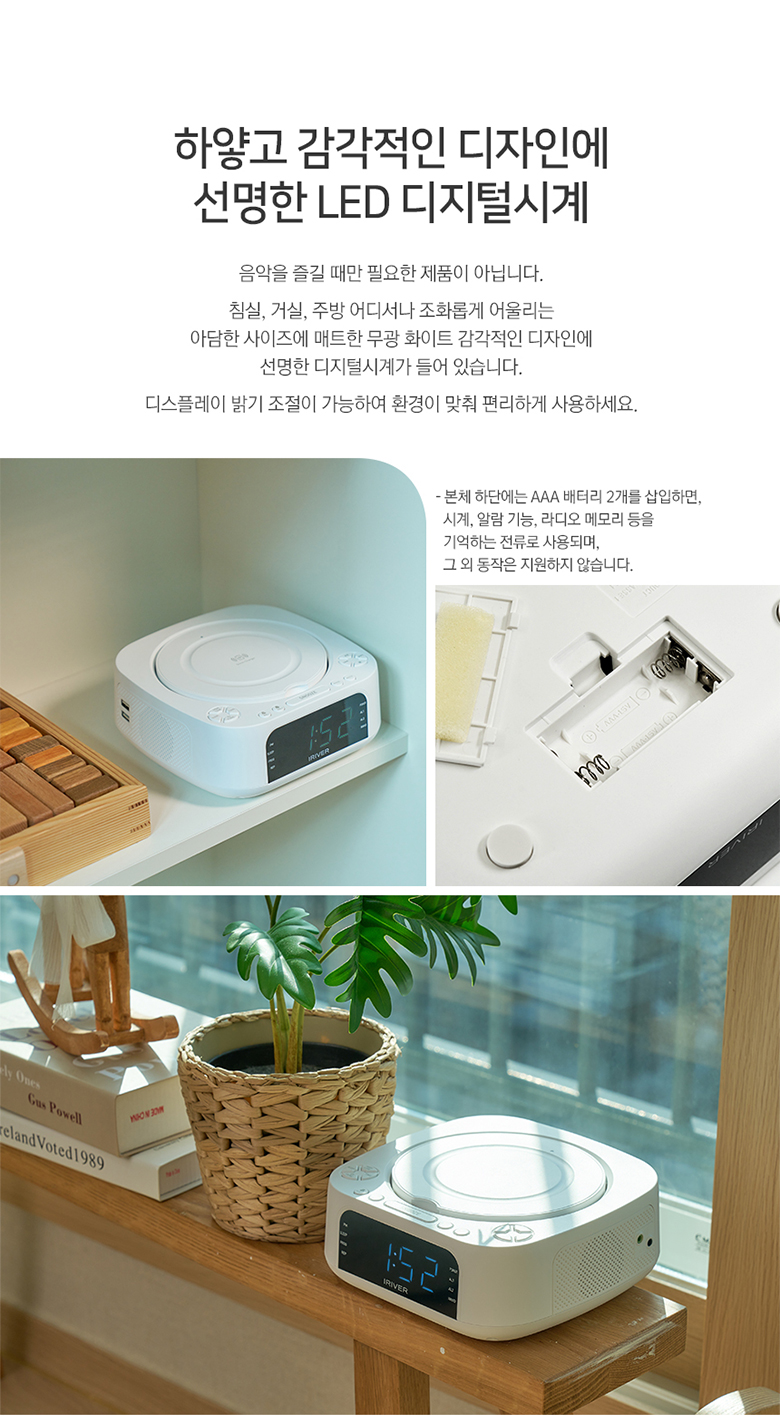
3.2 Battery Installation (for Clock Memory)
To retain time and alarm settings during a power outage, install two AAA batteries (not included) in the battery compartment located on the bottom of the unit.
3.3 FM Antenna Connection
For optimal FM radio reception, connect the included FM antenna wire to the FM ANT port on the rear of the unit. Extend the antenna fully and position it for best signal.
4. Operating Instructions
4.1 Power On/Off
Press the POWER button on the top panel or remote control to turn the unit on or off.
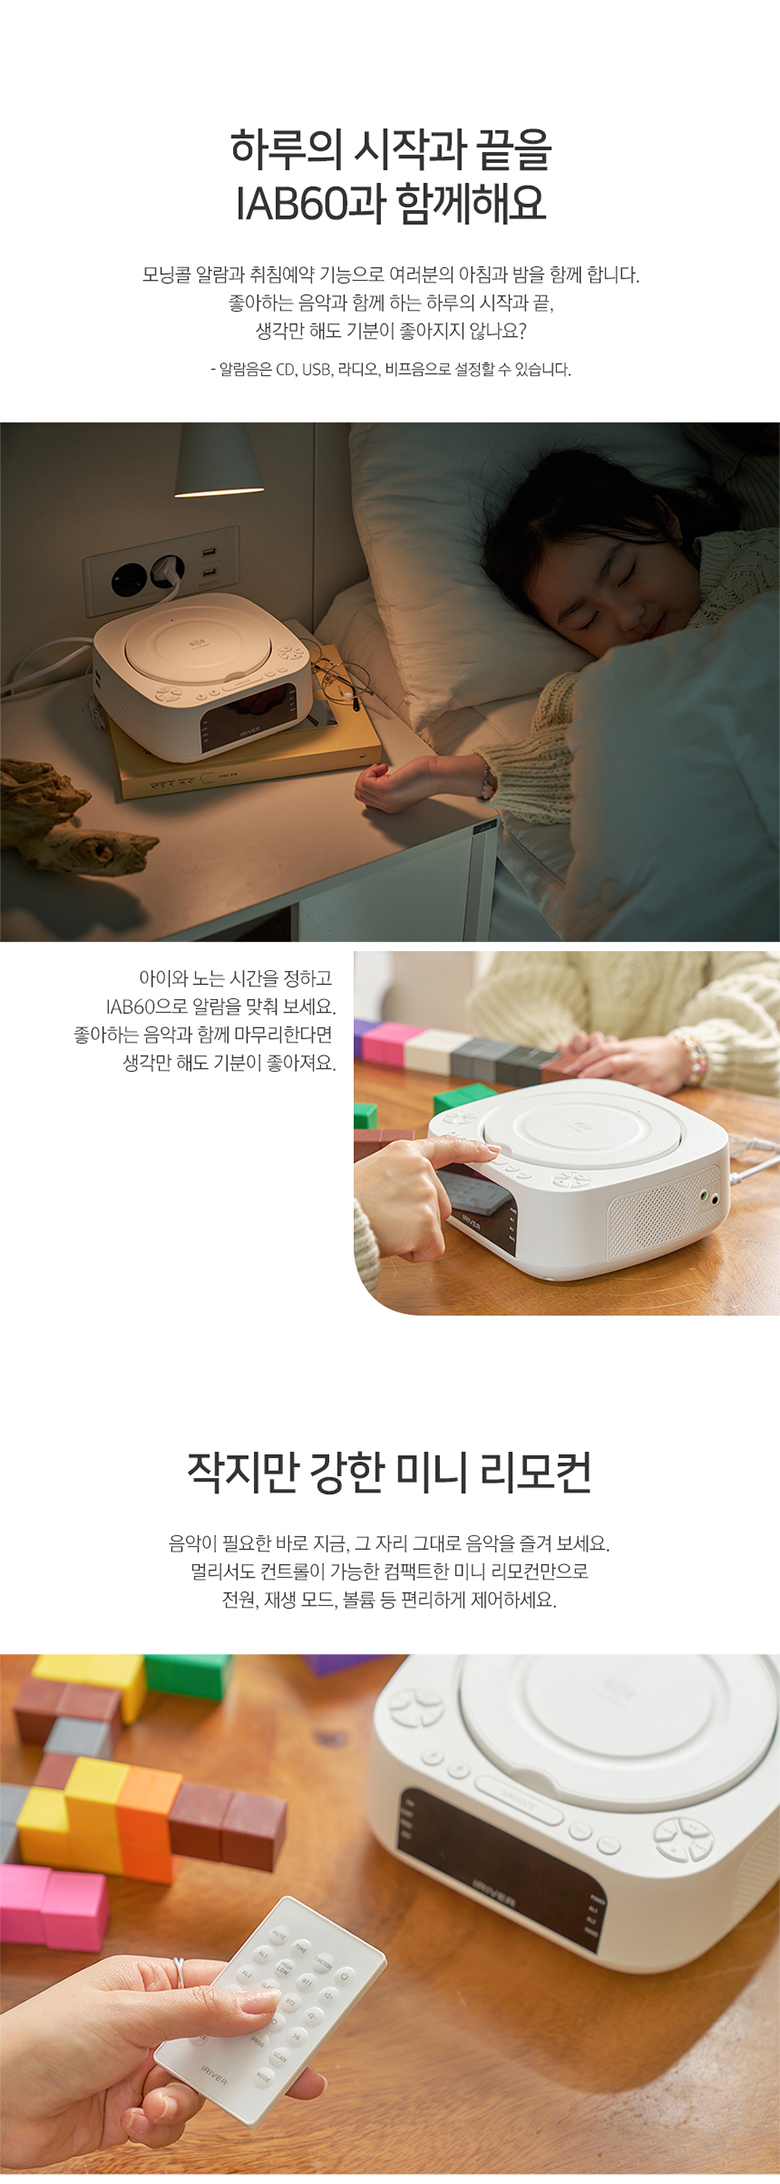
4.2 Clock and Alarm Settings
The IAB60 features a clear LED display for time and alarm functions.
- Setting Time: Use the TIME SET button to enter time setting mode. Use the +/- buttons to adjust hours and minutes.
- Setting Alarms: Press AL1 or AL2 to set individual alarms. You can choose to wake up to CD, FM radio, or a buzzer sound.
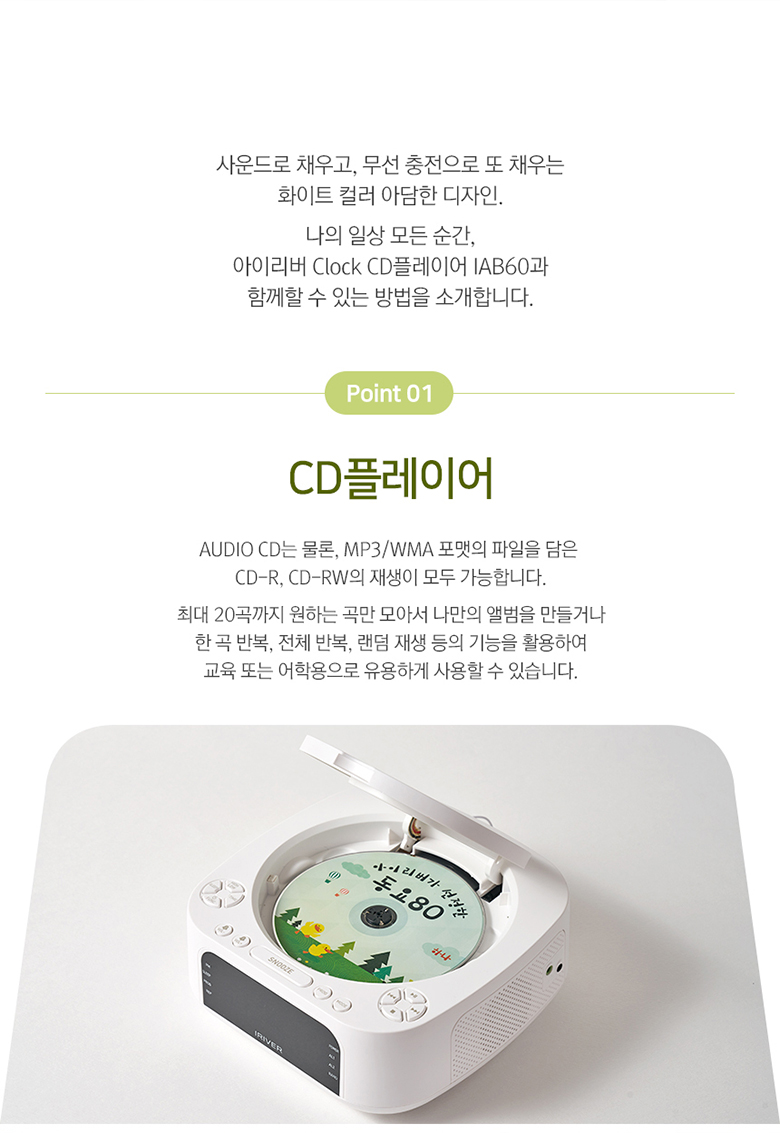
4.3 CD Player Operation
The IAB60 supports AUDIO CD, CD-R, and CD-RW discs with MP3/WMA formats.
- Gently open the top cover of the CD player.
- Place a CD with the label side facing up onto the spindle.
- Close the top cover. The unit will automatically detect the CD and begin playback or display 'OP' if no disc is detected.
- Use the PLAY/PAUSE, STOP, SKIP (◀◀/▶▶), REPEAT, and PROG (program up to 20 tracks) buttons for control.
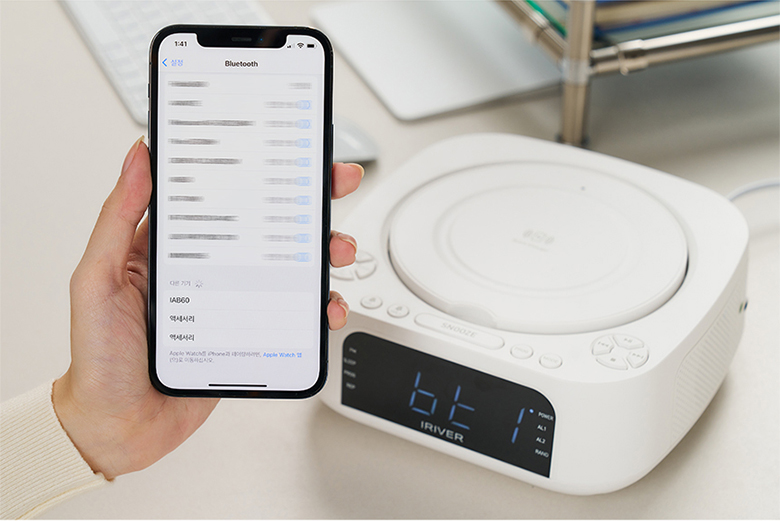
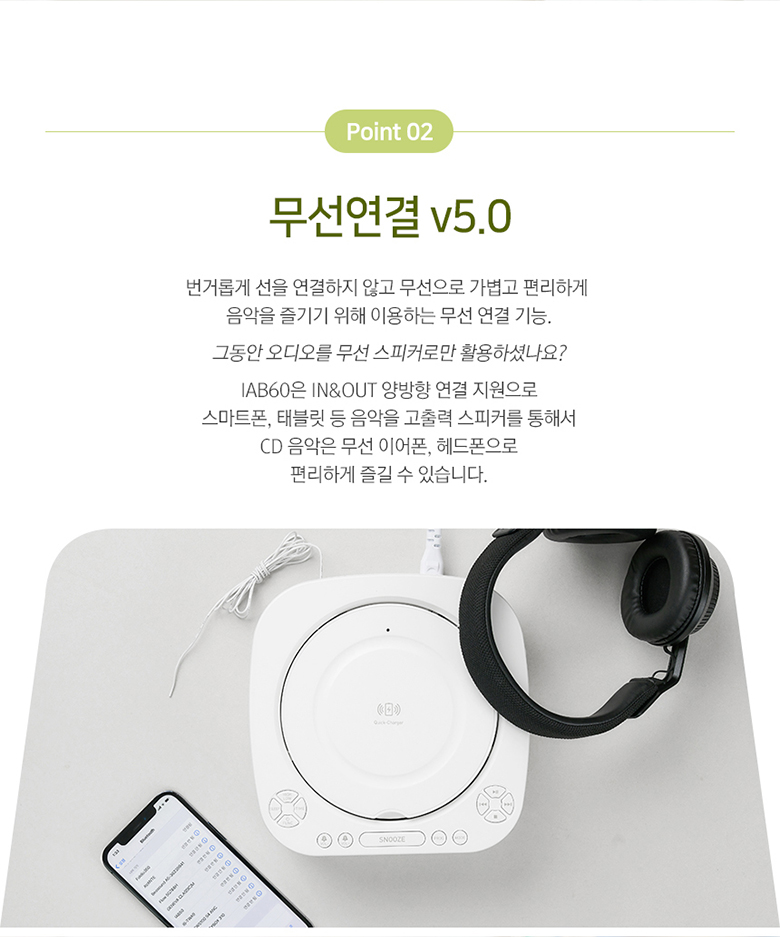
4.4 Bluetooth Connectivity (v5.0)
The IAB60 supports Bluetooth v5.0 for both input (playing audio from your phone) and output (connecting to Bluetooth headphones/speakers).
- Pairing Mode: Press the MODE button until 'BT' appears on the display. The unit will enter pairing mode.
- Connecting to a Device (Input): On your smartphone or other Bluetooth device, search for 'IAB60' in the Bluetooth settings and connect.
- Connecting to Headphones/Speakers (Output): Refer to the specific instructions for your Bluetooth headphones or speakers to put them into pairing mode, then initiate pairing from the IAB60 (specific button or menu option may vary, refer to remote control functions).
4.5 FM Radio
Enjoy clear FM radio reception with the built-in tuner.
- Press the MODE button until 'FM' appears on the display.
- Use the TUNE +/- buttons to manually tune to a station, or press and hold to auto-scan for the next available station.
- Press the PROG button to save favorite stations.
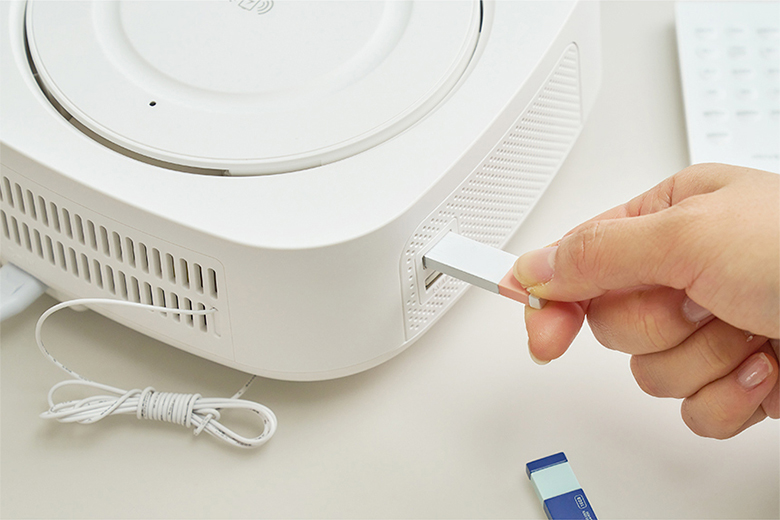
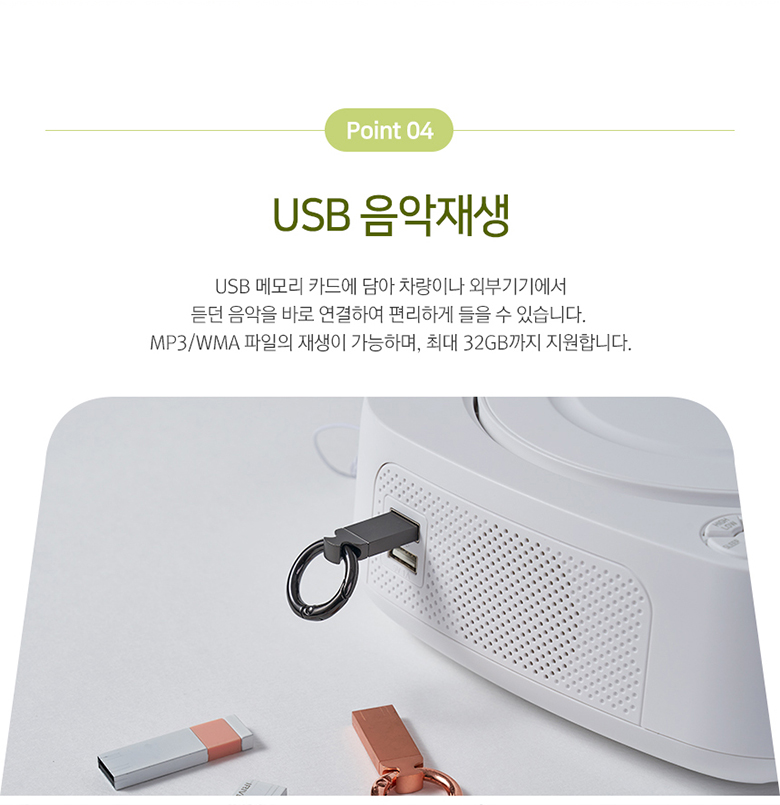
4.6 USB Music Playback
Play MP3/WMA audio files directly from a USB flash drive (up to 32GB).
- Insert a USB flash drive into the USB port on the side of the unit.
- Press the MODE button until 'USB' appears on the display.
- Use the playback controls (PLAY/PAUSE, SKIP) to navigate your music.
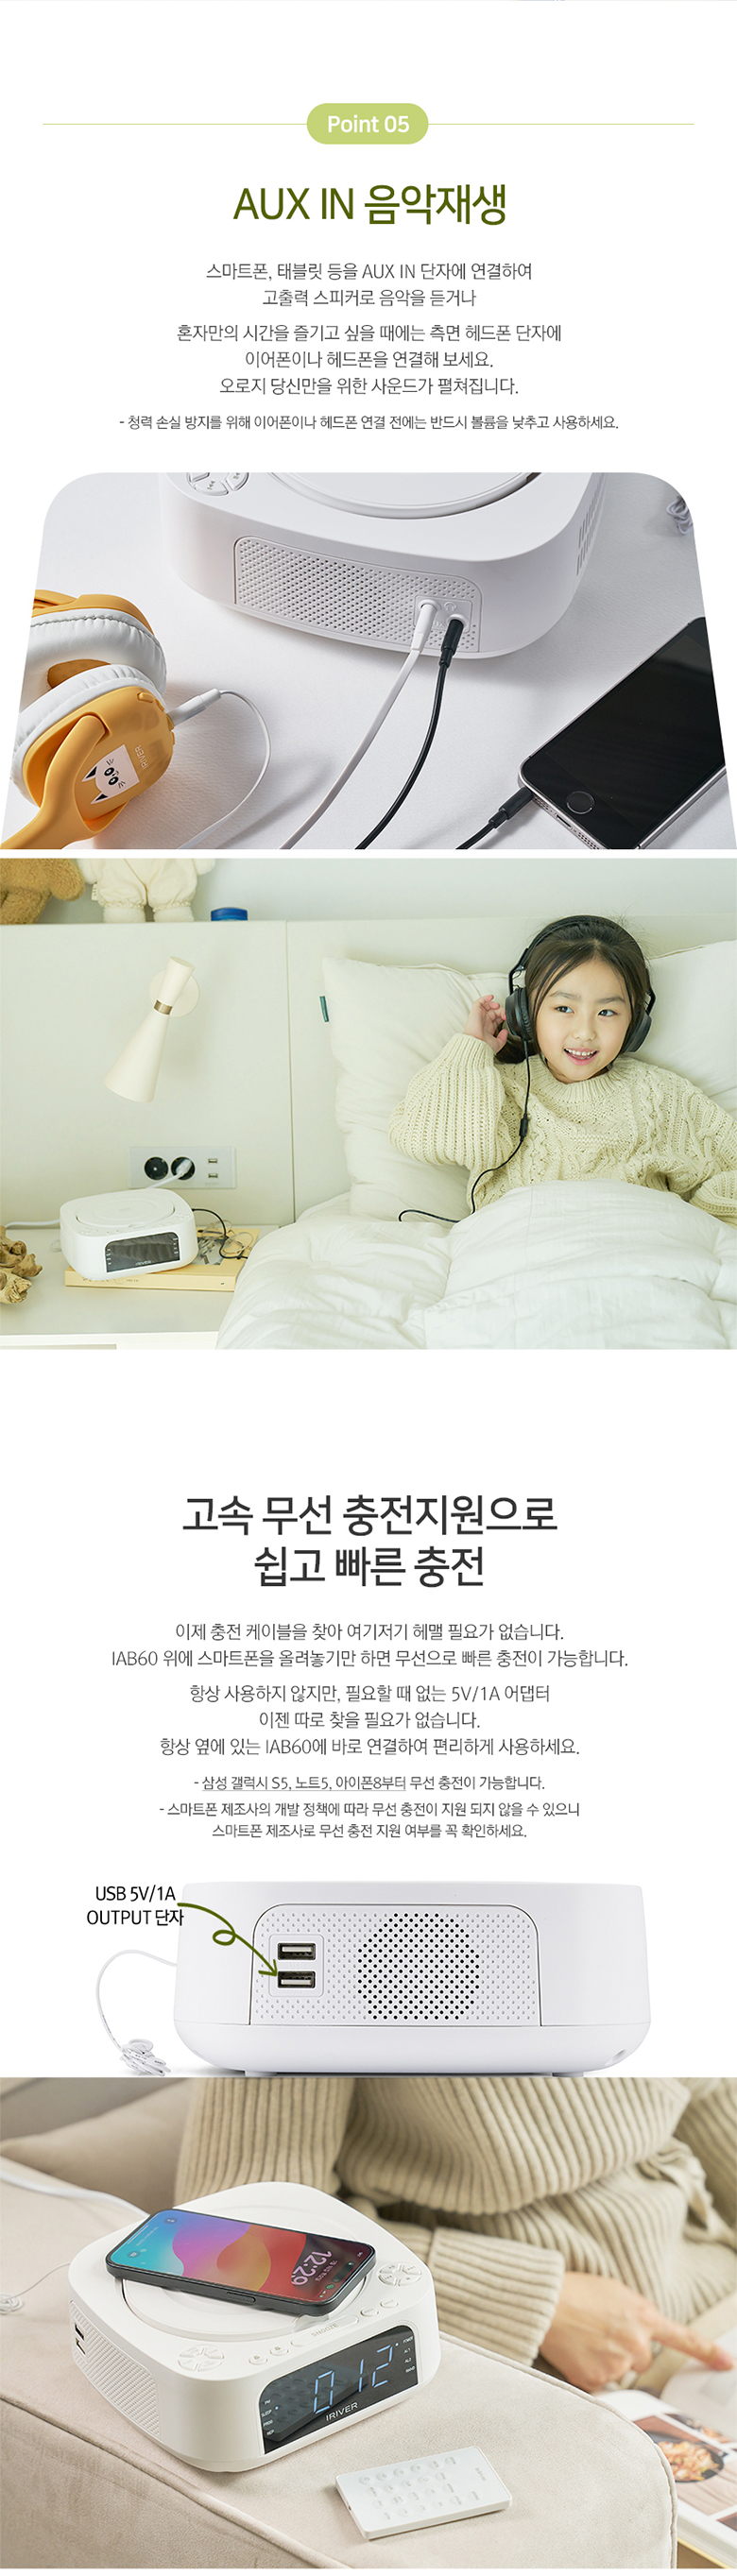
4.7 AUX IN
Connect external audio devices (e.g., MP3 players, smartphones) using a 3.5mm audio cable.
- Connect one end of a 3.5mm audio cable to the AUX IN port on the side of the IAB60.
- Connect the other end to the headphone jack or audio output of your external device.
- Press the MODE button until 'AUX' appears on the display.
- Control playback from your external device.
4.8 Wireless Charging
The IAB60 features a high-speed wireless charging pad on its top surface.
- Ensure the IAB60 is powered on.
- Place your Qi-compatible smartphone or device on the center of the wireless charging pad.
- The device should indicate that it is charging. If not, adjust its position slightly.
4.9 Remote Control
The included mini remote control provides convenient access to all major functions, including power, mode selection, playback controls, volume, alarm settings, and sleep timer.
5. Maintenance
- Cleaning: Use a soft, dry cloth to clean the exterior of the unit. Do not use abrasive cleaners or solvents.
- CD Player: Keep the CD compartment clean and free of dust. Avoid touching the lens.
- Battery Replacement: Replace the AAA backup batteries annually or when the clock settings are not retained during power interruptions.
- Storage: If storing the unit for an extended period, disconnect it from power and remove the backup batteries.
6. Troubleshooting
- No Power: Ensure the power cable is securely connected to both the unit and the power outlet.
- No Sound: Check the volume level. Ensure the correct mode (CD, FM, BT, USB, AUX) is selected. If using Bluetooth output, ensure your external device is properly paired and connected.
- CD Not Playing: Ensure the CD is inserted correctly (label side up) and is clean and free of scratches. Try a different CD.
- Bluetooth Not Connecting: Ensure the IAB60 is in Bluetooth mode and your external device's Bluetooth is enabled and in pairing mode. Move devices closer together.
- Wireless Charging Not Working: Ensure your device is Qi-compatible and placed centrally on the charging pad. Remove any thick cases that might interfere with charging.
- Poor FM Reception: Adjust the position of the FM antenna. Try moving the unit to a different location.
7. Specifications
| Feature | Specification |
|---|---|
| Model | IAB60 |
| Color | White |
| Dimensions (W x D x H) | 180.5 x 198 x 73.5 mm |
| Weight | Approx. 1.13 kg |
| Power Input | AC 100-240V, 60Hz |
| Power Output | DC 9V, 2A |
| Operating Temperature | 0°C - 40°C |
| Speaker Output | 5W x 2 (Total 10W) |
| Bluetooth Version | 5.0 |
| Bluetooth Profiles | A2DP, AVRCP |
| Bluetooth Range | Up to 10 meters (33 feet) |
| CD Playback | AUDIO CD, CD-R, CD-RW |
| Supported Audio Formats | MP3, WMA |
| FM Radio Frequency | 87.5 - 108.0 MHz (0.1 MHz step) |
| USB Port | 5V 1A output, Max 32GB support |
| AUX IN | 3.5mm stereo jack |
| Backup Battery | 2 x AAA batteries (for clock memory) |

8. Warranty and Support
For warranty information and technical support, please refer to the documentation provided at the time of purchase or contact your retailer. Keep your proof of purchase for any warranty claims.
9. User Tips
- Wireless Charging Placement: For optimal wireless charging, ensure your device is centered on the charging pad. Slight adjustments may be needed for different phone models.
- Remote Control Range: Ensure there are no obstructions between the remote control and the main unit for best performance.
- Sound Quality: Experiment with the unit's placement in your room to find the best acoustic environment for sound quality.


