1. Introduction
Thank you for choosing the FEELWORLD 4K10X 4K PTZ Camera. This AI-powered camera is designed for professional streaming, broadcasting, business, and various other applications, offering exceptional 4K resolution, 10X optical zoom, and intelligent AI tracking capabilities. This manual provides essential information for setting up, operating, maintaining, and troubleshooting your camera to ensure optimal performance and longevity.
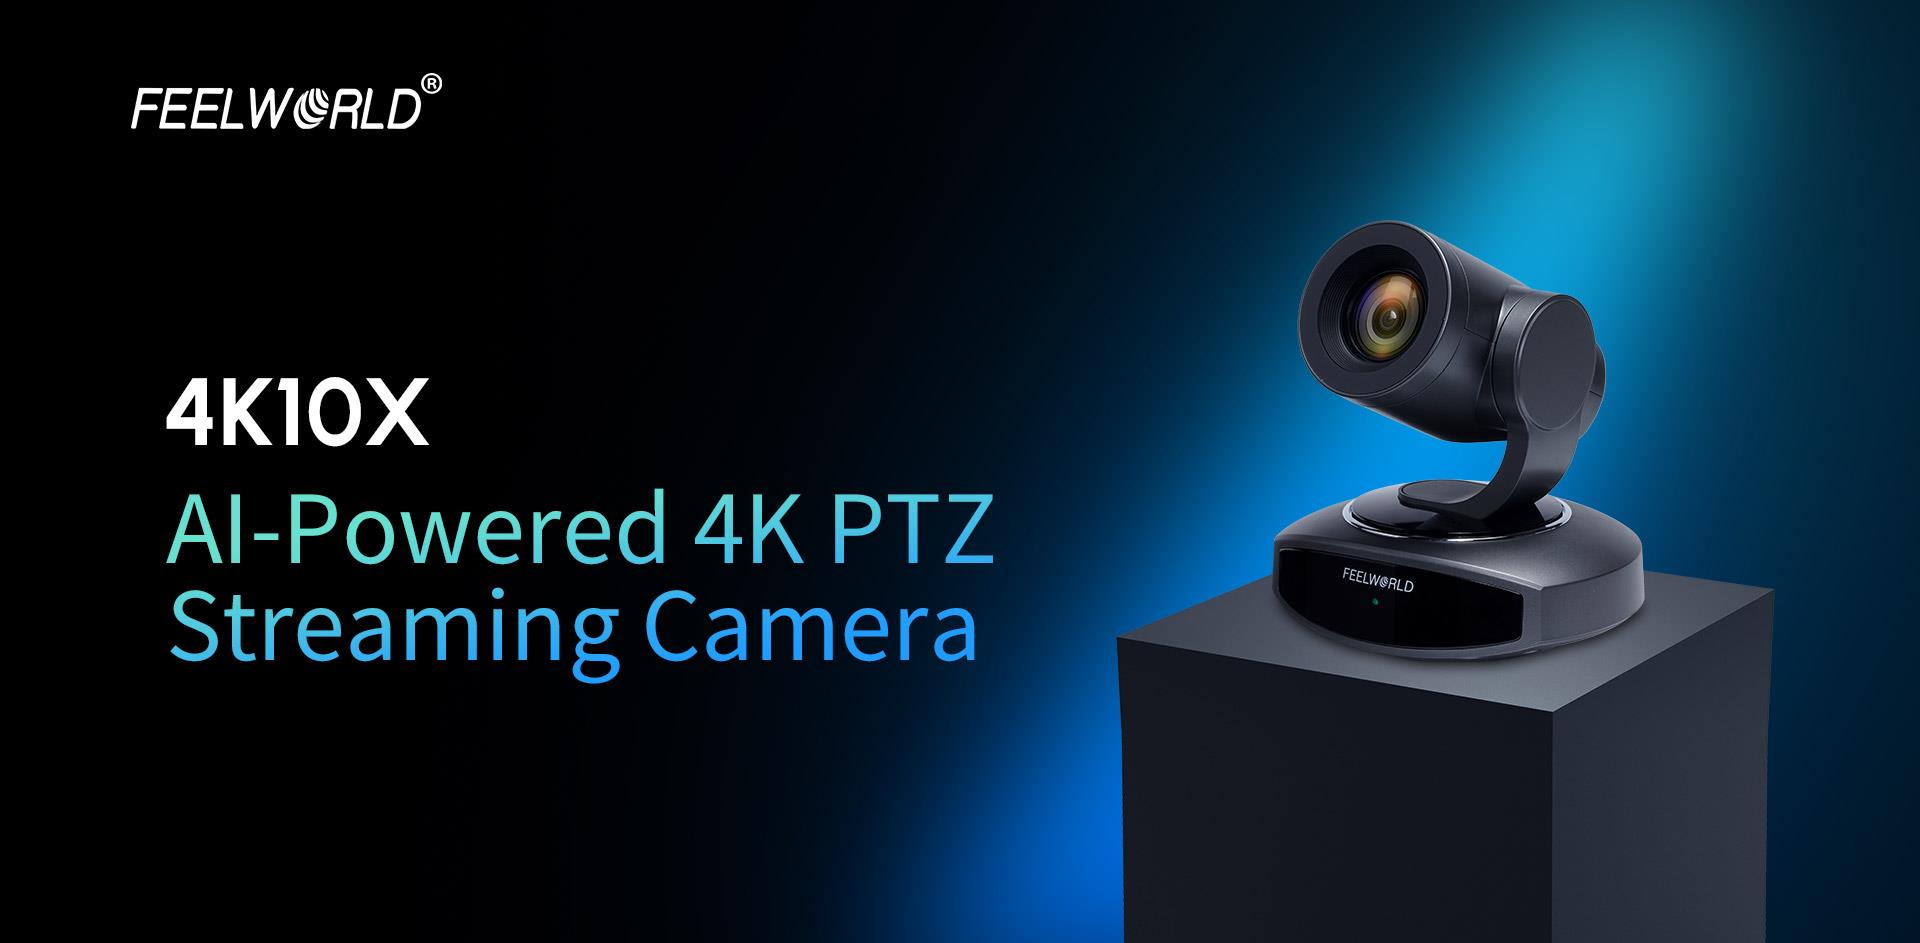
Image: FEELWORLD 4K10X AI-Powered 4K PTZ Streaming Camera.
2. Safety Information
Please read and follow all safety instructions carefully to prevent damage to the product or injury to yourself.
- Do not expose the camera to rain, moisture, or extreme temperatures.
- Avoid placing the camera near heat sources or in direct sunlight.
- Use only the provided power adapter.
- Do not attempt to disassemble or modify the camera. Refer all servicing to qualified personnel.
- Keep the camera away from strong electromagnetic fields.
- Ensure stable mounting to prevent the camera from falling.
3. Product Overview
3.1 Key Features
- 4K Ultra HD Resolution: Delivers crisp and clear video output.
- 10X Optical Zoom: Allows for detailed close-ups from a distance.
- AI Tracking: Intelligent subject tracking for dynamic presentations.
- Multiple Output Interfaces: HDMI, USB, and IP for versatile connectivity.
- Power over Ethernet (POE): Simplifies installation with single-cable power and data.
- Auto Focus: Ensures sharp images without manual adjustment.
- Remote Control: Full control via IR remote, IP, or RS232.
3.2 Camera Components
Familiarize yourself with the camera's physical components and connection ports.

Image: Front view of the FEELWORLD 4K10X PTZ Camera.

Image: Rear view showing RS232, USB3.0, USB IN, HDMI, LAN (POE), and DC12V ports.
4. Setup
4.1 Physical Installation
The camera supports multiple installation methods:
- Desktop Placement: Place the camera on a flat, stable surface.
- Wall Mount: Use a compatible wall mount bracket (not included) to secure the camera to a wall.
- Ceiling Mount: Use a compatible ceiling mount bracket (not included) for inverted installation. Ensure the image flip setting is adjusted in the camera's menu if mounted upside down.

Image: Various installation methods including desktop, wall, and ceiling mounts.
4.2 Connecting the Camera
Connect the camera to your devices using the appropriate ports:
- Power Connection:
- DC12V: Connect the included power adapter to the DC12V port and a power outlet.
- POE (Power over Ethernet): If your network switch supports POE, connect an Ethernet cable to the LAN port. This will provide both power and network connectivity.
- Video Output:
- HDMI: Connect an HDMI cable from the camera's HDMI port to a display or video switcher.
- USB3.0: Connect a USB 3.0 cable to a computer for video conferencing or streaming applications.
- IP (LAN): Connect an Ethernet cable to the LAN port for network streaming and control.
- Control Connections:
- RS232: Connect an RS232 cable for serial control from a dedicated controller.
- IP (LAN): Control the camera via a web browser or IP-based control software over the network.

Image: Multiple connection options for video output and control.
5. Operating Instructions
5.1 Basic Camera Control
The camera can be controlled using the included IR remote, an IP controller, or a web browser interface.
Image: IR Remote Control layout and functions.
- Pan/Tilt: Use the directional buttons on the remote or joystick on an IP controller to move the camera horizontally (pan) and vertically (tilt).
- Zoom: Use the 'ZOOM IN' and 'ZOOM OUT' buttons to adjust the optical zoom.
- Focus: The camera supports automatic (AF) and manual (MF) focus modes. Use the 'AF/MF' button to switch modes. In MF mode, use the 'FOCUS +' and 'FOCUS -' buttons to adjust focus.
- Preset Positions: Save and recall specific camera positions (pan, tilt, zoom, focus) using the preset buttons on the remote or control software.
5.2 AI Tracking
The AI tracking feature allows the camera to automatically follow a designated subject. To activate and configure AI tracking, refer to the camera's on-screen display (OSD) menu or web interface settings. Ensure the subject is clearly visible within the camera's field of view for optimal tracking performance.

Image: AI Tracking in action, showing the camera following a speaker.
5.3 Web Browser Control
To control the camera via a web browser:
- Connect the camera to your network via the LAN port.
- Find the camera's IP address (usually displayed on the OSD or discoverable via network tools).
- Open a web browser on a computer connected to the same network.
- Enter the camera's IP address into the browser's address bar.
- Log in using the default credentials (refer to the PDF manual for details).
- You can now control pan, tilt, zoom, focus, and access advanced settings through the web interface.
6. Maintenance
- Cleaning: Use a soft, dry cloth to clean the camera body. For the lens, use a specialized lens cleaning cloth and solution. Avoid harsh chemicals.
- Storage: When not in use for extended periods, store the camera in a cool, dry place, protected from dust and direct sunlight.
- Firmware Updates: Periodically check the FEELWORLD website for firmware updates to ensure your camera has the latest features and bug fixes.
7. Troubleshooting
| Problem | Possible Cause | Solution |
|---|---|---|
| No power | Power cable loose; POE not active; faulty adapter. | Check power connections; ensure POE switch is active; try a different power outlet/adapter. |
| No video output | Incorrect cable connection; wrong input selected on display; resolution mismatch. | Verify HDMI/USB/LAN connections; select correct input on display; adjust camera output resolution. |
| Remote control not working | Batteries dead; IR sensor blocked; remote out of range. | Replace batteries; ensure clear line of sight to camera's IR sensor; operate within range. |
| AI Tracking not functioning | Poor lighting; subject too far/small; tracking feature not enabled. | Ensure adequate lighting; position subject appropriately; enable AI tracking in settings. |
If the problem persists, please contact FEELWORLD customer support.
8. Specifications
| Feature | Detail |
|---|---|
| Brand Name | FEELWORLD |
| Model | 4K10X |
| Resolution | 4K |
| Optical Zoom | 10X |
| Focus Mode | Af, Mf (Auto Focus, Manual Focus) |
| Lens Type | Automatic, Fixed Focus Lens |
| Number of Diaphragm Blades | 7 Blades |
| Full Frame Support | No |
| Applicable Camera Specifications | APS-C Mirrorless Camera, APS-C DSLR Camera (Note: This refers to lens compatibility, not the camera type itself) |
| Focal Length | 85mm |
| Connectivity | HDMI, USB, IP, RS232, POE |
| Launch Date | 2025 |
| Package Dimensions (L x W x H) | 11cm x 11cm x 11cm |
| Package Weight | 2.0 kg |
9. User Tips
No specific user tips were available from provided customer reviews or Q&A. For general best practices:
- Always ensure your network connection is stable for reliable IP control and streaming.
- Experiment with different preset positions to quickly switch between common camera angles.
- For critical applications, test the AI tracking feature in your specific environment to understand its limitations and optimal performance conditions.
10. Warranty and Support
For warranty information, technical support, or service inquiries, please refer to the official FEELWORLD website or contact your authorized dealer. You can also find a detailed user manual in PDF format for further reference:
Download PDF Manual: FEELWORLD 4K10X User Manual (PDF)
If you have any product questions, please feel free to contact us at any time!


