1. Introduction
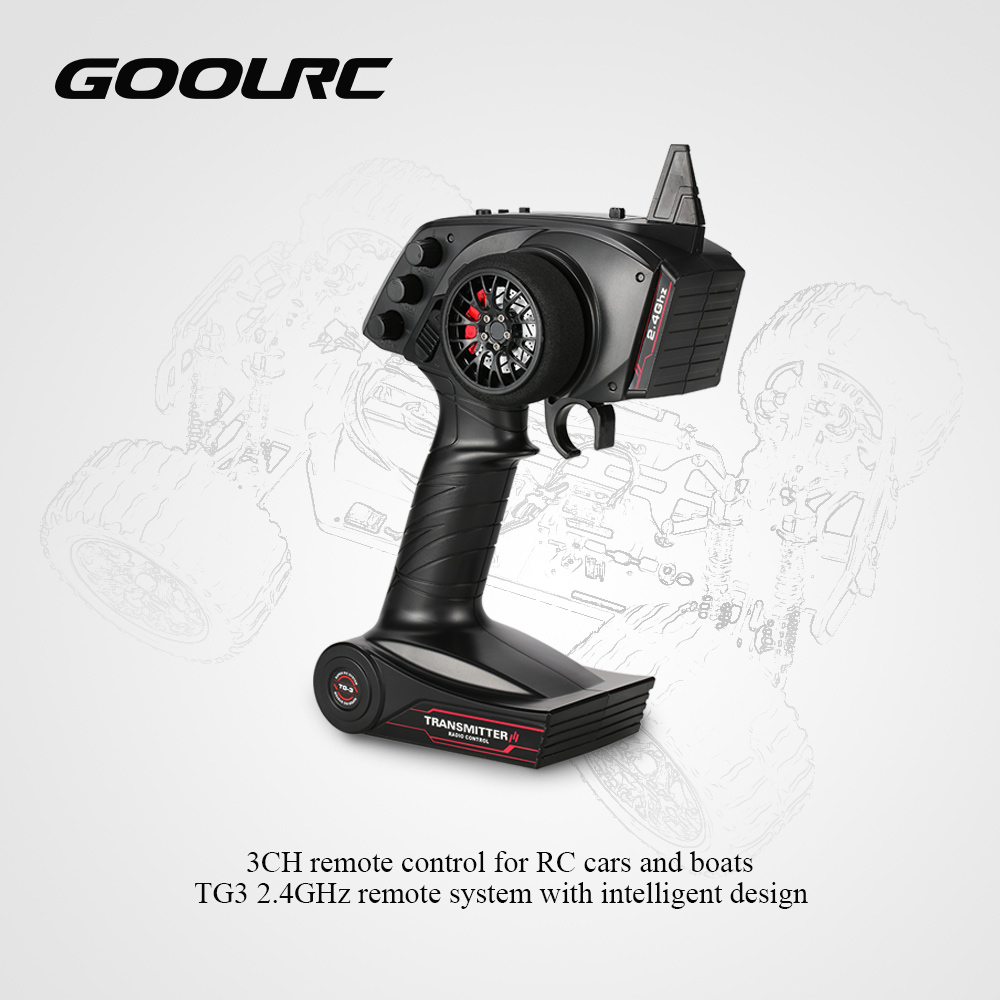
The GoolRC TG3 2.4G 3CH RC Transmitter and Receiver system is designed for remote control cars and boats. It features intelligent design, fast response speed, strong anti-interference capabilities, and low power consumption. This system supports multiple devices and users simultaneously, making it versatile for various RC applications.
The 3-channel (3CH) functionality allows for control of additional features on your RC model, such as lights or sound switches, beyond the standard steering and throttle controls.
A special speed limit function is included, which is particularly useful for beginners to control their RC car or boat within a limited speed range, enhancing safety and ease of use.
2. Setup
2.1 Package Contents
Please check the package for the following items:
- 1 x GoolRC TG3 Transmitter
- 1 x TG-3 Receiver
- 1 x Paster
- 1 x Match Line
- 1 x English Manual

2.2 Transmitter Battery Installation
The GoolRC TG3 Transmitter requires 4 x 1.5V AA batteries (not included). To install the batteries:
- Locate the battery compartment cover on the bottom of the transmitter handle.
- Slide the cover open.
- Insert four AA batteries, ensuring correct polarity (+/-) as indicated inside the compartment.
- Close the battery compartment cover securely.

2.3 Receiver Connection
Connect the TG-3 Receiver to your RC car or boat's electronic speed controller (ESC) and steering servo. The receiver has dedicated ports for each channel:
- CH1: Steering Servo
- CH2: Electronic Speed Controller (ESC) / Throttle
- CH3: Auxiliary Channel (e.g., lights, sound module)
- BIND/CH4: Used for binding and can serve as a 4th channel if supported by your ESC/servo.
- VCC: Power input (4.0 - 6.5V DC)
Ensure all connections are secure and correctly oriented according to your RC model's instructions.

2.4 Binding Procedure
To establish communication between the transmitter and receiver, they must be bound:
- Ensure the transmitter batteries are installed and the transmitter is OFF.
- Connect the 'Match Line' (binding plug) to the BIND/CH4 port on the receiver.
- Power on your RC model (which powers the receiver). The receiver's LED should flash rapidly.
- While holding down the 'BIND' button on the transmitter, turn on the transmitter.
- The receiver's LED should turn solid, indicating a successful bind.
- Release the 'BIND' button on the transmitter.
- Turn off the RC model and then the transmitter.
- Remove the 'Match Line' from the receiver.
- Power on the transmitter first, then the RC model. The system should now be connected.

3. Operating Instructions
3.1 Transmitter Controls Overview
Familiarize yourself with the various controls on your GoolRC TG3 Transmitter:

- Power On/Off: Main power switch for the transmitter.
- Steering Trim Dial: Adjusts the neutral position of the steering.
- Throttle Trim Dial: Adjusts the neutral position of the throttle.
- Turn Steering Rate: Controls the maximum steering angle.
- Reverse Switch Throttle: Reverses the throttle channel's direction.
- Reverse Switch Steering: Reverses the steering channel's direction.
- Throttle Limit Switch (L/M/H): Sets the maximum throttle output (Low, Medium, High) for speed control.
- Bind Button: Used for pairing the transmitter with a receiver.
3.2 Basic Operation
- Turn on the transmitter first, then power on your RC model.
- Use the steering wheel to control the direction (Turn Left/Turn Right).
- Use the throttle trigger to control speed and movement (Go Forward/Go Backward).
- Adjust trim dials as needed to ensure the model tracks straight and stops at neutral.
- Utilize the 3rd channel for any auxiliary functions connected to your model.
- Always turn off your RC model first, then the transmitter, after use.
3.3 Throttle Limit Function
The throttle limit switch (L/M/H) allows you to set the maximum throttle output. This is particularly useful for:
- Beginners: Start with 'L' (Low) to learn control without excessive speed.
- Indoor Use: Reduce speed for safer operation in confined spaces.
- Specific Conditions: Adjust speed based on terrain or water conditions.
Simply slide the switch to your desired limit (L, M, or H) before operating your model.
4. Maintenance
- Battery Care: Replace AA batteries when the low voltage warning (less than 4V) is indicated. Remove batteries if the transmitter will not be used for an extended period to prevent leakage.
- Cleaning: Use a soft, dry cloth to clean the transmitter and receiver. Avoid using harsh chemicals or solvents.
- Storage: Store the transmitter and receiver in a cool, dry place away from direct sunlight and extreme temperatures.
- Antenna: The transmitter features a built-in antenna. Avoid obstructing it during operation for optimal signal strength.
5. Troubleshooting
| Problem | Possible Cause | Solution |
|---|---|---|
| No power to transmitter | Dead or incorrectly installed batteries. | Check battery polarity; replace with fresh AA batteries. |
| RC model unresponsive | Not bound, receiver not powered, or incorrect connections. | Perform binding procedure again. Check receiver power and all cable connections. |
| Erratic control or interference | Other 2.4GHz devices nearby, or range exceeded. | Move to an area with less interference. Ensure you are within the operational range. The TG3 system has strong anti-interference ability, but extreme conditions can still affect it. |
| Steering/Throttle reversed | Reverse switches are incorrectly set. | Adjust the Steering Reverse Switch or Throttle Reverse Switch on the transmitter. |
6. Specifications
6.1 Transmitter Specifications
| Feature | Specification |
|---|---|
| Brand | GoolRC |
| Model Name | TG3 |
| Channels | 3CH |
| Remote Control Frequency | 2.4GHz |
| Color | Black |
| Material | Plastic |
| Mode Type | RC Car/Boat |
| RF Range | Less than 20dbm |
| Low Voltage Warning | Yes (less than 4V) |
| Power Supply | 4 * 1.5V AA Battery (not included) |
| Transmitter Size | 225 * 135 * 75mm (approximate) |
| Transmitter Weight | 285g |
6.2 Receiver Specifications
| Feature | Specification |
|---|---|
| Channels | 3CH |
| Model Name | TG-3 |
| Mode Type | RC Car / Boat |
| Frequency | 2.4GHz |
| Power | 4.0 - 6.5V DC |
| Receiver Size | 30 * 18 * 13mm (approximate) |
| Receiver Weight | 4g |
| Compatibility | Suitable for GoolRC 2.4G 3CH Transmitter |
6.3 Package Information
| Feature | Specification |
|---|---|
| Package Size | 26 * 17.5 * 9.5cm / 10.2 * 6.9 * 3.7in |
| Package Weight | 455g / 1.00lb |
7. User Tips
- Multi-Device Use: The GoolRC TG3 system is designed to support multiple devices and users simultaneously. If you have multiple RC models with their own TG-3 receivers, you can operate them in the same area without frequency conflicts, provided each transmitter is bound to its respective receiver.
- Beginner-Friendly Throttle: Make good use of the throttle limit switch (L/M/H) when starting out. Setting it to 'L' can prevent accidental high speeds and make learning to control your RC model much easier and safer.
- Check Compatibility: While the system is versatile, always ensure your RC model's components (ESC, servos) are compatible with a 2.4GHz 3-channel receiver and the specified power requirements (4.0 - 6.5V DC for the receiver).
8. Warranty and Support
For any technical assistance, troubleshooting beyond this manual, or warranty inquiries, please contact the manufacturer or your point of purchase. Keep your purchase receipt as proof of purchase.