1. Introduction
The VEVOR GFK160 Digital Control Liquid Filling Machine is an advanced device designed for precise and efficient filling of various low-viscosity liquids. Utilizing a micro-computer, it accurately controls the mini-pump's filling time and rotation rate, ensuring fluent and highly accurate liquid dispensing. This machine features a self-priming pump capable of drawing liquid from your container and dispensing it through the nozzle. It is ideal for a wide range of clear, thin liquids such as water, olive oil, beverages, vinegar, and milk.
Important Note:
- This machine is suitable for low viscosity fluids and particle-free liquids.
- It is NOT applicable for corrosive liquids or highly viscous liquids.
- Different fluids may require different tube materials. The included tube is made of silicone.

2. Safety Instructions
- Always ensure the machine is placed on a stable, level surface before operation.
- Do not operate the machine with wet hands or in wet environments to prevent electrical shock.
- Verify that the power supply matches the machine's voltage requirements (AC110V-140V / 60 Hz).
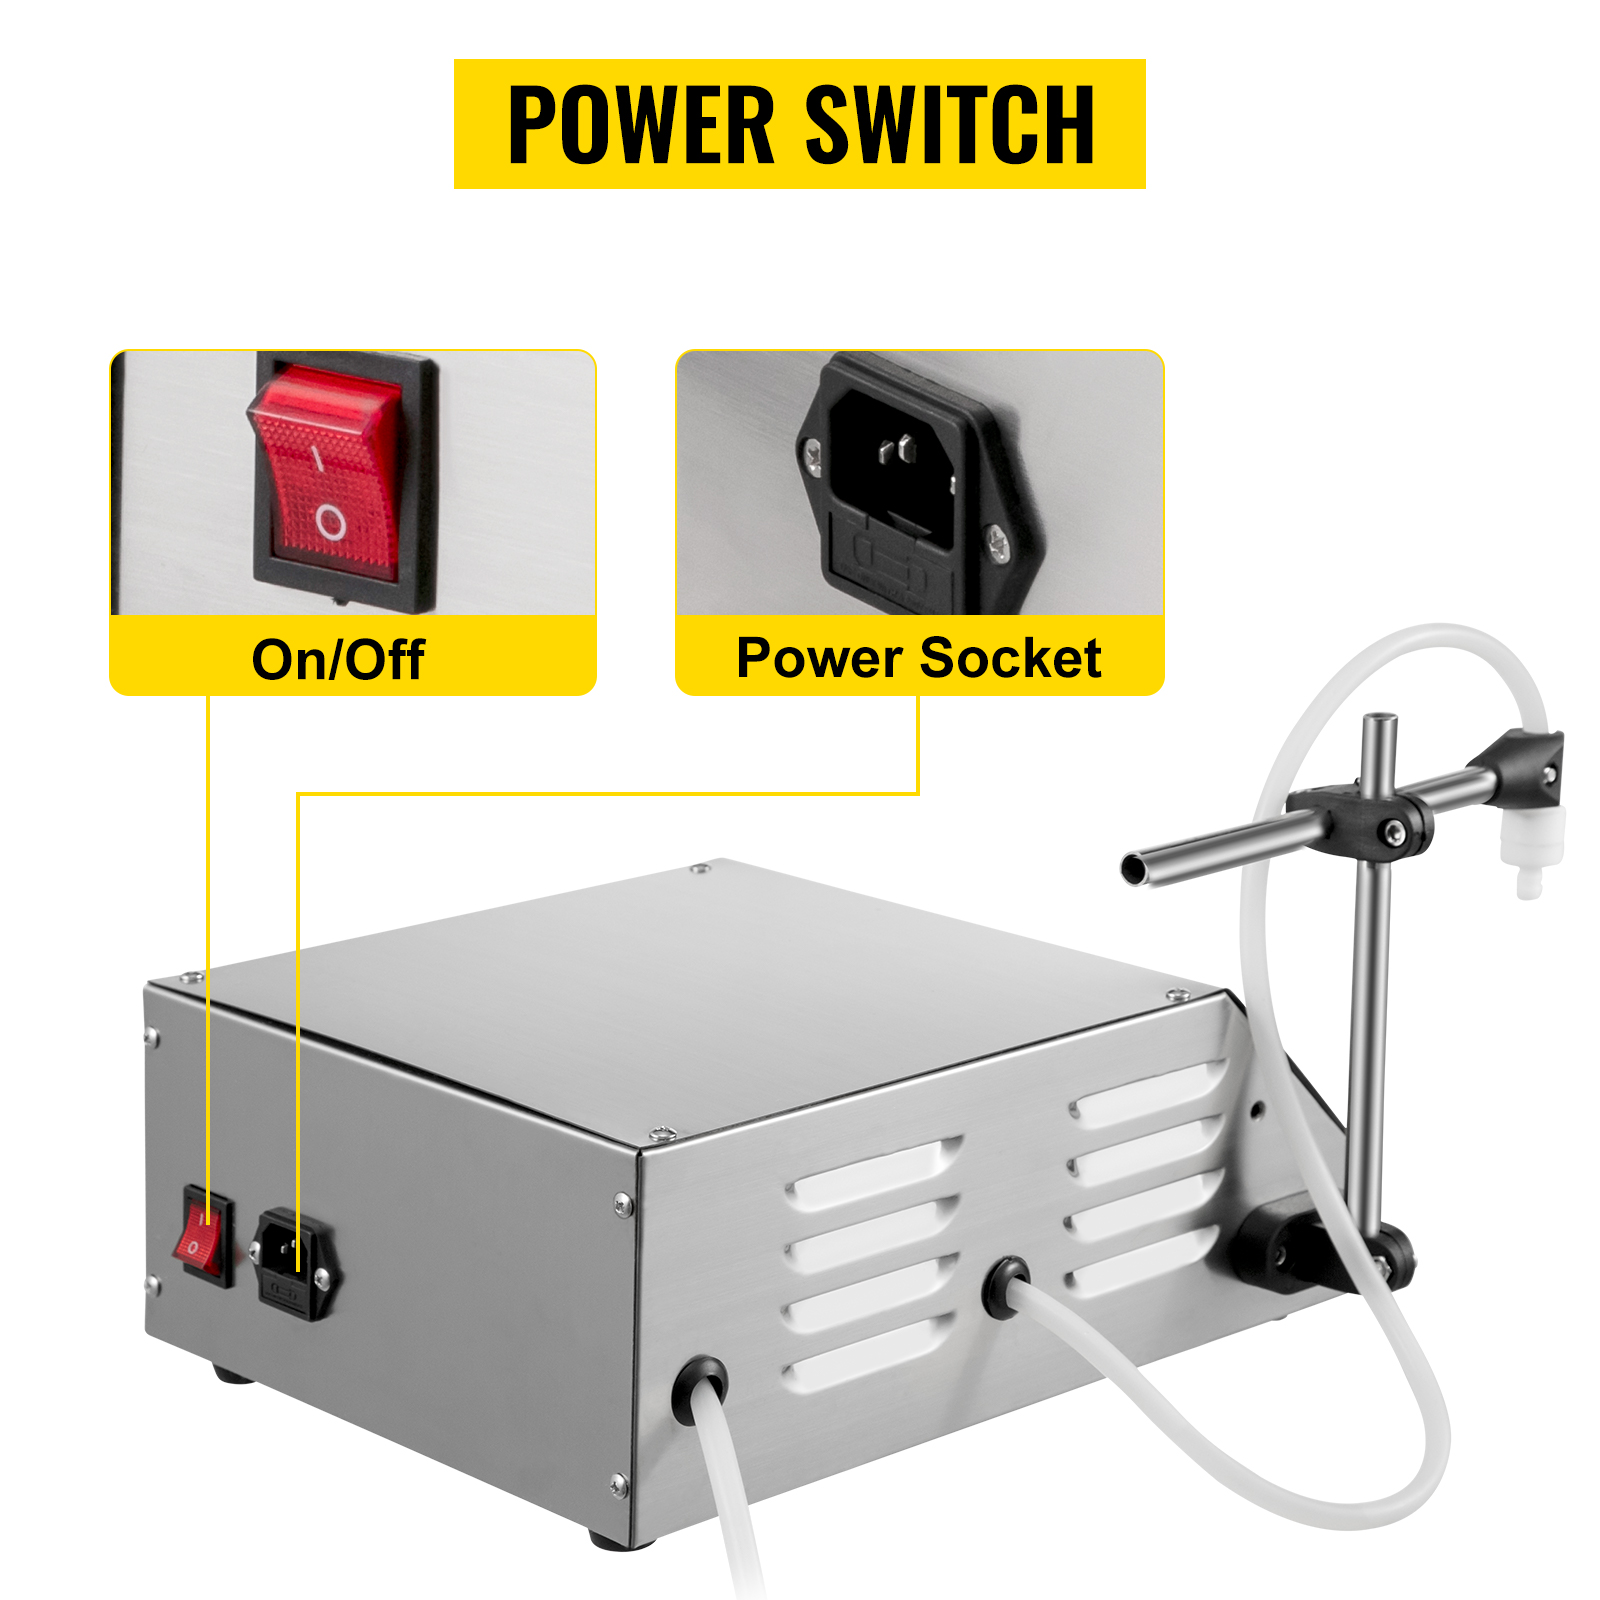
- The built-in power switch serves as an emergency stop function. Familiarize yourself with its location.
- Ensure all connections, especially hoses and the foot pedal, are secure before use.
- Do not attempt to fill corrosive or highly viscous liquids, as this can damage the pump and tubing.
- Keep the air vents clear to ensure proper heat dissipation and prevent overheating.
- In case of any malfunction, immediately turn off the power switch and disconnect the machine from the power source.
3. Product Overview and Components
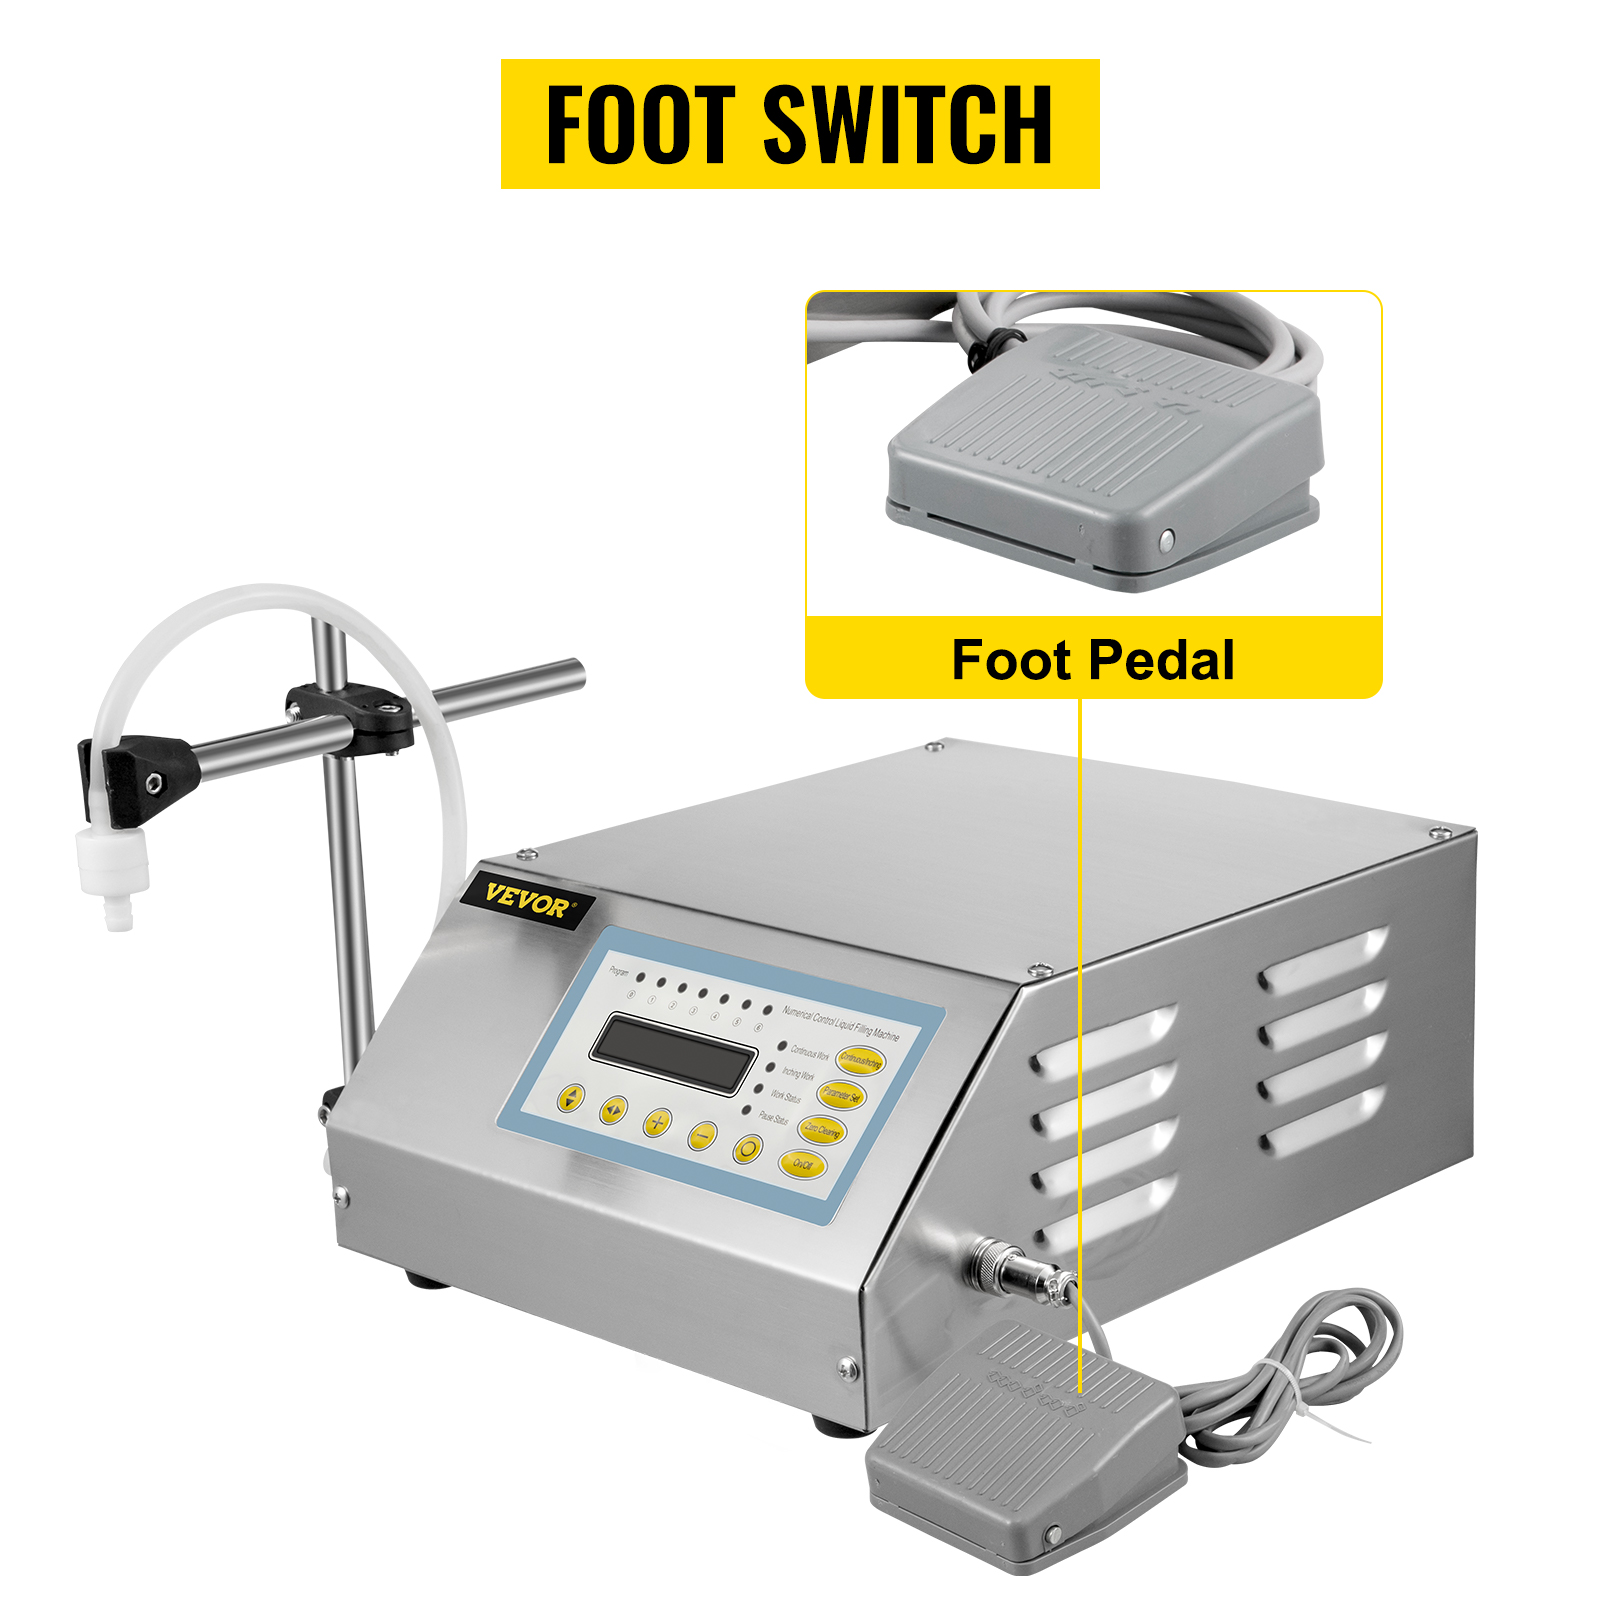
The VEVOR GFK160 Liquid Filling Machine consists of the main control unit, a filling nozzle assembly, hoses, a filter mesh, and a foot pedal for manual control.

Key Features:
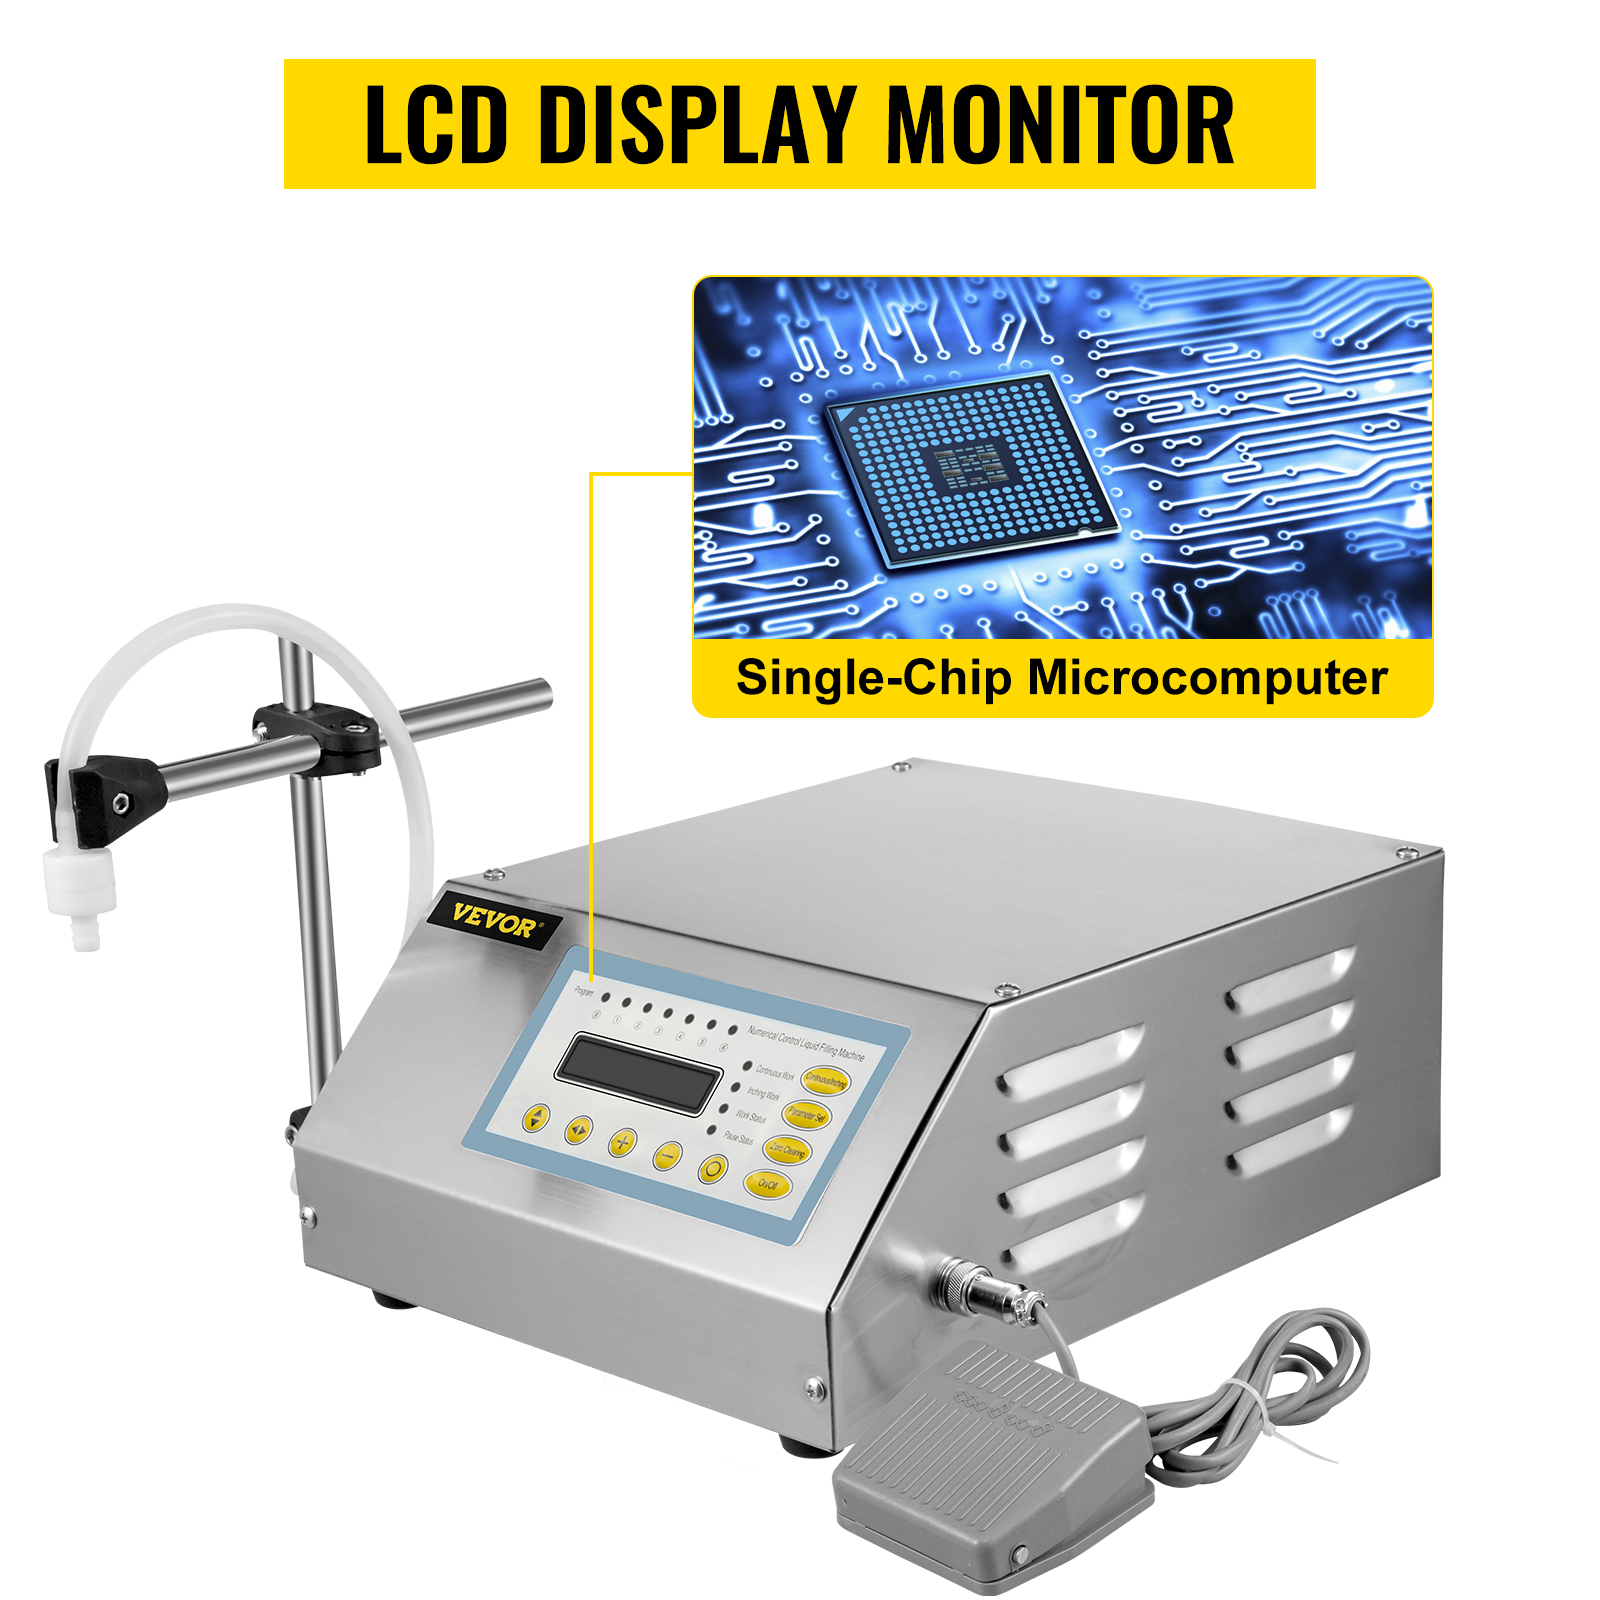
- Digital Control & Microcomputer: The machine is controlled by a single-chip microcomputer, ensuring high precision and automatic counting. The LED display allows for easy adjustment of filling volume and speed.
- Durable Pump: Equipped with a robust pump, it ensures efficient filling with a maximum flow rate of 0.8 gal/min (3.2 L/min).
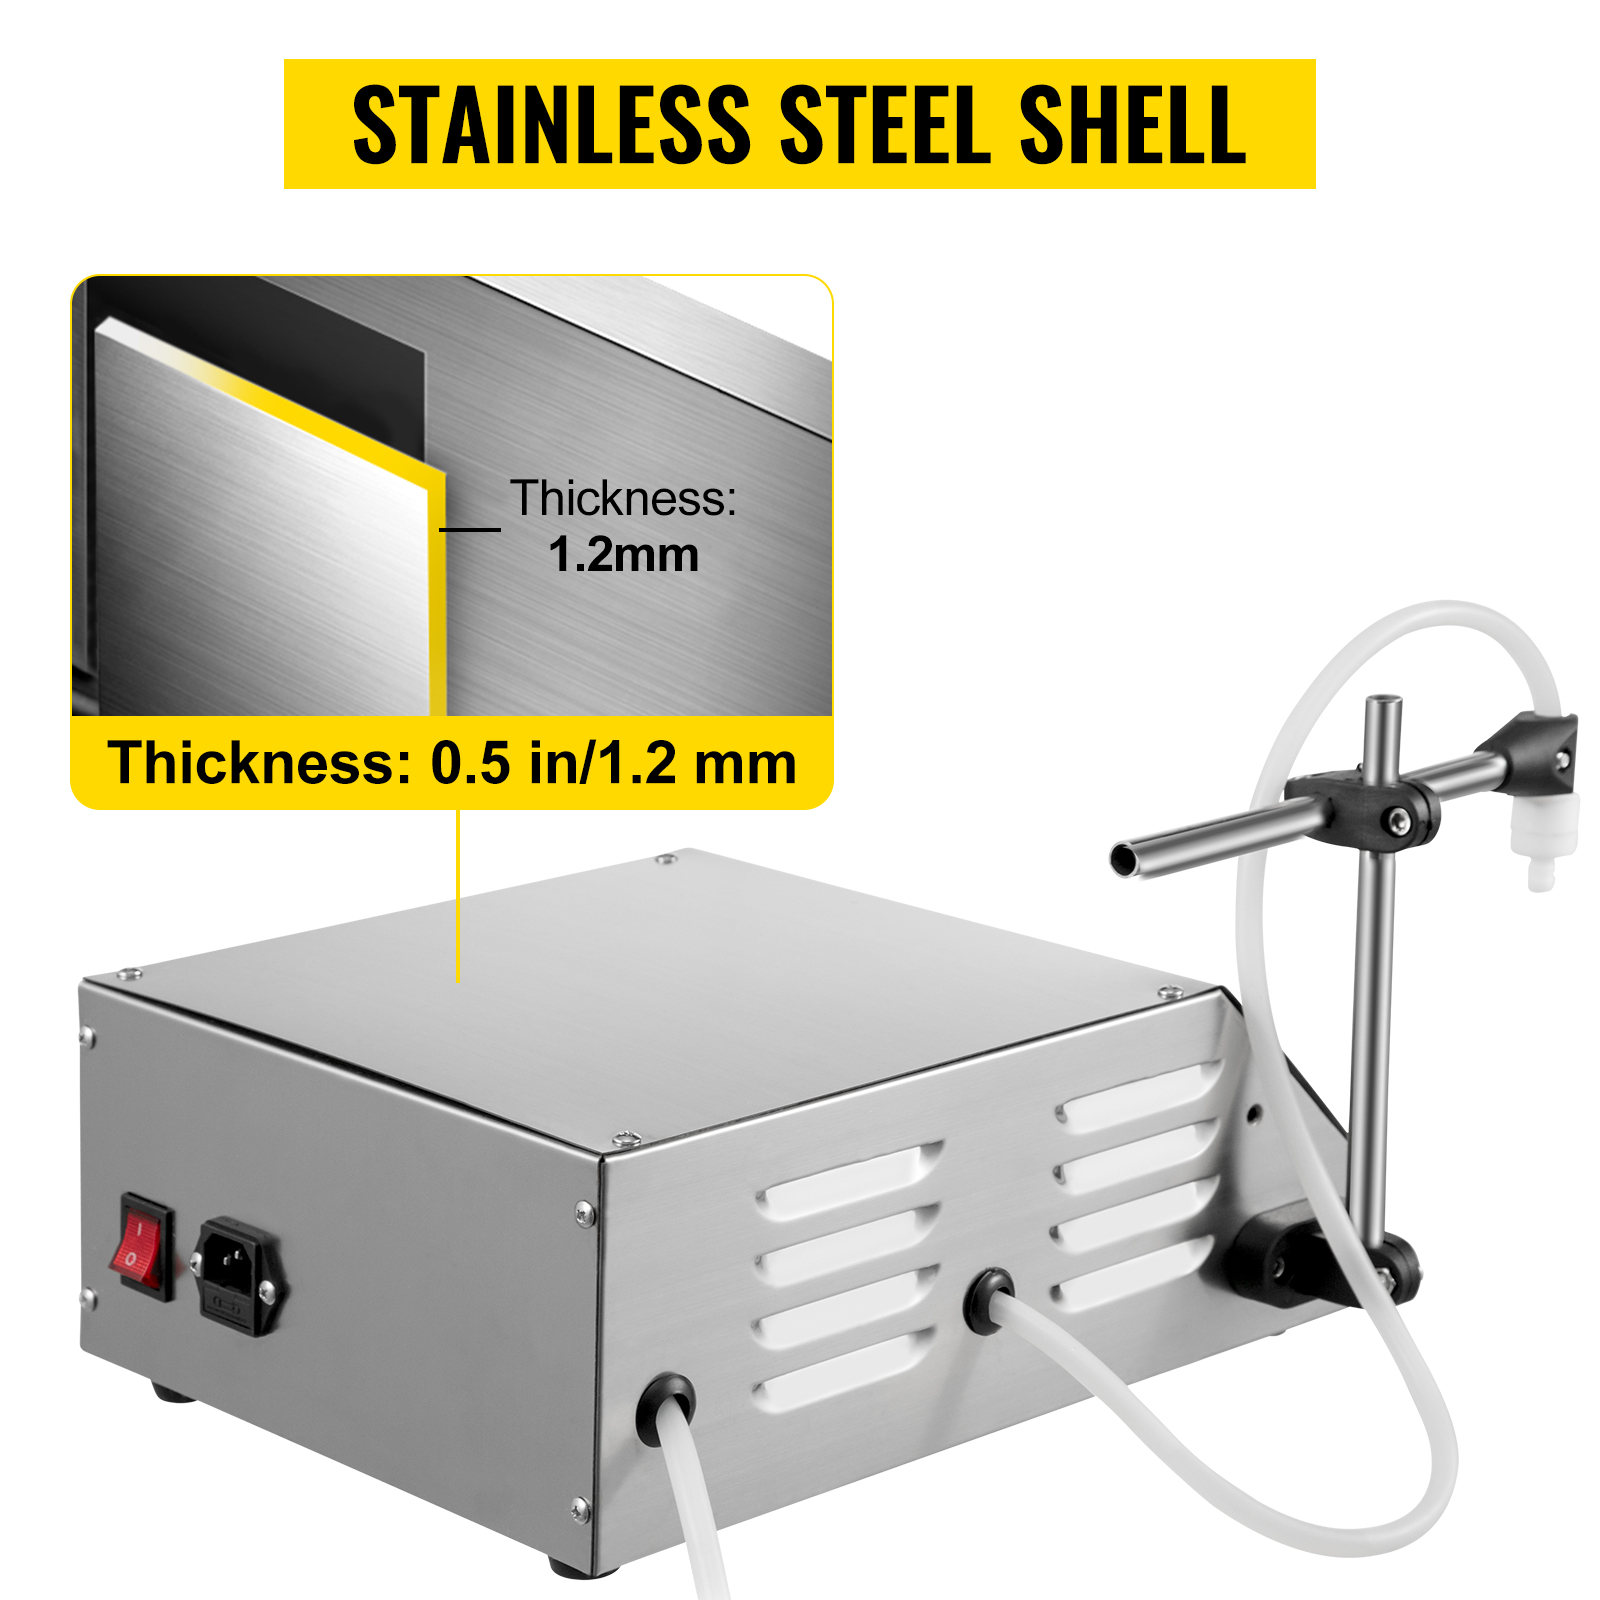
- Stainless Steel Structure: All parts in contact with the product are made of food-grade 304 stainless steel (1.2mm thickness), providing excellent resistance to corrosion, acid, and alkali, ensuring hygiene and longevity.
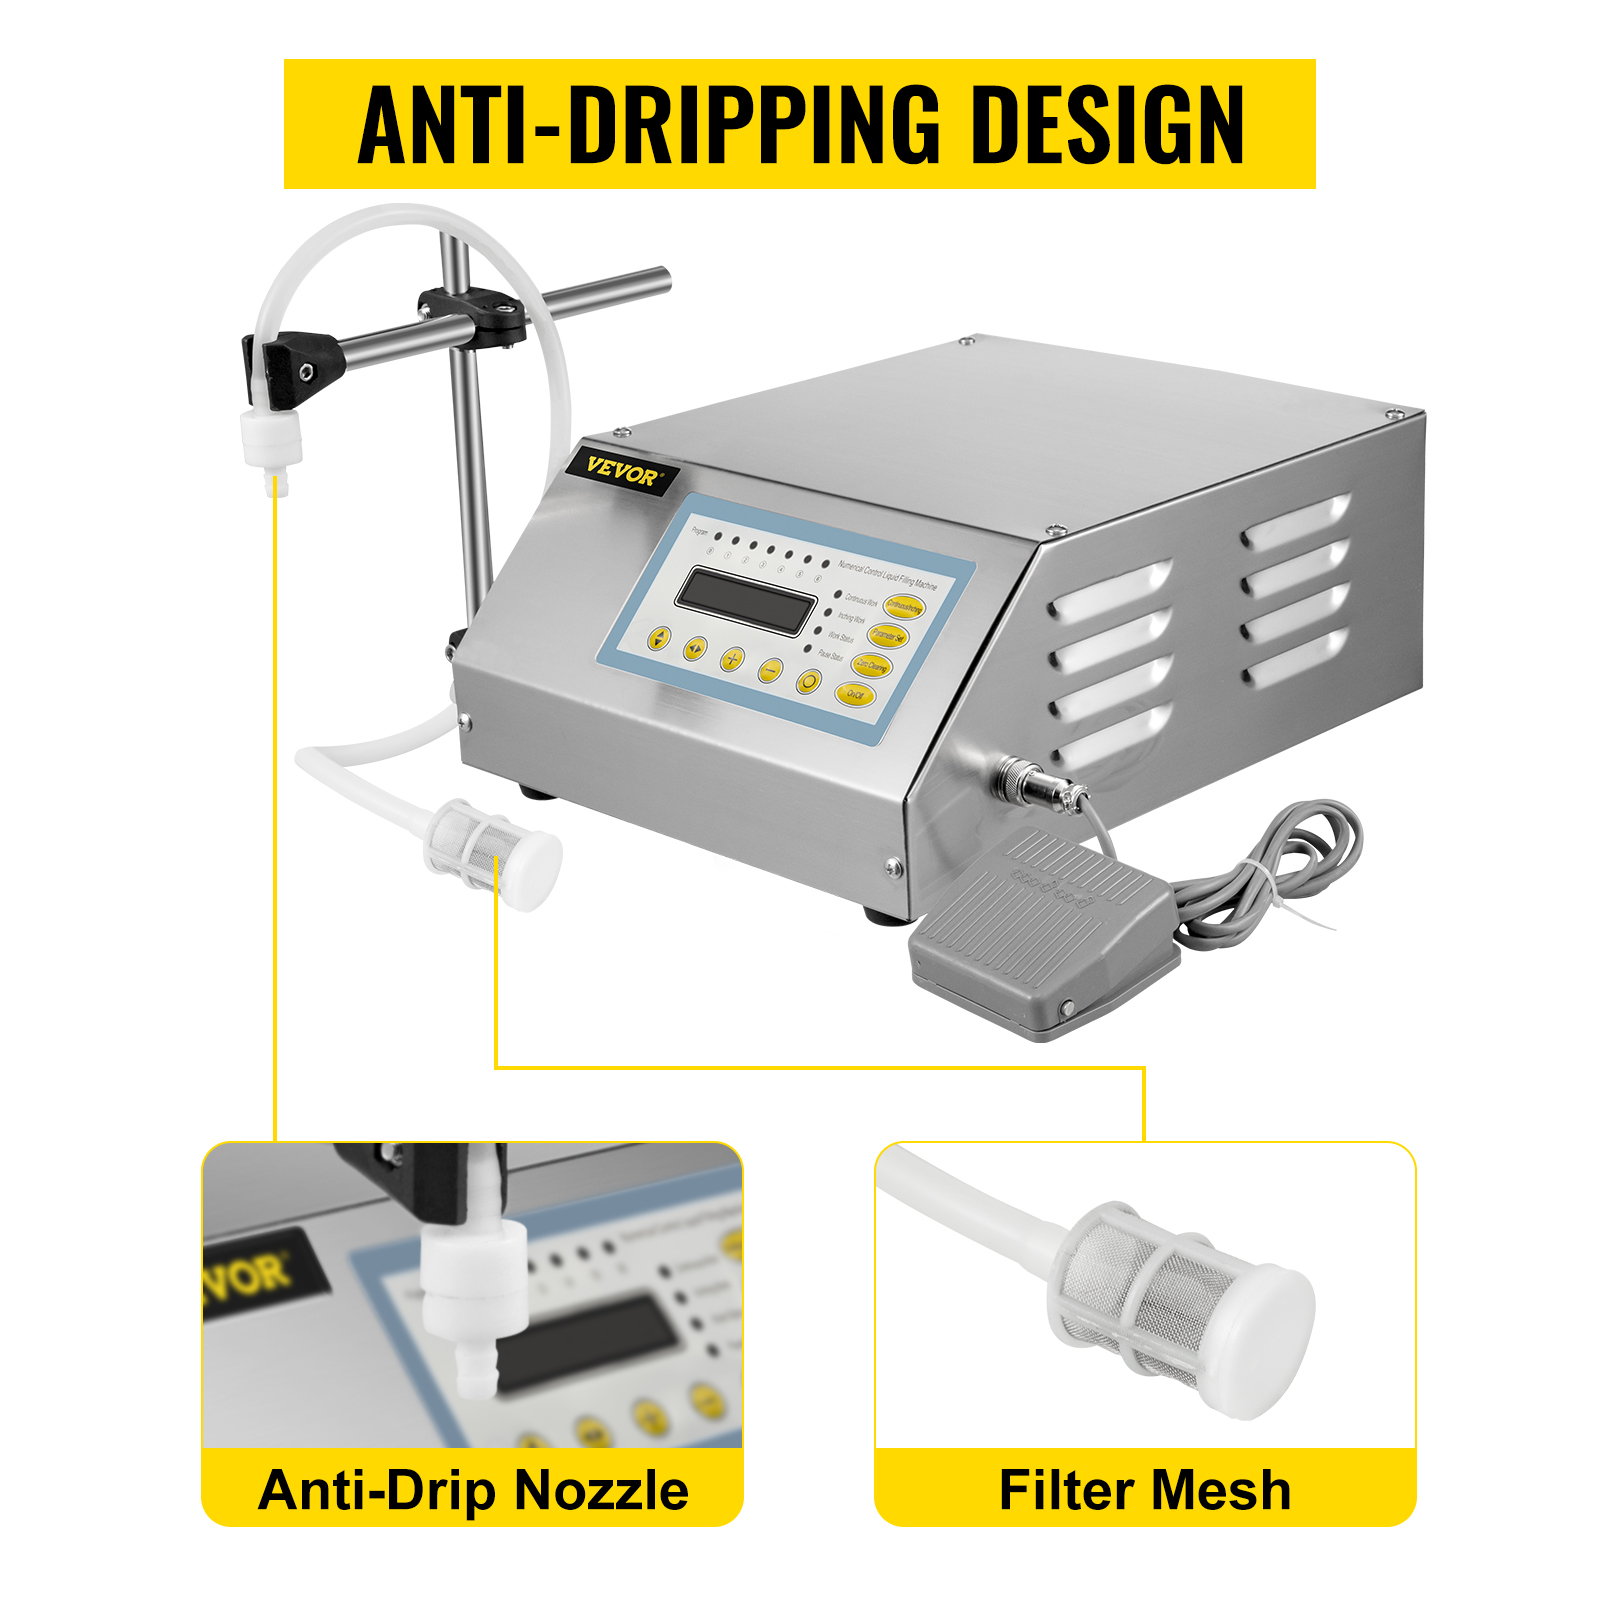
- Anti-Drip Nozzle: Features a dual anti-dripping design for high filling accuracy, preventing leakage and minimizing liquid waste.
- Filter Mesh: An integrated filter mesh at the water inlet prevents impurities from entering the system, ensuring smooth operation and liquid purity.
- Security Design: Includes a secure power switch and air vents for quick heat dissipation, ensuring stable and long-term performance.
- Dual Control Modes: Offers both automatic (digital control) and manual (foot pedal) operation modes for versatile use.
4. Specifications
| Attribute | Value |
|---|---|
| Model | GFK-160 |
| Voltage | AC110V-140V / 60 Hz |
| Power | 30W |
| Max. Flow Rate | 0.8 gal/min / 3.2 L/min |
| Max. Suck Distance | 6.6 ft / 2 m |
| Repeat Error | < 0.5% |
| Filling Volume | 0.18-123.2 oz / 5-3500 ml |
| Filling Speed | 5-30 bottles/min |
| Nozzle Diameter | 0.31 in / 8 mm |
| Anti-Dripping Function | Available |
| Memory Function out of Power | Available |
| Suitable Soft Tube | 17#(interior diameter: 6.4 mm, thickness: 1.6 mm, max pressure: 0.24Mp) |
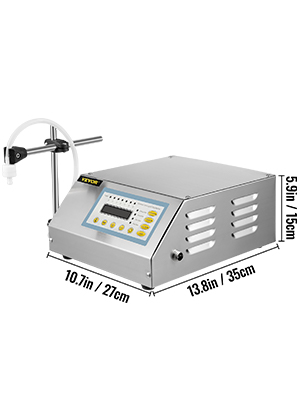
| Product Size (L x W x H) | 13.8 x 10.7 x 5.9 in / 35 x 27 x 15 cm |
| Net Weight | 12.1 lbs / 5.5 kg |
5. Setup
Before operating your VEVOR GFK160 Liquid Filling Machine, please follow these setup steps:
- Unpacking: Carefully remove all components from the packaging. You may notice some stains on the machine; this is often caused by the protective film melting during processing. Simply peel off the film to reveal the pristine machine.
- Positioning: Place the main unit on a stable, flat, and dry surface. Ensure there is adequate space around the machine for ventilation and operation.
- Nozzle Assembly: Attach the filling nozzle to its stand and secure it. Adjust the height of the nozzle to match the height of your bottles or containers.
- Hose Connections:
- Connect one end of the silicone input hose to the inlet port on the machine and place the filter mesh end into your liquid supply container.
- Connect one end of the silicone output hose to the outlet port on the machine and attach the anti-drip nozzle to the other end.
- Foot Pedal Connection: Plug the foot pedal cable into the designated port on the main unit.
- Power Connection: Ensure the power switch is in the 'OFF' position. Connect the power cord to the machine's power socket and then to a grounded electrical outlet (AC110V-140V / 60 Hz).
6. Operation
The GFK160 offers both automatic and manual control modes for flexible operation.
6.1. Control Panel Overview

The LED display monitor allows you to adjust and monitor filling parameters. Filling volume is determined by a combination of speed control and time control.
6.2. Setting Filling Parameters
- Turn on the machine using the power switch.
- Use the control panel buttons to navigate through the settings.
- Adjust the desired filling volume (0.18-123.2 oz / 5-3500 ml) and filling speed (5-30 bottles/min) using the appropriate controls. The microcomputer ensures a repetitive error of less than 0.5% and a time accuracy of 0.1 second.
- Perform a test fill to fine-tune the settings for your specific liquid and container.
6.3. Operating Modes
Automatic Mode (Digital Control)
In automatic mode, the machine will continuously fill bottles based on the programmed settings. This mode is ideal for high-volume production.
- Set your desired filling volume and speed on the control panel.
- Select the 'Continuous Work' or 'Auto Mode' option on the control panel.
- Place bottles under the nozzle sequentially. The machine will automatically dispense the set volume into each bottle.
Manual Mode (Foot Pedal)
Manual mode provides precise control for individual fills, suitable for smaller batches or specific applications.
- Set your desired filling volume and speed on the control panel.
- Select the 'Inching Work' or 'Manual Mode' option.
- Place a bottle under the nozzle.
- Press the foot pedal once to initiate a single discharge. Release the pedal when the desired fill is achieved or the programmed volume is dispensed.
7. Maintenance
Regular cleaning and maintenance will ensure the longevity and optimal performance of your filling machine.
- Daily Cleaning: After each use, especially when changing liquids, flush the system with clean water. Run clean water through the input hose, pump, and nozzle until all traces of the previous liquid are removed.
- Filter Mesh Cleaning: Periodically inspect and clean the filter mesh at the end of the input hose. Remove any accumulated debris to ensure smooth liquid intake and prevent blockages.
- Nozzle Cleaning: Disassemble the anti-drip nozzle and clean it thoroughly to prevent residue buildup, which could affect filling accuracy or cause dripping.
- Exterior Cleaning: Wipe down the stainless steel exterior with a damp cloth. Avoid using abrasive cleaners or solvents that could damage the surface.
- Storage: When not in use for extended periods, ensure the machine is clean and dry. Store it in a cool, dry place away from direct sunlight and extreme temperatures.
8. Troubleshooting
This section addresses common issues you might encounter with your liquid filling machine.
- Machine Not Turning On:
Check if the power cord is securely plugged into both the machine and the electrical outlet. Ensure the power switch is in the 'ON' position. Verify the power outlet is functional. - No Liquid Dispensing:
Check if the input hose is properly submerged in the liquid supply. Inspect the filter mesh for blockages and clean if necessary. Ensure the pump is primed (if applicable, run a small amount of liquid to remove air). Verify that the filling parameters are correctly set on the control panel. - Inaccurate Filling Volume:
Recalibrate the filling volume and speed settings on the control panel. Ensure the liquid supply is consistent and free of air bubbles. Check for any leaks in the hoses or nozzle assembly. - Liquid Dripping from Nozzle:
Ensure the anti-drip nozzle is clean and properly assembled. Check if the nozzle is worn and needs replacement. Adjust the 'Time Control' setting to ensure the pump stops precisely. - Unusual Noise from Pump:
This could indicate air in the system; try priming the pump. If the noise persists, ensure the liquid being filled is not too viscous for the pump. Contact support if the noise is excessive or accompanied by other malfunctions.
9. User Tips
- Test with Water: Before filling your actual product, always perform a test run with water to calibrate settings and ensure proper operation.
- Consistent Liquid Level: Maintain a consistent liquid level in your supply container to help ensure uniform filling accuracy.
- Regular Cleaning: Establish a routine for cleaning the machine, especially the hoses, filter, and nozzle, to prevent cross-contamination and maintain performance.
- Optimize Speed: Start with a lower filling speed and gradually increase it to find the optimal balance between speed and accuracy for your specific liquid.
- Foot Pedal Efficiency: For manual operation, practice using the foot pedal to achieve a smooth and consistent filling rhythm.
10. Warranty & Support
For warranty information, technical support, or service inquiries, please refer to the documentation provided at the time of purchase or contact your VEVOR retailer or the official VEVOR customer service channels. Ensure you have your product model (GFK160) and purchase details available when contacting support.


