
1. Product Overview
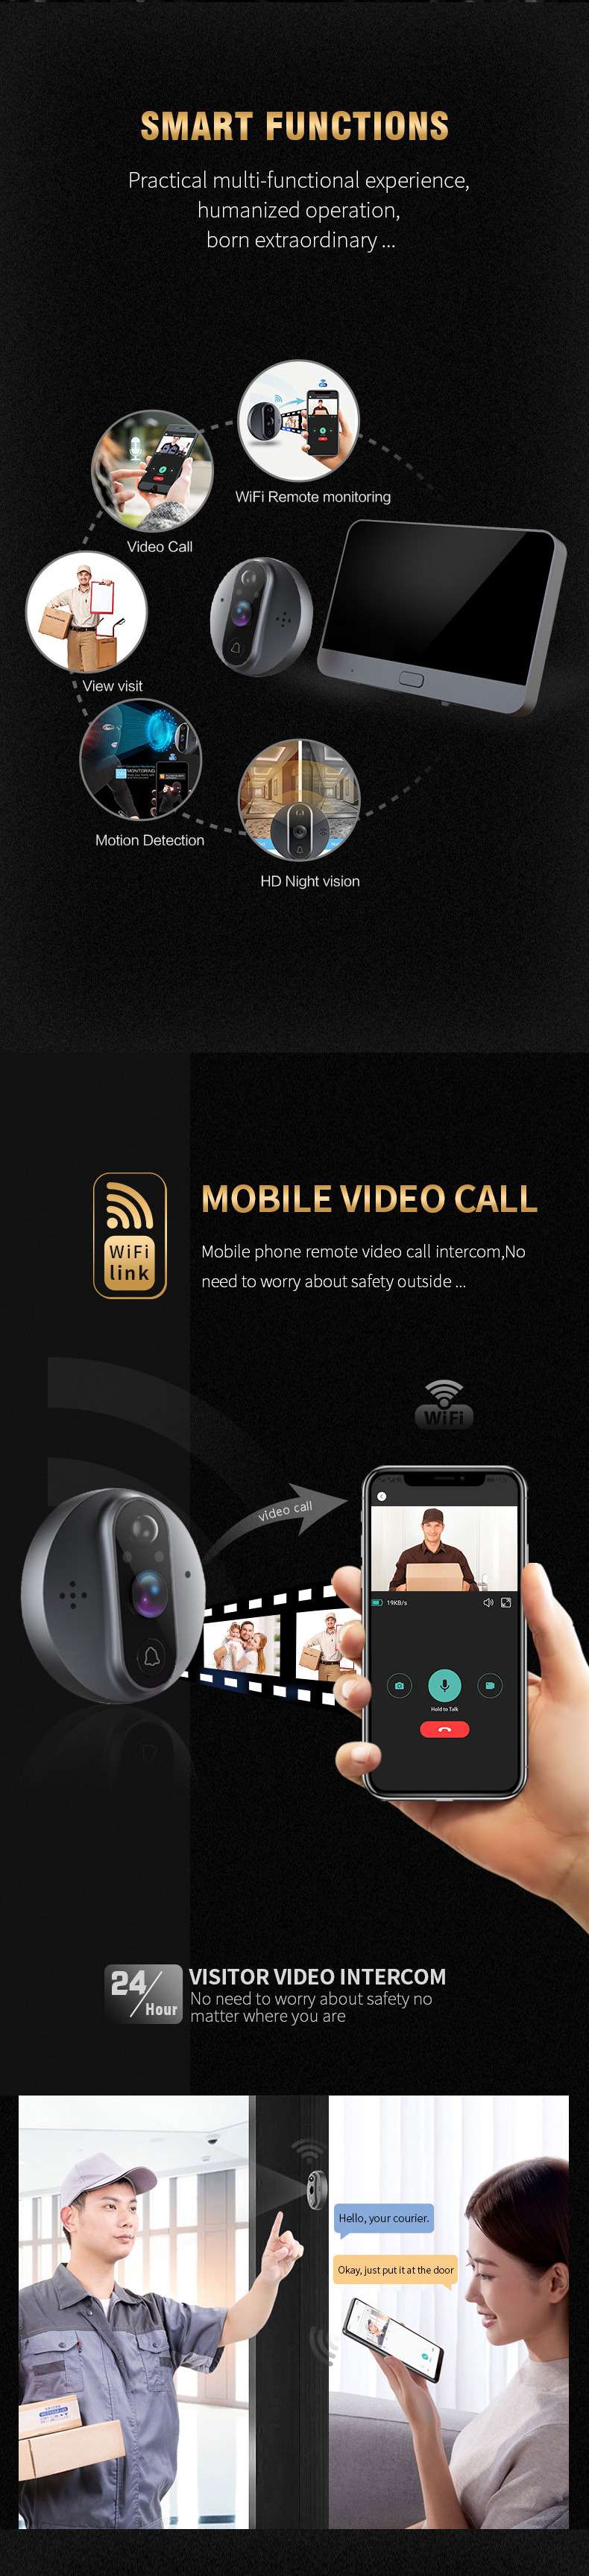
The Tuya Smart WiFi Video Doorbell R9 is a comprehensive home security solution featuring a 1080P camera, PIR motion detection, two-way audio, and smart integration capabilities. It allows you to monitor your doorstep, communicate with visitors, and receive alerts directly on your smartphone.


- Light Sensor: Detects ambient light for automatic day/night mode switching.
- Camera: Captures 1080P video footage.
- Microphone: For two-way audio communication.
- Bell Button: Activates the doorbell chime and alerts.
- Reset Button: Used for device reset and pairing.
- Charging Port: Micro USB port for charging the internal battery.
- TF Card Slot: For local storage using a Micro SD card.
- Power Switch: To turn the device on or off.
2. Package Contents
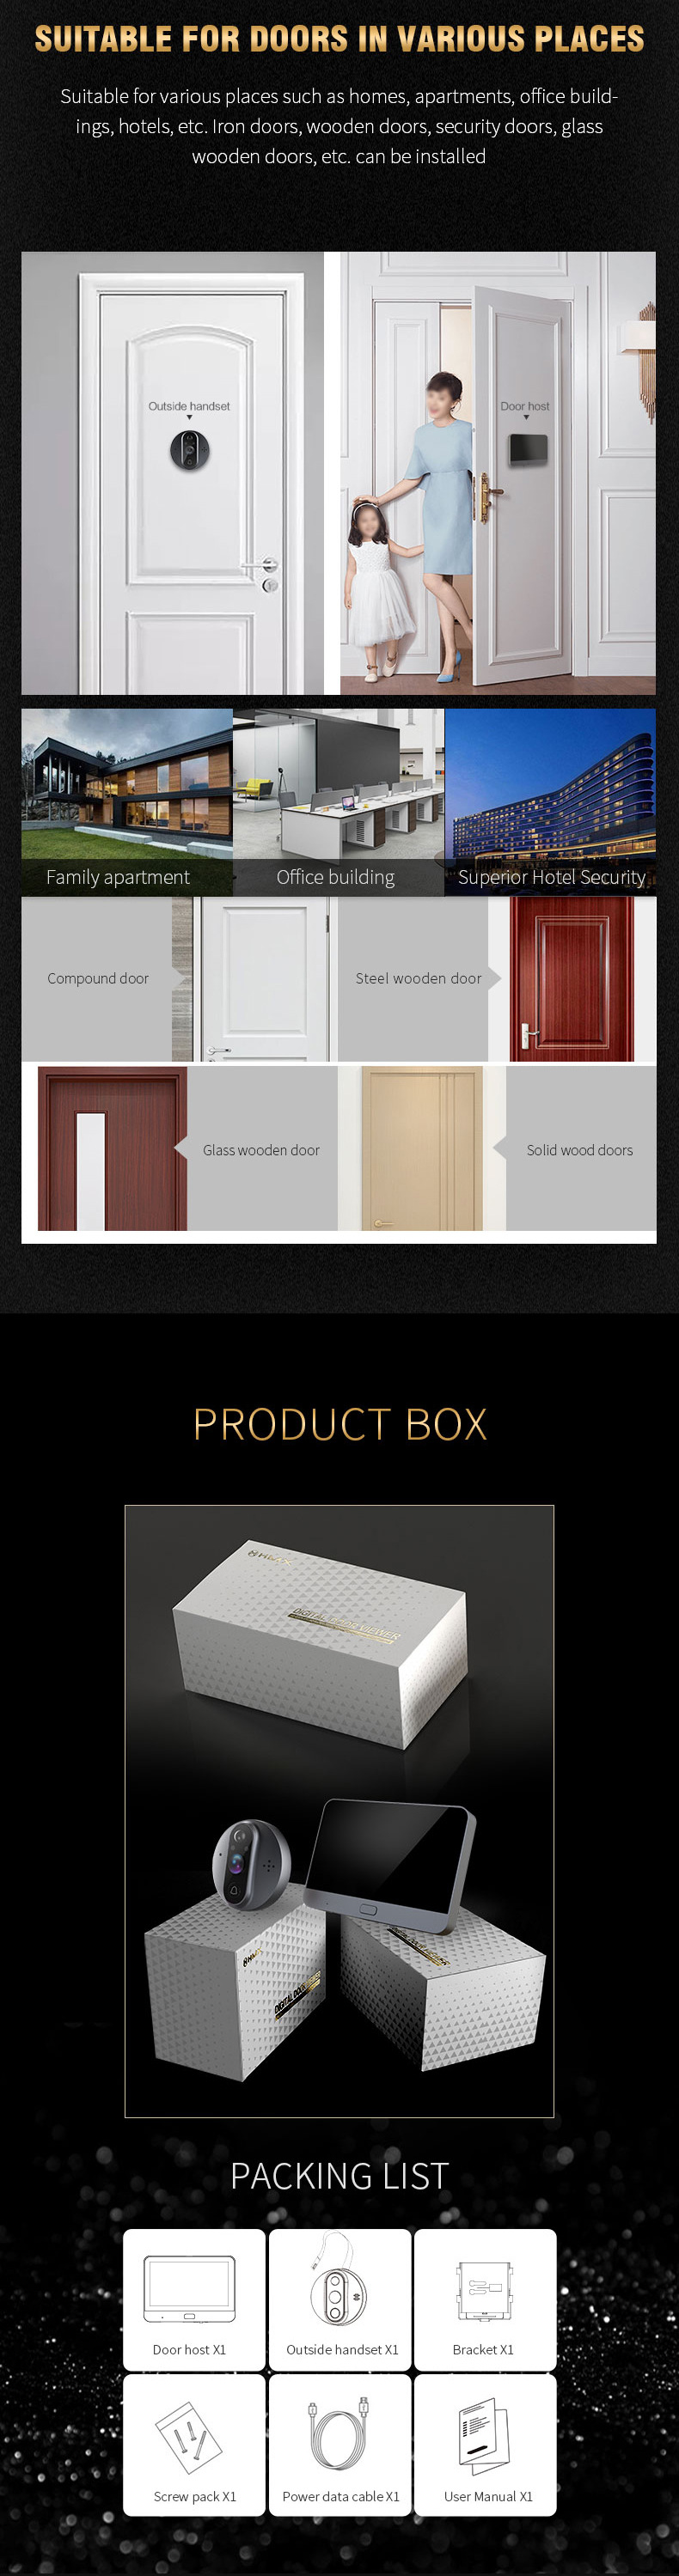
Please check the package contents upon unboxing to ensure all items are present:
- Doorbell (Indoor Unit) x1
- Outdoor Unit (Camera) x1
- Mounting Bracket x1
- Screw Pack x2 (includes various lengths)
- Power Cable (Micro USB) x1
- User Manual x1
3. Installation Guide
Follow these steps to install your video doorbell. Ensure your door thickness is between 4cm and 12cm.
3.1 Hardware Installation
- Select the appropriate screw length from the provided screw pack based on your door's thickness.
- Screw the chosen screw into the back of the outdoor camera unit.
- Carefully peel off the adhesive tape from the back of the outdoor camera unit.
- Pass the camera's cable through the existing peephole in your door.
- From the inside of the door, pass the cable through the mounting steel plate.
- Securely tighten the screw to the steel plate, ensuring the outdoor unit is flush against the door.
- Open the cable cover on the indoor display unit, insert the camera cable, and then close the cover.
- Attach the indoor display unit to the steel plate, ensuring it clicks into place.
- Locate the power switch at the bottom of the indoor display unit and slide it to the left to turn the device on.
3.2 App Pairing and Setup
After hardware installation, proceed with connecting the doorbell to your smartphone via the Tuya App.
- Scan the QR code provided in the physical user manual (or search for "Tuya Smart" in your app store) to download and install the Tuya App on your smartphone.
- Open the Tuya App and follow the on-screen instructions to create an account or log in.
- On the indoor display unit, long-press the main button for approximately 5 seconds until you hear a voice prompt indicating pairing mode.
- In the Tuya App, proceed to the next step and enter your 2.4GHz WiFi network password.
- The app will generate a QR code. Point your smartphone's screen with the QR code towards the outdoor camera unit until you hear a confirmation sound, indicating successful pairing.
- Once pairing is complete, your smartphone can be used for remote calls, taking photos, and recording videos from the doorbell.
4. Operating Instructions
The Tuya Smart WiFi Video Doorbell offers various features for enhanced home security and convenience.
4.1 Live View and Two-Way Intercom
- When a visitor presses the doorbell button, you will receive a notification on your smartphone via the Tuya App.
- You can answer the call from anywhere and engage in two-way audio communication with the visitor.
- The 4.3-inch HD screen on the indoor unit also provides a live view of who is at your door.

4.2 PIR Motion Detection
- The doorbell is equipped with Passive Infrared (PIR) motion detection, which senses movement within a 120° horizontal angle and a range of 0-10 meters.
- Upon detecting motion, the doorbell will send an alert to your smartphone and can automatically begin recording.
- PIR sensitivity can be adjusted (low, medium, high) within the Tuya App to minimize false alarms.

4.3 HD Night Vision
- The doorbell features HD night vision with an 850nm infrared lamp, providing an effective night vision distance of up to 2 meters.
- The device automatically switches between day and night modes to ensure optimal image quality in varying light conditions.

4.4 Recording and Storage
- The doorbell supports local storage via a Micro SD card (up to 64GB) and cloud storage options (subscription may be required).
- Recordings can be triggered by motion detection or manually initiated through the app.
- You can access and review recorded footage remotely via the Tuya App.

5. Maintenance
5.1 Battery Life Management
The doorbell is powered by a built-in 5000mA polymer lithium battery. Battery life varies based on usage:
- Standby Mode: Up to 6 months.
- Moderate Use (10 recordings/day): 3-6 months.
- Frequent Use (20-40 recordings/day): 1-3 months.
- Heavy Use (100 recordings/day): Approximately 1 week.
To maximize battery life, consider adjusting the PIR sensitivity settings in the Tuya App to reduce unnecessary triggers.
5.2 Cleaning
Wipe the outdoor camera lens and the indoor display screen with a soft, dry, lint-free cloth. Avoid using harsh chemicals or abrasive materials that could damage the surfaces.
6. Troubleshooting
- No Power/Device Not Turning On: Ensure the battery is charged. Connect the doorbell to a power source using the provided Micro USB cable. Check the power switch at the bottom of the indoor unit.
- Cannot Connect to WiFi:
- Ensure your WiFi network is 2.4GHz. The doorbell does not support 5GHz networks.
- Verify the WiFi password entered during setup is correct.
- Make sure the doorbell is within range of your WiFi router.
- Try resetting the doorbell (long-press the reset button) and re-pairing it with the app.
- Poor Image Quality/Night Vision:
- Clean the camera lens on the outdoor unit.
- Ensure there are no obstructions blocking the camera's view.
- Check ambient lighting conditions. The night vision automatically adjusts.
- This model features improved 1080P resolution and enhanced night vision compared to previous versions, so ensure your app is updated for optimal performance.
- Motion Detection Not Working/False Alarms:
- Adjust the PIR sensitivity settings (low, medium, high) in the Tuya App.
- Ensure the camera's field of view is clear of moving objects like tree branches or busy streets if not desired.
- This model has improved PIR accuracy to reduce false alarms.
- Cannot Hear/Speak Through Intercom:
- Check the volume settings on your smartphone and the indoor unit.
- Ensure your internet connection is stable for clear audio transmission.
- This model features improved two-way voice intercom with increased sound.
- Cannot View Card Recordings Remotely: Ensure the Micro SD card is properly inserted and formatted. Verify that the cloud storage service (if subscribed) is active. Recordings should be accessible through the Tuya App's playback feature.
7. Specifications
| Feature | Specification |
|---|---|
| Model | R9 |
| Brand Name | LEEDOAR |
| Main Processor | T31L |
| Image Sensor | 1/9 "Full HD CMOS |
| Resolution | 1920 × 1080 (200W) |
| System | Lite OS |
| Lens | 3.4mm |
| Infrared Night Vision | 850nm infrared lamp, effective distance 2 meters |
| Illumination | Color mode 1Lux, night vision mode 0 Lux |
| Signal to Noise Ratio | ≥ 52dB |
| Audio Input | Built-in -38dB noise reduction microphone |
| Audio Output | Built-in 8-ohm 2W high fidelity speaker |
| Wireless Network | IEEE802.11b/g/n 2.4G |
| PIR Detection Range | 0-10 meters |
| PIR Detection Angle | Horizontal 120 ° |
| Storage Method | Micro SD card (up to 64GB), cloud storage |
| Wake Up Method | PIR wake-up, mobile remote wake-up |
| PIR Sensitivity | Low, medium, and high adjustable |
| Battery Capacity | 5000mA polymer lithium battery |
| Power Supply | Built-in lithium battery |
| Software | Tuya App for Android & iOS |
| Working Temperature | -10 ℃ ~ +50 ℃ |
| Working Humidity | ≤ 80% RH |
| Weight (with packaging) | 0.55kg |
| Display | 4.3-inch HD LCD screen |
| Communication Interface | Wireless |
| Intercom | Yes |
| Alarm | Yes |
| Certification | CE, FCC, RoHS |
| Smart Home Platform | Tuya |
| Door Thickness Range | 4cm - 12cm |
8. User Tips
- Remote Recording Access: All recordings, whether stored on the Micro SD card or in the cloud, can be conveniently accessed and viewed remotely through the Tuya App on your smartphone.
- Optimize Battery Life: To extend the time between charges, adjust the PIR motion detection sensitivity in the Tuya App. Setting it to a lower sensitivity can reduce the number of unnecessary recordings and alerts, thus conserving battery power.
- App Updates: Regularly check for updates to the Tuya App to ensure you have the latest features, performance improvements, and security patches for your doorbell.
9. Warranty and Support
For warranty information, technical support, or service inquiries, please refer to the contact details provided by your retailer or the manufacturer. Keep your proof of purchase for any warranty claims.