![]()
SW6000 User Manual
ESI Web Service Simulator
User guide for Shure SW6000 Conference Management Software
Version: 9.2 (2021)
Introduction
This manual describes how to set up and use the Web Service Simulator application for testing the connection to the SW6000-ESI Web Interface.
Installation and settings
SW6000′ PC
System requirement
The System requirements for a PC running the SW6000 applications are:
Hardware
- As specified in the ‘Installation Manual SW6000’
Software
- Windows 10
- SW6000 Basic Package
- SW6000-ESI External System Interface
Installation and configurations
- Install the SW6000 application as specified in the ‘SW6000 Installation Manual’ and start the CAA
- Click the CAA application|Setup| Equipment|Web Service
- On the Web Service form, enter the following:
Web Service Address:
http://[yourservername]/WebServiceSimulator/Service.asmx
[yourservername] = IP address or Computer_name
Administrator Address:
http://[yourservername]/WebServic eSimulator/Service.asmx
Web Service password: WebServicePassword1234
Web Streaming password: WebStreamingPassword1234 - Click Update

Web Server PC
System requirement
The System requirements for the PC running the Web Server Simulator are:
Hardware
- As specified in the ‘Installation Manual SW6000’
Software
- Windows 10
- Shure SW6000 Web Service Simulator (located in the SW6000 installation package in the ‘SW6000 Accessories’ folder)
- IIS (Internet Information Services)
- Dot.Net Framework version 4.0
Installation and configuration
The Web Service Simulator can be installed on the same PC as SW6000 or on another PC.
| 4 | Install the SW6000 application as specified in the ‘SW6000 Installation Manual’ and start the CAA |
|
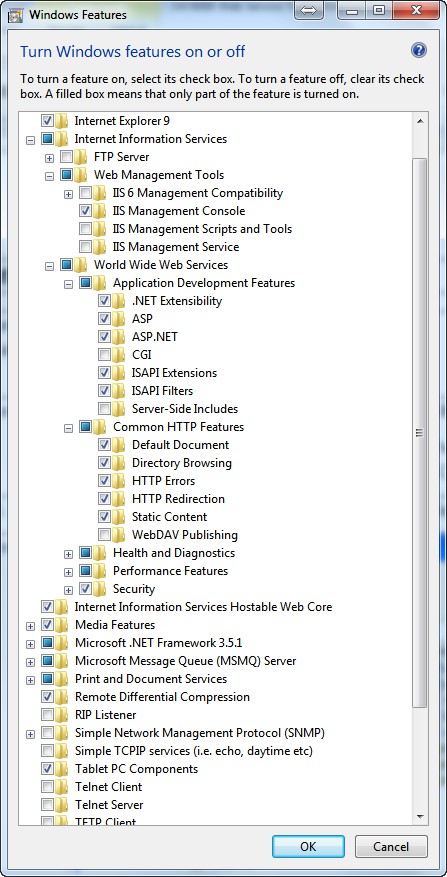
| 5 | Install IIS (Internet Information Services) |
Open Control Panel/Program Files/Turn Windows features on or off Select IIS (Internet Information Services) in the list and make sure the options shown are selected: |
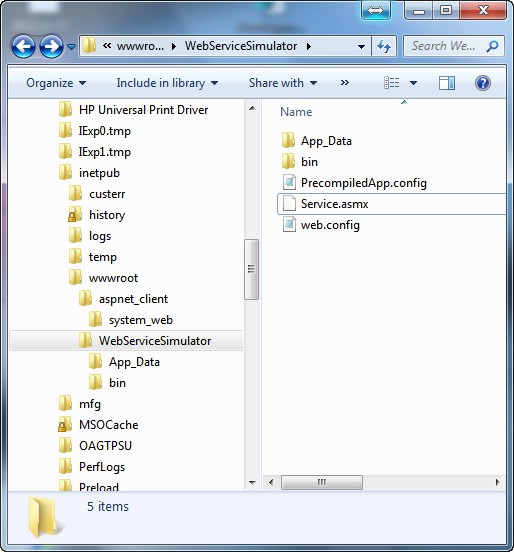
7. Create a folder on the server in the www-root directory called:
WebServiceSimulator and copy the content of the Web Service Simulator folder from the into this folder
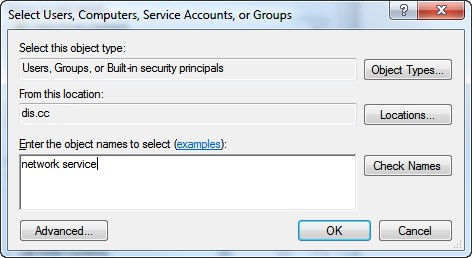
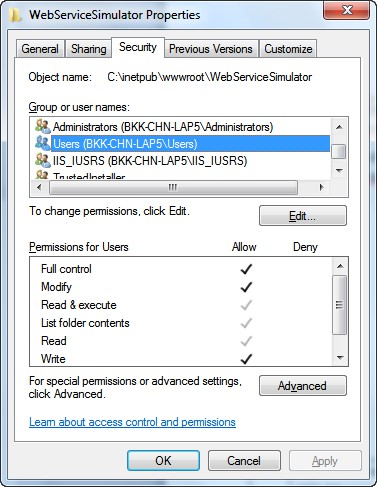
8. Add “Network Service” in the ‘Security’ settings for the folder “WebServiceSimulator” by clicking ‘Edit’ and then ‘Add’
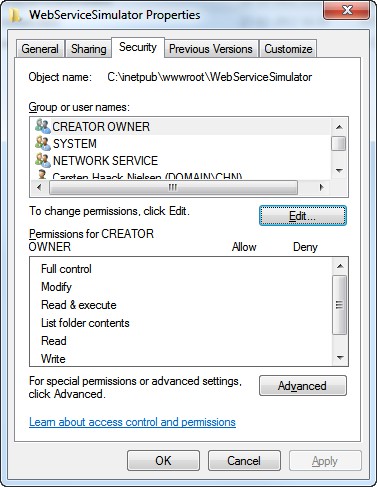
9. Give “Full Control” to “Users[’servername’/Users] in the Security Settings for the folder “WebServiceSimulator”
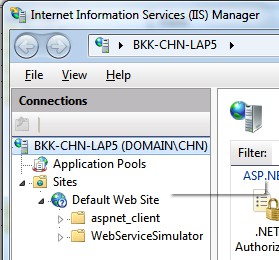
10. Control Panel\All Control Panel Items\Administrative Tools: Open ‘Internet Information Services (IIS) Manager
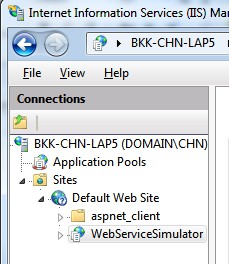
11. Right click on “Default Web Site” and select “Add Application”
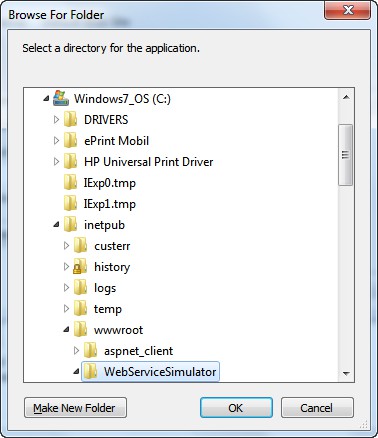
12. Type in ‘Alias’ and browse to the ‘Physical Path’ to the folder. Click OK
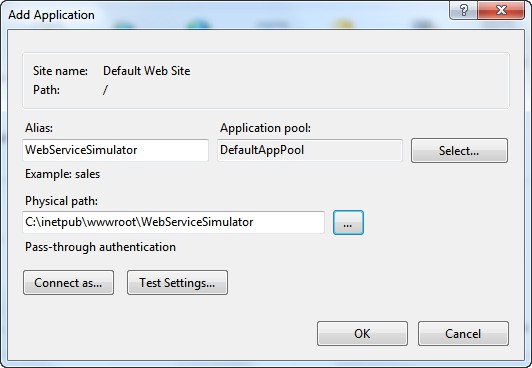
13. The ‘WebServiceSimulator’ application is now created Close the “Server Manager
14. Open Settings|Control Panel|Administrative Tools|Internet Information Services
15. Apply correct network setting to ‘Web Server PC’.
The ‘Web Server PC, must be at the same network as the PC running the SW6000 CUI Application.
Testing the Web Interface
16. Start the CUI and CUA if not already running
17. Right-click the CUI icon in the left bottom corner and select ‘Display
18. When the CUI windows is opened, tick ‘Show List’ and ‘Webservice’
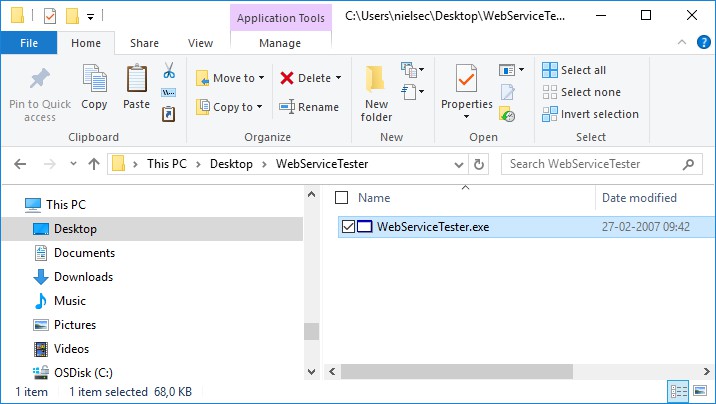
19. Copy the ‘Web Service Tester’ folder to the Desktop and start the ‘WebServiceTester’ application
20. Insert the ‘Setting file path: C:\inetpub\wwwroot\WebServiceSi mulator\app_data\settings.xml
Insert the ‘Logfile path’: c:\webservicesimulator\log.txt Click ‘Load settings’
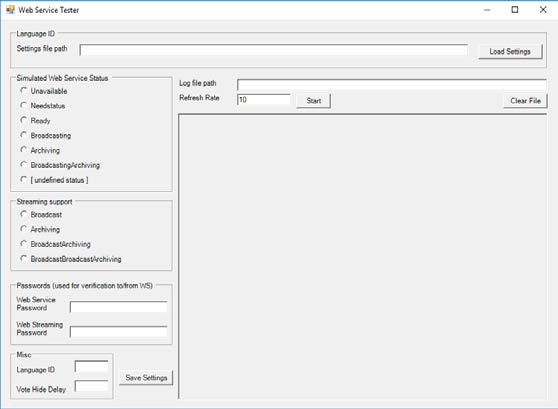
21. Change the language ID to the System language in the SW6000
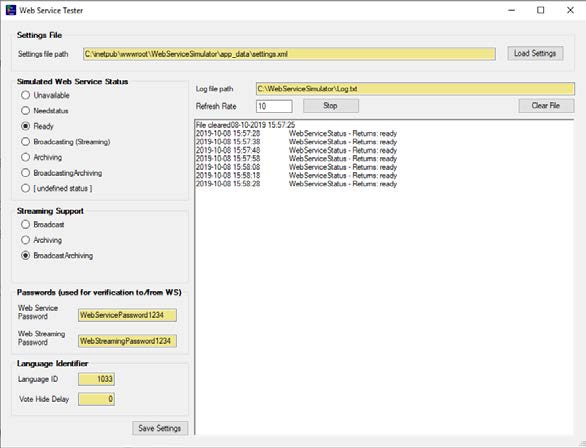
22. Click ‘Save Settings’
23. Start logging by pressing ‘Start’
24. Select the “Simulated Web Service Status” state you want to simulate.E.g. Broadcasting to simulate that web broadcasting is running. Press Save Settings on every change.
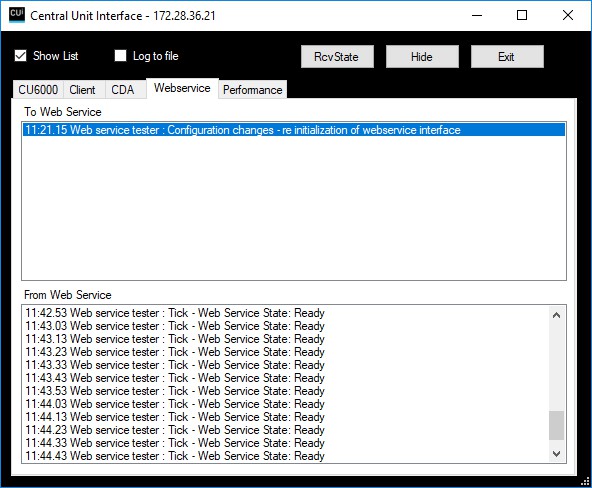
25. The Status will be visible in the ‘WebServiceTester’ window and saved in the log file.

26. And the status will also be visible in the CUI window.

27. Streaming buttons in the CUA will reflect the status setup in this window

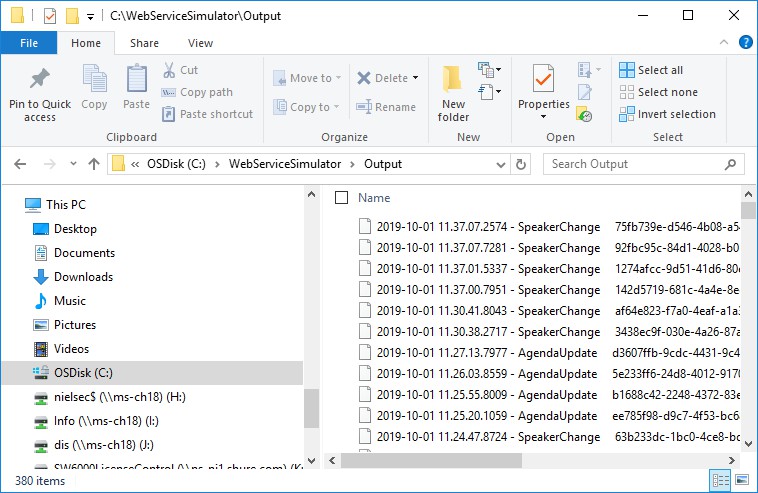
28. The ‘Output’ folder is automatic created when the service is started and contains the XML files send from SW6000 Web Service

29. View the events in the Output folder
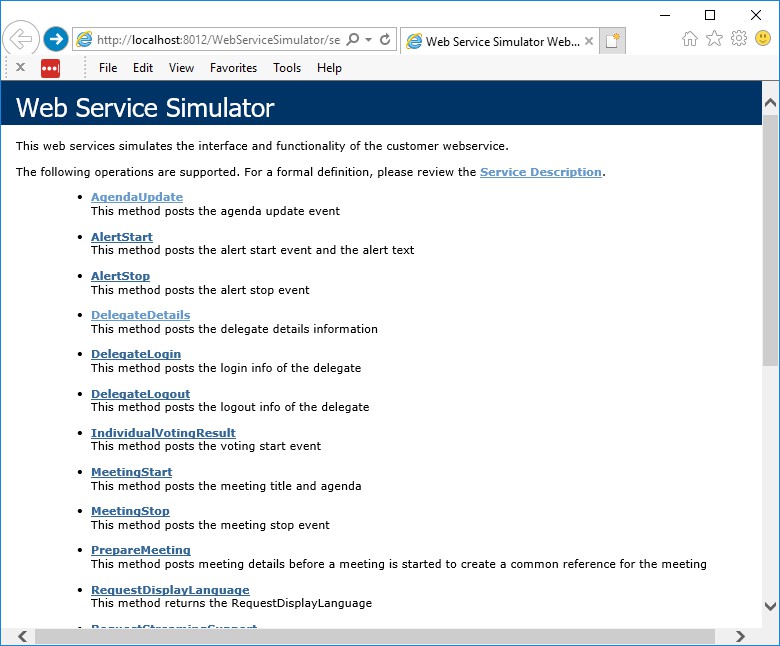
30. For more information click in the CAA|Setup|Equipment|Web Service|Open to open the Web Service Simulator for a list supported operations
Troubleshooting
In this chapter a simple fault-finding guide is given.
This is intended to be used to remedy the consequences of incorrect installation. If more serious faults or problems arise the installer should contact a qualified technician.
| 1 | The page ‘CAA|Setup|Equipment|WebService|Open is opened withan error message |
• Check the filled-in information in ‘CAA|Setup|Web Service’ • Repair dotNet4.0 in ‘Control Panel|Programs and Features|Microsoft.Net Framework 4 Extended’ • Check that dot.net 4.0 is enabled: 
If v2.0 is shown, select the line and click ‘Basic Settings’ and
|


| United States, Canada, Latin America, Caribbean: Shure Incorporated 5800 West Touhy Avenue Niles, IL 60714-4608 USAPhone: +1 847 600 2000 Fax: +1 847 600 1212 (USA) Fax: +1 847 600 6446 Email: info@shure.com |
Europe, Middle East, Africa:
Shure Europe Gmbh Phone: +49 (0) 7262-9249-100 |
Asia, Pacific:
Shure Asia Limited 22/F, 625 King’s Road Phone: (+852) 2893-4290 |
Documents / Resources
 |
SHURE SW6000 ESI Web Service Simulator [pdf] User Manual SW6000, ESI Web Service Simulator |


