1. Ifihan
Thank you for choosing the OOOUSE 1200Mbps Dual-Band WiFi Repeater. This device is designed to extend your existing wireless network coverage, eliminate Wi-Fi dead zones, and provide a strong, reliable internet connection throughout your home or office. It supports both 2.4GHz and 5GHz bands, offering high-speed data transfer rates up to 1200Mbps. This manual will guide you through the setup, operation, and troubleshooting of your new WiFi repeater.

Figure 1: OOOUSE 1200Mbps Dual-Band WiFi Repeater
2. Awọn ẹya Ọja
- Dual-Band High Speed: Supports 2.4GHz (up to 300Mbps) and 5GHz (up to 1200Mbps) for a combined speed of 1200Mbps, ensuring fast and stable connections.
- Ibora ti o gbooro: Equipped with four 5dBi omni-directional antennas to boost WiFi signal and eliminate dead zones, covering an area of 80 to 100 square meters.
- 3-in-1 Iṣẹ-ṣiṣe: Operates as a WiFi Repeater, Access Point (AP), or Router, offering versatile networking solutions.
- Ibamu Agbaye: Works with 99% of standard WiFi routers and all WiFi-enabled devices, including PCs, laptops, smartphones, tablets, Smart TVs, and TV boxes.
- Awọn ibudo Ethernet: Features two RJ45 network ports for wired connections, allowing the repeater to function as a wireless access point for wired devices.
- Iṣeto Rọrun: Simple configuration via web interface or WPS button for quick and hassle-free installation.

Figure 2: High-Performance Antennas and Speed

Figure 3: Signal Coverage Extension

Figure 4: 3-in-1 Operating Modes
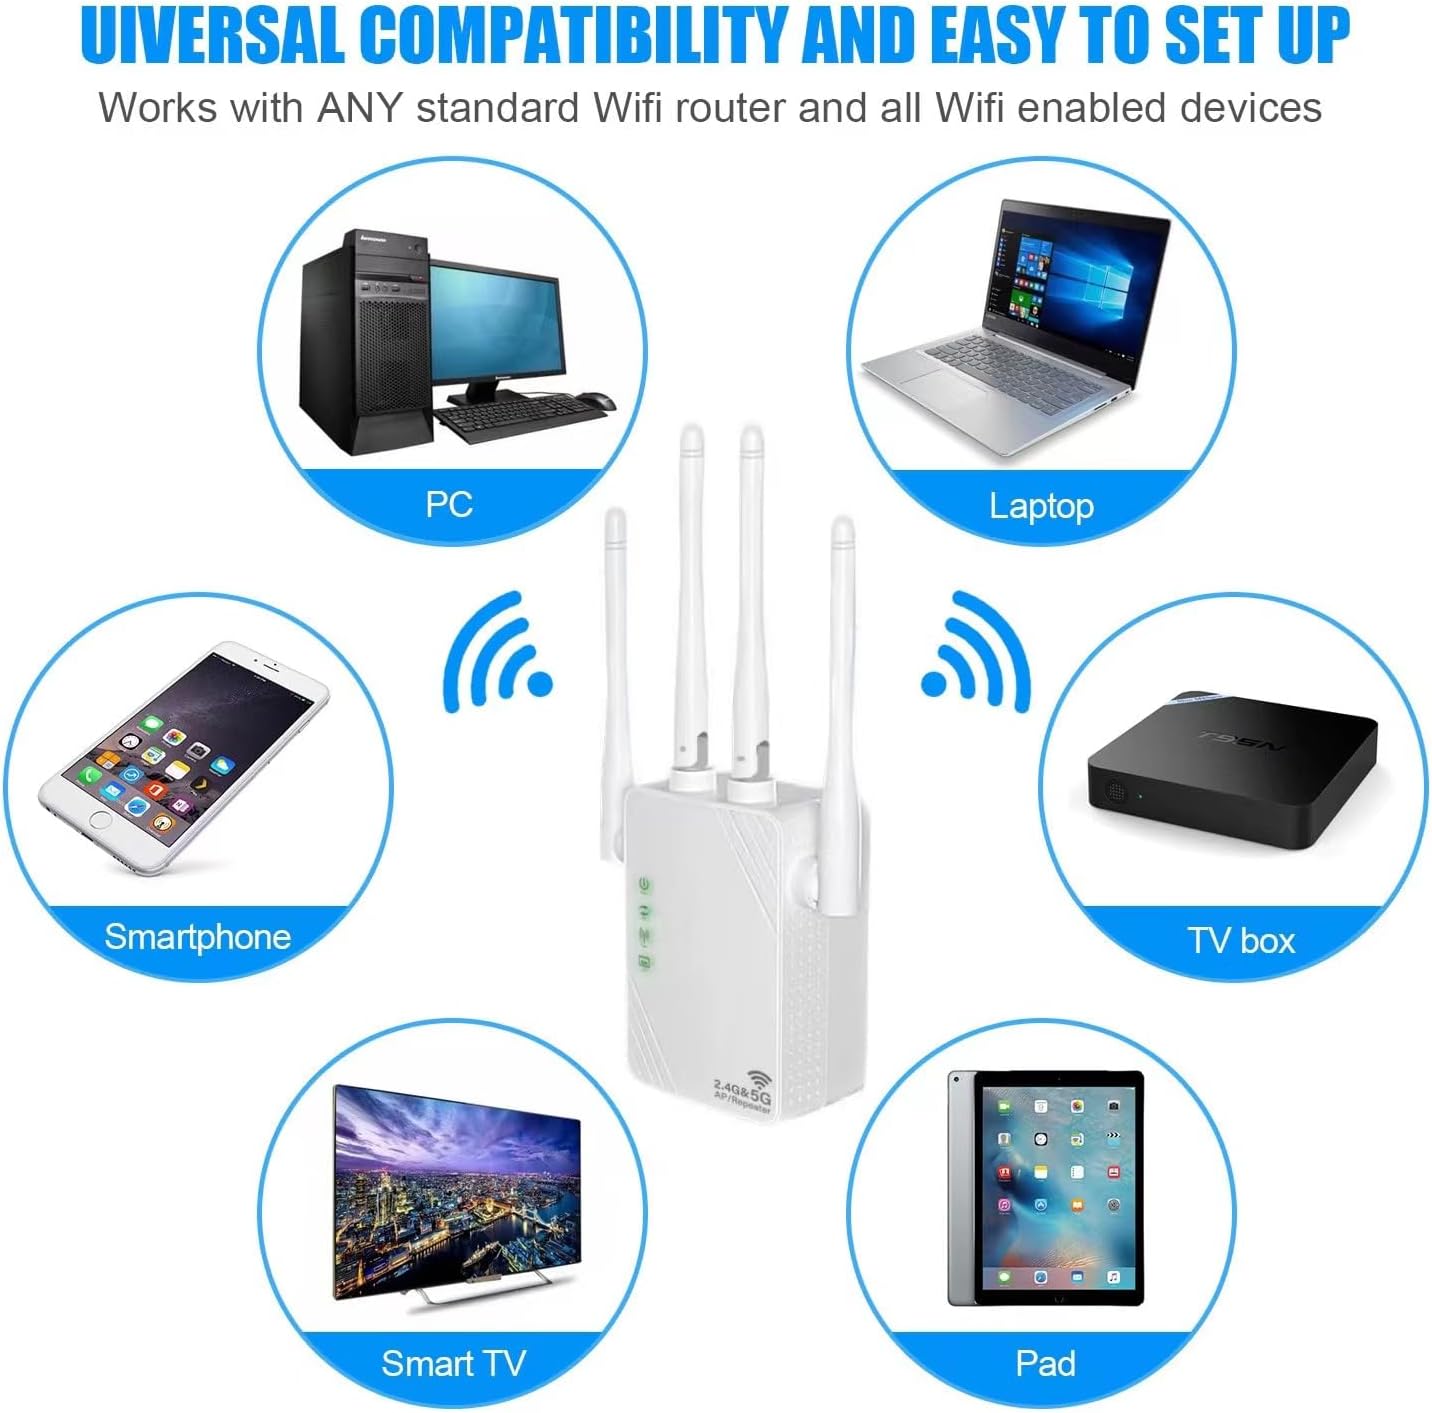
olusin 5: Gbogbo ẹrọ ibamu

Figure 6: Ethernet Ports and Controls
3. Package Awọn akoonu
Upon opening the package, please verify that you have received the following items:
- OOOUSE 1200Mbps Dual-Band WiFi Repeater (XL-Z04)
- Afowoyi Olumulo (iwe-ipamọ yii)
4. Eto Itọsọna
4.1 Ibẹrẹ Agbara-On
- Plug the WiFi Repeater into an electrical outlet near your main router.
- Wait for the Power LED indicator to light up, indicating the device is powered on.
4.2 Configuring Repeater Mode via Web Interface (Recommended)
This method provides full control over settings and is recommended for optimal performance.
- Connect to Repeater's Network: On your smartphone, tablet, or computer, go to your Wi-Fi settings. Find and connect to the network named "Repeater_2.4G_XXXXXX" or "Repeater_5G_XXXXXX" (the XXXXXX will be part of the device's MAC address). No password is required for the initial connection.
- Wiwọle Web Ni wiwo: Ṣii a web aṣàwákiri (fún àpẹẹrẹ, Chrome, Firefox, Safari) àti irú
192.168.11.1sinu ọpa adirẹsi, lẹhinna tẹ Tẹ. - Wo ile: If prompted, the default username and password are usually
admin(or check the label on the device). - Yan Ipo: On the setup page, select "Repeater Mode" (sometimes labeled "WISP Mode").
- Ṣayẹwo fun Awọn nẹtiwọki: The repeater will scan for available Wi-Fi networks. Select your home Wi-Fi network (SSID) from the list.
- Tẹ ọrọ igbaniwọle sii: Enter the Wi-Fi password for your home network. You can choose to keep the same SSID for the extended network or create a new one.
- Wa awọn Eto: Click "Apply" or "Finish" to save the settings. The repeater will restart.
- Tun sopọ: Once the repeater restarts, reconnect your devices to the newly extended Wi-Fi network (either your original SSID or the new one you created).

Figure 7: Wireless Configuration via Smartphone/Tablet
4.3 WPS Setup (Wi-Fi Protected Setup)
WPS offers a quick way to connect without accessing the web interface, but it may not be supported by all routers.
- Plug the repeater into an electrical outlet.
- Tẹ bọtini WPS lori olulana akọkọ rẹ.
- Within two minutes, press the WPS/Reset button on the side of the OOOUSE WiFi Repeater.
- Wait for the indicator lights on the repeater to show a stable connection, indicating successful pairing.
5. Awọn ọna ṣiṣe
The OOOUSE WiFi Repeater supports three main operating modes:
- Repeater Mode (WISP Mode): Extends the range of an existing wireless network. It connects to your main router wirelessly and rebroadcasts the signal, effectively expanding coverage.
- Ipo Aaye Wiwọle (AP) Converts a wired network connection into a wireless one. Connect the repeater to your router via an Ethernet cable, and it will create a new Wi-Fi hotspot.
- Ipo olulana: Functions as a basic router, creating a new private network. This mode is typically used when you have a modem but no router, or if you want to create a separate network.
6. Itọju
- Ibi: For optimal performance, place the repeater halfway between your router and the Wi-Fi dead zone. Avoid placing it near large metal objects, concrete walls, or other electronic devices that may cause interference.
- Ninu: Lo asọ asọ ti o gbẹ lati nu ẹrọ naa. Maṣe lo awọn olutọpa olomi tabi awọn aerosols.
- Atunto Ẹrọ naa: If you encounter persistent issues or wish to reconfigure the device from scratch, you can perform a factory reset. With the device powered on, press and hold the WPS/Reset button for approximately 7-8 seconds until the indicator lights flash. The device will then revert to its factory default settings.
7. Laasigbotitusita
- Ko si Wiwọle Ayelujara Lẹhin Iṣeto:
- Ensure the repeater is successfully connected to your main router's Wi-Fi network. Check the signal indicator lights.
- Verify that the Wi-Fi password entered during setup was correct.
- Gbiyanju lati tun bẹrẹ olulana akọkọ rẹ ati olutuntun naa.
- Perform a factory reset on the repeater and try the setup process again.
- Slow Speed or Weak Signal:
- Relocate the repeater closer to your main router, but still within the area where you need extended coverage.
- Ensure there are no major obstructions (thick walls, large appliances) between the repeater and your devices, or between the repeater and the main router.
- Ṣàyẹ̀wò fún ìdènà láti ọ̀dọ̀ àwọn ẹ̀rọ itanna mìíràn (àwọn fóònù aláìlókùn, máìkrówéfù).
- Ensure your main router is providing a strong signal to the repeater.
- Ko le Wiwọle Web Oju-iwe Isakoso:
- Ensure your device is connected to the repeater's Wi-Fi network (e.g., "Repeater_2.4G_XXXXXX").
- Verify that you are typing the correct IP address:
192.168.11.1. - Gbiyanju lati lo o yatọ web kiri ayelujara.
- Temporarily disable any VPN or firewall software on your device.
- Ìkùnà ìṣètò WPS:
- Ensure your main router supports WPS.
- Make sure you press the WPS button on both devices within the two-minute window.
- Gbiyanju awọn web interface setup method instead.
8. Awọn pato
| Ẹya ara ẹrọ | Apejuwe |
|---|---|
| Brand | OOOUSE |
| Nọmba awoṣe | XL-Z04 |
| Boṣewa alailowaya | 802.11ac (backward compatible with a/b/g/n/ax) |
| Data Gbigbe Oṣuwọn | Up to 1200 Mbps (300 Mbps for 2.4GHz, 1200 Mbps for 5GHz) |
| Awọn ẹgbẹ Igbohunsafẹfẹ | 2.4 GHz, 5 GHz |
| Eriali | 4 x 5dBi Omni-directional Antennas |
| Awọn ibudo | 2 x RJ45 Ethernet Ports |
| Ibiti o | 80 to 100 square meters |
| Awọn ẹrọ ibaramu | iPad, PC, Android devices, Smart TV, Laptops, TV boxes |
9. Atilẹyin ọja ati Support
For warranty information and technical support, please refer to the purchase platform or contact the seller directly. Keep your proof of purchase for any warranty claims.