1. Ifihan
Thank you for choosing the GGM Gastro Bar Refrigerator, Model BKTG320S. This manual provides essential information for the safe and efficient operation, installation, and maintenance of your new appliance. Please read this manual thoroughly before use and keep it for future reference.
This bar refrigerator is designed for commercial use, specifically for cooling and displaying beverages. It features a generous 320-liter capacity, three glass hinged doors for easy access and visibility, and a sleek black finish for both the exterior and interior. Equipped with circulation cooling, a digital thermostat, and an automatic defrosting function, it maintains a consistent temperature range of 2 °C to 8 °C, ideal for various drinks. The unit is constructed from painted sheet steel, ensuring durability and ease of cleaning, and includes interior lighting to enhance product presentation.
2. Awọn ilana aabo
Nigbagbogbo tẹle awọn iṣọra aabo ipilẹ nigba lilo awọn ohun elo itanna lati dinku eewu ina, mọnamọna, ati ipalara.
- Aabo Itanna: Ensure the power supply matches the appliance's requirements (230 V / 50 Hz). Do not use extension cords or adapters. Always plug into a grounded outlet.
- Ibi: Place the refrigerator on a stable, level surface. Ensure adequate ventilation around the unit (at least 10 cm clearance on all sides) to prevent overheating. Do not place near heat sources or in direct sunlight.
- Mimu: This appliance is heavy. Use appropriate lifting techniques or seek assistance when moving.
- Ninu: Disconnect from power before cleaning. Do not use abrasive cleaners or sharp objects.
- Itọju: Only qualified personnel should perform repairs or servicing.
- Firiji: This unit uses R600a refrigerant. Handle with care and ensure proper ventilation if a leak is suspected.
3. Eto ati fifi sori
3.1 Ṣiṣii silẹ
Carefully unpack the refrigerator. Remove all packaging materials, including any protective films or tapes. Inspect the unit for any shipping damage. Report any damage to your supplier immediately.
3.2 Ibi
Choose a location that is dry, well-ventilated, and away from direct sunlight or heat sources (e.g., ovens, radiators). Ensure there is at least 10 cm of free space around the back and sides of the unit for proper air circulation. The floor must be strong enough to support the weight of the refrigerator when fully loaded.
3.3 Ipele ipele
Use a spirit level to ensure the refrigerator is perfectly level. Adjust the adjustable feet at the bottom of the unit if necessary. Proper leveling is crucial for efficient operation and door sealing.
3.4 Asopọ agbara
Ṣaaju ki o to ṣafọ sinu, rii daju pe voltage and frequency of your power supply match the specifications on the appliance's rating label (230 V / 50 Hz). Plug the refrigerator directly into a dedicated, grounded wall outlet. Do not use multi-sockets or extension cords.
3.5 Isẹ ibẹrẹ
After positioning and connecting to power, allow the refrigerator to stand for at least 2-4 hours before turning it on. This allows the refrigerant to settle. Once settled, turn on the unit and allow it to cool down to the desired temperature before loading products.
4. Awọn ilana Iṣiṣẹ
4.1 Digital Thermostat
The refrigerator is equipped with a digital thermostat for precise temperature control. The display shows the current internal temperature.
- Eto iwọn otutu: Refer to the specific instructions provided with the thermostat controller for detailed steps on how to adjust the temperature. Typically, there are 'Set' or 'Mode' buttons and arrow keys to increase or decrease the desired temperature.
- Iwọn otutu: The optimal operating temperature range for this unit is 2 °C to 8 °C.
4.2 Inu ilohunsoke Lighting
The interior lighting enhances the visibility of your products. The light can usually be controlled via a switch on the control panel or automatically when the door is opened.
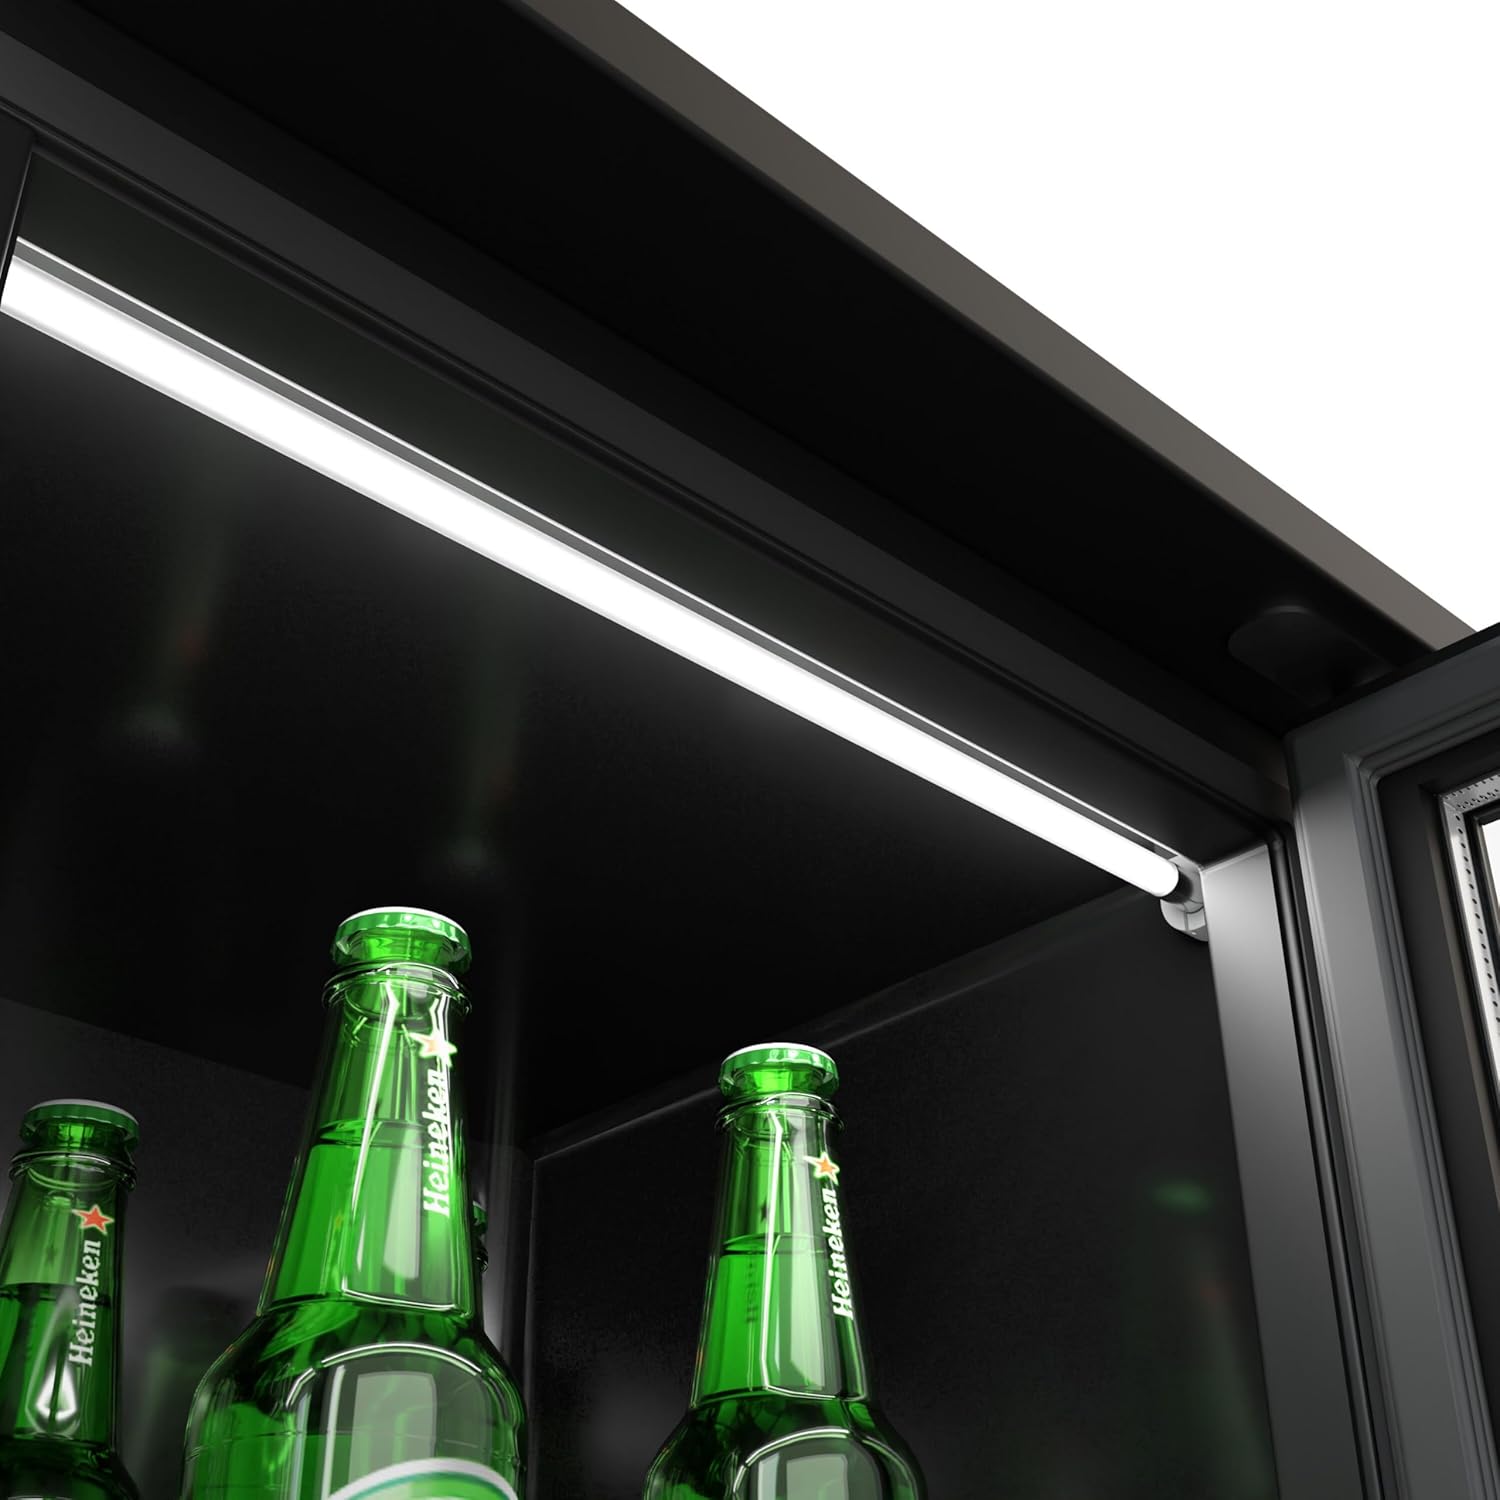
Figure 1: Interior LED lighting for enhanced product visibility.
4.3 ikojọpọ Products
Distribute products evenly on the shelves to allow for proper air circulation. Do not block the air vents inside the cabinet. Avoid overloading the shelves beyond their weight capacity. The unit comes with 2 wire shelves.

olusin 2: Iwaju view of the bar refrigerator with beverages inside.

olusin 3: Iwaju view of the bar refrigerator showing empty shelves.
5. Itọju
Itọju deede ṣe idaniloju gigun ati iṣẹ ṣiṣe ti firiji rẹ.
5.1 Ninu
- Òde: Clean the exterior surfaces with a soft cloth and mild detergent. Avoid abrasive cleaners or solvents.
- Inu inu: Clean the interior with a solution of warm water and baking soda or a mild, food-safe cleaner. Remove shelves and clean them separately. Rinse thoroughly and dry completely before replacing.
- Condenser Coils: Periodically clean the condenser coils (located at the back or bottom of the unit) with a brush or vacuum cleaner to remove dust and debris. This improves cooling efficiency.
- Awọn edidi ilẹkun: Regularly check and clean the door gaskets to ensure a tight seal. A damaged or dirty seal can lead to energy loss and condensation.
5.2 Ìyọ́kúrò Àìfọwọ́ṣe
This refrigerator features an automatic defrosting function. During the defrost cycle, ice accumulated on the evaporator coils melts and drains away. You may notice water collecting in the drip tray during this process. Ensure the drain hole is clear to prevent water buildup.
5.3 Ẹyìn View ati irinše

olusin 4: Ẹyìn view of the refrigerator, highlighting ventilation and power connection.

Figure 5: Detail of the door hinge and interior construction.
6. Laasigbotitusita
Ṣaaju ki o to kan si iṣẹ, jọwọ ṣayẹwo awọn ọran ti o wọpọ wọnyi:
| Isoro | Owun to le Fa | Ojutu |
|---|---|---|
| Firiji ko itutu | No power; thermostat set too high; door not closed properly; condenser coils dirty. | Check power connection and circuit breaker; adjust thermostat; ensure doors are sealed; clean condenser coils. |
| Ariwo ti o pọju | Unit not level; fan obstruction; loose parts. | Level the unit; check for obstructions around fan; contact service if noise persists. |
| Omi lori pakà / inu | Drain hole blocked; door not sealing properly. | Clear drain hole; check and clean door gaskets. |
| Imọlẹ ko ṣiṣẹ | Bulb faulty; power issue. | Check bulb connection; if LED, contact service. |
7. Awọn pato
| Ẹya ara ẹrọ | Sipesifikesonu |
|---|---|
| Brand | GGM Gastro |
| Nọmba awoṣe | BKTG320S |
| Agbara | 320 liters |
| Awọn iwọn ita (W x D x H) | 133.5 cm x 50.5 cm x 89.5 cm |
| Awọn iwọn inu (W x D x H) | 130 cm x 48.5 cm x 86.5 cm |
| Shelf/Grid Size (W x D) | 123 cm x 32 cm |
| Nọmba ti ilẹkun | 3 (Glass Hinged Doors) |
| Àwọ̀ | Black (Exterior & Interior) |
| Iwọn otutu | 2 °C ~ 8 °C |
| Itutu System | Circulation Cooling |
| Defrost Eto | Automatic (Electric) |
| Firiji | R600a |
| Agbara | 350 Wattis |
| Asopọ Itanna | 1N/PE / 230 V / 50 Hz |
| Ohun elo Ile | Painted Sheet Steel |
| To wa Awọn ẹya ẹrọ | 2 Waya selifu |
| Awọn iwe-ẹri | CE Marking, Complies with European Food Standards |
8. Atilẹyin ọja ati Support
For warranty information, technical support, or service requests, please refer to the warranty card included with your product or contact GGM Gastro customer service directly. Ensure you have your model number (BKTG320S) and purchase details ready when contacting support.
GGM Gastro Contact Information: Please visit the official GGM Gastro webaaye fun awọn alaye olubasọrọ ti o ni imudojuiwọn julọ ati awọn orisun atilẹyin.