1. Ifihan
This manual provides essential information for the proper installation, configuration, and operation of your Hikvision Turbo HD DVR 8-Channel, model DS-7108HGHI-K1(S). Please read this manual thoroughly before using the device to ensure safe and efficient operation. Keep this manual for future reference.
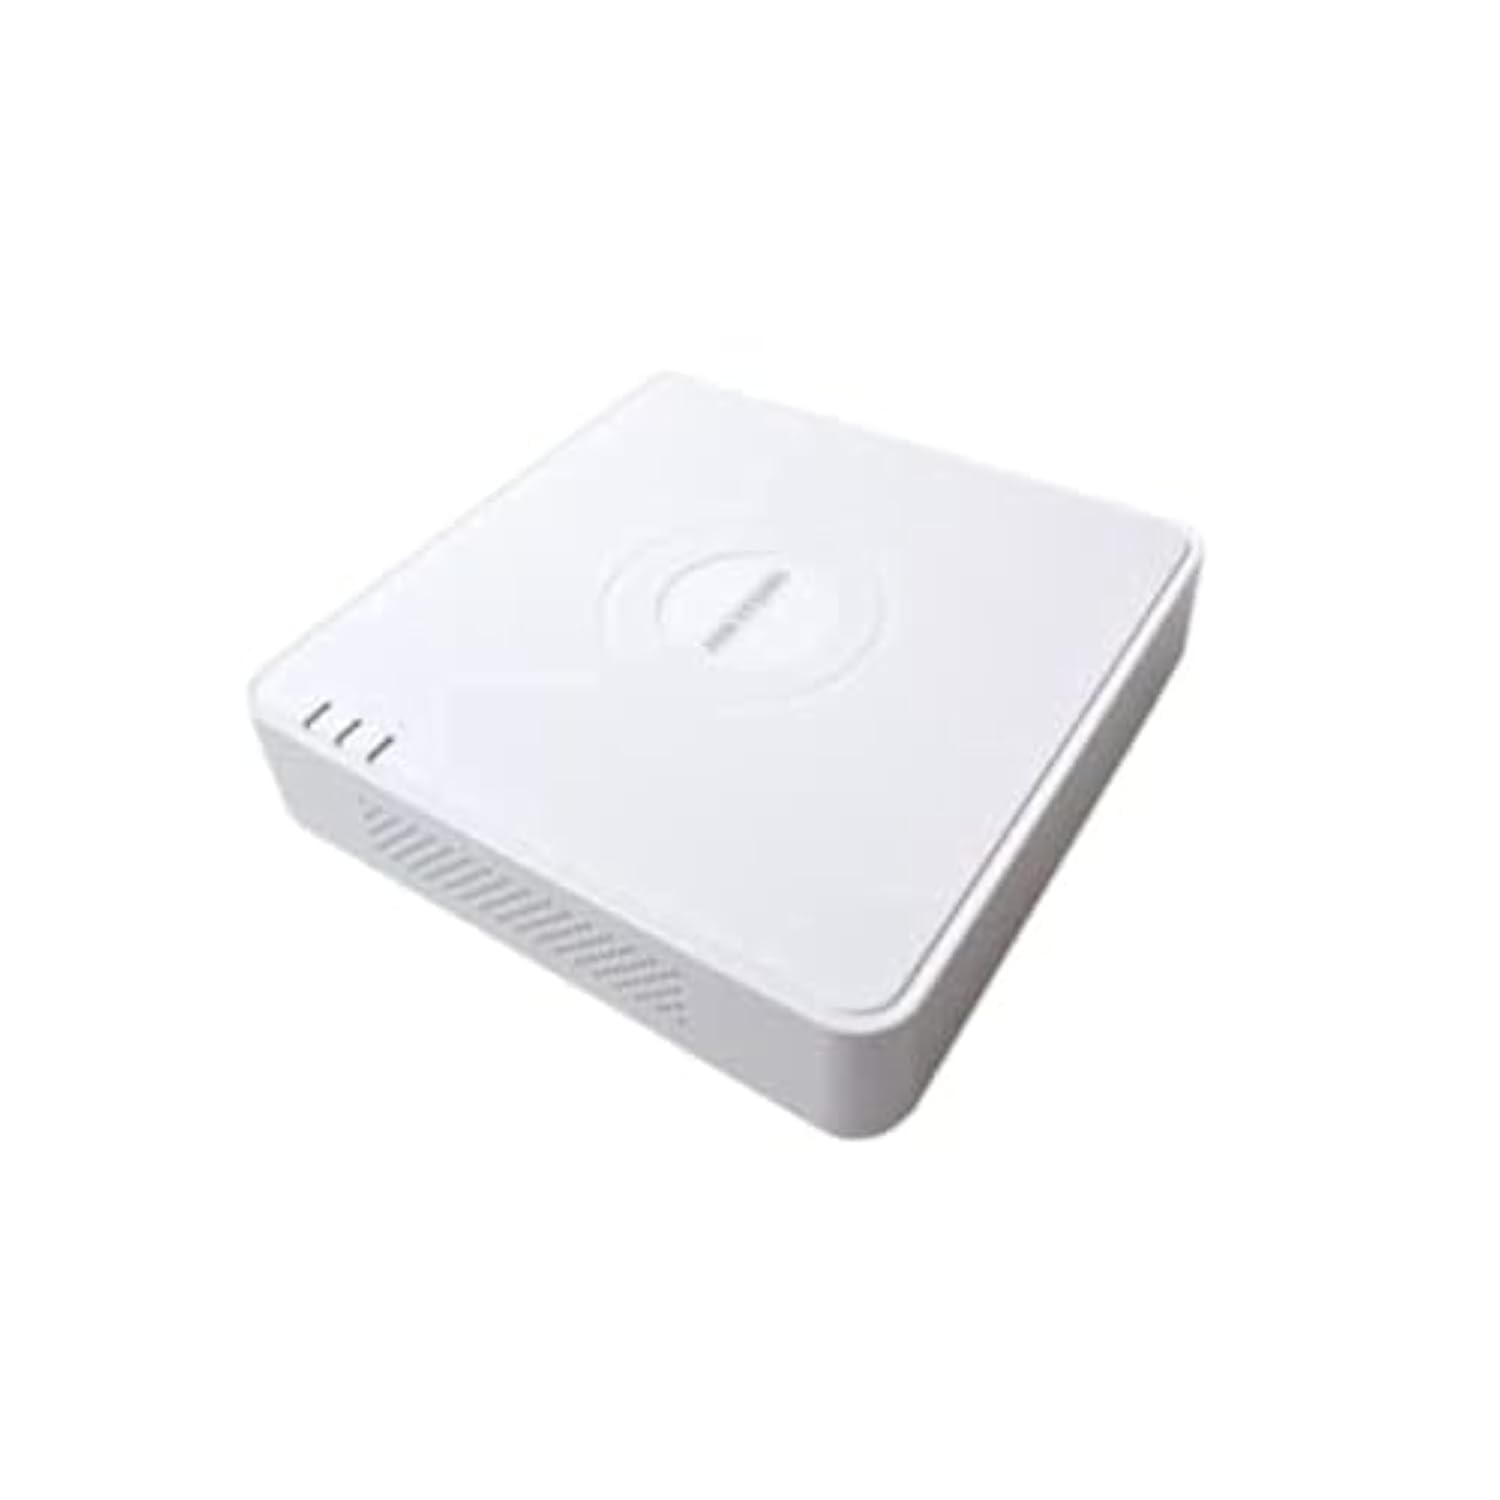
This image shows the Hikvision Turbo HD DVR unit from a front-side perspective, highlighting its compact design, ventilation grilles, and status indicator lights.
2. Awọn ẹya Ọja
- High-definition 8-channel Turbo HD DVR
- Supports audio transmission over coaxial cable
- Equipped with one SATA interface for storage
- Púlásítíkì tó le pẹ́ títí casing for protection
- Video encoding capabilities up to 1080p Lite at 15 frames per second
- Advanced video compression: H.265 Pro+/H.265 Pro/H.265
3. Eto Itọsọna
3.1 Unpacking ati ayewo
Carefully unpack the DVR and all accessories. Verify that all components are present and undamaged. If any items are missing or damaged, contact your supplier immediately.
3.2 Nsopọ DVR
- Sopọ Dirafu lile (ti ko ba ti fi sii tẹlẹ): Open the DVR casing, connect the SATA data and power cables to the hard drive, and secure the drive.
- Sopọ Awọn kamẹra: Connect your Turbo HD cameras to the BNC video input ports on the rear panel.
- Atẹle Sopọ: Use an HDMI or VGA cable to connect a monitor to the corresponding output port on the DVR.
- So Asin: So asin USB pọ mọ ibudo USB lori DVR naa.
- So Nẹtiwọọki pọ: Connect an Ethernet cable from your router/switch to the LAN port on the DVR for network access and remote viewing.
- So agbara: So adapter agbara pọ mọ titẹ agbara DVR naa lẹhinna si ibudo agbara. DVR naa yoo tan ina laifọwọyi.
3.3 Iṣeto ni ibẹrẹ
Upon first power-on, the DVR will guide you through an initial setup wizard. This includes setting up a strong password, configuring network settings, and initializing the hard drive. Follow the on-screen prompts to complete the setup.
4. Awọn ilana Iṣiṣẹ
4.1 Live View
Lẹhin iṣeto akọkọ, DVR yoo ṣafihan ifiwe view from all connected cameras on the monitor. You can switch between single-camera view ati olona-kamẹra akoj view nípa lílo àwọn ìṣàkóso lórí ìbòjú tàbí àsin.
4.2 Gbigbasilẹ
The DVR is typically configured for continuous recording by default. You can access the recording schedule settings via the main menu to customize recording modes (e.g., motion detection, scheduled recording) for each channel.
4.3 Sisisẹsẹhin
Lati tunview foo ti o ti gbasilẹtage, navigate to the Playback menu. Select the desired camera(s) and time range. You can use the timeline and playback controls to fast forward, rewind, or pause the video.
4.4 Latọna wiwọle
Fun latọna jijin viewing on a mobile device or computer, ensure the DVR is connected to the internet. Download the official Hik-Connect app (or client software) and follow the instructions to add your DVR using its serial number or QR code. This allows you to view Àwọn ìfọ́lẹ̀ láàyè àti àwọn ìgbàsílẹ̀ ìṣíṣẹ́ láti ibikíbi pẹ̀lú ìsopọ̀mọ́ra ìkànnì ayélujára.
5. Itọju
5.1 Deede Cleaning
Keep the DVR clean by wiping its exterior with a soft, dry cloth. Ensure ventilation openings are free from dust and obstructions to prevent overheating.
5.2 famuwia imudojuiwọn
Lokọọkan ṣayẹwo osise Hikvision website for firmware updates. Keeping your DVR's firmware up-to-date ensures optimal performance, security, and access to new features. Follow the provided instructions carefully when performing updates.
5.3 Data Afẹyinti
Ṣe afẹyinti awọn fidio pataki nigbagbogbotage to an external USB drive or network storage. This helps prevent data loss in case of hard drive failure or other unforeseen issues.
6. Laasigbotitusita
6.1 Ko si Video wu
- Check all video cable connections (BNC, HDMI, VGA) to ensure they are secure.
- Daju pe atẹle naa ti wa ni titan ati ṣeto si orisun titẹ sii to tọ.
- Ensure cameras are powered and functioning correctly.
6.2 Network Asopọ oran
- Confirm the Ethernet cable is properly connected to both the DVR and the router/switch.
- Check network settings in the DVR menu (IP address, gateway, DNS). Ensure they are correct for your network.
- Restart your router/switch and the DVR.
6.3 Awọn iṣoro Gbigbasilẹ
- Verify that a hard drive is installed and properly initialized.
- Check the recording schedule and settings for the affected channels.
- Rí i dájú pé àyè tó wà lórí kọ̀ǹpútà líle náà wà.
7. Awọn pato
| Ẹya ara ẹrọ | Ẹ̀kúnrẹ́rẹ́ |
|---|---|
| Olupese | Hikvision |
| Nọmba awoṣe | DS-7108HGHI-K1(S) |
| Awọn iwọn Ọja (W x D x H) | 10 x 10 x 3 cm (approximate, based on video) |
| Iwọn Nkan | 1000 giramu (1 kg) |
| Asopọmọra Technology | Àjọlò |
| Awọn ẹrọ ibaramu | Kamẹra |
| Agbara Ibi ipamọ Iranti | 4 Terabytes (HDD not included) |
| Lile Disk Iwon | 4 Terabytes (Maximum supported) |
| Agbara agbara | 17 Wattis |
| Nọmba ti awọn ikanni | 8 |
| Digital Video Media Format | MP4 |
8. Atilẹyin ọja ati Support
For specific warranty terms and conditions, please refer to the documentation provided with your purchase or contact Hikvision directly. Technical support may be available through the Hikvision official website or your authorized dealer.