
1. Giới thiệu
This manual provides essential information for the safe and efficient use of your Acer B326HK 32-inch UHD 4K monitor. Please read this manual thoroughly before operating the device and retain it for future reference.
The Acer B326HK monitor features a 32-inch Ultra HD (4K2K) display with a resolution of 3840 x 2160 pixels, offering detailed imagery. It includes an ergonomic stand and supports VESA mounting for flexible placement. Connectivity options include DVI, MHL, DisplayPort, Mini DisplayPort, and a 5-port USB 3.0 hub.
2. Thông tin an toàn
- Luôn đặt màn hình trên bề mặt ổn định, bằng phẳng để tránh bị đổ.
- Đảm bảo thông gió tốt xung quanh màn hình. Không được chặn các lỗ thông gió.
- Chỉ sử dụng bộ chuyển đổi nguồn và dây cáp do nhà sản xuất cung cấp.
- Tránh để màn hình tiếp xúc với hơi ẩm, mưa hoặc nhiệt độ quá cao hoặc quá thấp.
- Không nên tự ý sửa chữa màn hình. Hãy giao việc sửa chữa cho nhân viên kỹ thuật có chuyên môn.
- Rút phích cắm màn hình khỏi ổ cắm điện trước khi vệ sinh.
- Hãy đặt màn hình tránh xa các từ trường mạnh.
3. Nội dung gói hàng
Xác minh rằng tất cả các mục đều có trong gói hàng:
- Acer B326HK LED-backlit LCD monitor - 32"
- Cáp DisplayPort
- Cáp DVI
- Cáp USB siêu tốc
- Dây nguồn
- Hướng dẫn sử dụng (tài liệu này)
4. Thiết lập
4.1 Lắp ráp giá đỡ màn hình
Carefully remove the monitor and stand components from the packaging. Follow the instructions below to attach the stand to the monitor panel.

Hình 4.1: Mặt trước view of the Acer B326HK monitor with its ergonomic stand.
- Đặt mặt màn hình úp xuống một miếng vải mềm, sạch để tránh trầy xước.
- Align the stand arm with the mounting slot on the back of the monitor.
- Secure the stand arm to the monitor using the provided screws.
- Attach the base to the stand arm and tighten the thumb screw or screws from the bottom.
- Carefully lift the assembled monitor and place it on your desired surface.
The monitor also supports VESA compatible mounting (100x100mm) for wall mounts or alternative stands. Refer to your VESA mount's instructions for installation.
4.2 kết nối cáp
Kết nối các dây cáp cần thiết vào các cổng tương ứng ở mặt sau của màn hình và máy tính của bạn.
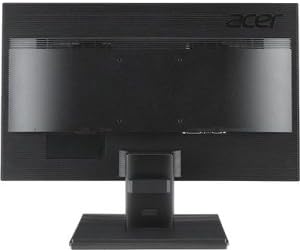
Hình 4.2: Phía sau view of the Acer B326HK monitor, highlighting the various input ports.
- Đầu vào Video: Connect one of the following video cables from your computer's graphics card to the monitor:
- DisplayPort cable (recommended for 4K resolution at 60Hz)
- Mini DisplayPort cable
- DVI cable (supports HDCP)
- MHL cable (for compatible mobile devices)
- USB ngược dòng: Connect the SuperSpeed USB cable from your computer to the monitor's USB upstream port to enable the monitor's USB 3.0 hub.
- Hạ lưu USB: Use the 5 high-speed USB 3.0 ports on the monitor to connect peripherals like a mouse, keyboard, or for charging mobile devices.
- Quyền lực: Kết nối dây nguồn với đầu vào nguồn của màn hình, sau đó cắm đầu còn lại vào ổ cắm điện có nối đất.
5. Sử dụng màn hình
5.1 Bật/Tắt nguồn
Press the power button, usually located on the bottom right bezel, to turn the monitor on or off. The power indicator light will illuminate when the monitor is on.
5.2 Adjusting the Display (OSD Menu)
The On-Screen Display (OSD) menu allows you to adjust various monitor settings such as brightness, contrast, color, input source, and more. Use the control buttons located on the monitor's bezel to navigate the OSD menu.
- Nhấn bất kỳ nút OSD nào để kích hoạt menu OSD.
- Use the navigation buttons (usually arrows) to move through the menu options.
- Nhấn nút chọn để vào menu phụ hoặc xác nhận cài đặt.
- Sử dụng các nút điều hướng để điều chỉnh giá trị hoặc chọn tùy chọn.
- Press the exit button to leave the OSD menu.
5.3 Lựa chọn nguồn đầu vào
The monitor can automatically detect an active input source. If multiple sources are connected, you may need to manually select the desired input via the OSD menu. Navigate to the "Input" or "Source" section in the OSD and select your preferred input (e.g., DisplayPort, DVI, MHL).
5.4 Điều chỉnh công thái học
The ergonomic stand allows for various adjustments to optimize your viewthoải mái:
- Điều chỉnh chiều cao: Nhẹ nhàng đẩy hoặc kéo tấm màn hình lên hoặc xuống.
- Điều chỉnh độ nghiêng: Tilt the monitor panel forward or backward to find the optimal viewgóc ing.
- Điều chỉnh xoay: Xoay màn hình sang trái hoặc phải trên đế của nó.
- Điều chỉnh xoay: Rotate the monitor 90 degrees for portrait mode (ensure sufficient clearance).
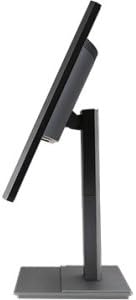
Hình 5.1: Mặt bên view of the Acer B326HK monitor, demonstrating its tilt capability.
6. Bảo trì
Bảo dưỡng đúng cách sẽ đảm bảo tuổi thọ của màn hình.
- Làm sạch màn hình:
- Tắt màn hình và rút dây nguồn.
- Use a soft, lint-free cloth (e.g., microfiber) slightly dampened with water or a non-ammonia, non-alcohol based screen cleaner.
- Wipe the screen gently. Do not spray cleaner directly onto the screen.
- Làm sạch Casing:
- Sử dụng một miếng vải mềm, khô để lau màn hình casing.
- Tránh sử dụng chất tẩy rửa hoặc dung môi có tính ăn mòn.
- Thông gió: Ensure the ventilation openings on the monitor are clear of dust and debris.
KHAI THÁC. Xử lý sự cố
Nếu bạn gặp sự cố với màn hình, hãy tham khảo các giải pháp phổ biến sau:
| Vấn đề | Giải pháp khả thi |
|---|---|
| Không có điện |
|
| Không có hình ảnh / Thông báo "Không có tín hiệu" |
|
| Hình ảnh bị mờ hoặc bị méo |
|
| Color issues or incorrect display |
|
| Không có âm thanh từ loa |
|
8. Thông số kỹ thuật
Key technical specifications for the Acer B326HK monitor:
| Tính năng | Chi tiết |
|---|---|
| Số hiệu mẫu | B326HK ymjdpphz |
| Kích thước màn hình | 32 inch |
| Độ phân giải màn hình tối đa | 3840 x 2160 pixel (4K UHD 2160p) |
| Tỷ lệ khung hình | 16:9 |
| Thời gian phản hồi | 6ms |
| Tỷ lệ tương phản | 100,000,000:1 (Động) |
| Đầu vào tín hiệu | 1 x DVI (w/HDCP), 1 x MHL, 1 x Display Port, 1 x Mini Display Port |
| Cổng USB | 5 x USB 3.0 (1 upstream, 4 downstream) |
| Tương thích với VESA Mount | Đúng |
| Trọng lượng sản phẩm | 26.4 pound |
| Kích thước sản phẩm (DxRxC) | 10.49 x 29.05 x 18.63 inch |
| Nhà sản xuất | Acer Computer |
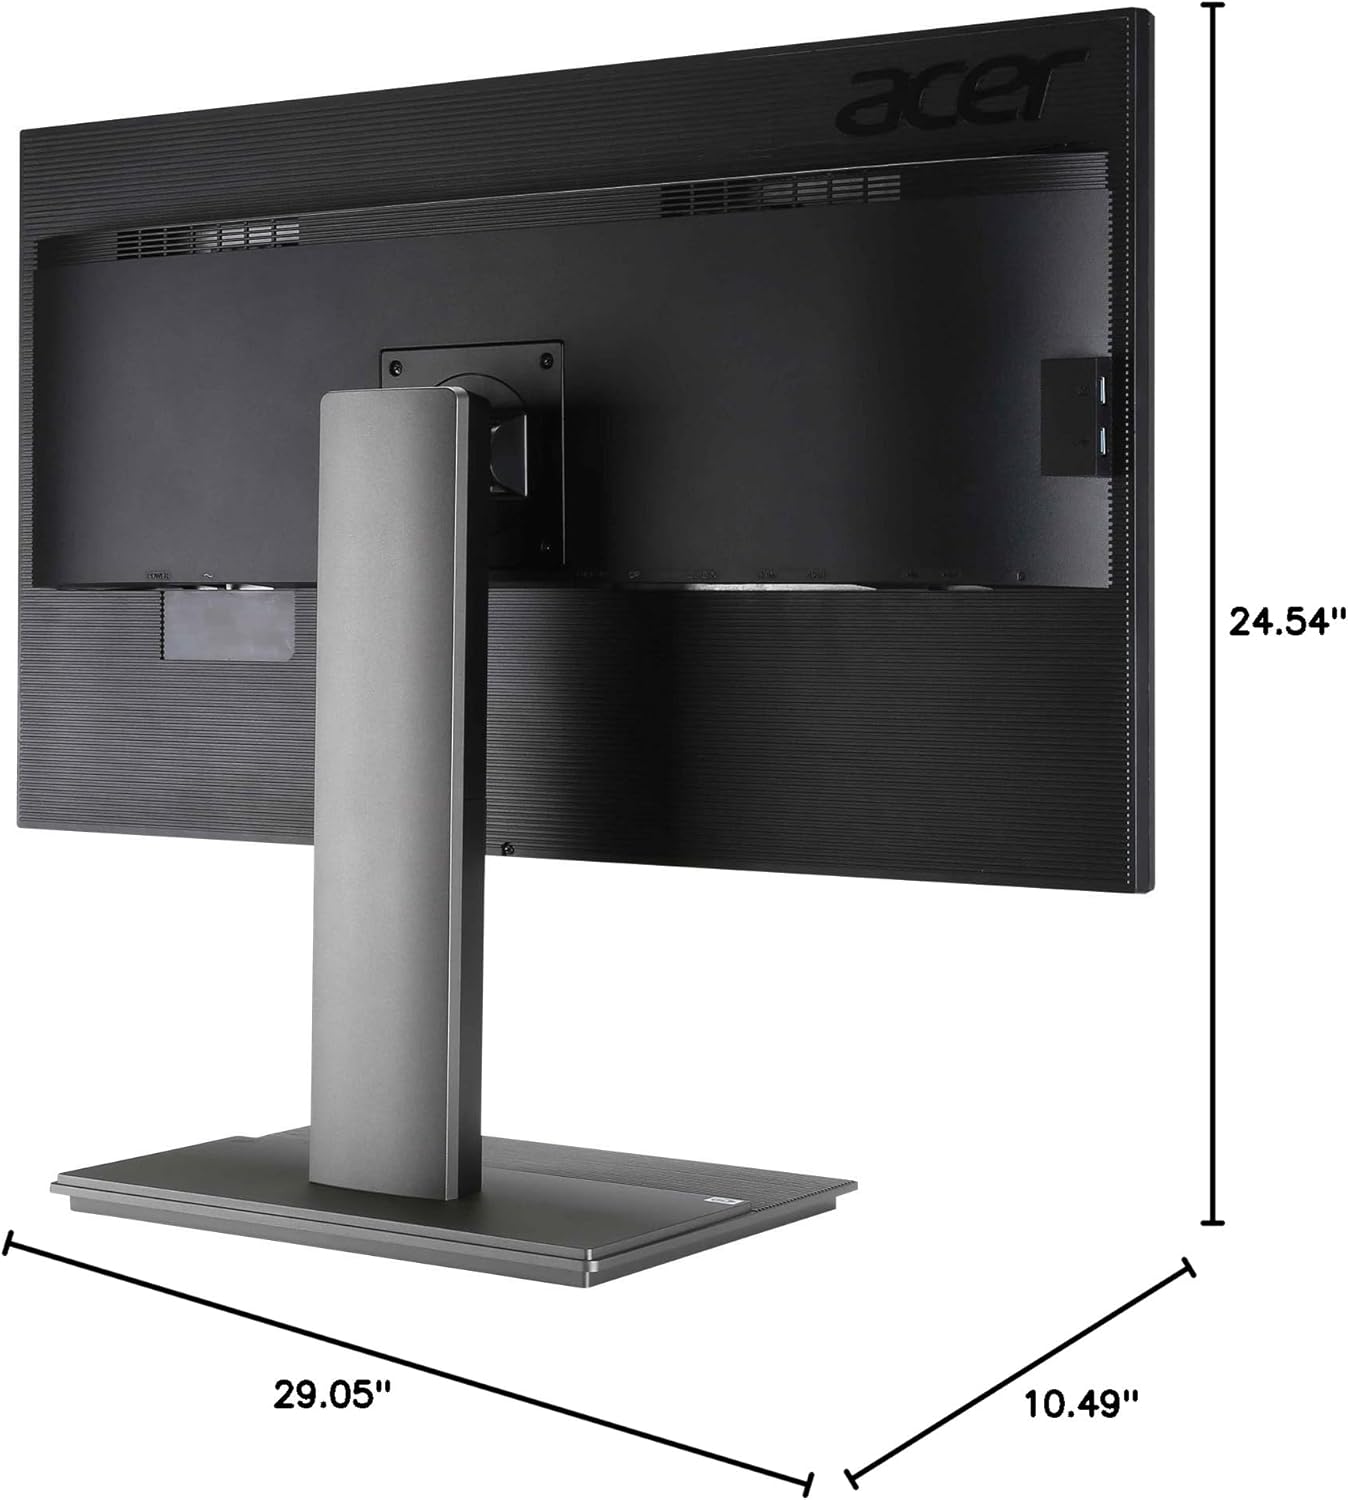
Hình 8.1: Kích thước view of the Acer B326HK monitor.
9. Bảo hành và Hỗ trợ
Để biết thông tin bảo hành và hỗ trợ kỹ thuật, vui lòng tham khảo thẻ bảo hành đi kèm sản phẩm hoặc truy cập trang hỗ trợ chính thức của Acer. website. You may need your monitor's serial number, which is typically located on a label on the back of the monitor.
Acer Official Webđịa điểm: https://www.acer.com/support