1. Güvenlik Bilgileri
Please read and understand all safety information before operating this digital multimeter. Failure to follow these instructions may result in electric shock, fire, or damage to the device.
- Herhangi bir ölçüm yapmadan önce multimetrenin doğru fonksiyona ve aralığa ayarlandığından emin olun.
- Her fonksiyon için belirtilen maksimum giriş değerlerini aşmayın.
- Vol ile çalışırken dikkatli oluntag30V AC RMS, 42V tepe veya 60V DC'nin üzerindeki voltajlardan kaçının, çünkü bunlar elektrik çarpması tehlikesi oluşturur.
- Her kullanımdan önce test uçlarını hasar açısından kontrol edin. Yalıtımı hasarlıysa kullanmayın.
- UYARI: Before opening the case for battery or fuse replacement, always remove the test leads from the object being measured and disconnect from any power source to avoid electric shock.
- This device features F0.5A/600V fuse overload protection. Replace fuses only with specified types and ratings.
2. Ürün Bittiview
The ANENG AN101 is a portable digital multimeter designed for measuring AC voltage, AC current, DC voltage, DC current, and resistance. It features an easy-to-read LCD display with 1999 counts and supports both automatic and manual ranging for versatile use in various electrical and electronic applications.
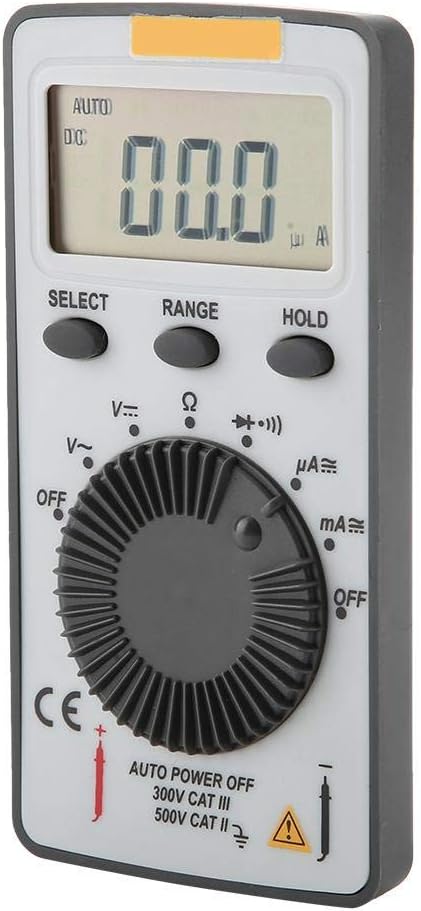
Şekil 2.1: Ön view of the ANENG AN101 Digital Multimeter. This image displays the device's LCD screen, the central rotary function dial, and the 'SELECT', 'RANGE', and 'HOLD' buttons.
3. Kurulum
3.1 Pil Kurulumu
- Multimetrenin elektriğinin kesildiğinden ve test uçlarının bağlantısının kesildiğinden emin olun.
- Cihazın arkasındaki pil bölmesini bulun.
- Pil bölmesi kapağını açmak için tornavida kullanın.
- Insert two 3V CR2032 batteries, observing the correct polarity.
- Pil bölmesi kapağını yerine takın ve vidayla sabitleyin.

Şekil 3.1: Geri view of the ANENG AN101 Digital Multimeter. This image shows the battery compartment cover and a safety warning regarding opening the case.
3.2 Test Uçlarının Bağlanması
- Kırmızı test ucunu 'VΩmA' giriş jakına takın.
- Insert the black test lead into the 'COM' input jack.
- Ensure the connections are firm before proceeding with measurements.
4. Kullanım Talimatları
4.1 Güç Açma/Kapatma
Rotate the central dial from 'OFF' to any measurement function to power on the device. To power off, rotate the dial back to 'OFF'. The multimeter also features an auto power-off function to conserve battery life.
4.2 Fonksiyon Seçimi
Turn the rotary dial to select the desired measurement function (e.g., DC Voltage (V=), AC Voltage (V~), Resistance (Ω), DC Current (μA=, mA=), AC Current (μA~, mA~)).
4.3 Range Selection (Auto/Manual)
The AN101 supports both automatic and manual ranging. In auto-ranging mode, the meter automatically selects the best range for the measurement. Press the 'RANGE' button to switch between auto and manual ranging. In manual mode, press 'RANGE' repeatedly to cycle through available ranges.
4.4 DC Vol Ölçümütage
- Set the rotary dial to 'V='.
- Kırmızı test ucunu devrenin pozitif kutbuna, siyah test ucunu ise negatif kutbuna bağlayın.
- Cildi okutage value on the LCD display. The polarity will be indicated automatically.
4.5 AC Vol Ölçümütage
- Set the rotary dial to 'V~'.
- Test uçlarını AC voltaj regülatörüne bağlayın.tage kaynak.
- Cildi okutagLCD ekranda e değeri.
4.6 DC Akımının Ölçülmesi
- Set the rotary dial to 'μA=' or 'mA=' depending on the expected current.
- UYARI: To measure current, the multimeter must be connected in series with the circuit. Do not connect it in parallel across a voltage kaynak.
- Break the circuit and connect the multimeter in series, ensuring the red lead is towards the higher potential and the black lead towards the lower potential.
- LCD ekranda mevcut değeri okuyun.
4.7 Alternatif Akımın Ölçülmesi
- Set the rotary dial to 'μA~' or 'mA~'.
- UYARI: Multimetreyi devreye seri olarak bağlayın.
- Break the circuit and connect the multimeter in series.
- LCD ekranda mevcut değeri okuyun.
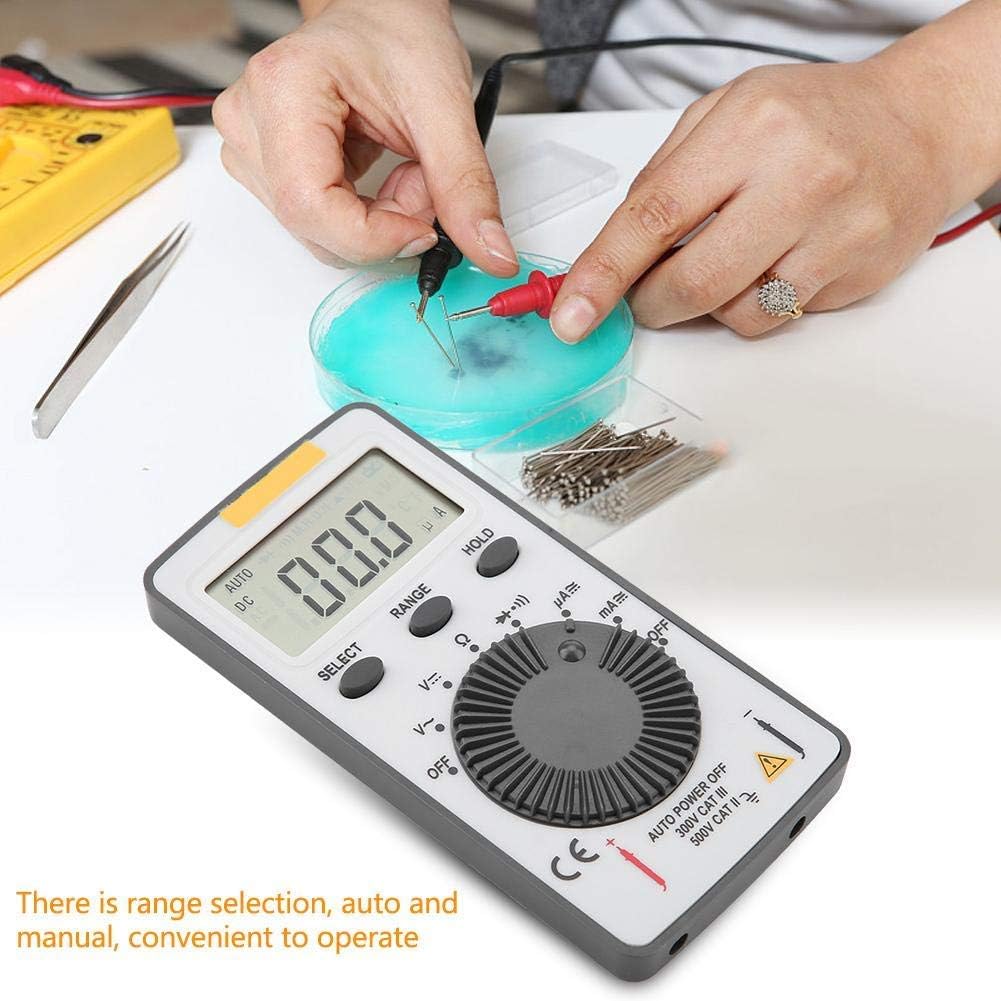
Figure 4.1: The ANENG AN101 Digital Multimeter in use, demonstrating its application for measuring electrical components. The image highlights the ease of operation with auto and manual range selection.
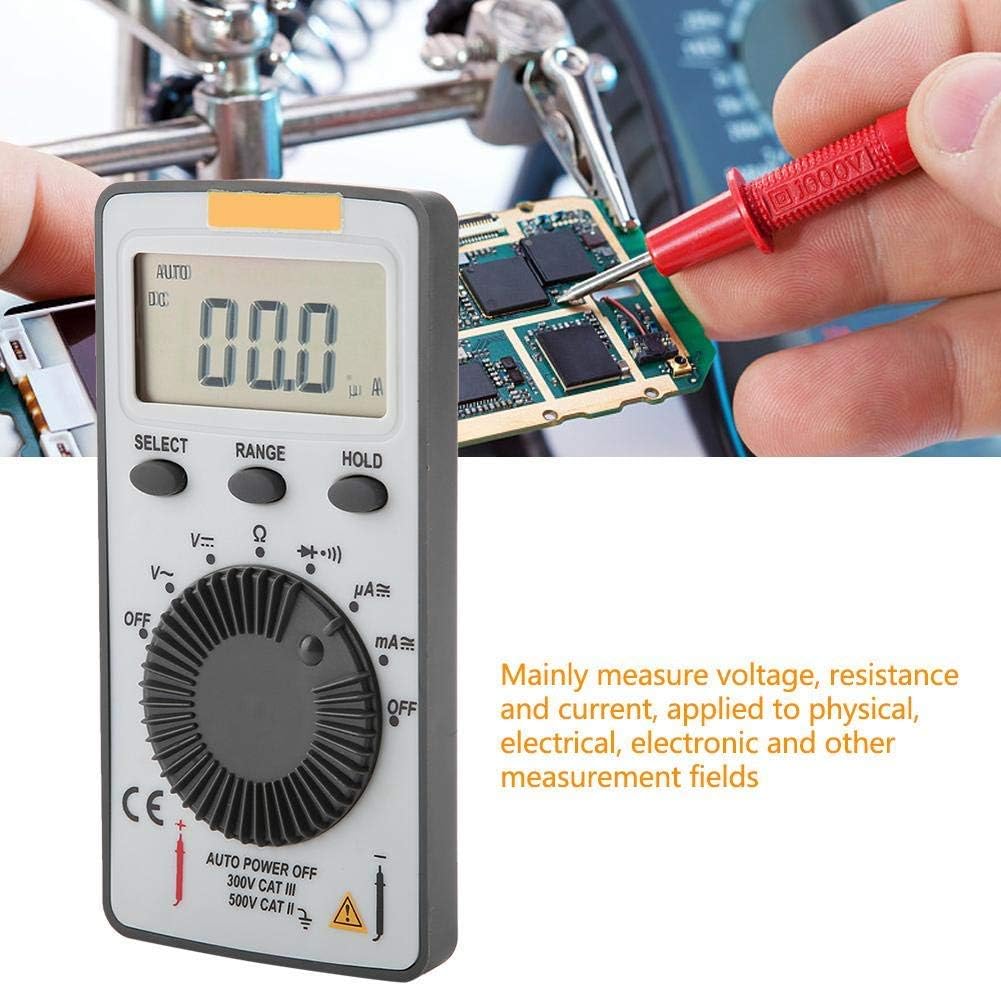
Figure 4.2: The ANENG AN101 Digital Multimeter being used to measure voltage or current on a circuit board. This illustrates its primary function in physical, electrical, and electronic measurement fields.
4.8 Tutma İşlevi
Ekrandaki mevcut okumayı dondurmak için 'HOLD' düğmesine basın. Dondurulmuş değeri devre dışı bırakmak ve canlı ölçümlere devam etmek için tekrar basın.
5. Bakım
5.1 Temizlik
Wipe the device with a dry, soft cloth. Do not use abrasive cleaners or solvents. Keep the device free from dust and moisture.
5.2 Pil Değişimi
When the battery indicator appears on the display, replace the batteries as described in Section 3.1. Always use two new 3V CR2032 batteries.
5.3 Sigorta Değişimi
If the current measurement functions stop working, the fuse may need replacement. Refer to the safety warnings in Section 1 before attempting to open the case. Replace the fuse only with a F0.5A/600V type.
6. Sorun Giderme
- Görüntü yok: Pillerin montajını kontrol edin ve pillerin bitmediğinden emin olun.
- "OL" görüntülendi: This indicates an over-range condition. Either the measured value exceeds the selected range, or the circuit is open (for resistance/current measurements). Select a higher range or check circuit continuity.
- Yanlış okumalar: Ensure test leads are properly connected, the correct function and range are selected, and the circuit connections are secure.
- Akım ölçümü çalışmıyor: Check the fuse as described in Section 5.3.
7. Özellikler
| Özellik | Şartname |
|---|---|
| Marka | ANENG |
| Örnek | AN101 |
| Görüntülemek | LCD, 1999 Counts |
| Güncelleme Oranı | 2 kez / saniye |
| LCD Boyutu | 40*20 mm |
| Polarite Göstergesi | Automatic '-' |
| Aşırı Aralık Göstergesi | 'OL' |
| Aralık Seçimi | Otomatik ya da Manuel |
| Çalışma Sıcaklığı | 0℃ to 40℃, Relative Humidity: <80% RH |
| Depolama Sıcaklığı | -10℃ to 50℃, Relative Humidity: <85% RH |
| Pil Türü | 2 * 3V, CR2032 size (not included) |
| DC Hacmitage Giriş Empedansı | 10MΩ |
| DC Hacmitage Aşırı Yük Koruması | 600VDC/AC RMS |
| Maks. DC Hacmitage Giriş | 600V doğru akım |
| DC Current Overload Protection | F0.5A / 600V Fuse |
| Max. DC Current Input | 500mA |
| AC Current Overload Protection | F0.5A / 600V Fuse |
| Max. AC Current Input | 500mA |
| AC Current Frequency Range | 40Hz - 400Hz |
| AC Hacmitage Giriş Empedansı | 10MΩ |
| AC Hacmitage Frekans Aralığı | 40Hz - 400Hz |
| AC Hacmitage Aşırı Yük Koruması | 600VDC/AC RMS |
| Maks. AC Hacmitage Giriş | 600V ACRMS |
| Ağırlık | Yaklaşık 102g / 3.6oz |
| Boyutlar | Approx. 110 * 55 * 10 mm / 4.3 * 2.2 * 0.4 in |
| Paket İçeriği | 1 * Digital Multimeter, 2 * Test Leads |

Figure 7.1: Dimensions of the ANENG AN101 Digital Multimeter, showing its compact size for portability.
8. Garanti ve Destek
Garanti bilgileri ve teknik destek için lütfen satın alma sırasında verilen belgelere bakın veya satıcınızla iletişime geçin. Satın alma belgesi olarak satın alma fişinizi saklayın.