giriiş
This manual provides detailed instructions for the safe and efficient operation of your SINGER M1005 Electric Sewing Machine. The M1005 is designed for various sewing projects, offering 4 built-in stitches with 11 options, adjustable thread tension, and a reverse lever for securing seams. Please read this manual thoroughly before using the machine to ensure proper setup and function.
Önemli Güvenlik Talimatları
Elektrikli bir cihaz kullanırken, aşağıdakiler de dahil olmak üzere temel güvenlik önlemlerine her zaman uyulmalıdır:
- Bu dikiş makinesini kullanmadan önce tüm talimatları okuyun.
- Keep these instructions in a convenient place near your machine.
- Always unplug the machine from the electrical outlet immediately after using and before cleaning, removing covers, lubricating, or making any other user servicing adjustments mentioned in the instruction manual.
- Oyuncak olarak kullanılmasına izin vermeyin. Bu cihaz çocuklar tarafından veya çocukların yakınında kullanıldığında çok dikkatli olunmalıdır.
- Bu ürünü yalnızca bu kılavuzda açıklanan amaçlanan kullanım amacı doğrultusunda kullanın.
- Never operate this sewing machine if it has a damaged cord or plug, if it is not working properly, or if it has been dropped or damaged.
- Parmaklarınızı tüm hareketli parçalardan uzak tutun. Dikiş makinesi iğnesinin çevresinde özel dikkat gereklidir.
- Her zaman doğru iğne plakasını kullanın. Yanlış plaka iğnenin kırılmasına neden olabilir.
- Dikiş yaparken kumaşı çekmeyin veya itmeyin. Bu, iğnenin yönünü değiştirerek kırılmasına neden olabilir.
- İğne bölgesinde herhangi bir ayar yaparken, örneğin iğneyi ipliklerken, iğneyi değiştirirken, bobini ipliklerken veya baskı ayağını değiştirirken dikiş makinesini kapatın.
Ürün Bittiview
The SINGER M1005 is a compact and user-friendly electric sewing machine designed for ease of use and portability.
Temel Özellikler:
- 4 Stitches in 11 Options: Select from various straight stitches, zigzag stitches, blind hem stitch, and multi-stitch zigzag using the Stitch Selector Dial.
- Adjustable Thread Tension: Allows for fine-tuning stitch quality for different fabrics and threads.
- Top Drop-in Bobbin: Features a transparent bobbin cover for easy monitoring of thread supply and simple bobbin insertion.
- Free-Arm Design: Facilitates sewing of cylindrical items like trouser hems and sleeve cuffs.
- Geri Vites Kolu: Conveniently located for securing the beginning and end of seams with reverse stitches.
- Extra High-Presser Foot Lifter: Provides additional clearance for sewing multiple layers or thicker fabrics.
- Taşınabilir Tasarım: Lightweight for easy transport and storage.
Dahil Bileşenler:
Your SINGER M1005 sewing machine package includes the following items:
- 1 Dikiş Makinası
- All-purpose Foot
- Extra Needle
- Finger Guard (pre-installed, removable)
- Bobbins: Class 15 (Transparent)
- Manuel İğneye Geçirici
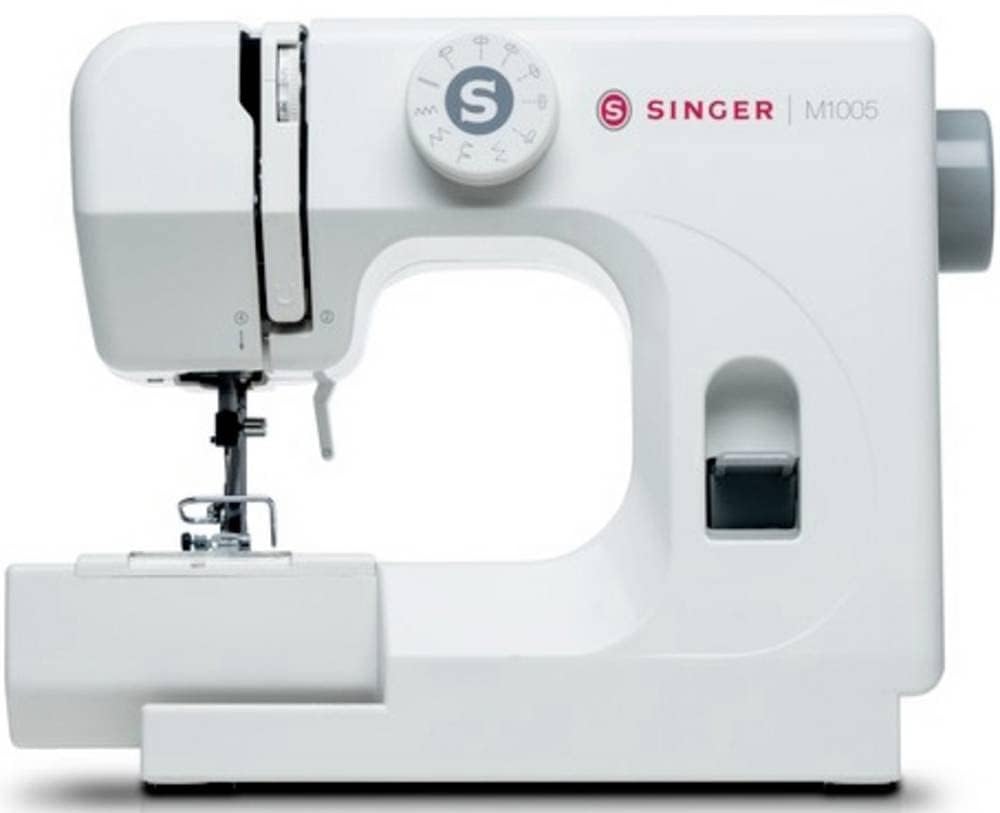
Şekil 1: The SINGER M1005 Electric Sewing Machine, showcasing its compact design and ready-to-use setup.
Kurmak
1. Güç Bağlantısı
- Makineyi sağlam, düz bir yüzeye yerleştirin.
- Güç anahtarının "KAPALI" konumunda olduğundan emin olun.
- Güç kablosunu makinenin güç girişine ve ardından uygun bir elektrik prizine bağlayın.
2. Bobini Sarma
Proper bobbin winding ensures smooth stitching.
- Makara pimine bir makara iplik yerleştirin.
- İpliği üst iplik kılavuzundan geçirin ve bobin sarma gerilim diskinin etrafından dolayın.
- Insert the thread through the small hole in the bobbin from the inside out.
- Place the bobbin onto the bobbin winder spindle.
- Bobin sarma milini sağa doğru itin.
- Turn on the machine and gently press the foot controller (if applicable) or press the start button to begin winding.
- Once the bobbin is full, push the spindle back to the left and cut the thread.
3. Inserting the Top Drop-in Bobbin
The transparent bobbin cover allows for easy monitoring.
- İğnenin en üst konumda olduğundan emin olun.
- Open the transparent bobbin cover plate.
- Sarılmış makarayı, ipliği saat yönünün tersine açılacak şekilde makara kutusuna yerleştirin.
- Guide the thread into the tension spring and then into the thread guide slot.
- Pull out approximately 10-15 cm (4-6 inches) of thread.
- Bobin kapak plakasını değiştirin.
4. Üst Dişliyi Takma
Correct upper threading is crucial for proper stitch formation.
- Baskı ayağı kaldırıcısını kaldırın.
- Makara pimine bir makara iplik yerleştirin.
- İpliği üst iplik kılavuzundan geçirin.
- Follow the numbered threading path down the right channel, up the left channel, and through the take-up lever from right to left.
- Continue guiding the thread down to the needle bar thread guide.
- İpliği iğnenin ön tarafından arka tarafına doğru geçirin.
- Pull approximately 15-20 cm (6-8 inches) of thread through the needle eye.
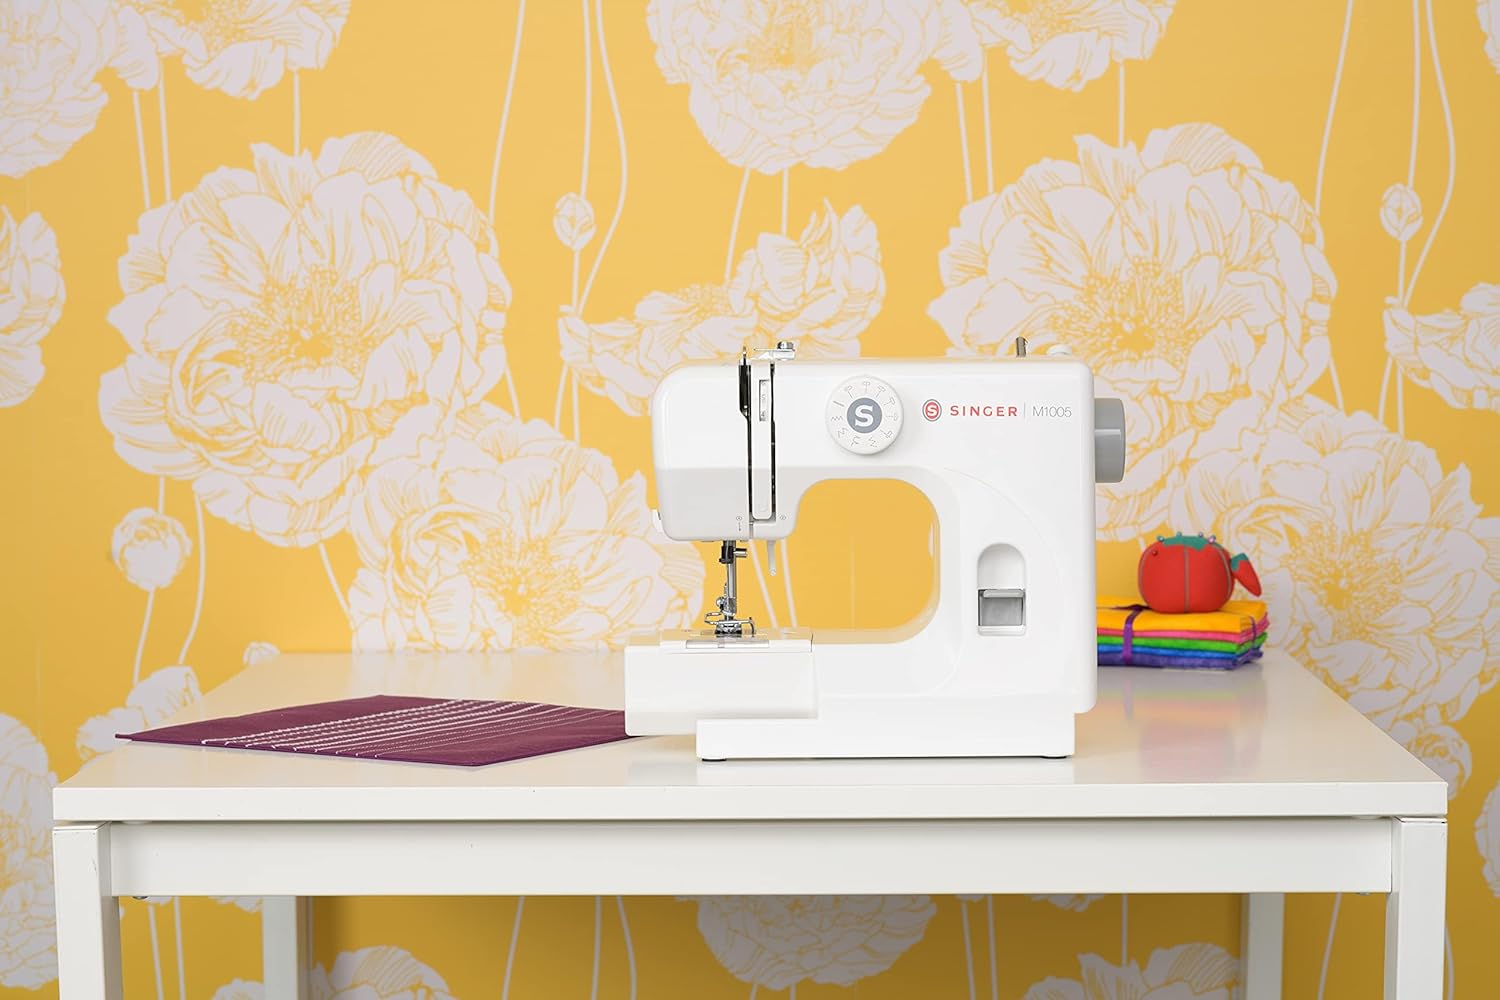
Şekil 2: Ön view of the SINGER M1005, highlighting the stitch selector dial and general threading area.
Kullanım Talimatları
1. Dikiş Seçimi
The SINGER M1005 offers 4 core stitch types with 11 different options.
- Çevir Dikiş Seçici Kadranı to choose your desired stitch pattern.
- Available stitches include various straight stitches (different lengths/positions), three types of zigzag stitches (different lengths/widths), one blind hem stitch, and one multi-stitch zigzag.
- The optimum stitch width for this machine is 4 mm.
2. Adjusting Thread Tension
Adjust the needle thread tension to achieve balanced stitches.
- The tension dial is usually located on the front of the machine.
- Turn the dial to a higher number for tighter tension, and a lower number for looser tension.
- Test on a scrap piece of fabric to find the ideal setting for your fabric and thread combination.
3. Using the Reverse Lever
The reverse lever is used to secure the beginning and end of seams.
- To sew in reverse, press and hold the Ters Kol located on the front of the machine.
- Release the lever to resume forward stitching.
4. Free-Arm Sewing
To utilize the free-arm feature for sewing cuffs, pant hems, or other small circular items:
- Remove the accessory storage compartment (if present) by sliding it off to the left.
- The narrow free arm is now exposed, allowing you to slide fabric around it.
5. Extra High-Presser Foot Lifter
For thicker fabrics or multiple layers, the presser foot can be raised higher than its standard position.
- Lift the presser foot lifter to its highest position.
- For extra clearance, push the lifter up further to engage the extra high position.
Bakım
Düzenli bakım, dikiş makinenizin uzun ömürlü olmasını ve en iyi performansı göstermesini sağlar. Herhangi bir bakım işlemi yapmadan önce makinenin fişini daima çekin.
1. Makinenin Temizlenmesi
- Lint Temizleme: Bobin bölgesinden ve besleme dişlilerinden tüy ve tozu temizlemek için küçük bir fırça kullanın.
- Dış Temizlik: Dış yüzeyleri yumuşak, damp kumaş. Sert kimyasallar kullanmayın.
2. İğne Değişimi
Replace the needle regularly (after 8-10 hours of sewing) or if it becomes bent, dull, or broken.
- Makineyi kapatıp fişini çekin.
- İğneyi gevşetin clamp vidası.
- Eski iğneyi çıkarın.
- Yeni iğneyi düz tarafı makinenin arkasına bakacak şekilde yerleştirin ve sonuna kadar yukarı doğru itin.
- İğneyi sıkınamp güvenli bir şekilde vidalayın.
Sorun giderme
Karşılaşabileceğiniz yaygın sorunlara yönelik çözümler için bu bölüme bakın.
| Sorun | Olası Neden | Çözüm |
|---|---|---|
| Atlanan Dikişler | Yanlış iğne, bükülmüş iğne, yanlış iplik geçirme. | İğneyi doğru tip/boyutta bir iğneyle değiştirin, makineyi doğru şekilde yeniden iplikleyin. |
| Konu Kırma | Incorrect threading, tension too tight, damaged needle, poor quality thread. | Re-thread machine, adjust tension, replace needle, use good quality thread. |
| Kumaş Büzülmesi | Tension too tight, incorrect stitch length, wrong needle for fabric. | Loosen tension, adjust stitch length, use appropriate needle. |
| Makine Sıkışma | Thread tangled in bobbin area, lint buildup, incorrect bobbin insertion. | Remove bobbin and clean bobbin case, re-insert bobbin correctly. |
| Düzensiz Dikişler | Incorrect thread tension, improper threading, worn needle. | Adjust tension, re-thread machine, replace needle. |
Özellikler
Technical specifications for the SINGER M1005 Electric Sewing Machine.
- Marka: ŞARKICI
- Model Numarası: M1005 (Part Number: 230246102)
- Renk: Beyaz
- Malzeme: Plastik
- Ürün Ağırlığı: 3 Kilogram
- Güç Kaynağı: Kablolu Elektrik
- Stitch Options: 4 built-in stitches with 11 options
- Max Stitch Width: 4 mm
- Bobin Tipi: Class 15 (Transparent, Top Drop-in)
- Özel Özellikler: Adjustable Thread Tension, Free-Arm Design, Reverse Lever, Extra High-Presser Foot Lifter
Garanti ve Destek
For warranty information, service, or technical support, please refer to the warranty card included with your product or contact SINGER customer service directly. Keep your purchase receipt as proof of purchase.
You can typically find contact information for SINGER support on their official websitede veya ürün ambalajının içinde.