1. Giriş
This manual provides essential information for the safe and efficient use of your Alienware AW3418DW 34.1-inch Curved Gaming Monitor. This monitor features a WQHD (3440x1440) resolution, a 120Hz refresh rate (overclocked), and NVIDIA G-SYNC technology for an immersive gaming experience. Please read this manual thoroughly before operating the device.
2. Güvenlik Bilgileri
- Always disconnect the power cable from the wall outlet before cleaning the monitor.
- Yangın veya elektrik çarpması tehlikesini önlemek için monitörü yağmura veya neme maruz bırakmayın.
- Monitörü açmayınasing. İçeride kullanıcı tarafından onarılabilecek hiçbir parça bulunmamaktadır. Tüm bakım ve onarım işlemlerini yetkili servis personeline yaptırın.
- Düşmesini önlemek için monitörü sabit ve düz bir yüzeye yerleştirin.
- Monitörün etrafında yeterli havalandırma olduğundan emin olun. Havalandırma açıklıklarını kapatmayın.
- Yalnızca monitörle birlikte verilen güç adaptörünü ve kabloları kullanın.
3. Paket İçeriği
Paketin tüm bileşenlerinin mevcut olduğunu doğrulayın:
- Alienware AW3418DW Monitor
- Monitör Standı (Taban ve Yükseltici)
- Güç kablosu
- DisplayPort Kablosu
- HDMI Kablosu
- USB 3.0 Yukarı Akış Kablosu
- Belgeler (Hızlı Kurulum Kılavuzu, Güvenlik Bilgileri)
4. Kurulum
4.1 Fiziksel Kurulum
Carefully remove the monitor and its components from the packaging. Place the monitor face down on a soft cloth or cushion to prevent scratches.
Standın Takılması
- Stand yükselticiyi monitör paneline, yerine oturana kadar takın.
- Attach the stand base to the stand riser and tighten the captive screw.

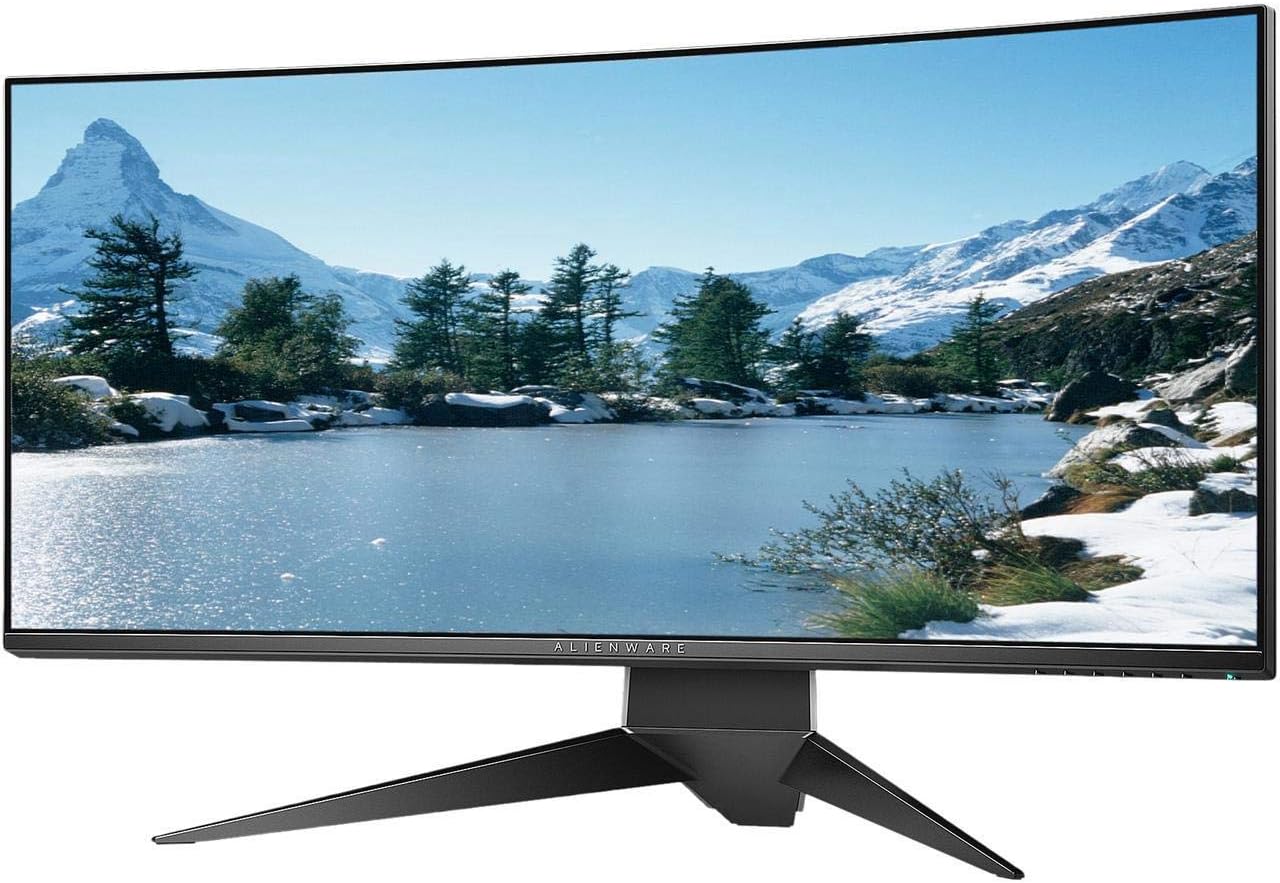
Şekil 4.1: Ön view of the Alienware AW3418DW monitor with its stand attached.

Şekil 4.2: Yan view of the Alienware AW3418DW monitor with its stand.
Şekil 4.3: Arka view of the Alienware AW3418DW monitor showing the stand and AlienFX lighting.
VESA Montajı
The monitor supports VESA mounting (100 x 100 mm). Remove the stand riser by pressing the release button and then attach the VESA-compatible mount to the monitor using appropriate screws. Ensure the mount can support the monitor's weight of 26.1 pounds (without stand).

Figure 4.4: Monitor dimensions for VESA mount compatibility.
4.2 Bağlantı Kabloları
Gerekli kabloları monitörünüze ve bilgisayarınıza bağlayın.
- Güç kablosu: Güç kablosunu monitörün güç portuna ve ardından bir duvar prizine bağlayın.
- Video Kablosu: Connect either the DisplayPort cable or the HDMI cable from your computer's graphics card to the corresponding port on the monitor. For optimal performance, especially for 120Hz refresh rate and G-SYNC, use the DisplayPort connection.
- USB Yukarı Akış Kablosu: Connect the USB 3.0 upstream cable from your computer to the monitor's upstream USB port to enable the monitor's USB hub functionality.
- USB Aşağı Akış Bağlantı Noktaları: Connect your USB devices (e.g., keyboard, mouse, webcam) to the four USB 3.0 downstream ports on the monitor.
5. Kullanım Talimatları
5.1 Güç Açma/Kapatma
Monitörü açmak veya kapatmak için üzerindeki güç düğmesine basın. Güç LED'i, monitörün durumunu gösterecektir.
5.2 Ekran Üstü Görüntüleme (OSD) Navigasyonu
The On-Screen Display (OSD) menu allows you to adjust various monitor settings. Use the control buttons, typically located on the bottom right or rear of the monitor, to navigate the OSD.
- Press a control button to activate the OSD menu.
- Menü seçenekleri arasında gezinmek için gezinme düğmelerini (yukarı/aşağı/sol/sağ) kullanın.
- Press the select button to confirm a selection or enter a sub-menu.
- Use the back/exit button to return to the previous menu or exit the OSD.
5.3 Ekran Ayarları
Optimum görünüm için ekran ayarlarını yapın viewing and gaming performance.
- Çözünürlük: Set your computer's display resolution to 3440x1440 for the native WQHD experience.
- Yenileme Hızı: The monitor supports up to 120Hz refresh rate (overclocked). Ensure your graphics card drivers are updated and the refresh rate is set in your operating system's display settings or graphics control panel.
- NVIDIA G-SYNC: For tear-free and smooth gameplay, enable G-SYNC in your NVIDIA Control Panel. This feature synchronizes the monitor's refresh rate with your GPU's frame rate.
- Parlaklık/Kontrast: Adjust these settings in the OSD menu to suit your environment and preference.
5.4 AlienFX Lighting
Customize the AlienFX lighting zones on your monitor through the OSD menu or Alienware Command Center software (if installed on your PC). You can select colors, effects, and synchronize lighting with other Alienware devices.
5.5 USB Hub Kullanımı
The monitor acts as a USB 3.0 hub, providing convenient access to four downstream USB ports for connecting peripherals. Ensure the USB upstream cable is connected to your computer for this feature to function.
6. Bakım
6.1 Monitörün Temizlenmesi
- Temizliğe başlamadan önce monitörü daima elektrik prizinden çıkarın.
- Hafifçe yumuşak, tüy bırakmayan bir bez kullanın.ampSu veya aşındırıcı olmayan bir ekran temizleyicisi ile temizleyin.
- Temizleyiciyi doğrudan ekrana püskürtmeyin.
- Ekrandaki toz ve lekeleri gidermek için ekranı nazikçe silin.
- Dış yüzeyi temizleyin.asinYumuşak ve kuru bir bezle silin.
6.2 Depolama
If storing the monitor for an extended period, disconnect all cables, carefully disassemble the stand (if applicable), and store it in its original packaging in a cool, dry place.
7. Sorun Giderme
Monitörünüzde sorunlarla karşılaşırsanız, aşağıdaki genel sorun giderme adımlarına bakın:
- Görüntü yok: Ensure all power and video cables are securely connected. Check if the monitor is powered on and the correct input source is selected in the OSD.
- Titreme/Kekeleme: Verify that your graphics drivers are up to date. Ensure G-SYNC is properly configured in the NVIDIA Control Panel. Check for interference from other electronic devices.
- Hatalı Çözünürlük/Yenileme Hızı: Adjust the display settings in your operating system or graphics control panel to the native resolution (3440x1440) and desired refresh rate (up to 120Hz).
- Ölü Pikseller: The Alienware AW3418DW comes with a Premium Panel Guarantee. Refer to the warranty information for details on pixel policy.
- USB Bağlantı Noktaları Çalışmıyor: Monitörden bilgisayarınıza USB 3.0 bağlantı kablosunun takılı olduğundan emin olun.
8. Özellikler
| Özellik | Şartname |
|---|---|
| Marka | Uzaylı yazılımı |
| Model Numarası | AW3418DW |
| Ekran Boyutu | 34.1 inç |
| Çözünürlük | WQHD (3440 x 1440 Pixels) |
| En Boy Oranı | 21:9 |
| Yenileme Hızı | 120 Hz (Hız Aşırtılmış) |
| Tepki Süresi | 4 Milisaniye |
| Uyarlanabilir Senkronizasyon Teknolojisi | NVIDIA G-SYNC |
| Görüntü Türü | LED IPS |
| Eğrilik | 1900R |
| Parlaklık | 300 cd/m² |
| Kontrast Oranı | 1000:1 |
| ViewAçı | 178 Derece |
| Bağlantı | 1x DisplayPort (1.2), 1x HDMI (1.4), 4x USB 3.0 Downstream, 1x USB 3.0 Upstream |
| Ürün Ağırlığı | 26.1 pound (ayaklık hariç) |
| Montaj Tipi | VESA Compatible (100 x 100 mm) |
9. Garanti ve Destek
Your Alienware AW3418DW monitor is covered by a 3 Years Limited Hardware Warranty Ve 3 Years Advance Exchange Service, dahil olmak üzere Premium Panel Guarantee. The Premium Panel Guarantee ensures a free panel replacement during the limited hardware warranty period even if only one bright pixel is found.
For technical support, warranty claims, or additional information, please visit the official Alienware or Dell support website. You may also find updated drivers and firmware there.
Çevrimiçi destek: www.dell.com/support