Introduction
This manual provides essential information for the proper setup, operation, and maintenance of your Philips 346B1C Curved Monitor. This 34-inch WQHD (3440 x 1440) display features a 100 Hz refresh rate, 5ms response time, and a curved VA panel for an immersive viewing experience. Key features include USB-C docking, MultiView functionality, FreeSync technology, LowBlue Mode, and FlickerFree technology for enhanced user comfort and productivity.

Image: Front view of the Philips 346B1C curved monitor, showcasing its ultrawide display and key features like WQHD, USB-C Docking, and MultiView.
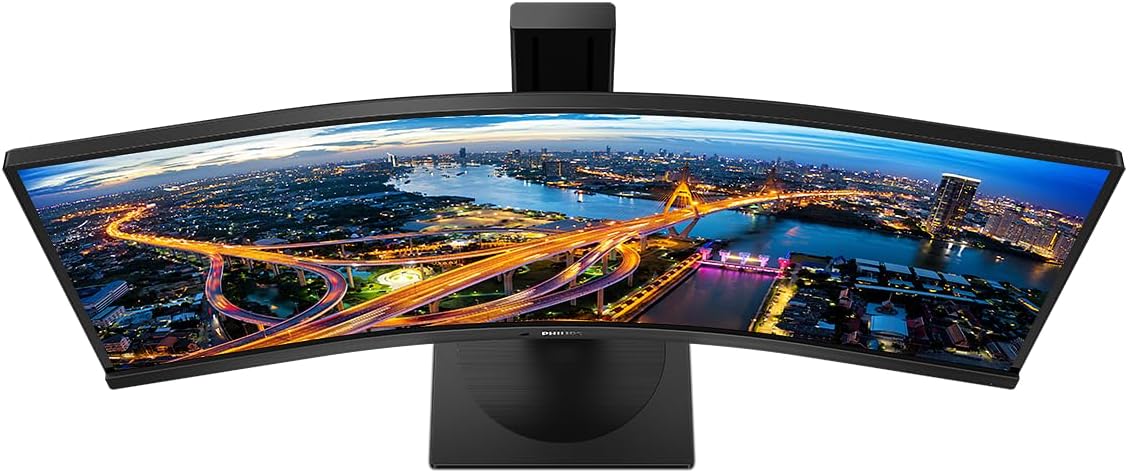
Image: Top-down view of the Philips 346B1C curved monitor, emphasizing the curvature of the screen.
What's in the Box
Verify that all components are present before proceeding with the setup.
- Philips 346B1C Curved Monitor
- Monitor Stand (Base and Neck)
- Power Cable
- HDMI Cable
- DisplayPort Cable
- USB-C to USB-C Cable
- USB-A to USB-B Cable (Upstream)
- Documentation (Quick Start Guide, User Manual CD)
Setup Instructions
1. Assembling the Stand
- Place the monitor face down on a soft, clean surface to prevent scratches.
- Attach the stand neck to the monitor panel. Ensure it clicks securely into place or is fastened with screws if provided.
- Attach the stand base to the stand neck. Tighten the thumb screw or screws from the bottom of the base.

Image: Rear view of the Philips 346B1C monitor, showing the stand attachment point and VESA mounting holes.
2. Connecting to Your Computer
Connect the monitor to your computer using one of the following methods:
- HDMI Connection: Connect one end of the HDMI cable to the monitor's HDMI port and the other end to your computer's HDMI output.
- DisplayPort Connection: Connect one end of the DisplayPort cable to the monitor's DisplayPort and the other end to your computer's DisplayPort output.
- USB-C Connection: Connect one end of the USB-C cable to the monitor's USB-C port and the other end to your computer's USB-C port. This connection supports video, data, and power delivery (up to 90W) to your laptop.
For USB hub functionality, connect the USB-A to USB-B upstream cable from your computer to the monitor's USB-B upstream port.

Image: Detailed view of the monitor's input ports, including DisplayPort (DP), HDMI, and USB-C, for connecting to various devices.
3. Power Connection
Connect the power cable to the monitor's power input and then to a grounded electrical outlet.
4. Initial Power On
Press the power button located on the monitor to turn it on. The monitor should automatically detect the input signal. If not, use the On-Screen Display (OSD) menu to select the correct input source.
Operating Instructions
On-Screen Display (OSD) Menu
The OSD menu allows you to adjust various monitor settings. Use the joystick control located on the back or bottom of the monitor to navigate the menu.
- Brightness/Contrast: Adjust the overall luminance and contrast of the display.
- Color Settings: Fine-tune color temperature, gamma, and color space.
- Input Select: Manually switch between HDMI, DisplayPort, and USB-C inputs.
- Audio: Adjust volume or mute the built-in speakers.
- Picture Mode: Select from preset picture modes (e.g., Standard, Gaming, Text).
MultiView Functionality
The MultiView feature allows you to connect and view content from two different sources simultaneously on the screen. Access this feature through the OSD menu to select Picture-by-Picture (PbP) or Picture-in-Picture (PiP) modes and configure input sources.
USB-C Docking
When connected via USB-C, the monitor acts as a docking station, providing video, data transfer through its integrated USB hub, and power delivery to charge your connected laptop (up to 90W).
SmartErgoBase and Adjustability
The monitor's SmartErgoBase allows for ergonomic adjustments including height, swivel, and tilt to optimize your viewing comfort.

Image: Illustrations demonstrating the monitor's adjustable features, including height adjustment, tilt, and swivel capabilities for ergonomic positioning.
Eye Comfort Features
- LowBlue Mode: Reduces harmful shortwave blue light emissions to prevent eye strain. Activate this mode via the OSD menu.
- FlickerFree Technology: Regulates brightness and reduces flicker for more comfortable viewing. This feature is always active.
- PowerSensor & LightSensor: These sensors automatically adjust monitor brightness based on ambient light conditions and user presence, saving energy and reducing eye strain.
Maintenance
Cleaning the Monitor
- Always unplug the monitor before cleaning.
- Use a soft, lint-free cloth lightly dampened with water or a mild, non-abrasive screen cleaner.
- Do not use alcohol, solvents, or ammonia-based cleaners, as these can damage the screen surface.
- Wipe the screen gently to remove dust and smudges.
- Clean the monitor casing with a soft, dry cloth.
General Care
- Avoid placing heavy objects on the monitor or its cables.
- Do not expose the monitor to direct sunlight, excessive heat, or extreme cold.
- Ensure proper ventilation around the monitor.
Troubleshooting
If you encounter issues with your monitor, refer to the following common troubleshooting steps:
| Problem | Possible Cause | Solution |
|---|---|---|
| No image on screen | Power cable disconnected; Video cable disconnected; Incorrect input source selected. | Ensure power cable is securely connected; Check video cable connections (HDMI, DP, USB-C); Select correct input source via OSD menu. |
| Image is blurry or distorted | Incorrect resolution; Graphics driver issue. | Set display resolution to 3440 x 1440; Update graphics card drivers. |
| No sound from speakers | Volume muted or too low; Incorrect audio output selected on computer. | Adjust monitor volume via OSD; Check computer's audio output settings. |
| USB ports not working | USB upstream cable not connected. | Ensure the USB-A to USB-B upstream cable is connected from the monitor to your computer. |
For further assistance, please refer to the support section or contact Philips customer service.
Specifications
| Feature | Detail |
|---|---|
| Brand | Philips |
| Model Number | 346B1C |
| Screen Size | 34 Inches (86 cm) |
| Resolution | 3440 x 1440 (WQHD) |
| Aspect Ratio | 21:9 |
| Screen Surface | Curved VA Panel |
| Refresh Rate | 100 Hz |
| Response Time | 5 Milliseconds (GtG) |
| Contrast Ratio | 3000:1 (Typical) |
| Brightness | 300 cd/m² |
| Viewing Angle | 178° (H) / 178° (V) |
| Connectivity | 1x HDMI 2.0, 1x DisplayPort 1.2, 1x USB-C 3.2 Gen 1 (upstream, power up to 90W), 1x USB-B (upstream), 4x USB 3.2 (downstream), RJ45 (Ethernet) |
| Adaptive Sync | FreeSync |
| Built-in Speakers | 2x 5W |
| Power Consumption | 5 Watts (Eco mode) |
| Weight | 7.8 Kilograms (with stand) |
Warranty and Support
Warranty Information
This Philips monitor comes with a 2-year manufacturer's warranty. The specific terms and conditions of the warranty can be found in the detailed documentation provided with your product or on the official Philips support website. Your statutory rights as a consumer are not affected by this warranty.
Customer Support
For technical assistance, product inquiries, or warranty claims, please visit the official Philips support website or contact their customer service department. You may need your monitor's model number (346B1C) and serial number (found on the back of the monitor) when contacting support.
Philips Support Website: www.philips.com/support