1. บทนำ
This manual provides detailed instructions for the safe and effective use of your Proster Electrical Tools Set, which includes a 6000 Count Clamp Meter and a Non-Contact Voltage Tester Pen. Please read this manual thoroughly before operation and retain it for future reference.
2. ข้อมูลด้านความปลอดภัย
WARNING: Electrical testing can be hazardous. Always exercise extreme caution and follow all safety guidelines to prevent electric shock or injury.
- ตรวจสอบการไม่มีฉบับเสมอtage before touching any circuit.
- ห้ามใช้งานอุปกรณ์หากพบว่าชำรุดหรือทำงานผิดปกติ
- ตรวจสอบให้แน่ใจว่าได้ติดตั้งและเปลี่ยนแบตเตอรี่อย่างถูกต้อง
- สวมอุปกรณ์ป้องกันส่วนบุคคล (PPE) ที่เหมาะสม เช่น ถุงมือฉนวนและแว่นตานิรภัย
- ห้ามป้อนค่าเกินค่าสูงสุดที่กำหนดไว้สำหรับแต่ละฟังก์ชัน
- Keep hands and fingers away from the probe tips when testing live circuits.
3. เนื้อหาบรรจุภัณฑ์
Your Proster Electrical Tools Set (Model PST088c-PST224) includes:
- Proster 6000 Count Clamp เมตร
- Proster Non-Contact Voltage ปากกาเทสเตอร์
- สายทดสอบ (สีแดงและสีดำ)
- K-Type Thermocouple (for temperature measurement)
- กระเป๋าใส่อุปกรณ์
- AAA Batteries (for Voltage Tester Pen)
- คู่มือการใช้งาน
4. คamp เมตรเกินview
The Proster 6000 Count Clamp Meter is a versatile tool for measuring various electrical parameters. Familiarize yourself with its components:

รูปที่ 1: โพรสเตอร์ Clamp Meter with its auto-ranging control dial and function buttons.
- Clamp ขากรรไกร: สำหรับการวัดกระแสไฟฟ้า AC/DC แบบไม่สัมผัส
- แป้นหมุนเลือกฟังก์ชัน: Selects measurement modes (NCV, AC/DC Current, AC/DC Voltage, Resistance/Capacitance/Diode/Continuity, Frequency, Temperature).
- SELECT/ID Button: Toggles between functions within a dial setting (e.g., AC/DC voltage, resistance/diode/continuity/capacitance). Also activates flashlight.
- RANGE/HOLD Button: Toggles auto-ranging or manual range selection. Long press activates data hold and backlight.
- Hz/DUTY Button: เลือกการวัดความถี่หรือรอบหน้าที่
- จอแสดงผล LCD: แสดงค่าการวัด หน่วย และตัวบ่งชี้
- แจ็คอินพุต: For connecting test leads and thermocouple.
5. ไม่สัมผัส Voltagปากกาทดสอบอีโอเวอร์view
ฉบับที่ไม่ต้องสัมผัสtage Tester Pen provides a safe and convenient way to detect AC voltage.

Figure 2: Proster Non-Contact Voltage Tester Pen, highlighting its compact design and integrated flashlight.
- เคล็ดลับการสอบสวน: ตรวจจับปริมาณ ACtagอีโดยไม่ต้องมีการสัมผัสโดยตรง
- ปุ่มเปิด/ปิด: เปิด/ปิดอุปกรณ์
- Sensitivity Adjustment Button: Toggles between high, medium, and low sensitivity modes. Long press activates the LED flashlight.
- ไฟ LED แสดงสถานะ: การแสดงผลปริมาตรด้วยภาพtagระดับการปรากฏตัวและความไวต่อสิ่งเร้า
- ออด: สัญญาณเตือนแบบเสียงสำหรับปริมาตรtagการตรวจจับอี
6. การตั้งค่า
6.1. การติดตั้งแบตเตอรี่
Both devices require batteries for operation. Ensure correct polarity during installation.
Clamp เมตร:
clamp meter typically uses 9V batteries. Refer to the battery compartment cover on the back of the device for specific instructions and battery type.
แบบไม่สัมผัส Voltage Tester Pen:
ฉบับที่tage tester pen uses 2 x 1.5V AAA batteries. Unscrew the cap at the bottom of the pen to access the battery compartment. Insert the batteries according to the polarity markings and re-secure the cap.
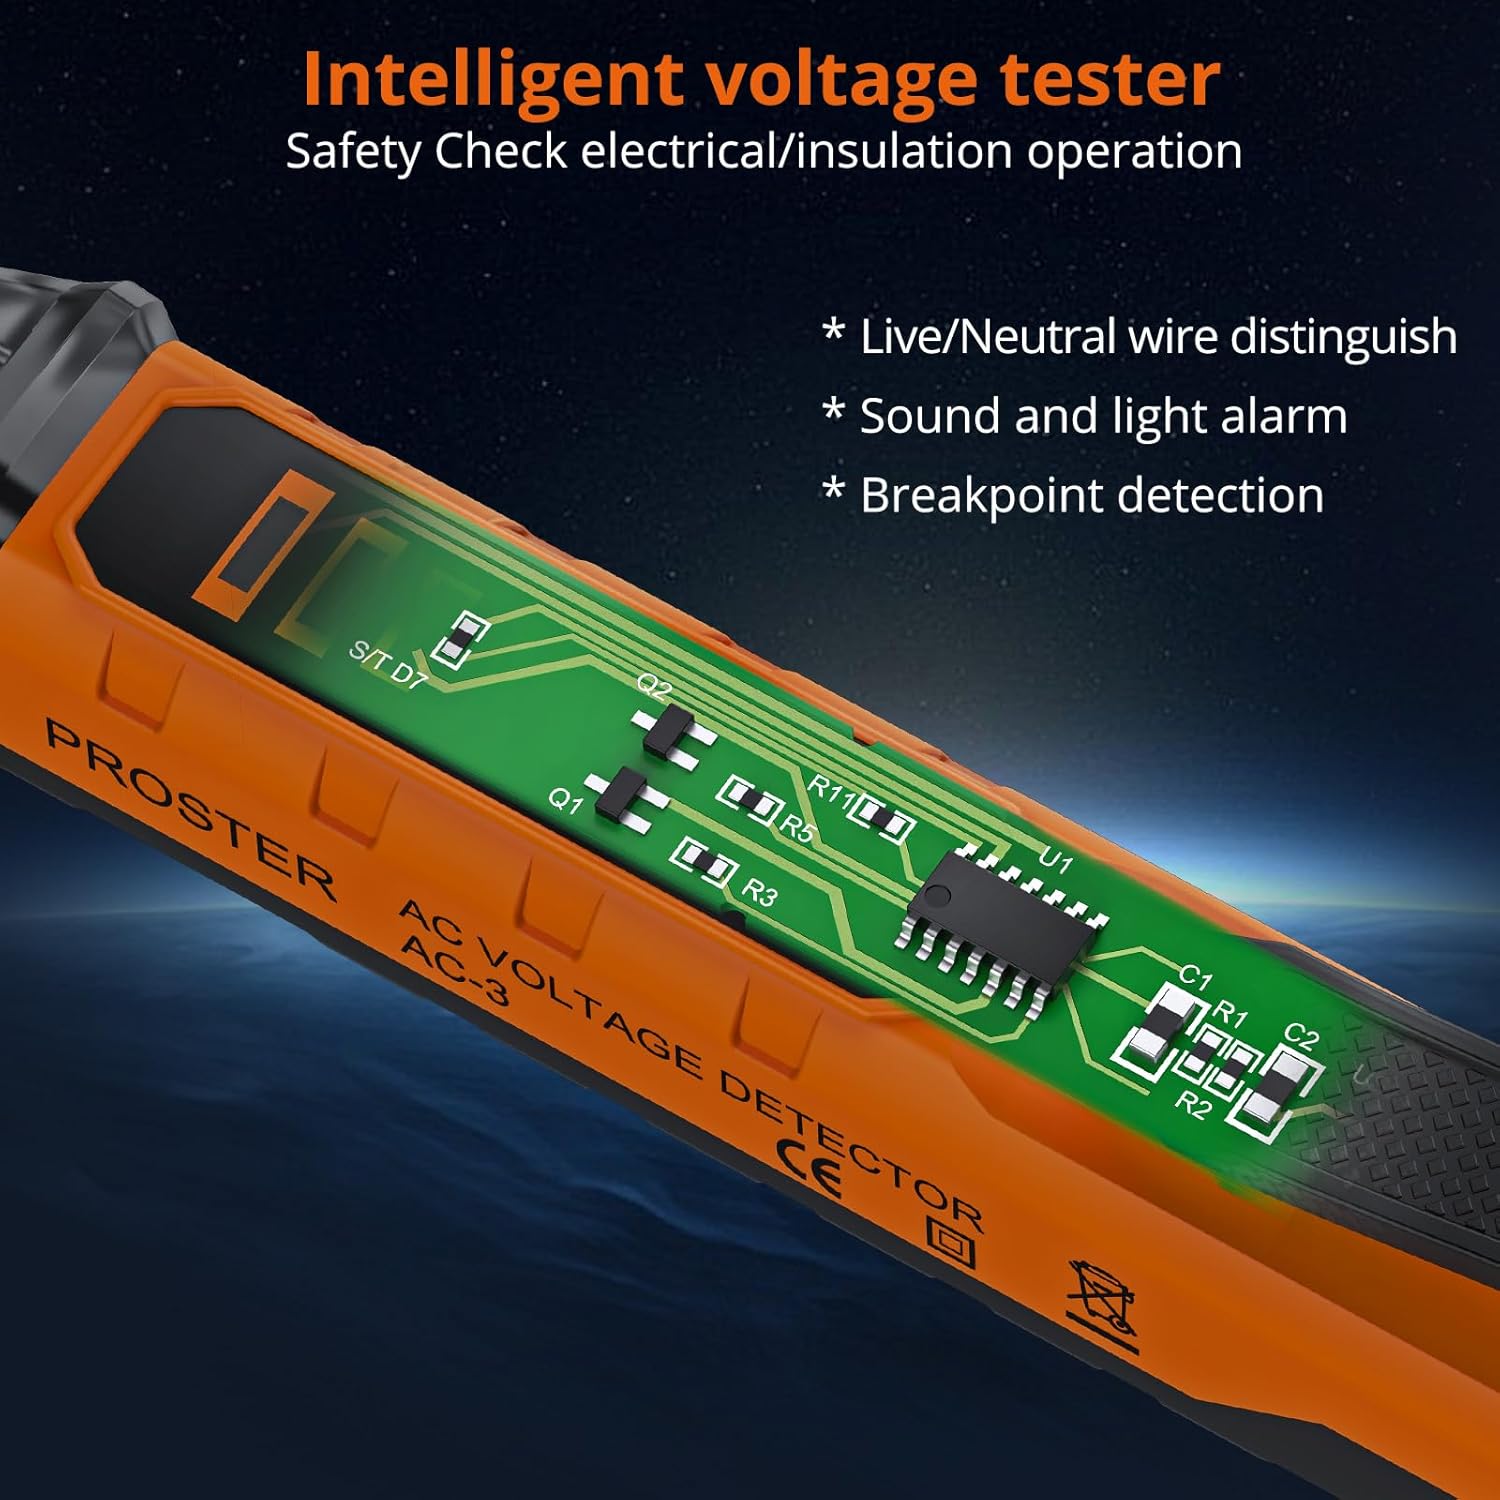
รูปที่ 3: ภายใน view ของ Voltage Tester Pen, illustrating its intelligent design for safety checks.
7. Operating the Clamp เมตร
Turn the function dial to the desired measurement mode. The meter features auto-ranging, automatically selecting the appropriate range for most measurements.
7.1. การวัดกระแสไฟฟ้ากระแสสลับ/กระแสตรง (Cl)amp)
- Turn the function dial to the 'A~' (AC Current) or 'A=' (DC Current) position.
- เปิด clamp งัดปากคีมและครอบตัวนำเดี่ยว ตรวจสอบให้แน่ใจว่าปากคีมปิดสนิทแล้ว
- อ่านค่าปัจจุบันบนจอ LCD
Video 1: Official Proster video demonstrating the Clamp Multimeter with True RMS, including current measurement.
7.2. การวัดปริมาตร AC/DCtage (Leads)
- Insert the red test lead into the 'VΩ' jack and the black test lead into the 'COM' jack.
- หมุนแป้นหมุนฟังก์ชั่นไปที่ 'V~' (ระดับเสียง AC)tage) หรือ 'V=' (แรงดันไฟฟ้ากระแสตรง)tage) position. Use the SELECT button to toggle if needed.
- Connect the test probes to the circuit points you wish to measure.
- อ่านเล่มที่tagค่า e บนจอ LCD

รูปที่ 4: การวัดปริมาตร DCtage using the test leads connected to the clamp เมตร.
7.3. Measuring Resistance, Capacitance, Diode, Continuity
- Insert the red test lead into the 'VΩ' jack and the black test lead into the 'COM' jack.
- Turn the function dial to the 'Ω' (Resistance/Diode/Continuity/Capacitance) position.
- Use the SELECT button to cycle through Resistance (Ω), Diode, Continuity, and Capacitance (F) modes.
- Connect the test probes to the component under test. For continuity, a buzzer will sound if resistance is low.
7.4. การวัดความถี่ (เฮิร์ตซ์)
- Insert the red test lead into the 'VΩ' jack and the black test lead into the 'COM' jack.
- Turn the function dial to the 'Hz' position.
- เชื่อมต่อหัววัดทดสอบเข้ากับวงจร
- อ่านค่าความถี่บนจอ LCD
7.5. Measuring Temperature (°C/°F)
- Insert the K-type thermocouple into the input jacks, observing polarity.
- Turn the function dial to the '°C/°F' position.
- Place the thermocouple tip on or in the object whose temperature you wish to measure.
- Read the temperature on the LCD display. Use the SELECT button to switch between Celsius and Fahrenheit.
7.6. ไม่สัมผัส Voltagการตรวจจับ e (NCV)
- หมุนแป้นหมุนฟังก์ชั่นไปที่ตำแหน่ง 'NCV'
- เลื่อนส่วนบนของ clamp meter near the conductor or circuit.
- มิเตอร์จะส่งเสียงบี๊บและไฟแสดงสถานะ NCV จะสว่างขึ้นหากแรงดันไฟฟ้า ACtagอีถูกตรวจพบ

Figure 5: NCV function of the clamp meter detecting voltagอยู่ใกล้ปลั๊กไฟ
7.7. การล็อกข้อมูลและไฟแบ็คไลท์
- การเก็บข้อมูล: Press the 'HOLD' button briefly to freeze the current reading on the display. Press again to release.
- แสงไฟด้านหลัง: Long press the 'HOLD' button to turn the display backlight on or off, useful in low-light conditions.
8. Operating the Non-Contact Voltage ปากกาเทสเตอร์
This pen-style tester is designed for quick and safe voltagเช็ค
Video 2: Official Proster video demonstrating the Non-Contact Voltage Tester Pen's features and operation.
8.1. เปิด/ปิดเครื่อง
Press the green power button to turn the tester on. The green LED will illuminate. Press and hold the power button to turn it off.
8.2 การปรับความไว
ปริมาตร AC เริ่มต้นtage detection range is 48-1000V. You can adjust the sensitivity to measure 12-1000V.
- Short press the sensitivity adjustment button (marked 'S') to cycle through high, medium, and low sensitivity modes.
- The LED indicators will change to reflect the selected sensitivity.
8.3. Live/Null Wire Distinction
When the probe tip is near a live wire, the tester will beep rapidly and the red LED will flash quickly. For a null wire, the buzzer will alarm slowly, and the green LED will flash slowly.

รูปที่ 6: เล่มtage tester pen indicating null wire (slow beep, green flash) and live wire (fast beep, red flash).
8.4. ฟังก์ชั่นไฟฉาย
Long press the sensitivity adjustment button ('S') to turn the built-in LED flashlight on or off. This is useful for working in dimly lit areas.
Figure 7: The integrated LED flashlight on the voltage tester pen assists in dark environments.
8.5. การตรวจจับจุดเปลี่ยน
The tester can help locate breakpoints in wires. Move the probe along the wire; the alarm will stop at the point where the circuit is interrupted.

Figure 8: Breakpoint detection feature of the voltage tester pen.
9. การบำรุงรักษา
9.1. การทำความสะอาด
Wipe the devices with a dry, clean cloth. Do not use abrasive cleaners or solvents. Ensure the devices are dry before storage.
9.2. การเปลี่ยนแบตเตอรี่
Replace batteries promptly when the low battery indicator appears on the display. Refer to section 6.1 for battery installation instructions.
9.3. การจัดเก็บ
Store the tools in their carrying pouch in a cool, dry place, away from direct sunlight and extreme temperatures. Remove batteries if the devices will not be used for an extended period.
10 การแก้ไขปัญหา
- อุปกรณ์ไม่เปิดเครื่อง: ตรวจสอบการติดตั้งแบตเตอรี่และให้แน่ใจว่าแบตเตอรี่ไม่หมด เปลี่ยนแบตเตอรี่หากจำเป็น
- การอ่านค่าที่ไม่ถูกต้อง: Ensure test leads are properly connected and the correct function is selected on the dial. For clamp meter, ensure only one conductor is within the jaw for current measurement.
- NCV tester constantly beeping/false positives: Adjust sensitivity to a lower setting. High sensitivity can pick up interference from nearby electrical fields.
- "EF" error on Clamp เมตร: This typically indicates an overload or out-of-range condition. Ensure the measurement is within the device's specified limits.
11. ข้อมูลจำเพาะ
| คุณสมบัติ | ข้อมูลจำเพาะ |
|---|---|
| ยี่ห้อ | โปรสเตอร์ |
| แบบอย่าง | PST088c-PST224 |
| แหล่งพลังงาน | ใช้พลังงานจากแบตเตอรี่ |
| สี | ส้ม |
| มาตรฐานความปลอดภัย | UL 61010-1, IEC 61010-2-030 |
| คะแนนอุณหภูมิบน | 1000 องศาเซลเซียส |
| Clamp Meter Display Count | 6000 นับ |
| NCV Detection Range (Default) | 48-1000V น |
| NCV Detection Range (Adjustable) | 12-1000V น |
| Clamp ขนาดช่องเปิดขากรรไกร | สูงถึง 28มม. |
12. การรับประกันและการสนับสนุน
Proster products are designed for reliability and performance. For warranty information, technical support, or service inquiries, please refer to the contact details provided on the product packaging or visit the official Proster webไซต์ โปรดเก็บใบเสร็จรับเงินไว้เป็นหลักฐานการซื้อ