1. บทนำ
ขอบคุณสำหรับการซื้อasing the VELATEMOR 2.4 Inch 16MP Portable Digital Camera. This manual provides essential information for the safe and efficient operation of your device. Please read it thoroughly before use and retain it for future reference.
2. สินค้าหมดview
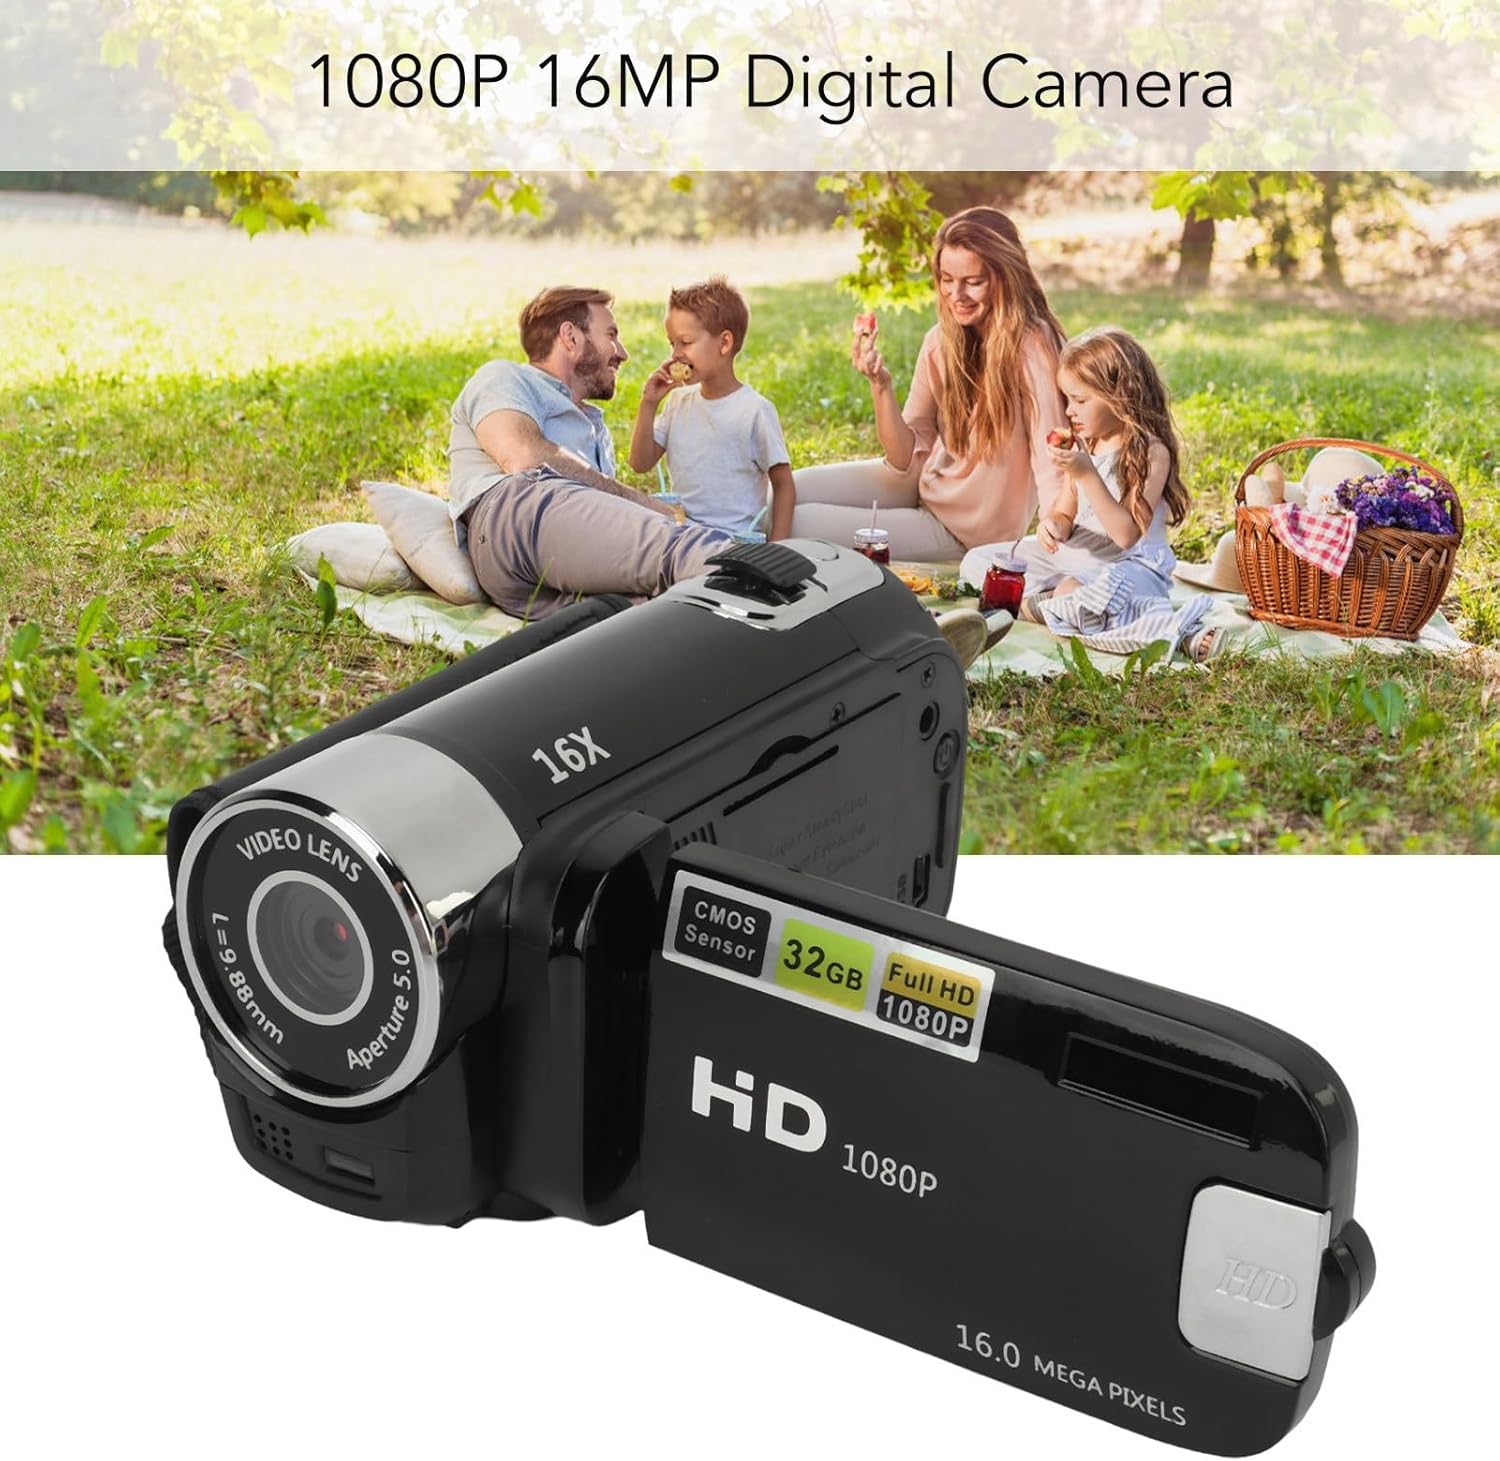
The VELATEMOR Digital Camera is a compact and versatile device designed for capturing high-quality photos and videos. It features a 2.4-inch rotatable screen, 16X digital zoom, and a built-in fill light for various lighting conditions.
2.1 เนื้อหาบรรจุภัณฑ์
- VELATEMOR 16MP Digital Camera
- สายชาร์จ USB
- คู่มือการใช้งาน
2.2 ส่วนประกอบของกล้อง

ภาพที่ 1: ด้านหน้า view of the camera, showing the lens and fill light.
ภาพที่ 2: หลัง view of the camera with the rotatable screen open, displaying controls and ports.

ภาพที่ 3: รายละเอียด view of the camera lens, showing aperture and focal length markings.

ภาพที่ 4: Close-up of the camera's control buttons (Menu, Mode) and USB port.
3. การตั้งค่า
3.1 การชาร์จแบตเตอรี่
The camera uses a built-in BL-5C Li-ion battery. Before first use, fully charge the camera.
- Connect the small end of the provided USB charging cable to the camera's USB port.
- ต่อปลายสาย USB ด้านยาวเข้ากับอะแดปเตอร์แปลงไฟ USB (ไม่ได้รวมอยู่ในชุด) หรือพอร์ต USB ของคอมพิวเตอร์
- The charging indicator light will illuminate. Once charging is complete, the light will change or turn off.
กล้องสามารถบันทึกภาพขณะชาร์จได้
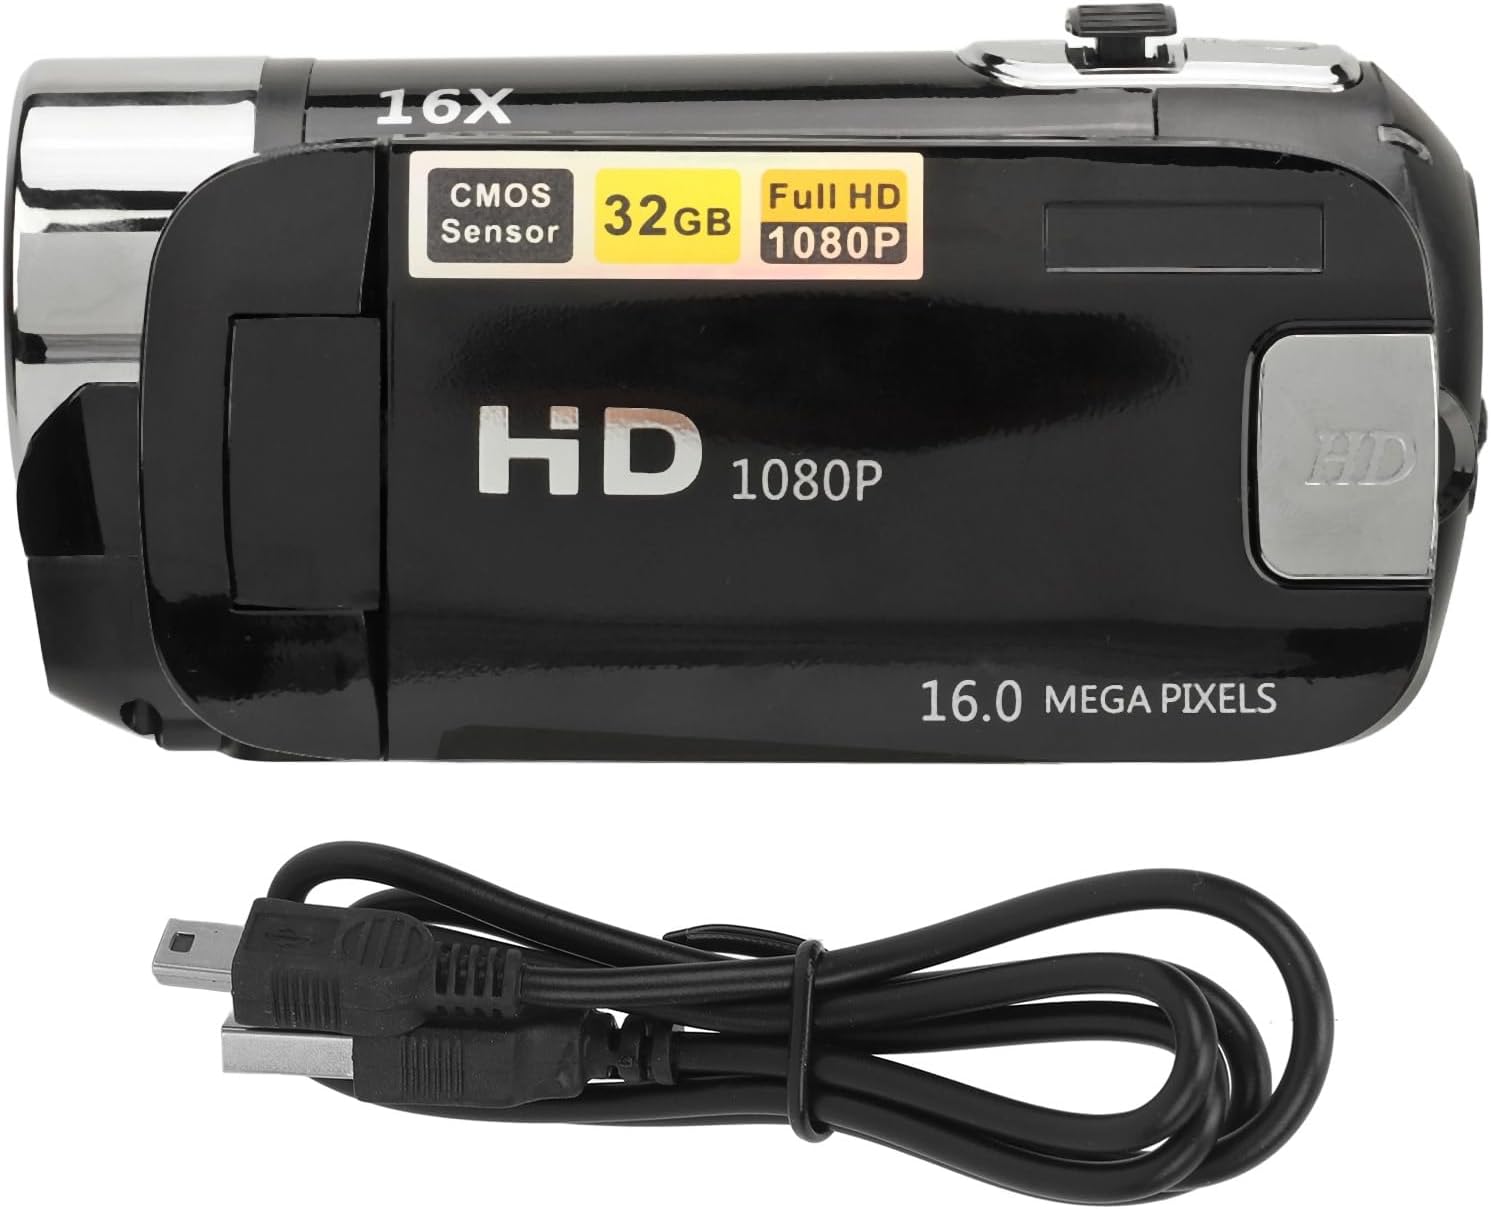
ภาพที่ 5: The camera and its USB charging cable.
3.2 การใส่การ์ดหน่วยความจำ
The camera requires a standard memory card (up to 128GB, not included) for storing photos and videos.
- Locate the memory card slot, typically on the side or bottom of the camera.
- Insert the memory card with the metal contacts facing the correct direction (refer to the diagram near the slot if available) until it clicks into place.
- ในการถอด ให้ดันการ์ดเข้าไปเบาๆ จนกระทั่งการ์ดเด้งออกมา
Note: Ensure the camera is powered off before inserting or removing the memory card to prevent data loss or damage.
4. คู่มือการใช้งาน
4.1 การเปิด/ปิดเครื่อง
- To power on: Press and hold the Power button (usually located near the screen or top panel) for a few seconds.
- วิธีปิดเครื่อง: กดปุ่มเปิด/ปิดค้างไว้อีกครั้งจนกว่าหน้าจอจะดับลง
4.2 Basic Photo and Video Capture
- โหมดการสลับ: Use the 'Mode' button to switch between photo mode and video recording mode.
- ถ่ายรูป: In photo mode, press the Shutter button (usually a larger button on top) to capture an image.
- การบันทึกวิดีโอ: In video mode, press the Record button (often marked with a red dot or video camera icon) to start recording. Press it again to stop.
4.3 Using the Rotatable Screen
The 2.4-inch screen can be rotated to various angles, including facing forward for selfies or vlogging. Adjust the screen to your desired viewมุมอิง

ภาพที่ 6: The rotatable screen positioned for a selfie.
4.4 ซูมดิจิตอล
Use the zoom controls (often marked with 'W' for Wide and 'T' for Telephoto) to adjust the 16X digital zoom. Press 'T' to zoom in and 'W' to zoom out.

ภาพที่ 7: The camera highlighting its 16X Digital Zoom capability.
4.5 เติมแสง
The camera is equipped with a front fill light to assist in low-light conditions. Activate or deactivate the fill light through the camera's menu settings or a dedicated button, if available.
4.6 ฟังก์ชั่นขั้นสูง
- เซลฟี่: Utilize the rotatable screen to frame yourself for self-portraits.
- Electronic Anti-Shake: This feature helps stabilize images and videos, reducing blur from camera movement.
- การบันทึกแบบวนซ้ำ: When enabled, the camera will continuously record, overwriting the oldest fileเมื่อเมมโมรี่การ์ดเต็ม
- Time Watermarking: Add a date and time stamp to your photos and videos.
- การรองรับไมโครโฟนภายนอก: Connect an external microphone (not included) for improved audio quality during video recording.
- Recording Pause: Pause and resume video recording without creating multiple files.
4.7 การเชื่อมต่อกับคอมพิวเตอร์
To transfer photos and videos:
- เชื่อมต่อกล้องเข้ากับคอมพิวเตอร์โดยใช้สาย USB
- The camera should appear as a removable disk or media device on your computer.
- Browse the camera's folders to access and transfer your files.
4.8 Tripod Connection
The camera features a 1/4 inch thread hole on the bottom, allowing it to be mounted on a standard tripod (not included) for stable shots.
5. การบำรุงรักษา
5.1 การทำความสะอาดกล้อง
- ใช้ผ้านุ่มที่ไม่เป็นขุยในการทำความสะอาดตัวกล้อง
- For the lens and screen, use a specialized lens cleaning cloth and solution. Avoid harsh chemicals.
- Gently wipe away dust and smudges.
5.2 การดูแลแบตเตอรี่
- หลีกเลี่ยงการให้แบตเตอรี่สัมผัสกับอุณหภูมิที่สูงเกินไป
- ควรชาร์จแบตเตอรี่เป็นประจำ แม้ว่าจะไม่ได้ใช้งานกล้องก็ตาม เพื่อยืดอายุการใช้งานของแบตเตอรี่
5.3 พื้นที่จัดเก็บ
- เก็บกล้องไว้ในที่แห้งและเย็น หลีกเลี่ยงแสงแดดโดยตรงและความชื้น
- If storing for an extended period, remove the memory card and ensure the battery is partially charged.
6 การแก้ไขปัญหา
หากคุณพบปัญหาเกี่ยวกับกล้อง โปรดดูปัญหาทั่วไปและวิธีแก้ไขต่อไปนี้:
| ปัญหา | สาเหตุที่เป็นไปได้ | สารละลาย |
|---|---|---|
| กล้องไม่สามารถเปิดได้ | แบตเตอรี่อ่อน; ใส่แบตเตอรี่ไม่ถูกต้อง | ชาร์จแบตเตอรี่ให้เต็ม ตรวจสอบให้แน่ใจว่าใส่แบตเตอรี่เข้าที่อย่างถูกต้อง |
| ไม่สามารถถ่ายภาพ/วิดีโอได้ | Memory card full or not inserted; incorrect mode. | Insert a memory card or free up space. Ensure you are in the correct mode (photo/video). |
| ภาพมีความเบลอ | Camera shake; dirty lens; insufficient light. | Hold the camera steady or use a tripod. Clean the lens. Use the fill light or shoot in brighter conditions. |
| คอมพิวเตอร์ไม่รู้จักกล้อง | Faulty USB cable; driver issue; camera not in transfer mode. | Try a different USB cable or port. Restart computer and camera. Check camera settings for USB connection mode. |
7. ข้อมูลจำเพาะ
| คุณสมบัติ | คำอธิบาย |
|---|---|
| ความละเอียดของภาพ | 1MP, 2MP, 3MP, 5MP, 8MP, 10MP, 12MP, 16MP |
| รูปแบบภาพ | JPG |
| ความละเอียดวิดีโอ | 1080P (maximum) |
| รูปแบบวิดีโอ | เอวีไอ |
| ขนาดหน้าจอ | 2.4 Inch Rotatable Screen |
| ซูมดิจิตอล | 16X |
| ชัตเตอร์ | อิเล็กทรอนิกส์ |
| พื้นที่จัดเก็บ | Supports up to 128GB standard memory card (not included) |
| แบตเตอรี่ | 1 x BL-5C Li Battery, 600mAh (built-in) |
| ภาษา | 17 ภาษา |
| หมายเลขรุ่น | VELATEMOR7brac0d4pq-11 |
8. การรับประกันและการสนับสนุน
8.1 ข้อมูลการรับประกัน
This VELATEMOR product is covered by a manufacturer warranty for 90 days from the date of purchase. This warranty covers manufacturing defects and workmanship. It does not cover damage caused by misuse, accidents, unauthorized modifications, or normal wear and tear.
8.2 การสนับสนุนลูกค้า
For technical assistance, warranty claims, or any questions regarding your VELATEMOR Digital Camera, please refer to the contact information provided with your purchase or visit the official VELATEMOR brand store on Amazon: VELATEMOR Store.