คำแนะนำด้านความปลอดภัยที่สำคัญ
Please read these instructions carefully before using the Avtech DGM5907SVSGAT IP Dome Camera. Keep this manual for future reference.
- Ensure proper power supply (PoE or compatible adapter) to prevent damage.
- Do not expose the camera to extreme temperatures, humidity, or direct sunlight beyond its operating specifications.
- โปรดใช้งานกล้องอย่างระมัดระวัง หลีกเลี่ยงการทำตกหรือการสั่นสะเทือนอย่างรุนแรง
- การติดตั้งควรดำเนินการโดยบุคลากรที่มีคุณสมบัติเหมาะสมและเป็นไปตามข้อกำหนดด้านไฟฟ้าของท้องถิ่น
- ห้ามถอดประกอบหรือดัดแปลงกล้องโดยเด็ดขาด การกระทำดังกล่าวจะทำให้การรับประกันเป็นโมฆะ
- Clean the camera lens and housing with a soft, dry cloth. Avoid harsh chemicals.
สินค้าเกินview
The Avtech DGM5907SVSGAT is a 5MP AI IP Dome Camera designed for advanced surveillance. It features AI-based human and vehicle detection to minimize false alarms, ONVIF support for system integration, and Power-over-Ethernet (PoE) for simplified installation. The camera provides clear images with Starlight visibility, an integrated microphone for audio recording, and an effective IR range of up to 50 meters for night surveillance. Its WDR (Wide Dynamic Range) function enhances image clarity in challenging lighting conditions, and the IP66 housing ensures durability in various environments.
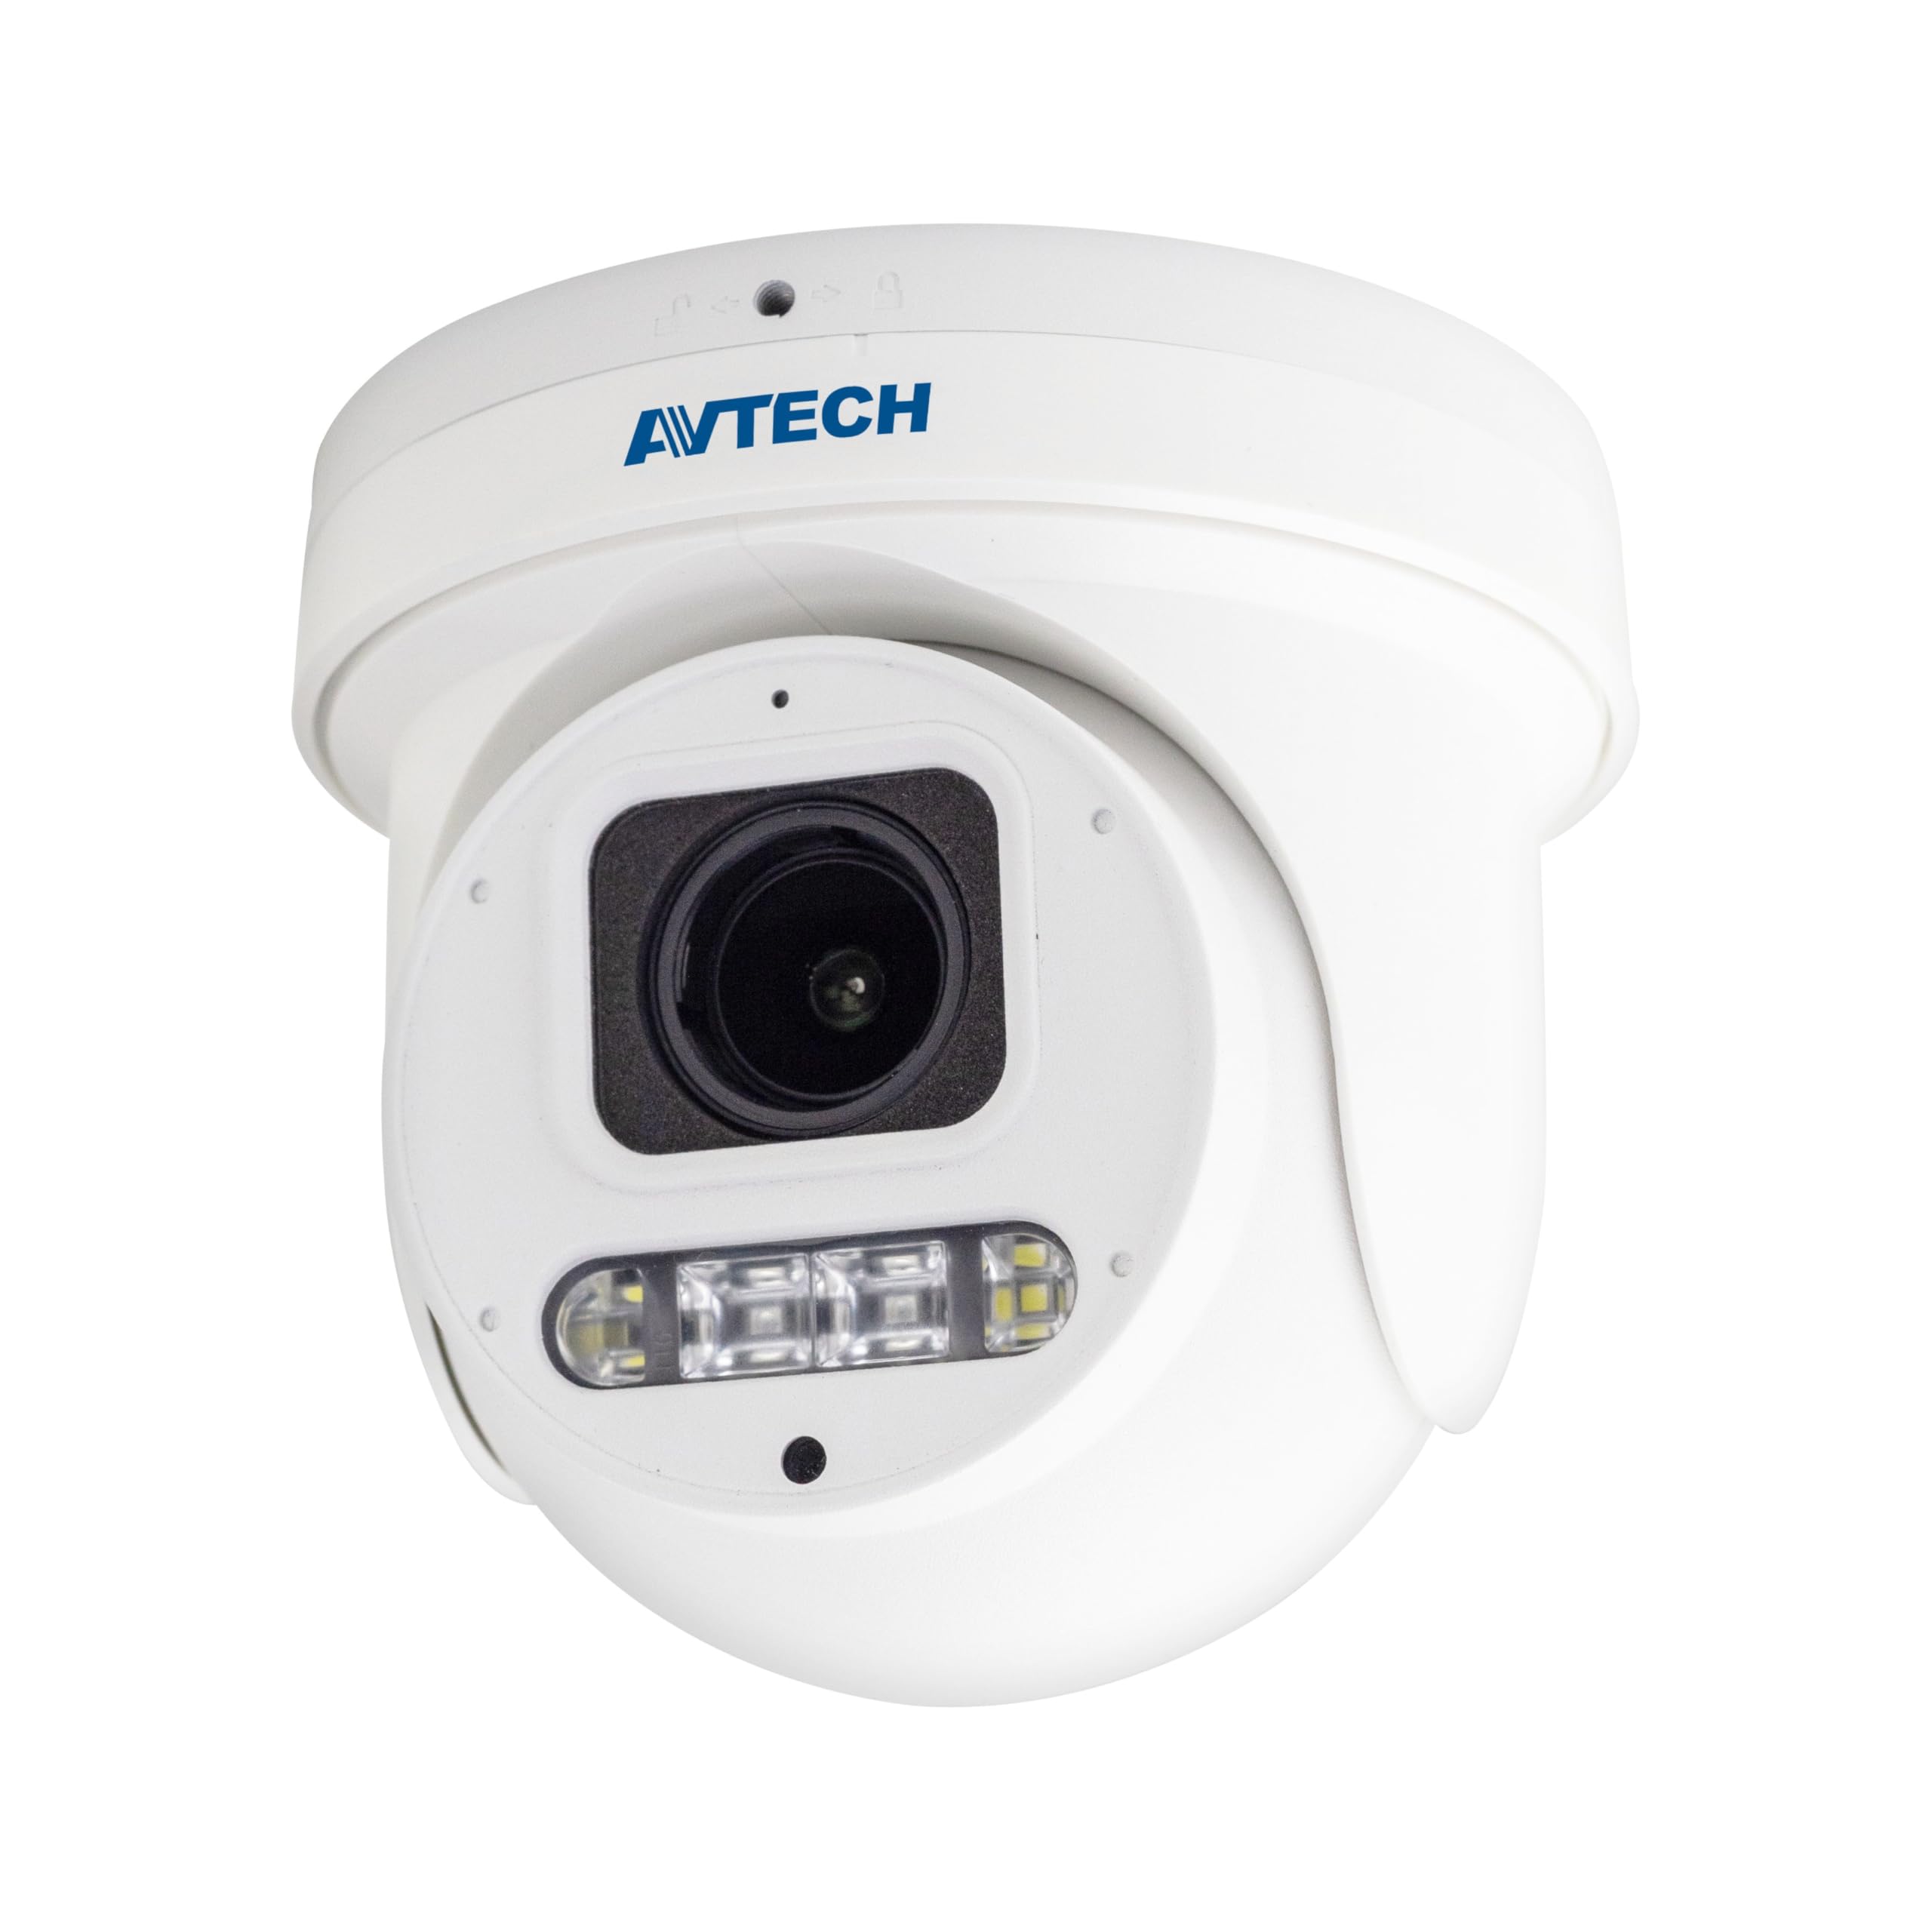
รูปที่ 1: ด้านหน้า view of the Avtech DGM5907SVSGAT 5MP AI IP Dome Camera. This image shows the dome-shaped camera housing, the lens assembly, and the IR LEDs visible around the lens.
เนื้อหาแพ็คเกจ
ตรวจสอบว่าสินค้าทั้งหมดอยู่ในบรรจุภัณฑ์ครบถ้วน หากมีสินค้าใดขาดหายหรือเสียหาย โปรดติดต่อตัวแทนจำหน่ายของคุณทันที
- Avtech DGM5907SVSGAT 5MP AI IP Dome Camera
- Mounting Screw Kit (screws, wall anchors)
- ขั้วต่อกันน้ำสำหรับสายอีเธอร์เน็ต
- คู่มือเริ่มต้นอย่างรวดเร็ว
- แม่แบบการเจาะ
การตั้งค่า
1. การติดตั้งทางกายภาพ
Before mounting, ensure the installation location provides a clear field of view and is within range of your network infrastructure (PoE switch/injector).
- เตรียมพื้นผิวการติดตั้ง: ใช้แม่แบบเจาะรูที่ให้มาเพื่อทำเครื่องหมายตำแหน่งรูสกรูบนผนังหรือเพดาน
- เจาะรู: เจาะรูนำร่องตามตำแหน่งที่ทำเครื่องหมายไว้ ใส่พุกยึดผนังหากติดตั้งบนผนังยิปซัมหรือผนังก่ออิฐ
- ติดตั้งฐานกล้องให้แน่น: ยึดฐานติดตั้งกล้องเข้ากับพื้นผิวโดยใช้สกรูที่ให้มา
- เชื่อมต่อสายเคเบิลเครือข่าย: Connect an Ethernet cable (RJ-45) from your PoE switch/injector to the camera's network port. Ensure the waterproof connector is properly sealed if installing outdoors.
- ปรับมุมกล้อง: Loosen the adjustment screws on the dome to position the camera lens for the desired viewมุมเอียง ขันสกรูให้แน่นเมื่อปรับแล้ว
รูปที่ 2: Illustrative diagram of the Avtech DGM5907SVSGAT camera mounting process. This image depicts the camera base being secured to a surface, with an Ethernet cable connected.
2. การกำหนดค่าเครือข่าย
The camera typically obtains an IP address automatically via DHCP. If your network does not use DHCP, you may need to use a discovery tool provided by Avtech or manually configure the IP address.
- เชื่อมต่อกับเครือข่าย: Ensure the camera is powered via PoE and connected to your local network.
- ตรวจสอบที่อยู่ IP: Use the Avtech IP Camera Utility software (available on the Avtech web(ใช้คำสั่ง site) เพื่อค้นหาที่อยู่ IP ของกล้องบนเครือข่ายของคุณ
- เข้าถึง Web อินเทอร์เฟซ: เปิด web browser (Internet Explorer 6+, Microsoft Edge, or Google Chrome) and enter the camera's IP address in the address bar.
- เข้าสู่ระบบ: Enter the default username and password (refer to the Quick Start Guide for default credentials). It is highly recommended to change the default password immediately for security.
- วิซาร์ดการตั้งค่าเริ่มต้น: Follow the on-screen wizard to configure basic network settings, date/time, and user accounts.
คำแนะนำการใช้งาน
1. สด View และการบันทึก
เมื่อเข้าสู่ระบบ web interface, you can access the live video feed and manage recording settings.
- สด View: นำทางไปที่ 'สด View' section to see the real-time video feed from the camera.
- Recording to MicroSD: The camera supports a MicroSD card up to 256 GB. Insert the card into the designated slot (usually accessible by opening the dome cover). Configure recording schedules and event-triggered recording (e.g., motion detection, AI detection) in the 'Storage' or 'Recording' settings.
- การบีบอัดวิดีโอ: The camera supports H.265 and H.264 compression. H.265 offers better compression efficiency, reducing storage and bandwidth requirements. Adjust this in the 'Video Settings'.
2. AI Detection (Human and Vehicle)
The AI detection feature helps reduce false alarms by distinguishing between humans/vehicles and other moving objects.
- เปิดใช้งานการตรวจจับด้วย AI: Go to 'Event' or 'AI Settings' in the web interface. Enable 'Human Detection' and/or 'Vehicle Detection'.
- กำหนดค่าโซนการตรวจจับ: Draw specific areas on the live view where you want AI detection to be active.
- ตั้งค่าความไว: Adjust the sensitivity levels to optimize detection performance and minimize false positives.
- Configure Actions: Specify actions to be taken upon detection, such as recording, sending notifications, or triggering alarms.
3. Image Enhancement Features
- IR ไนท์วิชั่น: The camera automatically switches to IR mode in low light conditions, providing clear black and white images up to 50 meters. Ensure the IR LEDs are not obstructed.
- WDR (ช่วงไดนามิกกว้าง): Enable WDR in 'Image Settings' to improve image quality in scenes with both very bright and very dark areas, such as entrances or windows.
- Starlight Visibility: This feature enhances low-light performance, allowing the camera to capture color images in very dim conditions before switching to IR mode.
การซ่อมบำรุง
การบำรุงรักษาตามปกติจะช่วยให้กล้องของคุณมีประสิทธิภาพสูงสุดและมีอายุการใช้งานยาวนาน
- การทำความสะอาด: Periodically clean the camera lens and housing with a soft, lint-free cloth. For stubborn dirt, use a mild cleaning solution specifically designed for optical lenses. Do not use abrasive cleaners.
- อัพเดตเฟิร์มแวร์: ตรวจสอบข้อมูลอย่างเป็นทางการจาก Avtech website regularly for firmware updates. Firmware updates can improve performance, add new features, and enhance security. Follow the instructions provided with the firmware update package carefully.
- การจัดการพื้นที่เก็บข้อมูล: If using a MicroSD card for recording, periodically review บันทึกเสียงฟูtage and manage storage space. Format the MicroSD card occasionally to maintain performance.
- การตรวจสอบสายเคเบิล: For outdoor installations, inspect network cables and waterproof connectors for any signs of wear or damage.
การแก้ไขปัญหา
ส่วนนี้จะกล่าวถึงปัญหาทั่วไปที่คุณอาจพบเจอขณะใช้งานกล้องของคุณ
| ปัญหา | สาเหตุที่เป็นไปได้ | สารละลาย |
|---|---|---|
| ไม่มีภาพ/วิดีโอส่งมา | ไม่มีไฟเลี้ยง; ปัญหาการเชื่อมต่อเครือข่าย; ที่อยู่ IP ไม่ถูกต้อง | Check PoE connection; Verify network cable; Use IP utility to find camera IP; Ensure firewall is not blocking access. |
| กล้องออฟไลน์ | Network cable disconnected; Router/switch issue; IP address conflict | Check physical network connections; Restart network equipment; Verify unique IP address. |
| คุณภาพของภาพไม่ดี | Dirty lens; Incorrect resolution settings; Insufficient lighting; WDR not enabled | Clean the lens; Adjust resolution in settings; Ensure adequate lighting or enable IR; Enable WDR for high contrast scenes. |
| การแจ้งเตือนที่ผิดพลาดบ่อยครั้ง | Sensitivity too high; Detection zone too wide; Environmental factors (e.g., moving branches) | Adjust AI detection sensitivity; Refine detection zones; Ensure AI detection is enabled for human/vehicle only. |
| ไม่สามารถเข้าถึงได้ web อินเทอร์เฟซ | Incorrect IP address; Browser compatibility; Firewall blocking | Verify IP address; Use recommended browsers (IE, Edge, Chrome); Temporarily disable firewall for testing. |
ข้อมูลจำเพาะ
Detailed technical specifications for the Avtech DGM5907SVSGAT IP Dome Camera.
- เซนเซอร์ภาพ: 1/2.8 นิ้ว
- ความละเอียดสูงสุด: 2592x1944 (5MP)
- เลนส์: f2.7 ~ 13.5 มม. / F1.6 ~ F2.2
- Viewing Angle (Diagonal): Tele 40° ~ Wide 117°
- ความสว่างขั้นต่ำ: 0.001 Lux (IR off), 0 Lux (IR on)
- ความเร็วชัตเตอร์: อัตโนมัติ 1 / 25s ~ 1/100000
- ไฟ LED IR: 4 หน่วย
- Effective IR Distance: สูงสุด 50 เมตร
- โหมดกลางวัน/กลางคืน: อัตโนมัติ
- WDR: ใช่ (120dB)
- RTC (นาฬิกาเรียลไทม์): ใช่
- สล็อต MicroSD: สูงสุด 256GB
- การบีบอัดวิดีโอ: H.265 / H.264
- Main Stream Resolution: 5MP (2592x1944) / 4MP (2560x1440) / 3MP (2304x1296) / 2MP (1080P) / 720P
- อัตราเฟรม: 5MP @ 25FPS
- การสตรีมวิดีโอหลายรายการ: 2 ลำธาร
- การควบคุมบิตเรต: 512Kbps - 12Mbps, VBR/CBR
- การปรับปรุงภาพ: WDR / BLC / HLC / 2D DNR / 3D DNR
- เสียง: ไมโครโฟนแบบบูรณาการ
- โปรโตคอลเครือข่าย: ONVIF supported
- พลัง: PoE (Power-over-Ethernet)
- ที่อยู่อาศัย: IP66 ทนฝนและแดด
- ความเข้ากันได้: Internet Explorer 6+, Microsoft Edge, Google Chrome, Windows 10/8/7, DirectX 9.0+
การรับประกันและการสนับสนุน
Avtech products are designed for reliability and performance. This product comes with a standard manufacturer's warranty against defects in materials and workmanship.
- ระยะเวลารับประกัน: Please refer to your purchase documentation or the Avtech official webโปรดตรวจสอบเงื่อนไขและระยะเวลาการรับประกันเฉพาะที่ใช้ได้ในภูมิภาคของคุณบนเว็บไซต์
- การสนับสนุนด้านเทคนิค: For technical assistance, troubleshooting, or warranty claims, please contact Avtech customer support.
- แหล่งข้อมูลออนไลน์: Visit the official Avtech website for FAQs, driver downloads, firmware updates, and additional product information.
ข้อมูลติดต่อ:
Webเว็บไซต์: www.avtech.com.tw
อีเมล: support@avtech.com
โทรศัพท์: +1-XXX-XXX-XXXX