
1. ข้อมูลด้านความปลอดภัยที่สำคัญ
โปรดอ่านคำแนะนำทั้งหมดอย่างละเอียดก่อนใช้ผลิตภัณฑ์นี้ เก็บคู่มือนี้ไว้เพื่อใช้อ้างอิงในอนาคต
- อย่าปิดกั้นช่องระบายอากาศ ตรวจสอบให้แน่ใจว่ามีอากาศถ่ายเทเพียงพอรอบๆ โปรเจ็กเตอร์
- อย่าให้โปรเจ็กเตอร์โดนฝนหรือความชื้นเพื่อป้องกันไฟไหม้หรือไฟฟ้าช็อต
- ใช้เฉพาะอุปกรณ์เสริม/สิ่งที่แนบที่ผู้ผลิตกำหนดเท่านั้น
- ถอดปลั๊กโปรเจ็กเตอร์ในระหว่างที่มีพายุฝนฟ้าคะนองหรือเมื่อไม่ได้ใช้งานเป็นเวลานาน
- ส่งต่อการบริการทั้งหมดไปยังบุคลากรบริการที่มีคุณสมบัติเหมาะสม
2. เนื้อหาบรรจุภัณฑ์
ตรวจสอบว่ามีรายการทั้งหมดอยู่ในแพ็คเกจของคุณ:
- WEWATCH S3 4K Portable Projector
- รีโมทคอนโทรล
- สายไฟ
- สาย HDMI
- คู่มือการใช้งาน
3. สินค้าหมดview
Familiarize yourself with the components and ports of your WEWATCH S3 projector.

ภาพ: ด้านหน้า view of the WEWATCH S3 4K Portable Projector, showcasinด้วยการออกแบบที่เพรียวบางและเลนส์
3.1. พอร์ตและการเชื่อมต่อ
The projector features various ports for versatile connectivity:

ภาพ: ด้านหลัง view of the WEWATCH S3 projector, highlighting its various input and output ports including LAN, USB, HDMI, and audio jacks.
- แลน (x1): สำหรับการเชื่อมต่อเครือข่ายแบบใช้สาย
- ยูเอสบี (x2): สำหรับเชื่อมต่อแฟลชไดรฟ์ USB หรืออุปกรณ์ USB อื่นๆ
- HDMI (x2): สำหรับเชื่อมต่ออุปกรณ์ภายนอก เช่น แล็ปท็อป เครื่องเล่นเกม หรืออุปกรณ์สตรีมมิ่ง
- AU (Audio Out x1): สำหรับเชื่อมต่ออุปกรณ์เสียงภายนอก
- AX (Audio In x1): สำหรับอินพุตเสียง
4. การตั้งค่า
Follow these steps to set up your projector for the first time:
- การจัดวาง: Place the projector on a stable, flat surface or mount it securely. Ensure it is positioned to project onto a suitable screen or wall.
- การเชื่อมต่อไฟฟ้า: เชื่อมต่อสายไฟเข้ากับช่องเสียบสายไฟของโปรเจ็กเตอร์ แล้วจึงเสียบเข้ากับเต้ารับไฟฟ้า
- เปิดเครื่อง: กดปุ่มเปิด/ปิดบนโปรเจ็กเตอร์หรือรีโมทคอนโทรลเพื่อเปิดอุปกรณ์

Image: The WEWATCH S3 projector set up in a living room environment, projecting an image onto a screen, demonstrating typical home usage.
5. คู่มือการใช้งาน
5.1. Android TV Operating System
The WEWATCH S3 features an integrated Android TV system, providing direct access to popular streaming applications.

Image: A person using the remote control to navigate the Android TV interface projected onto a large screen, showing various streaming app icons like Prime Video, YouTube, and Netflix.
- การนำทาง: Use the remote control's directional buttons and OK button to navigate the Android TV interface.
- การใช้งานแอป: For optimal experience with certain applications (e.g., Netflix, YouTube), it is recommended to switch the remote control to mouse mode. After using the application, switch back to normal mode.
6. การเชื่อมต่อ
6.1. Wi-Fi Connection (2.4G + 5G)
Connect your projector to a wireless network for internet access and screen mirroring.
- Navigate to the Wi-Fi settings in the Android TV menu.
- เลือกเครือข่ายที่คุณต้องการและป้อนรหัสผ่าน
- The projector supports both 2.4G and 5G Wi-Fi bands for fast and stable connections.
6.2. การเชื่อมต่อบลูทู ธ
Connect external Bluetooth speakers or headphones for enhanced audio, or use the projector as a Bluetooth speaker.

Image: A smartphone wirelessly connected to the WEWATCH S3 projector, demonstrating the 2.4G/5G Wi-Fi and Bluetooth dual-channel capabilities for seamless content streaming.
- ไปที่การตั้งค่าบลูทูธ
- จับคู่กับอุปกรณ์บลูทูธของคุณ
- The projector can also function as a standalone Bluetooth speaker when connected to a phone.
6.3. การเชื่อมต่อ HDMI และ USB
เชื่อมต่ออุปกรณ์ภายนอกผ่านพอร์ต HDMI หรือ USB
- Insert the HDMI cable into one of the projector's HDMI ports and the other end into your device (e.g., laptop, game console).
- Insert a USB drive into a USB port to access media files.
7. คุณสมบัติหลัก
7.1. Electronic Focus
Adjust the image clarity easily using the remote control.

Image: A hand holding the projector's remote control, pointing to the F+/F- buttons used for electronic focus adjustment, with a clear projected image of a tiger cub.
- ใช้ F+ และ F- buttons on the remote control to fine-tune the focus until the image is sharp.
7.2. 4-Point Keystone Correction
Correct distorted images to achieve a perfectly rectangular projection, regardless of the projector's angle.
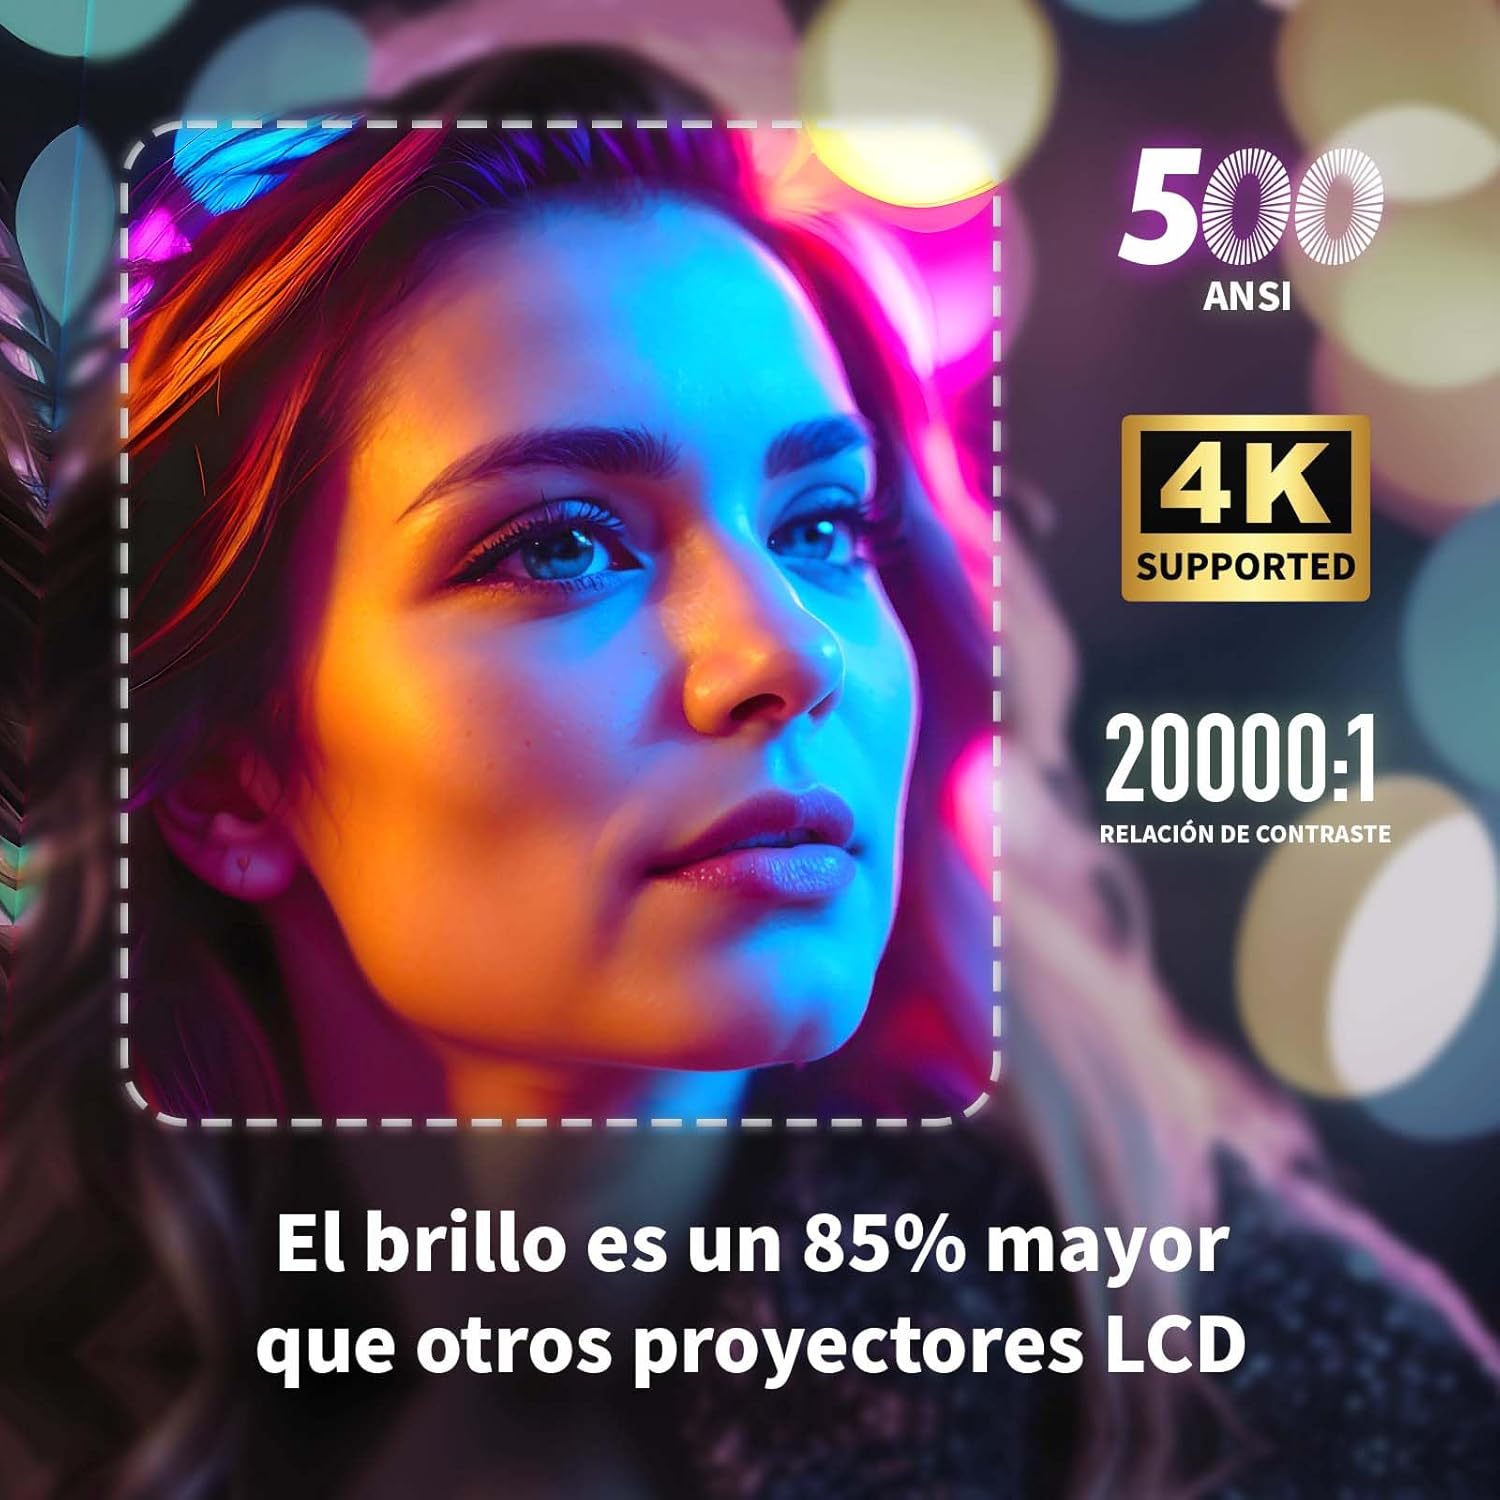
Image: A projected image of a woman's face with a dotted outline demonstrating how 4-point keystone correction adjusts the image to be perfectly rectangular, even when projected at an angle.
- Access the keystone correction settings in the menu to adjust each corner of the image independently.
- The projector also supports automatic vertical keystone correction.
7.3. ฟังก์ชั่นซูม
Adjust the image size without moving the projector.

Image: A visual representation of the projector's zoom function, showing how the image size can be reduced from 100% to 50% without physically moving the projector.
- The zoom function allows you to reduce the image size from 100% to 80%.
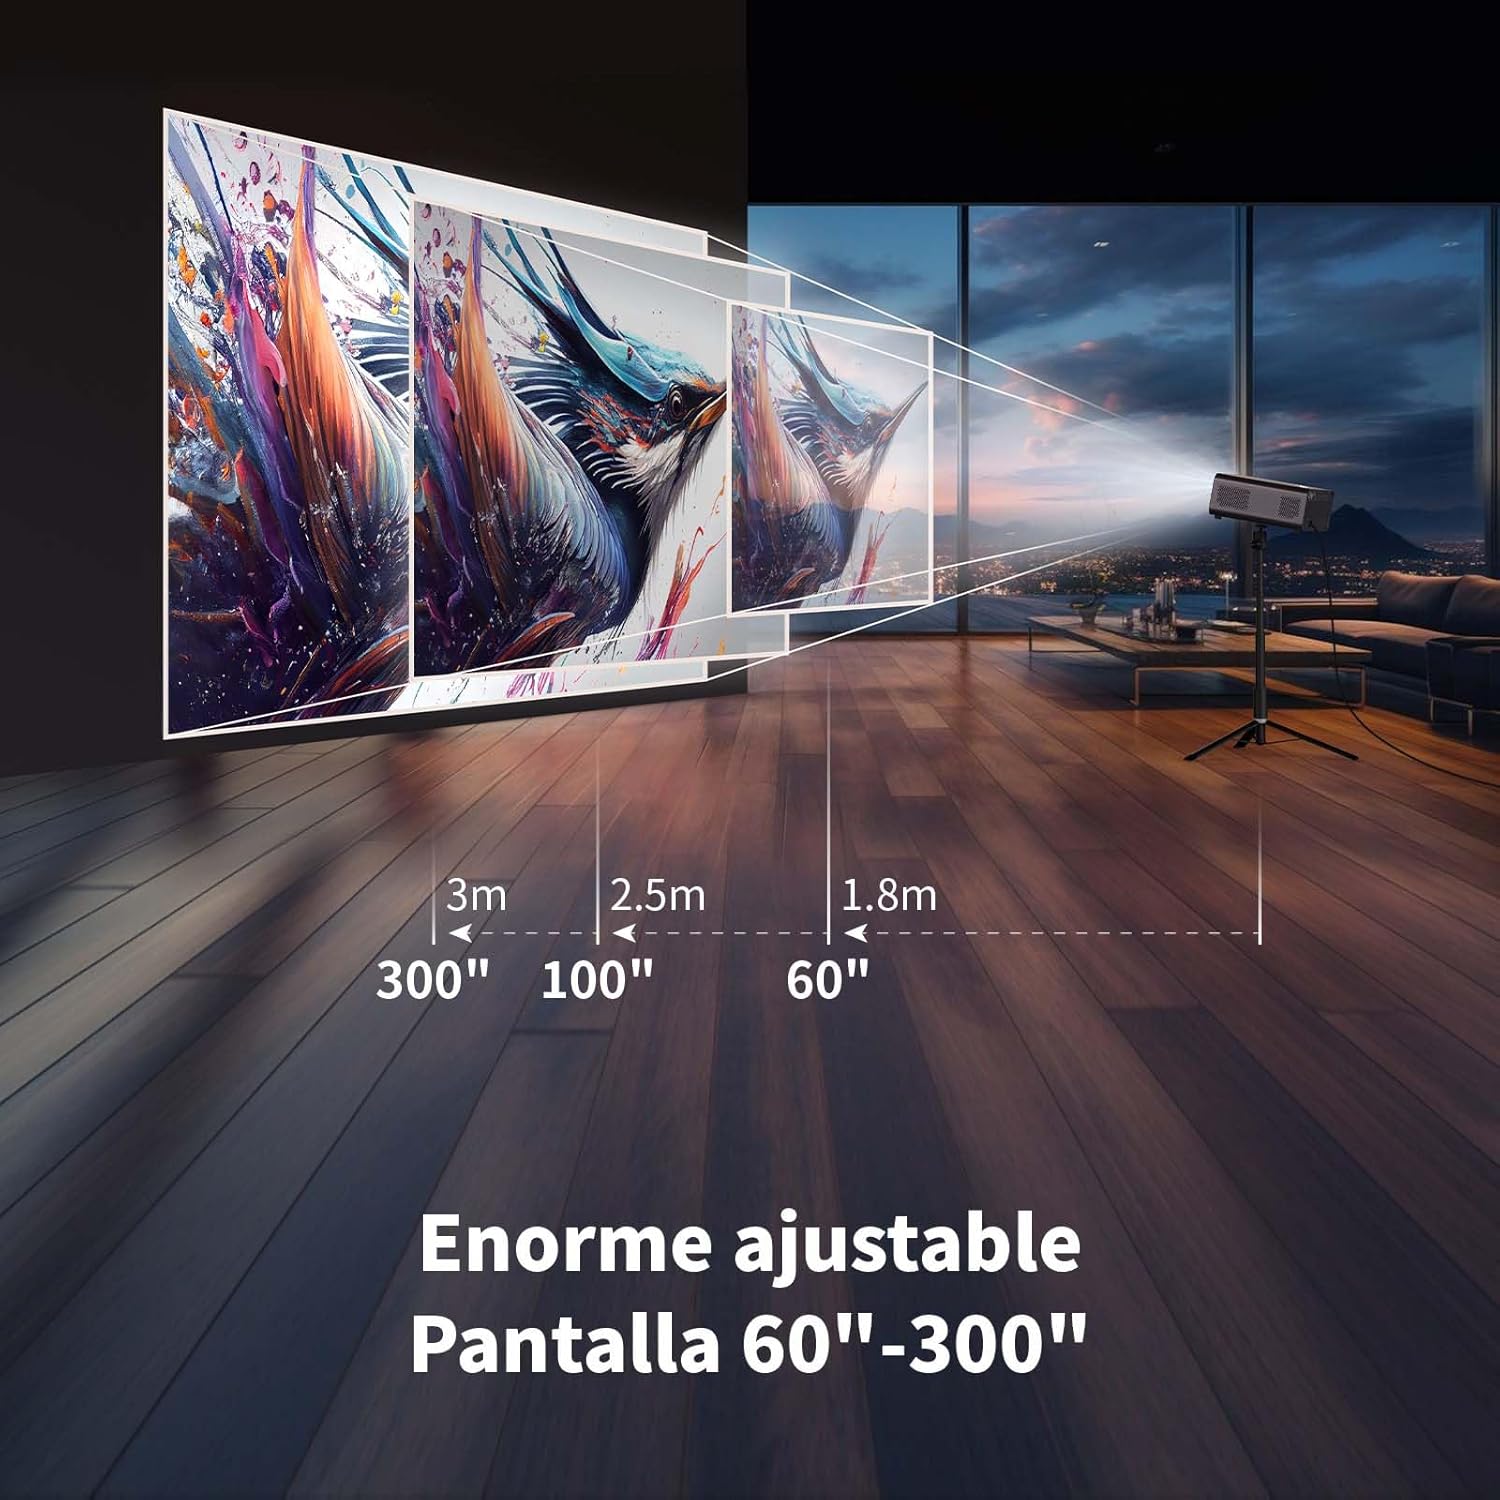
7.4. Large Screen Projection
สัมผัสประสบการณ์ที่ดื่มด่ำ viewing with a large adjustable screen size.

Image: A large projected image of an astronaut on a snowboard, illustrating the 300-inch screen capability of the projector in a home cinema setting.
- The projector can produce an adjustable screen size from 60 inches to 300 inches, suitable for various viewสิ่งแวดล้อม
8. การบำรุงรักษา
8.1. Dust-Proof Design and Cleaning
The projector features a dust-proof design with a hidden dust box to prevent dust accumulation.
ภาพ: ภาพระยะใกล้ view of the projector's hidden dust box, showing the filter inside, and an illustration of airflow, emphasizing the importance of regular cleaning to prevent dust from entering the device.
- Regularly clean the dust box to maintain optimal performance and prevent dust from affecting the image quality.
- ใช้ผ้าแห้งเนื้อนุ่มเช็ดทำความสะอาดภายนอกของโปรเจ็กเตอร์
- ห้ามใช้น้ำยาทำความสะอาดชนิดสเปรย์หรือสเปรย์
9 การแก้ไขปัญหา
หากคุณพบปัญหาเกี่ยวกับโปรเจ็กเตอร์ของคุณ โปรดดูปัญหาทั่วไปและวิธีแก้ไขต่อไปนี้:
| ปัญหา | วิธีแก้ปัญหาที่เป็นไปได้ |
|---|---|
| ไม่มีภาพที่ฉาย | Check power connection. Ensure input source is correctly selected (HDMI, USB, etc.). Verify lens cap is removed. |
| ภาพเบลอ | Adjust electronic focus using the F+/F- buttons on the remote. Ensure the projection surface is flat. |
| ภาพบิดเบี้ยว (รูปทรงสี่เหลี่ยมคางหมู) | Use 4-point keystone correction in the settings menu to adjust the image corners. Check for automatic vertical correction. |
| ไม่มีเสียง | Check volume settings on the projector and connected device. Ensure external speakers are properly connected or Bluetooth is paired. |
| ปัญหาการเชื่อมต่อ Wi-Fi | Ensure Wi-Fi is enabled. Re-enter Wi-Fi password. Restart the projector and router. Try connecting to a different Wi-Fi band (2.4G or 5G). |
10. ข้อมูลจำเพาะ
Key technical specifications for the WEWATCH S3 Projector:
- ยี่ห้อ: วีวอทช์
- หมายเลขรุ่น: S3
- สี: สีเทาควันบุหรี่
- ประเภทสินค้า : โปรเจ็กเตอร์พกพา
- ความสว่าง: 500 ANSI Lumens
- Native Display Resolution: 1920 x 1080 (ฟูลเอชดี)
- ความละเอียดการแสดงผลสูงสุด: 3840 x 2160 (รองรับ 4K)
- อัตราส่วนคอนทราสต์: 20000:1 น.
- ประเภทจอภาพ: นำ
- เทคโนโลยีการเชื่อมต่อ: Bluetooth, Ethernet, HDMI, USB, Wi-Fi (2.4G/5G)
- คุณสมบัติพิเศษ: Wi-Fi Compatible, Digital Keystone Correction, Built-in Speaker, Auto Focus, Portable
- อุปกรณ์ที่รองรับ: Speaker, Laptop, Smartphone, Tablet
- ขนาดสินค้า : กว้าง 24.3 ยาว 24.9 สูง 10.5 เซนติเมตร
- การใช้ที่แนะนำ: โฮมเธียเตอร์, วิดีโอเกม, ระดับมืออาชีพ, การศึกษา
11. การรับประกันและการสนับสนุน
The WEWATCH S3 Projector comes with a manufacturer's warranty to ensure your peace of mind.
- การรับประกันของผู้ผลิต: 2 ปี
- For technical support or warranty claims, please refer to the contact information provided with your purchase documentation or visit the official WEWATCH webเว็บไซต์.