1. บทนำ
This manual provides detailed instructions for the installation, operation, and maintenance of your Anytek Dash Cam 4-inch Full HD 1080P Night Vision Car Camera. Please read this manual thoroughly before using the device to ensure proper function and safety.
2. สินค้าหมดview และบรรจุภัณฑ์
The Anytek Dash Cam is designed to record video footage while driving, providing evidence in case of incidents and enhancing road safety. It features a 4-inch display, Full HD 1080P recording, night vision capabilities, G-sensor, and loop recording.
เนื้อหาแพ็คเกจ:
- Anytek Dash Cam Unit
- ที่ชาร์จในรถยนต์
- ถ้วยคัพดูด
- กล้องหลัง (พร้อมสายเคเบิล)
- สาย USB
- คู่มือการใช้งาน

Image: The Anytek Dash Cam main unit, rear camera, car charger, suction cup mount, and USB cable.
3. คุณสมบัติหลัก
3.1 Full HD 1080P Recording
The dash cam records video in Full HD 1080P resolution, capturing clear and detailed footage of the road ahead. This ensures that important details like license plates and road signs are visible.

Image: Illustration of the dash cam's 1080P resolution capturing both front and rear views with high detail.
3.2 ระบบมองเห็นในเวลากลางคืนขั้นสูง
Equipped with a Starvis Night Vision Sensor, WDR (Wide Dynamic Range) technology, and an F1.8 large aperture lens, the dash cam provides clear video recording even in low-light conditions or at night.
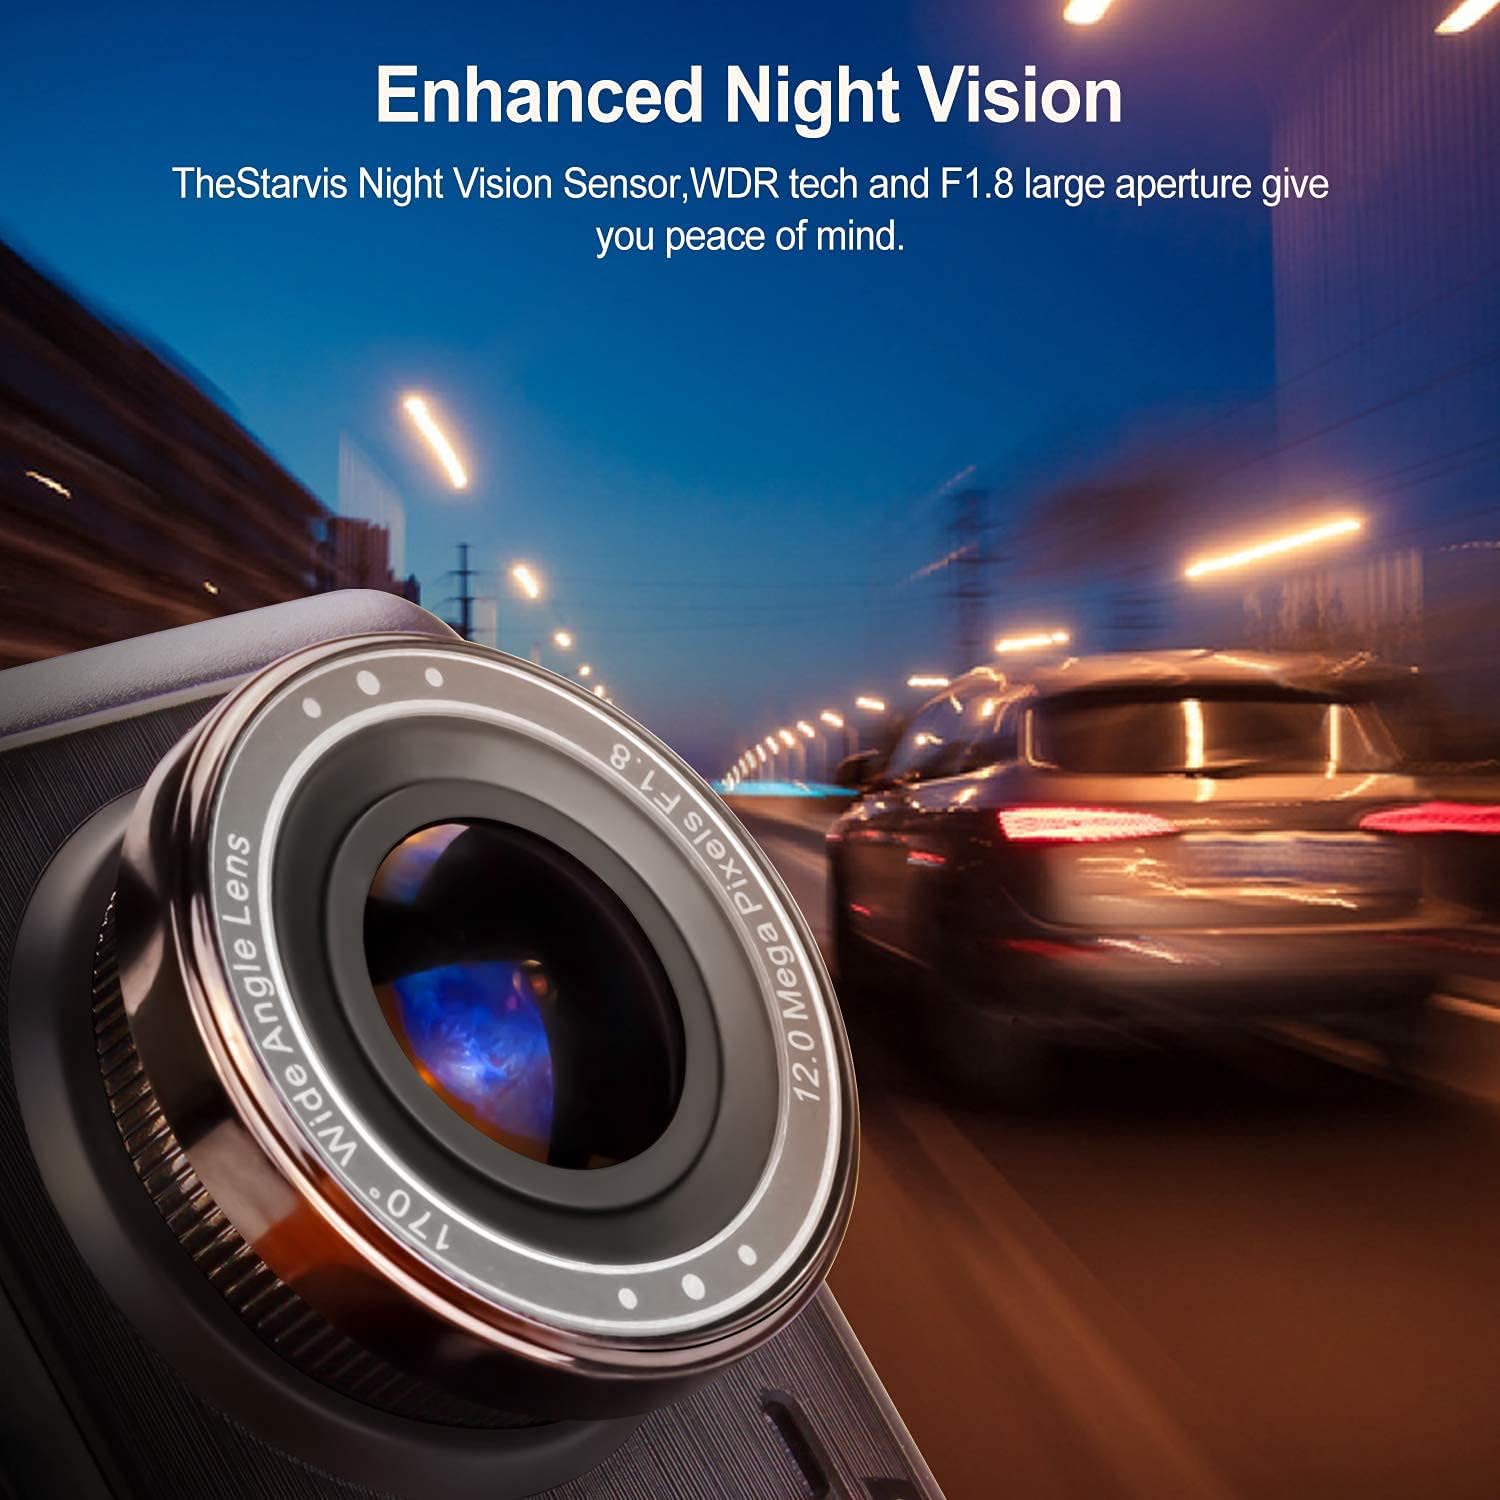
ภาพ: ภาพระยะใกล้ view of the dash cam's lens, emphasizing its F1.8 aperture and night vision capabilities in a dark environment.
3.3 170° Wide Angle Lens
The dash cam features a 170-degree wide-angle lens, providing a broader field of view to capture more lanes of traffic and surroundings, minimizing blind spots. This is ideal for comprehensive coverage on wide highways or large intersections.

Image: An illustration demonstrating the 170-degree wide-angle coverage of the dash cam, showing its ability to capture a broad area.
3.4 เซ็นเซอร์ G (เซ็นเซอร์วัดแรงโน้มถ่วง)
The built-in G-sensor automatically detects sudden shakes or collisions. When an impact is detected, the current video clip is locked and saved, preventing it from being overwritten. This ensures critical footage is preserved as evidence.

Image: A visual representation of a car collision, with a lock icon indicating the G-sensor's function to protect video files during an impact.
3.5 การบันทึกแบบวนซ้ำ
Loop recording allows the dash cam to continuously record video. When the memory card is full, the oldest unlocked fileไฟล์บันทึกเก่าจะถูกเขียนทับโดยอัตโนมัติด้วยไฟล์บันทึกใหม่ ซึ่งช่วยให้การบันทึกดำเนินไปอย่างต่อเนื่องโดยไม่ต้องมีการแทรกแซงด้วยตนเอง

Image: A graphic depicting the loop recording process, where older video segments are replaced by newer ones as the storage fills up.
3.6 การตรวจจับการเคลื่อนไหว
When enabled, the motion detection feature allows the dash cam to automatically start recording if movement is detected in front of the lens while the vehicle is parked and the camera is in standby mode. This provides surveillance even when you are not in the car.

Image: A scene showing a person walking past a parked car, illustrating how motion detection activates the camera to record.
4. การตั้งค่าและการติดตั้ง
4.1 การใส่การ์ด MicroSD
- ตรวจสอบให้แน่ใจว่ากล้องติดรถยนต์ปิดอยู่
- ค้นหาช่องเสียบการ์ด MicroSD ที่ด้านข้างของกล้องติดรถยนต์
- Insert a Class 10 or higher MicroSD card (up to 32GB recommended, though some users report success with 128GB) into the slot until it clicks into place.
- ในการถอด ให้ดันการ์ดเข้าไปเบาๆ จนกระทั่งการ์ดเด้งออกมา
4.2 การติดตั้ง Dash Cam
- ทำความสะอาดบริเวณกระจกหน้ารถที่คุณต้องการติดตั้งกล้องติดรถยนต์
- ติดฐานยึดแบบดูดเข้ากับตัวกล้องติดรถยนต์
- กดตัวดูดให้แน่นกับกระจกหน้ารถ แล้วพลิกคันโยกเพื่อยึดให้แน่น จัดตำแหน่งกล้องให้มองเห็นได้ชัดเจน view บนถนนโดยไม่บดบังทัศนวิสัยในการขับขี่ของคุณ
4.3 การต่อสายไฟ
- เชื่อมต่อเครื่องชาร์จในรถยนต์เข้ากับพอร์ตอินพุตไฟฟ้าของกล้องติดรถยนต์
- เสียบปลายอีกด้านหนึ่งของเครื่องชาร์จในรถยนต์เข้ากับเต้ารับไฟ 12V ของรถของคุณ (ช่องจุดบุหรี่)
- Route the power cable neatly along the windshield and dashboard to avoid interference with driving.
4.4 การติดตั้งกล้องมองหลัง (ไม่บังคับ)
- Mount the rear camera on the rear windshield or license plate area using the provided adhesive or screws.
- Connect the rear camera cable to the dash cam's AV input port.
- If you wish for the rear camera to display a reverse parking guide, connect the red wire from the rear camera cable to your vehicle's reverse light power supply. (Professional installation is recommended for this step).
5. คู่มือการใช้งาน
5.1 การเปิด/ปิดเครื่อง
- ระบบเปิด-ปิดอัตโนมัติ: The dash cam will automatically power on and begin recording when your vehicle's ignition is turned on (and power is supplied to the 12V outlet). It will power off automatically when the ignition is turned off.
- กำลังแบบแมนนวล: กดปุ่มเปิด/ปิดค้างไว้สองสามวินาทีเพื่อเปิดหรือปิดอุปกรณ์ด้วยตนเอง
5.2 การนำทางเมนู
- ใช้ เมนู ปุ่มสำหรับเข้าถึงเมนูการตั้งค่า
- ใช้ Up และ ลง ปุ่มลูกศรใช้สำหรับเลื่อนดูตัวเลือกในเมนู
- กดปุ่ม OK ปุ่มเพื่อยืนยันการเลือก
- กดปุ่ม เมนู กดปุ่มอีกครั้งเพื่อออกจากเมนู
5.3 โหมดการบันทึก
- การบันทึกปกติ: Continuous recording when the device is powered on. Files are saved in segments (e.g., 1, 3, or 5 minutes) and loop recorded.
- G-Sensor Triggered Recording: Automatically locks the current video file upon detecting a collision or sudden movement.
- การตรวจสอบที่จอดรถ: When enabled, the dash cam will automatically start recording if it detects a vibration or impact while the vehicle is parked and the engine is off. This feature requires a continuous power supply (e.g., hardwiring kit, not included).
5.4 การเล่นซ้ำ
- Stop recording by pressing the OK button if it's currently recording.
- Enter playback mode via the menu or a dedicated mode button (refer to your specific model's button layout).
- ใช้ Up และ ลง buttons to select the desired video file.
- กด OK เพื่อเล่นวิดีโอ
5.5 การตั้งค่าวันที่และเวลา
- เข้าถึงเมนูการตั้งค่า
- Navigate to the 'Date/Time' option.
- ปรับปี เดือน วัน ชั่วโมง และนาที โดยใช้ปุ่มลูกศร
- ยืนยันด้วย OK ปุ่ม.
6. การบำรุงรักษา
6.1 การทำความสะอาดเครื่อง
- Use a soft, dry cloth to clean the dash cam's body and screen.
- สำหรับการทำความสะอาดเลนส์ ให้ใช้ผ้าทำความสะอาดเลนส์โดยเฉพาะเพื่อป้องกันรอยขีดข่วน ห้ามใช้สารทำความสะอาดที่มีฤทธิ์กัดกร่อนหรือตัวทำละลาย
6.2 การจัดการการ์ด MicroSD
- It is recommended to format the MicroSD card every 2-4 weeks to maintain optimal performance and prevent data corruption.
- Format the card directly through the dash cam's menu settings.
6.3 ข้อพิจารณาด้านสิ่งแวดล้อม
- Avoid exposing the dash cam to extreme temperatures for prolonged periods, as this can affect battery life and screen performance.
- If the device becomes excessively hot, allow it to cool down before further use.
7 การแก้ไขปัญหา
| ปัญหา | สาเหตุที่เป็นไปได้ | สารละลาย |
|---|---|---|
| กล้องติดรถยนต์ไม่สามารถเปิดได้ | No power supply; faulty car charger; damaged cable. | Check car charger connection and vehicle's 12V outlet. Try a different power source or cable. |
| การบันทึกหยุดโดยไม่คาดคิด | MicroSD card full; card error; low battery. | Format the MicroSD card. Replace with a new, high-quality Class 10 card. Ensure continuous power supply. |
| วิดีโอ footage ไม่ชัดเจนหรือไม่ชัดเจน | ฟิล์มป้องกันบนเลนส์; เลนส์สกปรก; สิ่งกีดขวางบนกระจกหน้ารถ | Remove any protective film. Clean the lens and windshield. |
| หน้าจอค้างหรืออุปกรณ์ไม่ตอบสนอง | Software glitch; overheating. | Press the reset button (if available). Power off and restart the device. Allow to cool down if hot. |
| กล้องหลังไม่แสดงผล | Loose connection; faulty cable/camera. | ตรวจสอบการเชื่อมต่อสายเคเบิลกล้องหลังกับตัวเครื่องหลัก ตรวจสอบให้แน่ใจว่าสายเคเบิลไม่ชำรุดเสียหาย |
8. ข้อมูลจำเพาะ
- แสดง: จอ LCD ขนาด 4 นิ้ว
- ความละเอียดวิดีโอ: ฟูลเอชดี 1080P
- มุมเลนส์: มุมกว้าง 170°
- คุณสมบัติพิเศษ: Night Vision, G-Sensor, Loop Recording, Motion Detection, WDR
- พื้นที่จัดเก็บ: MicroSD Card (Class 10, up to 32GB recommended)
- แหล่งพลังงาน: Car Charger (12V)
- สี: สีดำ
- น้ำหนักผลิตภัณฑ์: ประมาณ 650 กรัม
- อุปกรณ์ที่รองรับ: คอมพิวเตอร์ส่วนบุคคล สมาร์ทโฟน แท็บเล็ต (สำหรับ file viewไอเอ็นจี)
9. การรับประกันและการสนับสนุน
For warranty information and technical support, please refer to the contact details provided with your purchase or visit the official Anytek webไซต์ โปรดเก็บใบเสร็จรับเงินไว้เป็นหลักฐานการซื้อสำหรับการเรียกร้องการรับประกัน