
การแนะนำ
This manual provides detailed instructions for the setup, operation, and configuration of the BearHoHo Flashlight Shine to Unlock Escape Room Prop with 1 Light Sensor. This device is designed to integrate into escape room scenarios, allowing players to unlock a 12V electromagnetic lock by shining a flashlight onto a light sensor a specific number of times.
เนื้อหาแพ็คเกจ
โปรดตรวจสอบว่าแพ็คเกจของคุณมีส่วนประกอบทั้งหมดดังต่อไปนี้:

Image: All components included in the 1 Light Sensor Set package.
- 1x Controller: The central unit for managing the light sensor and lock.
- 1x 12V Power Adapter: For powering the controller.
- สาย USB 1 เส้น: Used for modifying voice files.
- 1x Speaker: Provides audio feedback during operation and configuration.
- 1x Light Sensor: Detects flashlight input.
คำแนะนำการตั้งค่า
Follow these steps to correctly set up your Escape Room Prop:
- Connect the Light Sensor: Plug the light sensor cable into the designated input channel on the controller.
- เชื่อมต่อลำโพง: Plug the speaker cable into the audio output port on the controller.
- Connect the 12V Electromagnetic Lock:

Image: Detailed wiring diagram for the 12V electromagnetic lock connection.
- เชื่อมต่อ สายสีดำ (negative) of the 12V EM lock to the คอม port of the controller.
- เชื่อมต่อ สายสีแดง (positive) of the 12V EM lock to the NC (Normally Closed) port of the controller.
- เชื่อมต่อพลังงาน: Plug the 12V power adapter into the DC 12V power port on the controller, then connect the adapter to a power outlet.
คำแนะนำการใช้งาน
Once set up, the prop operates as follows:
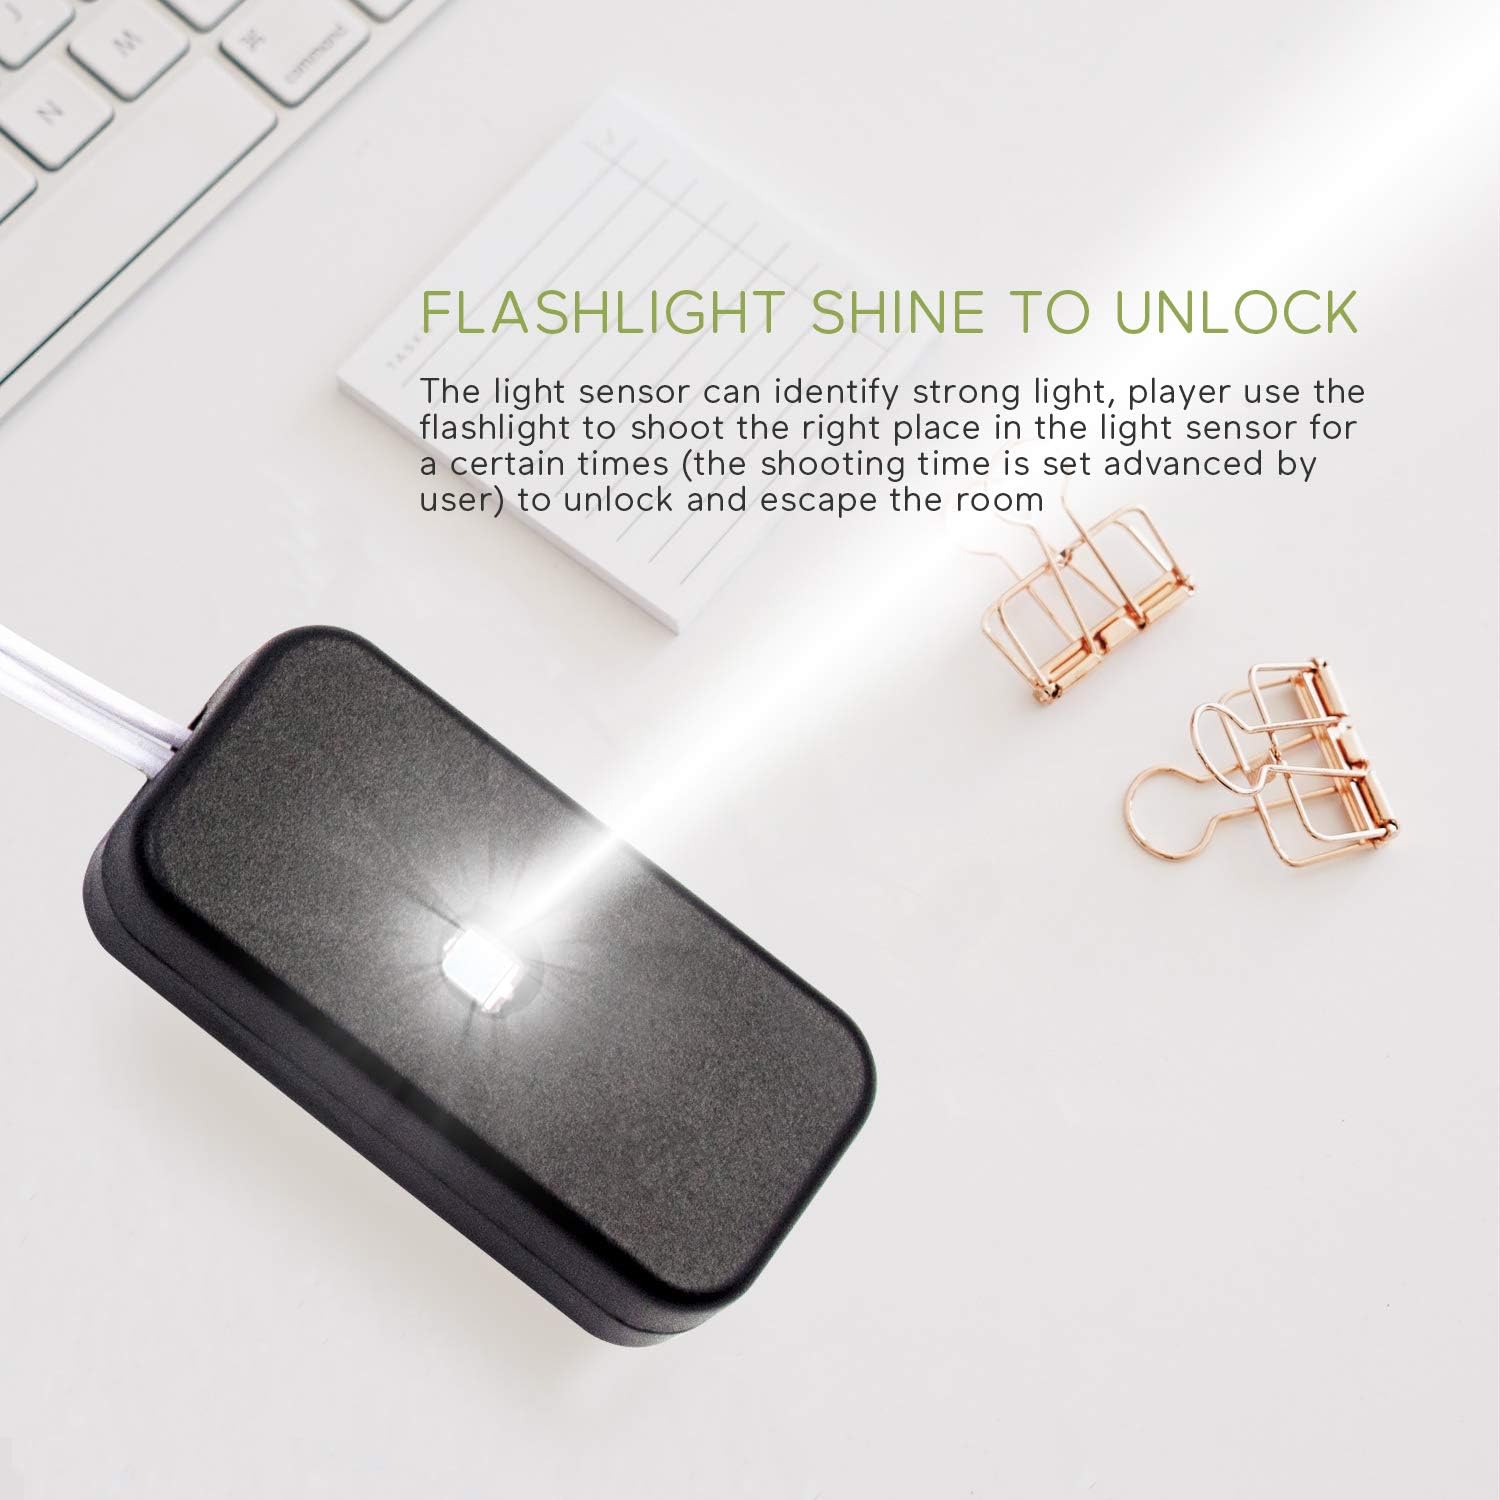
Image: Flashlight interaction with the light sensor to trigger the unlock sequence.
- The light sensor is designed to detect strong light sources such as a flashlight, mobile phone light, or laser pointer.
- Players must shine a light onto the sensor a specific number of times (the preset frequency) to trigger the unlock mechanism.
- Upon successful completion of the light sequence, the 12V electromagnetic lock will open, accompanied by an audio cue from the speaker.
การกำหนดค่าและการเขียนโปรแกรม
The controller allows for customization of the trigger frequency and voice prompts.
1. Modifying the Trigger Frequency (Shooting Times)

Image: Step-by-step guide for setting the light sensor trigger frequency.
- หมดแรง: Disconnect the power adapter from the controller.
- เข้าสู่โหมดการตั้งค่า: Press and hold the 'Setting Button' on the controller while reconnecting the power adapter. Continue holding until you hear a voice prompt.
- ตั้งความถี่: Release the button. The system will prompt you to input the desired frequency. Shine your flashlight onto the light sensor the exact number of times you wish to set as the password (e.g., shine 5 times for a frequency of 5). The frequency can be set from 1 to 50.
- บันทึกการตั้งค่า: Press the 'Setting Button' once to save the new frequency. Power cycle the controller to test the new setting.
2. Modifying Voice Files
The controller's voice prompts can be customized:
- Connect the controller to a computer using the provided USB cable.
- The controller will appear as a removable storage device.
- You can replace the existing audio files with your custom MP3 or WAV files. Ensure new files retain the original filenames and format for proper recognition.
3. Resetting the Prop
The prop can be reset to its initial state or a specific mode:
- Refer to the DIP switches on the controller for various reset and mode options. Specific instructions for each mode are typically provided in a separate quick-start guide or on the device itself.
การซ่อมบำรุง
To ensure the longevity and proper functioning of your prop:
- Keep the controller and light sensor dry and away from extreme temperatures.
- Clean the light sensor surface periodically with a soft, dry cloth to ensure optimal light detection.
- Avoid exposing the components to direct sunlight for extended periods.
- Ensure all cable connections are secure during operation.
การแก้ไขปัญหา
If you encounter issues with your prop, consider the following:
- Prop Does Not Power On:
- Verify the 12V power adapter is correctly plugged into both the controller and a working power outlet.
- Check for any visible damage to the power adapter or controller.
- Lock Does Not Open After Correct Light Sequence:
- Ensure the 12V EM lock is correctly wired to the controller's COM and NC ports as per the setup instructions.
- Confirm the light sensor is clean and unobstructed.
- Re-verify the programmed trigger frequency by following the configuration steps.
- Test the EM lock independently if possible to rule out a lock malfunction.
- No Audio Feedback:
- Check that the speaker is securely connected to the audio output port.
- Ensure the volume is not set to minimum if there is a volume control.
- Light Sensor Not Responding:
- Ensure the light source is strong enough and directly aimed at the sensor.
- ทำความสะอาดพื้นผิวเซนเซอร์
ข้อมูลจำเพาะ
Key technical specifications for the BearHoHo 1 Light Sensor Set:
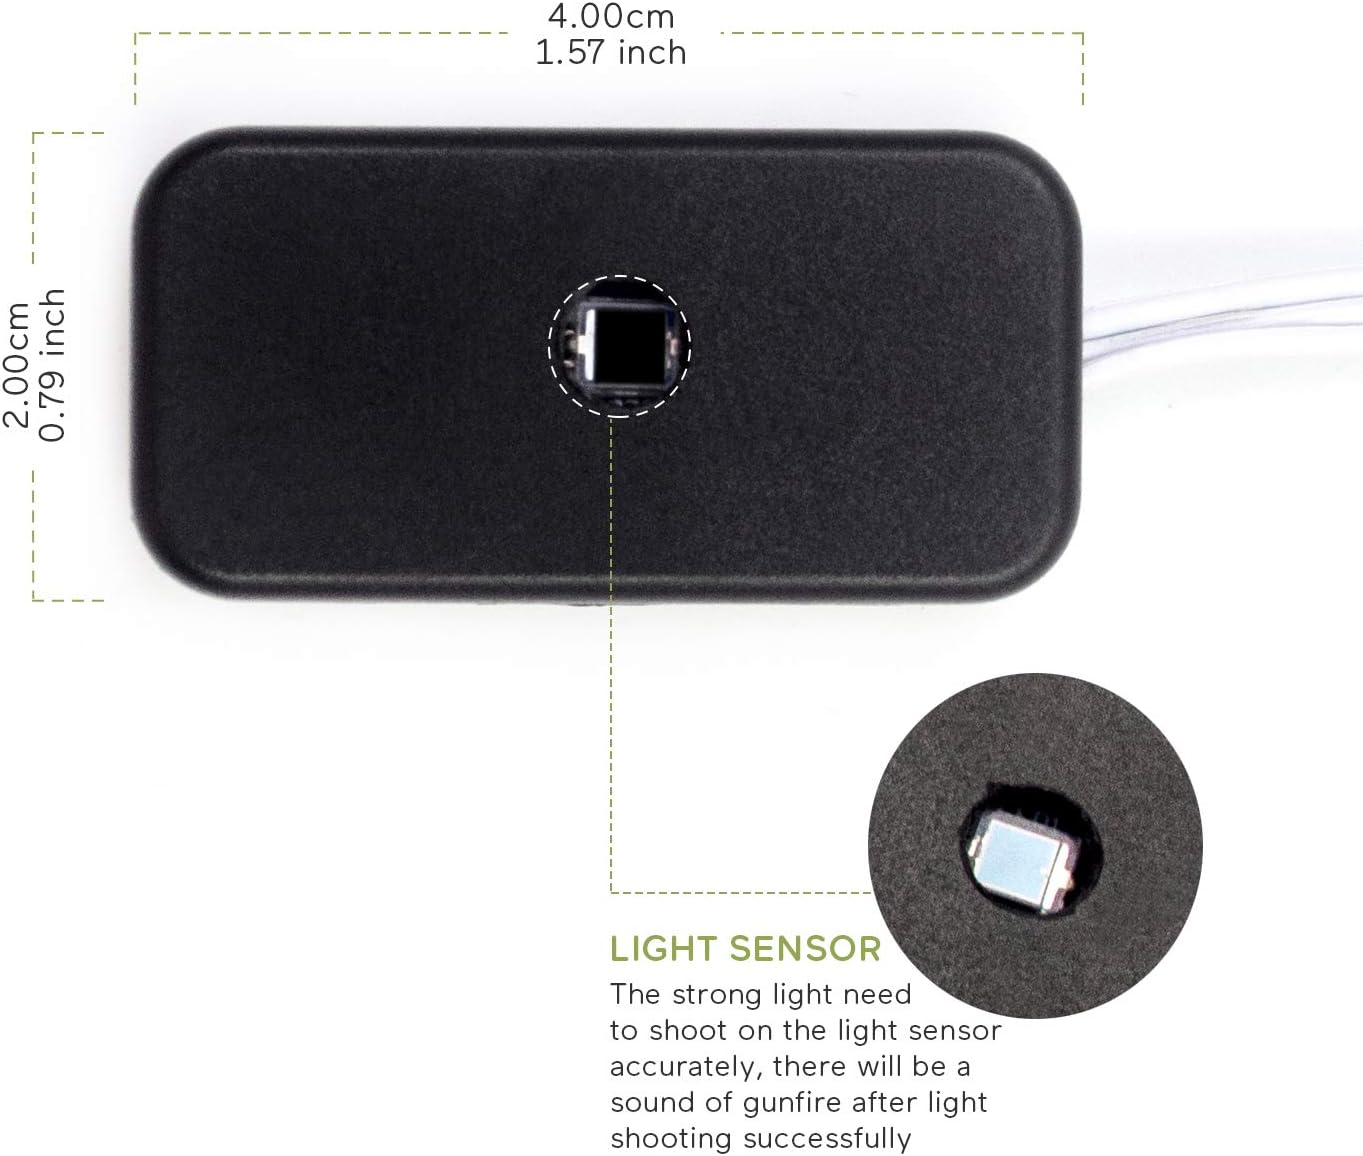
Image: Dimensions and detail of the light sensor component.
| ผู้ผลิต | แบร์โฮโฮ |
| น้ำหนักสินค้า | 14.4 ออนซ์ |
| ขนาดแพ็คเกจ | 7.8 x 5.9 x 1.9 นิ้ว |
| สไตล์ | 1 Light Sensor Set |
| รวมแบตเตอรี่ด้วยมั้ย? | เลขที่ |
| จำเป็นต้องใช้แบตเตอรี่หรือไม่? | เลขที่ |
| วันที่พร้อมใช้งานครั้งแรก | 10 พฤศจิกายน 2019 |
การรับประกันและการสนับสนุน
For warranty information or technical support, please refer to the contact details provided with your purchase or visit the official BearHoHo webโปรดเก็บใบเสร็จรับเงินไว้เพื่อใช้ในการเคลมประกันสินค้า