تعارف
Thank you for choosing the Bomann JM 1025 CB Yoghurt Maker. This appliance is designed for the simple and convenient preparation of homemade yoghurt. Please read this instruction manual carefully before first use to ensure safe operation and optimal performance. Keep these instructions for future reference.
حفاظتي هدايتون
- صفائي ڪرڻ کان اڳ يا استعمال ۾ نه هجڻ وقت هميشه اوزار کي پاور آئوٽليٽ مان ڪڍي ڇڏيو.
- مکيه يونٽ، تار، يا پلگ کي پاڻي يا ٻين مائع ۾ نه ٻوڙيو.
- حجم کي يقيني بڻايو وڃيtagاوزار تي ظاهر ڪيل e توهان جي مقامي مين واليوم سان ملندو آهيtage ڳنڍڻ کان اڳ.
- هي اوزار صرف گھر جي استعمال لاء ٺهيل آهي. ان کي ٻاهر استعمال نه ڪريو.
- اوزار کي ٻارن جي پهچ کان پري رکو.
- Do not operate the appliance if the cord or plug is damaged, or if the appliance malfunctions or has been damaged in any way. Contact qualified service personnel for repair.
- Place the appliance on a stable, heat-resistant, and dry surface.
- اوزار کي گرم سطحن يا کليل باهه جي ويجهو نه رکو.
- Avoid touching hot surfaces during and immediately after operation. Use handles or knobs.
پيداوار ختمview
The Bomann JM 1025 CB Yoghurt Maker consists of the following main components:
- Main Yoghurt Maker Unit with heating element and illuminated On/Off switch.
- Transparent Lid.
- Seven (7) Glass Jars with Screw Lids (capacity: 160 ml each).
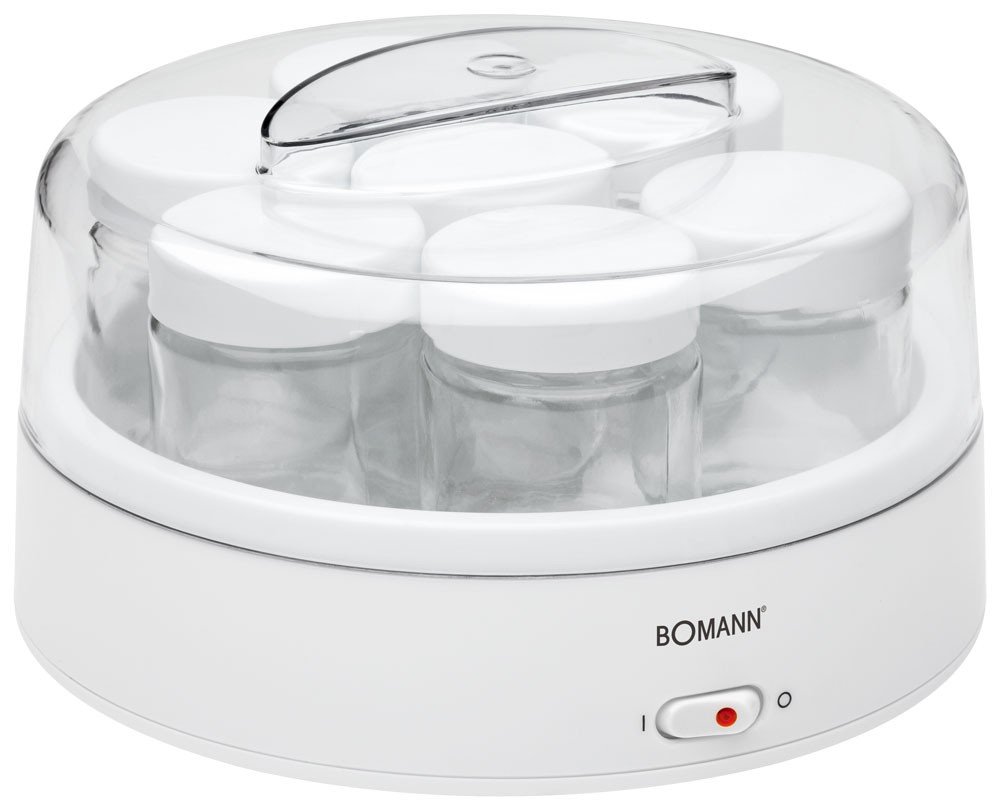
Image: The Bomann JM 1025 CB Yoghurt Maker, showing its compact design, the seven glass jars inside, and the transparent lid. A serving of fresh yoghurt with blueberries and mint is displayed alongside the appliance.
سيٽ اپ ڪريو
- پيڪ ڪريو: پيڪنگ مان سڀني حصن کي احتياط سان هٽايو. مستقبل جي اسٽوريج يا ٽرانسپورٽ لاءِ پيڪنگ کي برقرار رکو.
- شروعاتي صفائي: Before first use, wash the glass jars and their screw lids, as well as the transparent lid, in warm soapy water. Rinse thoroughly and dry completely. Wipe the main unit with a damp ڪپڙو. پاڻي ۾ مکيه يونٽ نه وسايو.
- لڳائڻ: Place the yoghurt maker on a clean, dry, stable, and heat-resistant surface, away from direct sunlight or heat sources.
آپريٽنگ هدايتون
Follow these steps to prepare homemade yoghurt:
- Prepare the Yoghurt Mixture:
- Heat 1 liter of milk (full-fat, semi-skimmed, or skimmed) to approximately 45-50°C. This temperature is crucial for activating the yoghurt cultures.
- Allow the milk to cool to about 40-45°C. It should be warm to the touch but not hot.
- Add 2-3 tablespoons of plain, natural yoghurt with live cultures (as a starter) or a packet of commercial yoghurt starter culture to the cooled milk. Stir well until fully combined. Ensure the starter yoghurt has the same fat content as the milk for best results.
- Optional: Add sugar or other flavorings at this stage if desired.
- جار ڀريو: Pour the prepared yoghurt mixture evenly into the seven clean glass jars. Do not overfill.
- يونٽ ۾ جار رکو: Place the filled, open glass jars into the yoghurt maker unit.
- ڍڪڻ: Place the transparent lid securely onto the yoghurt maker unit.
- پاور سان ڳنڍيو: Plug the appliance into a suitable 230 Volt power outlet.
- خمير شروع ڪريو: Press the illuminated On/Off switch to turn on the appliance. The indicator light will illuminate, signifying that the heating process has begun.
- خمير جو وقت: Allow the yoghurt to ferment for approximately 8-9 hours. The exact time may vary depending on the desired consistency and ambient temperature. Longer fermentation generally results in a thicker and tangier yoghurt.
- بند ڪيو: Once the desired consistency is achieved, press the On/Off switch to turn off the appliance. Unplug the appliance from the power outlet.
- ٿڌو ڪريو ۽ ذخيرو ڪريو: Remove the glass jars from the yoghurt maker. Screw on their lids. Allow the yoghurt to cool completely at room temperature before refrigerating. Store the finished yoghurt in the refrigerator for up to one week.
سار سنڀال ۽ صفائي
Regular cleaning ensures the longevity and hygiene of your yoghurt maker.
- صفائي کان اڳ: هميشه اوزار کي پاور آئوٽليٽ مان ڪڍو ۽ صاف ڪرڻ کان اڳ ان کي مڪمل طور تي ٿڌو ٿيڻ ڏيو.
- مکيه يونٽ: مکيه يونٽ جي ٻاهرين حصي کي نرم، ڊي سان صاف ڪريوamp ڪپڙو. گھڙڻ وارا صاف ڪندڙ يا اسڪوئر استعمال نه ڪريو. مکيه يونٽ کي ڪڏهن به پاڻي يا ڪنهن ٻئي مائع ۾ نه ٻوڙيو.
- شيشي جا ٿانو ۽ ڍڪڻ: The glass jars and their screw lids, as well as the transparent lid, are dishwasher safe. Alternatively, they can be washed by hand in warm soapy water, rinsed thoroughly, and dried completely before storage or next use.
- اسٽوريج: صاف ۽ سڪل اوزار کي ٿڌي، سڪل جاءِ تي ذخيرو ڪريو.
مشڪلاتون
If you encounter issues with your yoghurt maker, consider the following common solutions:
- Yoghurt is too watery or not setting:
- Ensure the milk was heated to the correct temperature (45-50°C) and cooled to the correct temperature (40-45°C) before adding the starter.
- Verify that the starter yoghurt contains live, active cultures. Using old or inactive starter yoghurt will prevent proper fermentation.
- Increase the fermentation time. Some recipes or desired consistencies may require longer than 8-9 hours.
- Ensure the milk and starter yoghurt have similar fat content.
- Avoid disturbing the yoghurt maker during the fermentation process.
- Yoghurt is too sour:
- Reduce the fermentation time.
- Ensure the ambient temperature is not excessively high.
- اوزار چالو نٿو ٿئي:
- چيڪ ڪريو ته ڇا پاور ڪنڊ محفوظ طور تي اوزار ۽ وال آئوٽليٽ ٻنهي ۾ لڳل آهي.
- Ensure the wall outlet is functioning correctly by testing it with another appliance.
- Verify that the On/Off switch is pressed.
جيڪڏهن مسئلا برقرار رهن، ڪسٽمر سپورٽ يا ڪنهن قابل ٽيڪنيشن سان رابطو ڪريو.
وضاحتون
| برانڊ: | بومن |
| ماڊل نمبر: | JM 1025 CB |
| ٺاهيندڙ ماڊل نمبر: | 610250 |
| گنجائش: | 1.1 Liters (7 x 160 ml jars) |
| پاور / واٽtage: | 14 واٽ |
| جلدtage: | 230 وولٽ |
| پيداوار جي ماپ (L x W x H): | 26.5 x 24 x 15 سينٽي |
| وزن: | 1.82 ڪلو |
| رنگ: | شفاف ، اڇو |
وارنٽي ۽ سپورٽ
For warranty information, please refer to the warranty card included with your purchase or contact the retailer where the product was purchased. For technical support or service inquiries, please contact Bomann customer service or your local distributor. Keep your proof of purchase for warranty claims.