TESSAN CH-EV201W-GR-A002
TESSAN Level 2 EV Charger Instruction Manual
Модель: CH-EV201W-GR-A002 | Бренд: ТЕССАН

The TESSAN Level 2 EV Charger, featuring a hardwired design, 48A/240V capacity, and smart app control via Wi-Fi and Bluetooth, is designed for fast and convenient electric vehicle charging at home.
1. Информация по технике безопасности
Before installation and operation, please read this manual thoroughly and retain it for future reference. Adhere to all local electrical codes and regulations. Installation should only be performed by a qualified electrician.
Общие меры безопасности:
- Требуется профессиональная установка: This is a hardwired unit. Incorrect installation can lead to electric shock, fire, or other hazards.
- Заземление: Убедитесь, что зарядное устройство надежно заземлено, чтобы предотвратить поражение электрическим током.
- Условия окружающей среды: The charger is IP65 water resistant, suitable for indoor and outdoor use. However, avoid submerging the unit in water.
- Целостность кабеля: Регулярно проверяйте зарядный кабель и разъем на наличие повреждений, износа или истирания. Не используйте устройство, если оно повреждено.
- Дети и домашние животные: Keep the charger and cable out of reach of children and pets during operation and storage.
- Экстренная остановка: Familiarize yourself with the location of your circuit breaker and how to shut off power to the charger in an emergency.

The TESSAN EV Charger is built with multiple protection mechanisms to ensure stable and safe operation under various conditions.
2. Содержимое упаковки
При открытии упаковки убедитесь, что все предметы присутствуют и не повреждены:
- TESSAN Level 2 EV Charger Unit
- 25ft Charging Cable with J1772 Connector
- Шаблон для настенного монтажа
- Mounting Hardware (screws, expansion tubes)
- Plug Holder (two parts for charger and connector)
- Руководство пользователя (этот документ)
3. Настройка и установка
Важный: Electrical installation must be performed by a licensed electrician in accordance with all applicable local and national electrical codes.
3.1 Физический монтаж
- Выберите место: Select a suitable indoor or outdoor location near your parking area, ensuring it is within reach of the 25ft charging cable.
- Используйте монтажный шаблон: Place the provided wall-mounting drilling reference drawing on the desired wall position.
- Отверстия для сверления: Drill holes according to the marks on the template.
- Безопасное зарядное устройство: Fix the charger unit to the wall using the provided screws and expansion tubes.
- Install Plug Holder: Mount the two-part plug holder next to the charger unit for convenient storage of the J1772 connector.

The 25ft cable provides flexibility for charging your EV wherever it's parked.
3.2 Электрическое подключение (проводное)
- Выключение: Ensure the main power supply to the installation area is completely shut off at the circuit breaker.
- Проводное соединение: Connect the charger's hardwired input wires (typically L1, L2, and Ground) to the appropriate terminals in your electrical panel or junction box. This unit requires a 240V/48A circuit.
- Проверьте соединения: Тщательно проверьте все соединения на надежность крепления и правильность полярности.
- Восстановить мощность: После проверки и надёжности всех соединений восстановите подачу питания в цепь.

The hardwired connection ensures a stable and high-power supply for fast charging.
3.3 Установка и подключение приложения
- Скачать приложение: Искать the "eTrip+" app on your smartphone's app store (iOS/Android).
- Регистрация/Войти: Создайте учетную запись или войдите в систему, если она у вас уже есть.
- Добавить устройство: Follow the in-app instructions to add your TESSAN EV Charger. This typically involves scanning a QR code on the charger unit (use the top QR code on the silver label, not the white label) and connecting via Bluetooth or Wi-Fi (2.4GHz only).
- Настройка сети: Configure the charger to connect to your home 2.4GHz Wi-Fi network for remote control and smart features.
4. Инструкция по эксплуатации
4.1 Начало зарядки
- Подключить: Connect the J1772 connector to your electric vehicle's charging port.
- Initiate Charge:
- Через приложение: Open the eTrip+ app, select your charger, and tap "Start Charging".
- RFID-карта: Swipe an authorized RFID card over the designated area on the charger unit.
- Plug and Charge (Optional): If enabled in the app (via Bluetooth connection), the charger will automatically begin charging when plugged into the vehicle.
4.2 Функции интеллектуального приложения
The eTrip+ app provides advanced control and monitoring capabilities:
- График тарификации: Set specific times for charging, ideal for utilizing off-peak electricity rates.
- Отрегулируйте ток: Modify the charging current (up to 48A) to suit your needs or vehicle's capacity.
- Данные в реальном времени: View live charging data, including power consumption, voltage, current, and charging duration.
- Дистанционное управление: Start or stop charging remotely from anywhere with an internet connection.

The intelligent charging app allows for personalized and efficient charging management.
5. Техническое обслуживание
Regular maintenance ensures optimal performance and longevity of your TESSAN EV Charger.
- Уборка: Протрите зарядное устройство и кабель мягкой тряпкой.amp ткань. Избегайте использования агрессивных химикатов или абразивных чистящих средств.
- Проверка кабелей и разъемов: Periodically check the charging cable and J1772 connector for any signs of damage, cracks, or discoloration. Ensure the connector cap is used when not in use to protect from dust and moisture.
- Проверка агрегата: Inspect the charger unit for any physical damage or loose connections.
- Обновления программного обеспечения: Keep the eTrip+ app updated to the latest version for new features and bug fixes.

The charger's robust design allows it to withstand various weather conditions, but regular cleaning is recommended.
6. Поиск Неисправностей
If you encounter issues with your TESSAN EV Charger, refer to the following common problems and solutions:
| Проблема | Возможная причина | Решение |
|---|---|---|
| Зарядное устройство не включается | Отсутствует питание от автоматического выключателя; плохо закреплена проводка. | Check circuit breaker; ensure proper hardwired connection (consult electrician). |
| Charging not starting via app | App connectivity issue; incorrect settings; server issues. | Ensure charger is connected to 2.4GHz Wi-Fi; restart app/charger; check app for server status. |
| Charging not starting with RFID card | Card not authorized; incorrect swipe. | Ensure RFID card is registered in the app; try swiping again. |
| Низкая скорость зарядки | Current limit set in app; vehicle limitation. | Check and adjust current settings in the eTrip+ app; consult vehicle manual for charging limits. |
| App shows network error | Temporary server issue; unstable Wi-Fi. | Wait and try again later; ensure strong 2.4GHz Wi-Fi signal. |
For persistent issues not covered here, please contact TESSAN customer support.
7. Технические характеристики
| Особенность | Спецификация |
|---|---|
| Номер модели | CH-EV201W-GR-A002 |
| Объем ввода / выводаtage | 240 В (переменный ток) |
| Текущий рейтинг | 48 Amps |
| Максимальная выходная мощность | 11.5 кВт/ч |
| Длина зарядного кабеля | 25 футов |
| Тип разъема | SAE J1772 |
| Wi-Fi-подключение | Только 2.4 ГГц |
| Рейтинг водонепроницаемости | IP65 |
| Сертификаты | FCC, ETL, ENERGY STAR |
| Вес товара | 19.46 фунта |
| Размеры упаковки | 19.5 x 18 x 10 дюйма |
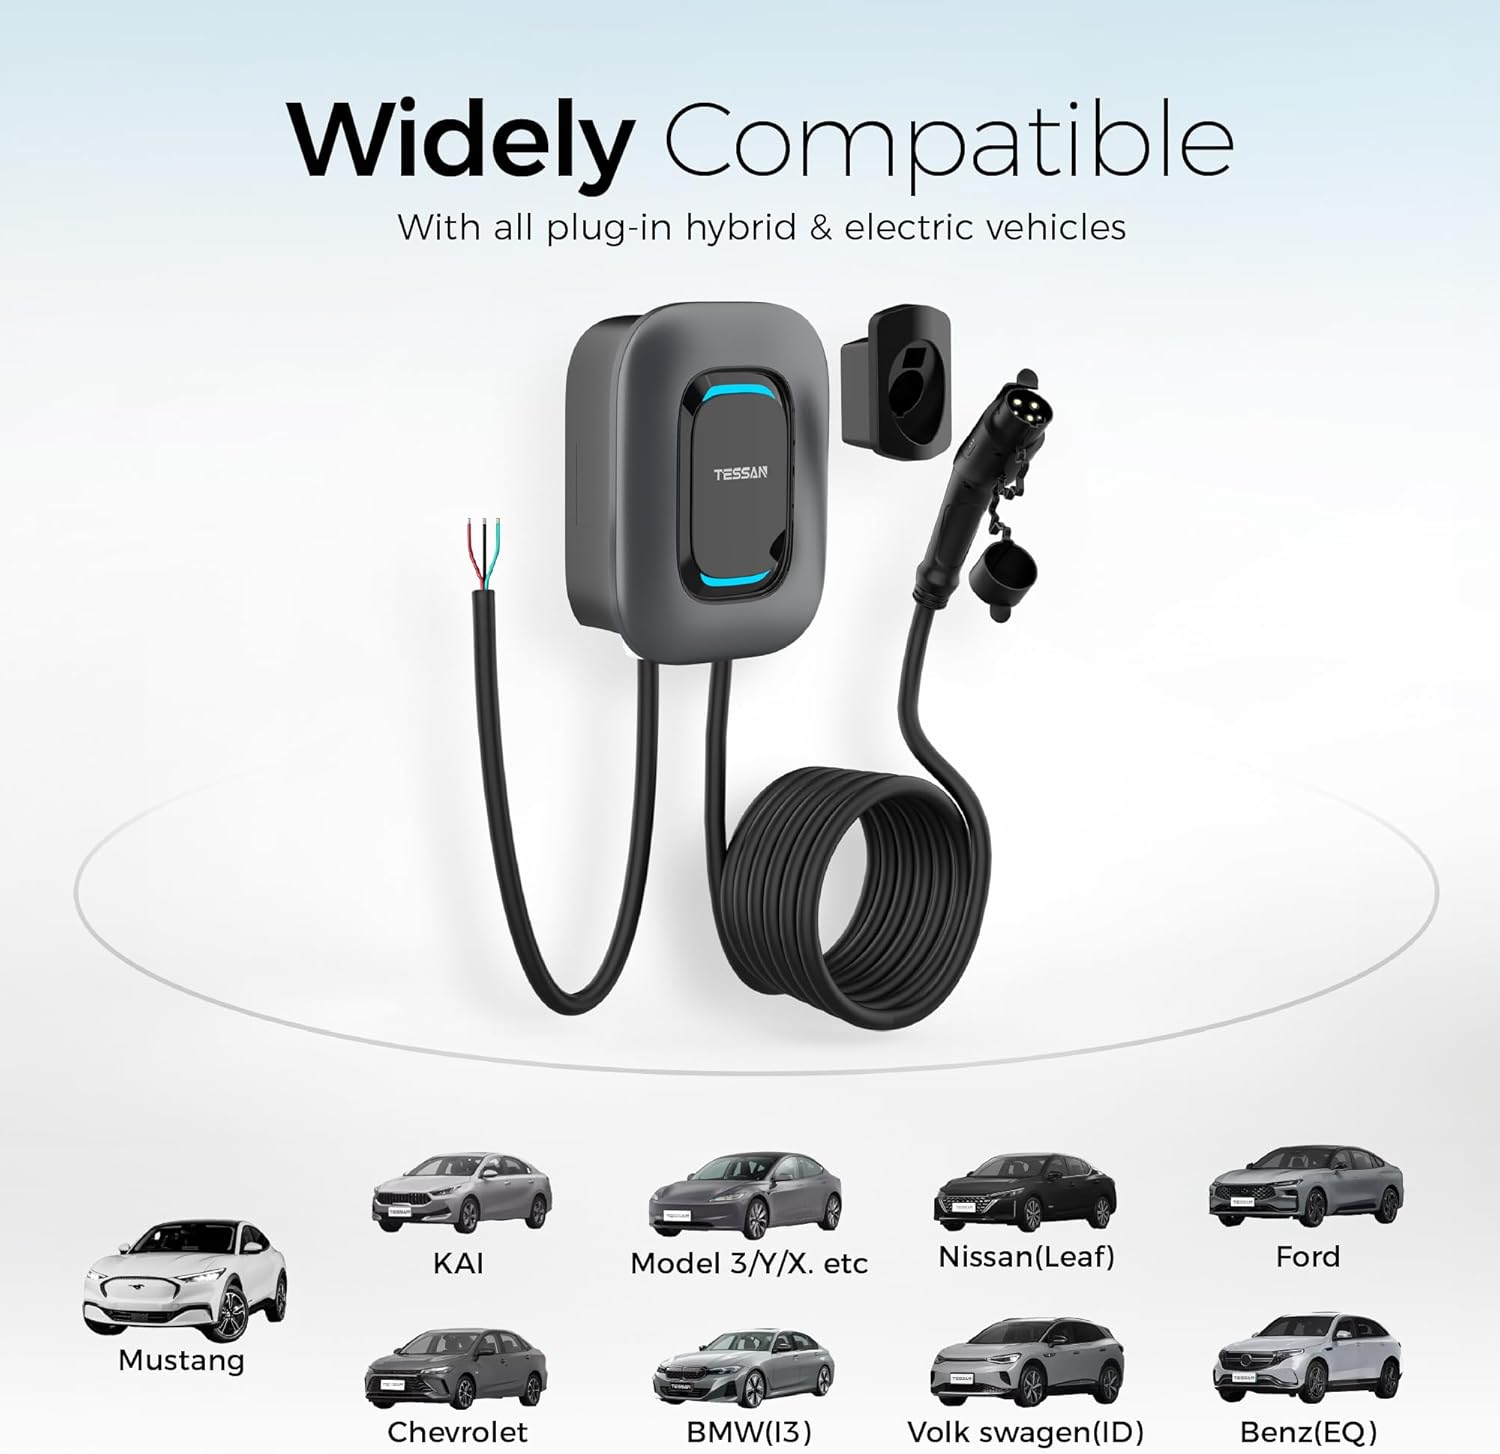
The J1772 connector ensures wide compatibility with most electric and plug-in hybrid vehicles in North America (Tesla requires a separate adapter).
8. Гарантия и поддержка
TESSAN provides a 2-летняя гарантия for this EV charger, ensuring peace of mind regarding product quality and performance.
For technical support, warranty claims, or any questions regarding your TESSAN Level 2 EV Charger, please contact TESSAN customer service through their official channels or the eTrip+ app support section.
Additional protection plans may be available for purchase from your retailer.
Ask a question about this manual
Ask about setup, troubleshooting, compatibility, parts, safety, or missing instructions. Manuals+ will review the question and use this page’s manual context to help answer it.