Введение
Thank you for choosing the Rapoo V10RGB Wireless Charging Mouse Mat. This manual provides detailed instructions for setting up, operating, and maintaining your new mouse mat. Please read this manual carefully before use to ensure optimal performance and longevity of your device.
Содержимое упаковки
Убедитесь, что в упаковке присутствуют все предметы:
- 1 x Rapoo V10RGB Wireless Charging Mouse Mat
- 1 x USB Cable (6ft / 1.8m)
Настраивать
- Распакуйте коврик для мыши: Carefully remove the Rapoo V10RGB Wireless Charging Mouse Mat from its packaging.
- Расположите коврик: Place the mouse mat on a flat, stable surface on your desk. Ensure there is enough space for comfortable mouse movement.

Image: The Rapoo V10RGB Wireless Charging Mouse Mat laid flat on a desk, showing its overall design and RGB lighting.
- Подключите питание: Connect the provided USB cable to the USB-C port on the mouse mat and plug the other end into a compatible USB power source (e.g., computer USB port, USB wall adapter). The RGB lighting will illuminate upon successful connection.
Инструкция по эксплуатации
1. Управление RGB-подсветкой
The Rapoo V10RGB mouse mat features customizable RGB lighting with multiple modes and adjustable brightness levels.
- Изменение режимов RGB: Press the "RGB Modes" button (usually marked with a refresh or cycle icon) to cycle through various multi-color and solid color backlit modes.
- Регулировка яркости: Press the "Brightness +/-" button (usually marked with a sun icon) to adjust the lighting brightness. Options include high, medium, low, and off.

Изображение: крупный план view of the control buttons on the mouse mat, indicating the RGB Modes button and the Brightness +/- button.
2. Функция беспроводной зарядки
The mouse mat includes a wireless charging pad compatible with Qi-enabled devices.
- Разместить устройство: Place your Qi-enabled device (e.g., wireless charging mouse, smartphone, earbuds) onto the designated charging area on the mouse mat. This area is typically marked with a lightning bolt icon.
- Индикация зарядки: The device should begin charging automatically. The mouse mat supports 5W, 7.5W, and 10W output, adjusting automatically based on the device's battery levels to protect your device and extend battery life.
- Обнаружение объектов: The charging pad features object detection to prevent charging foreign metallic objects.
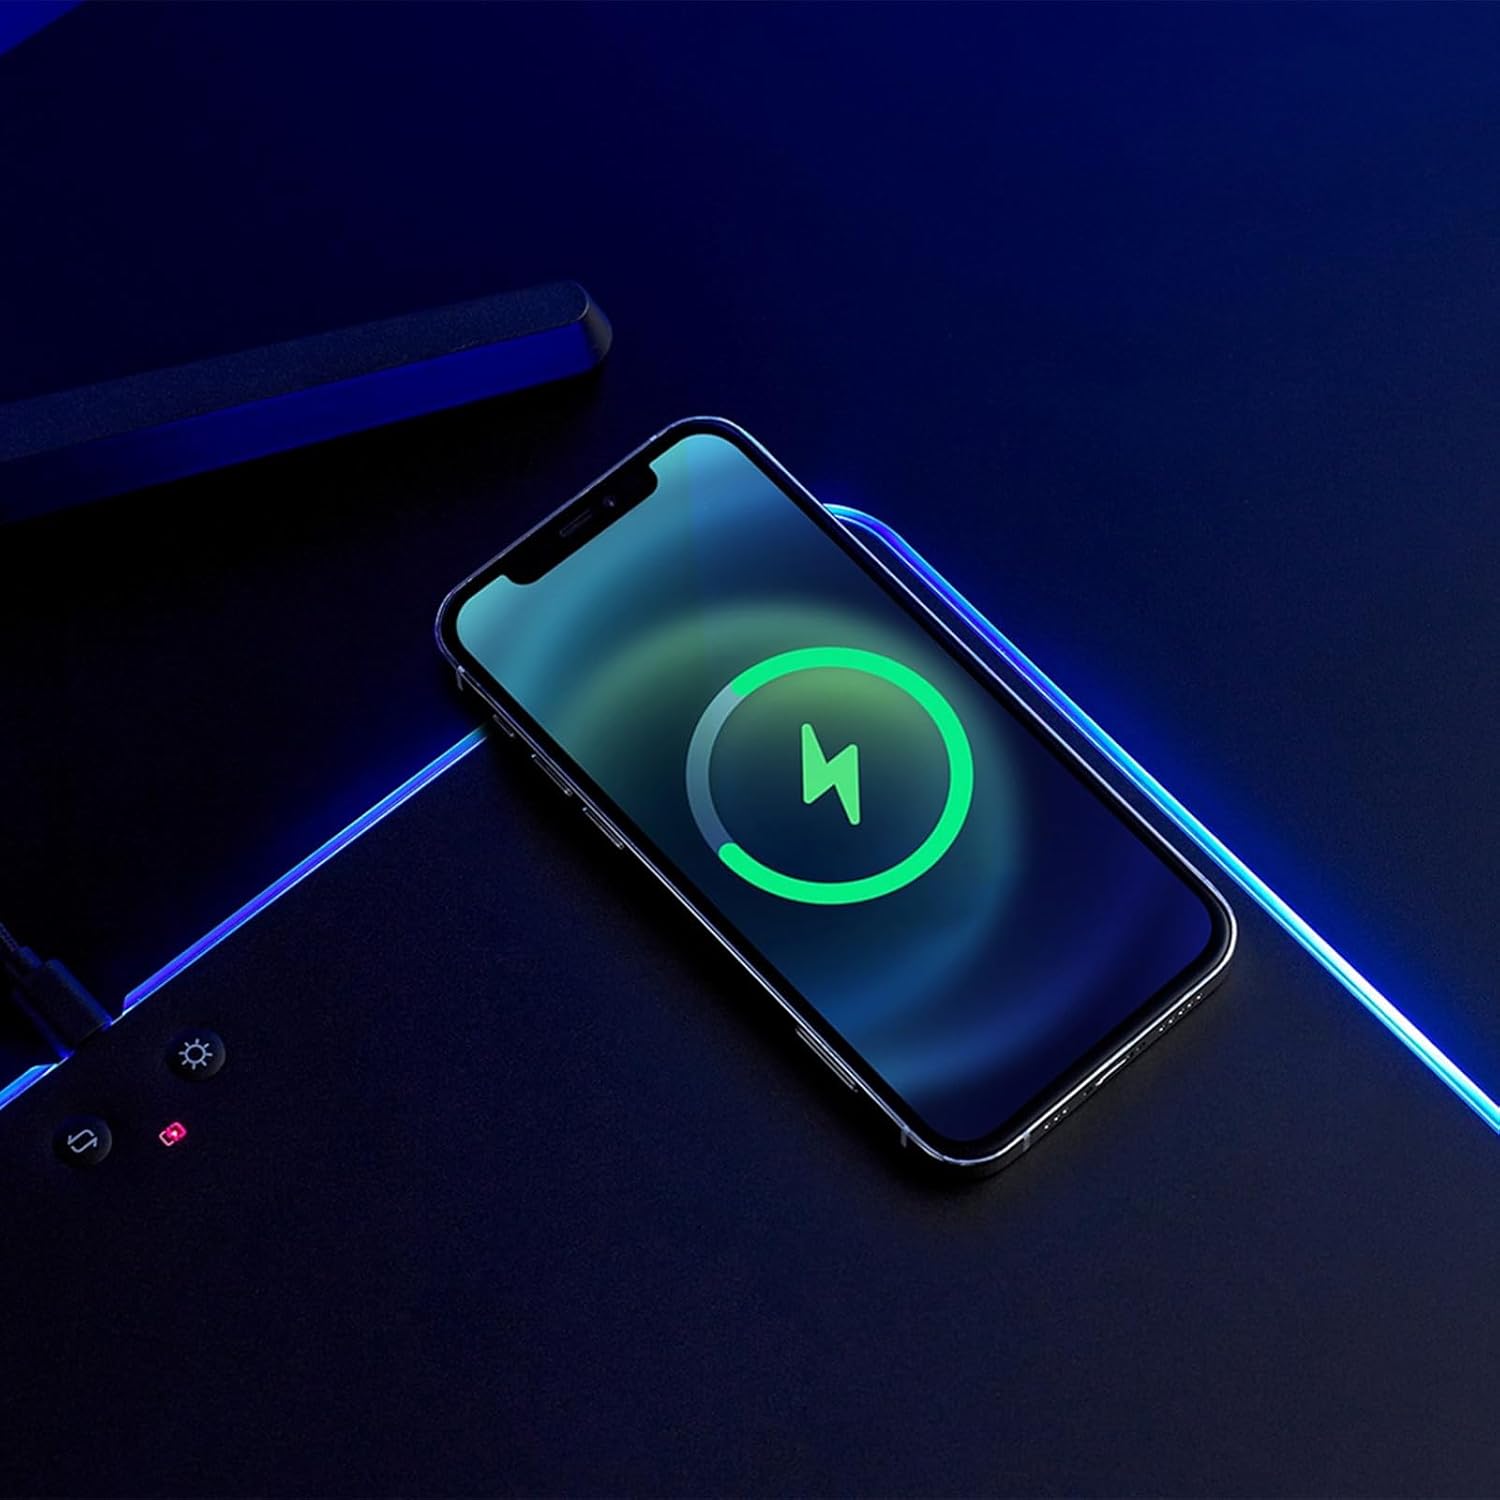
Image: A smartphone placed on the wireless charging area of the mouse mat, displaying a charging indicator on its screen.
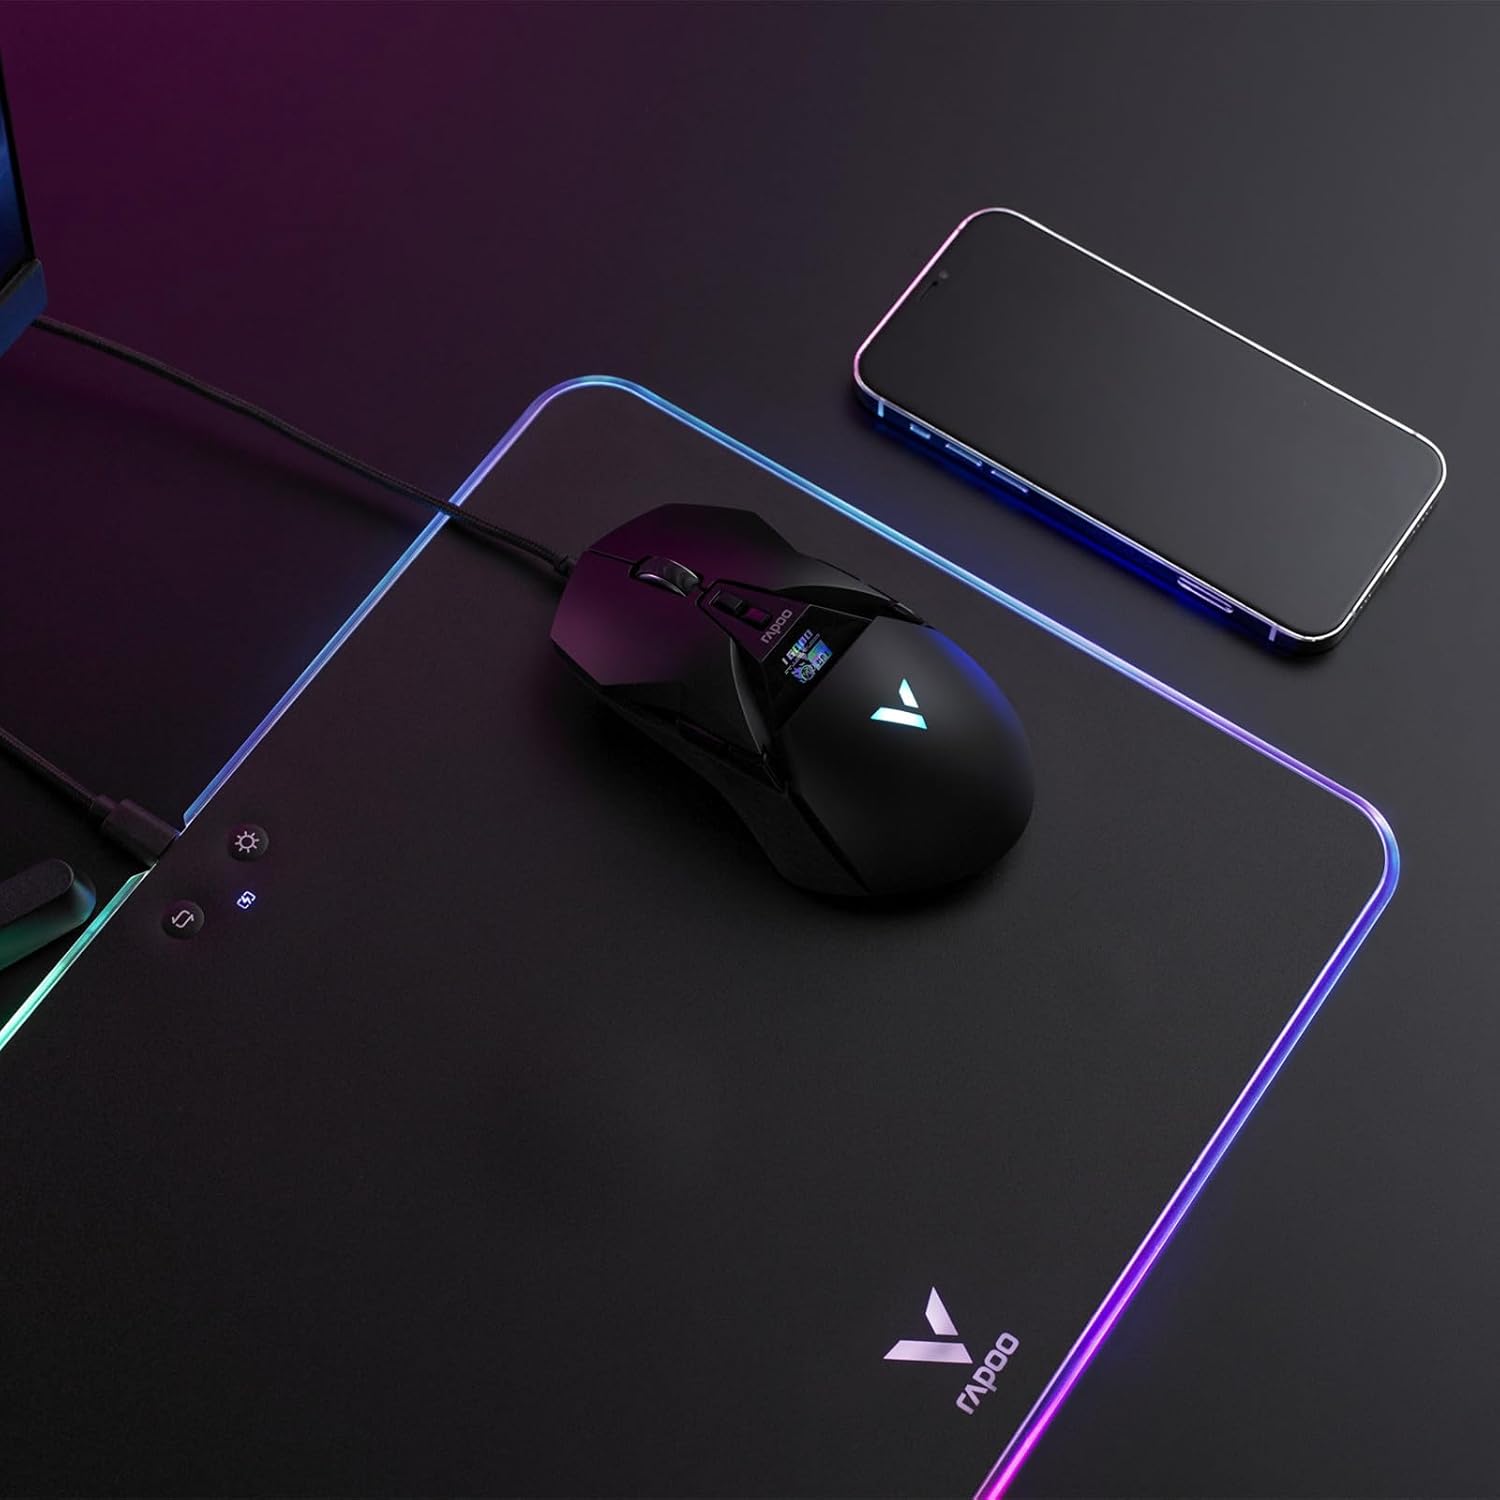
Image: A wireless mouse positioned on the mat for use, with a smartphone placed on the wireless charging area.
3. Hard PC Gaming Surface
The mouse mat features a hard PC gaming surface designed for consistent density, lower friction, and faster response compared to soft foam, rubber, or fabric mouse pads. This provides precise tracking for gaming and general use.
4. Anti-Slip Silicone Base
The underside of the mouse mat is equipped with an anti-slip silicone base. This ensures the mat remains steady and shock-absorbing, preventing unwanted movement during intense use.

Изображение: Увеличенное view of the hexagonal pattern on the anti-slip silicone base of the mouse mat.
Обслуживание
- Очистка поверхности: Используйте мягкий, damp cloth to gently wipe the hard PC gaming surface. Avoid abrasive cleaners or harsh chemicals, as these may damage the surface or RGB lighting.
- Очистка базы: The silicone base can be wiped with a damp cloth if it collects dust. Ensure the mat is completely dry before placing it back on your desk.
- Хранилище: When not in use for extended periods, store the mouse mat flat or gently rolled to prevent creases or damage to the internal components.
Поиск неисправностей
| Проблема | Возможная причина | Решение |
|---|---|---|
| RGB-подсветка не включается. |
|
|
| Беспроводная зарядка не работает. |
|
|
| Отслеживание движения мыши происходит непоследовательно. |
|
|
Технические характеристики
| Особенность | Деталь |
|---|---|
| Модель | V10RGB |
| Размеры продукта | 14in x 10in / 35.2cm x 25.5cm |
| Вес продукта | 1.19 фунта / 542 г |
| Материал | Polycarbonate (Surface), Silicone (Base) |
| Режимы подсветки | RGB, Solid Color |
| Уровни яркости | Высокий, Средний, Низкий, Выкл. |
| Входной ток | 2А/1.67А |
| Выход для беспроводной зарядки | 5Вт/7.5Вт/10Вт |
| Функции защиты | Overcharge Protection, Over Temperature Protection, Object Detection |
| Интерфейс | USB-C |
| Длина кабеля | 6ft / 1.8m |
Гарантия и поддержка
За информацией о гарантии и технической поддержкой обращайтесь на официальный сайт Rapoo. webили обратитесь в службу поддержки напрямую. Сохраните чек о покупке для предъявления гарантийных претензий.
Производитель: Шэньчжэнь Rapoo Technology Co., Ltd.