Введение
This manual provides detailed instructions for the safe and efficient operation of your SINGER M1005 Electric Sewing Machine. The M1005 is designed for various sewing projects, offering 4 built-in stitches with 11 options, adjustable thread tension, and a reverse lever for securing seams. Please read this manual thoroughly before using the machine to ensure proper setup and function.
Важные инструкции по технике безопасности
При использовании электроприборов всегда следует соблюдать основные меры предосторожности, включая следующие:
- Прочтите все инструкции перед использованием этой швейной машины.
- Keep these instructions in a convenient place near your machine.
- Всегда отключайте устройство от электросети сразу после использования и перед чисткой, снятием крышек, смазкой или выполнением любых других регулировок, указанных в инструкции по эксплуатации.
- Не позволяйте использовать в качестве игрушки. Особое внимание необходимо, когда этот прибор используется детьми или рядом с ними.
- Используйте данное изделие только по назначению, как описано в данном руководстве.
- Never operate this sewing machine if it has a damaged cord or plug, if it is not working properly, or if it has been dropped or damaged.
- Держите пальцы подальше от всех движущихся частей. Особый уход требует иглы швейной машины.
- Всегда используйте правильную игольную пластину. Неправильная пластина может привести к поломке иглы.
- Не тяните и не толкайте ткань во время шитья. Это может привести к отклонению иглы и ее поломке.
- Выключайте швейную машину при выполнении любых регулировок в области иглы, таких как заправка нити, замена иглы, заправка шпульки или замена прижимной лапки.
Продукт болееview
The SINGER M1005 is a compact and user-friendly electric sewing machine designed for ease of use and portability.
Основные характеристики:
- 4 Stitches in 11 Options: Select from various straight stitches, zigzag stitches, blind hem stitch, and multi-stitch zigzag using the Stitch Selector Dial.
- Регулируемое натяжение нити: Allows for fine-tuning stitch quality for different fabrics and threads.
- Верхняя вставная шпулька: Features a transparent bobbin cover for easy monitoring of thread supply and simple bobbin insertion.
- Free-Arm Design: Facilitates sewing of cylindrical items like trouser hems and sleeve cuffs.
- Рычаг реверса: Conveniently located for securing the beginning and end of seams with reverse stitches.
- Extra High-Presser Foot Lifter: Provides additional clearance for sewing multiple layers or thicker fabrics.
- Портативная конструкция: Lightweight for easy transport and storage.
Включенные компоненты:
Your SINGER M1005 sewing machine package includes the following items:
- 1 Швейная машина
- All-purpose Foot
- Дополнительная игла
- Finger Guard (pre-installed, removable)
- Bobbins: Class 15 (Transparent)
- Ручной нитевдеватель
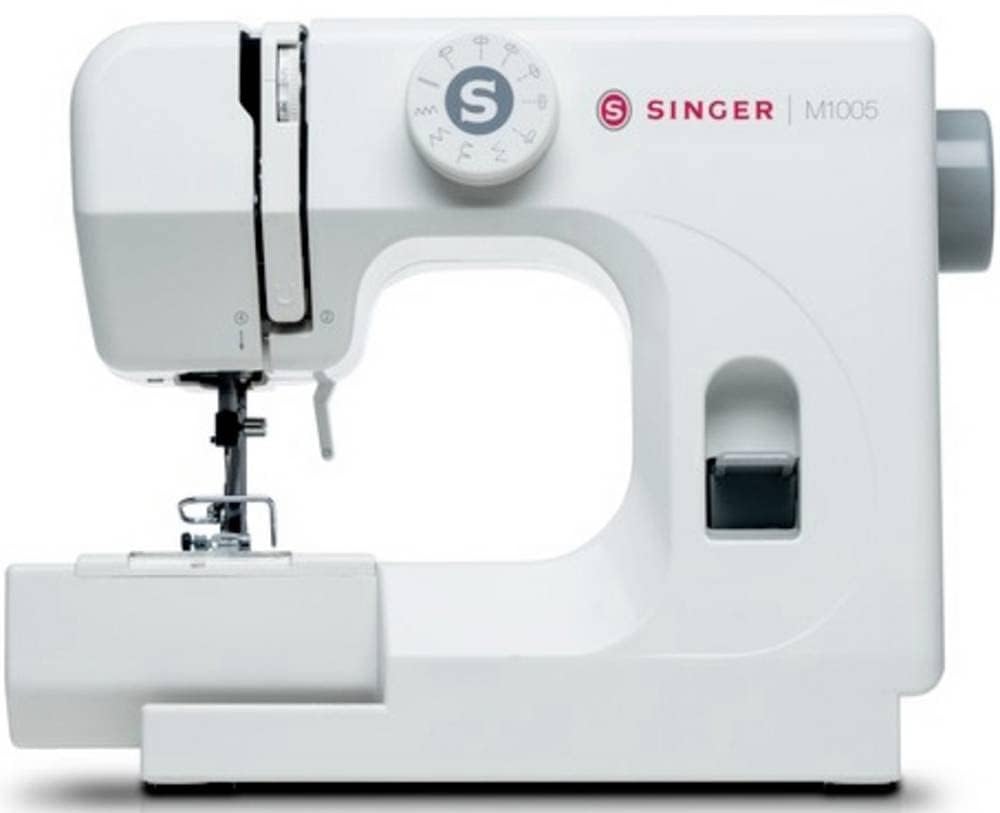
Рисунок 1: The SINGER M1005 Electric Sewing Machine, showcasing its compact design and ready-to-use setup.
Настраивать
1. Подключение питания
- Установите машину на устойчивую, плоскую поверхность.
- Убедитесь, что выключатель питания находится в положении «ВЫКЛ».
- Подключите шнур питания к источнику питания устройства, а затем к подходящей электрической розетке.
2. Наматывание бобины
Proper bobbin winding ensures smooth stitching.
- Наденьте катушку с нитью на стержень для катушки.
- Проведите нить через верхний нитеводитель и вокруг натяжного диска для намотки шпульки.
- Insert the thread through the small hole in the bobbin from the inside out.
- Place the bobbin onto the bobbin winder spindle.
- Сдвиньте ось намотки шпульки вправо.
- Turn on the machine and gently press the foot controller (if applicable) or press the start button to begin winding.
- Once the bobbin is full, push the spindle back to the left and cut the thread.
3. Inserting the Top Drop-in Bobbin
The transparent bobbin cover allows for easy monitoring.
- Убедитесь, что игла находится в самом верхнем положении.
- Откройте прозрачную крышку шпульки.
- Place the wound bobbin into the bobbin case with the thread unwinding counter-clockwise.
- Протяните нить через пружину натяжения, а затем в паз направляющей нити.
- Pull out approximately 10-15 cm (4-6 inches) of thread.
- Замените крышку шпульки.
4. Нарезание верхней резьбы
Correct upper threading is crucial for proper stitch formation.
- Поднимите подъемник прижимной лапки.
- Наденьте катушку с нитью на стержень для катушки.
- Проведите нить через верхний нитенаправитель.
- Follow the numbered threading path down the right channel, up the left channel, and through the take-up lever from right to left.
- Продолжайте направлять нить вниз к нитенаправителю игловодителя.
- Проденьте нить в иглу спереди назад.
- Pull approximately 15-20 cm (6-8 inches) of thread through the needle eye.
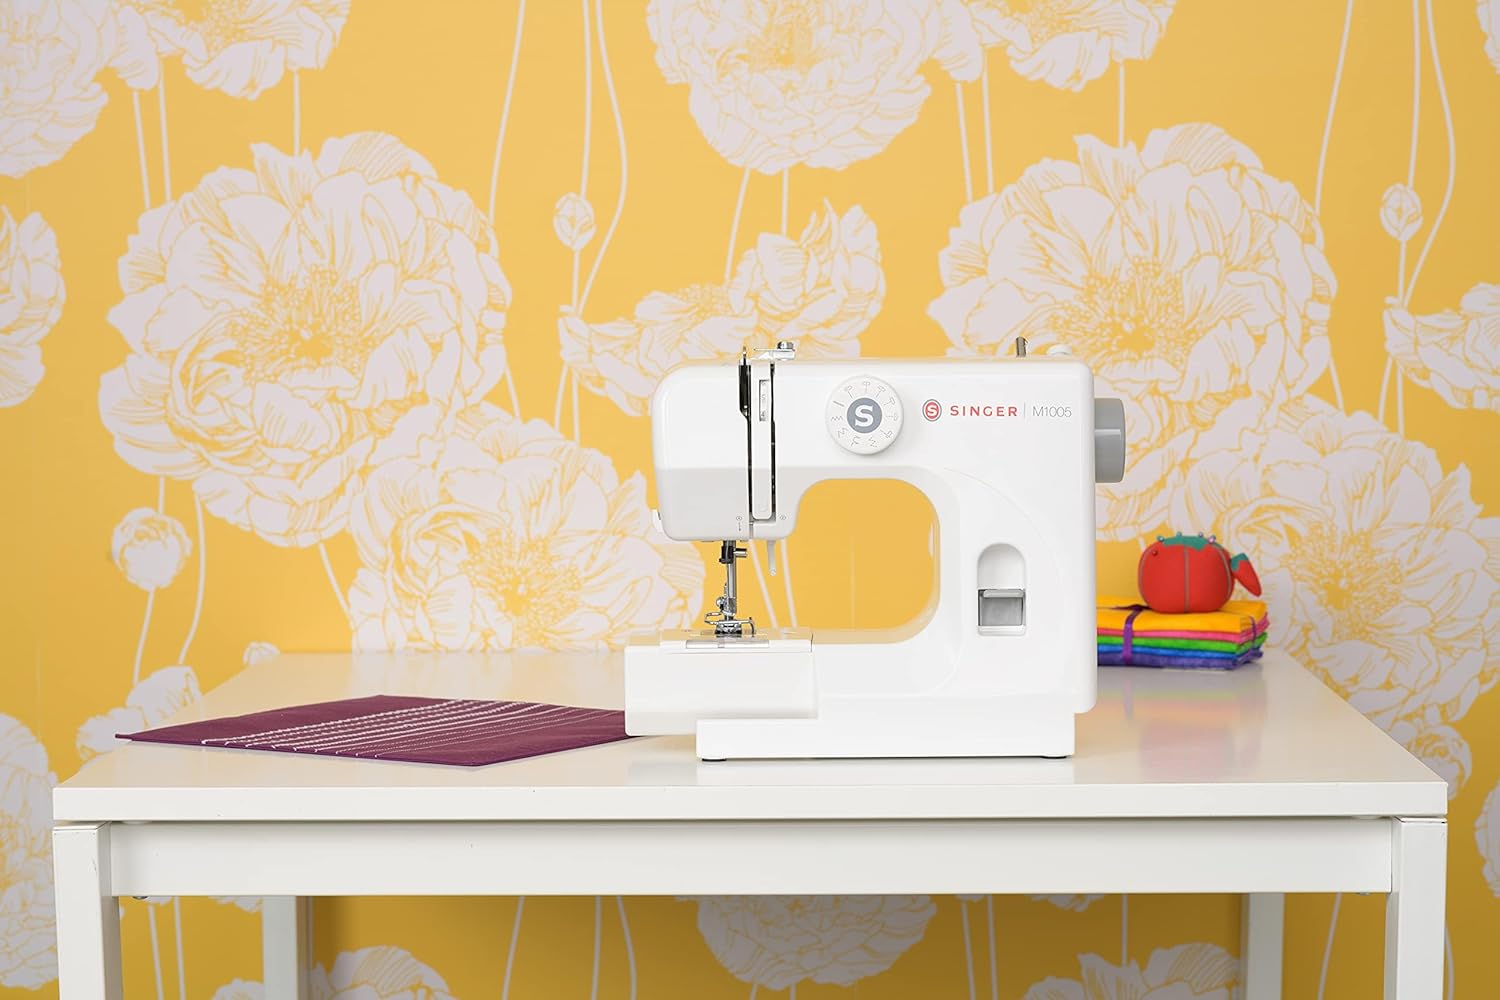
Рисунок 2: Передний view of the SINGER M1005, highlighting the stitch selector dial and general threading area.
Инструкция по эксплуатации
1. Выбор стежка
The SINGER M1005 offers 4 core stitch types with 11 different options.
- Поверните Диск выбора строчки to choose your desired stitch pattern.
- Available stitches include various straight stitches (different lengths/positions), three types of zigzag stitches (different lengths/widths), one blind hem stitch, and one multi-stitch zigzag.
- The optimum stitch width for this machine is 4 mm.
2. Регулировка натяжения нити
Adjust the needle thread tension to achieve balanced stitches.
- The tension dial is usually located on the front of the machine.
- Turn the dial to a higher number for tighter tension, and a lower number for looser tension.
- Test on a scrap piece of fabric to find the ideal setting for your fabric and thread combination.
3. Using the Reverse Lever
The reverse lever is used to secure the beginning and end of seams.
- To sew in reverse, press and hold the Реверсивный рычаг located on the front of the machine.
- Release the lever to resume forward stitching.
4. Free-Arm Sewing
To utilize the free-arm feature for sewing cuffs, pant hems, or other small circular items:
- Remove the accessory storage compartment (if present) by sliding it off to the left.
- The narrow free arm is now exposed, allowing you to slide fabric around it.
5. Extra High-Presser Foot Lifter
For thicker fabrics or multiple layers, the presser foot can be raised higher than its standard position.
- Lift the presser foot lifter to its highest position.
- For extra clearance, push the lifter up further to engage the extra high position.
Обслуживание
Регулярное техническое обслуживание обеспечивает долговечность и оптимальную работу вашей швейной машины. Всегда отключайте машину от сети перед выполнением любых работ по техническому обслуживанию.
1. Очистка машины
- Удаление ворса: Use a small brush to remove lint and dust from the bobbin area and feed dogs.
- Внешняя очистка: Протрите внешние поверхности мягкой, damp ткань. Не используйте агрессивные химикаты.
2. Замена иглы
Replace the needle regularly (after 8-10 hours of sewing) or if it becomes bent, dull, or broken.
- Выключите машину и отсоедините ее от сети.
- Ослабьте иглу cl.amp винт.
- Удалите старую иглу.
- Вставьте новую иглу плоской стороной в заднюю часть машины и протолкните ее как можно дальше.
- Затяните иглу cl.amp надежно завинтить.
Поиск неисправностей
В этом разделе вы найдете решения распространенных проблем, с которыми можете столкнуться.
| Проблема | Возможная причина | Решение |
|---|---|---|
| Пропущенные стежки | Неправильная игла, погнутая игла, неправильная заправка нити. | Замените иглу на иглу правильного типа/размера, правильно заправьте нить в машину. |
| Разрыв нити | Incorrect threading, tension too tight, damaged needle, poor quality thread. | Заправьте нить в машину, отрегулируйте натяжение, замените иглу, используйте качественную нить. |
| Сминание ткани | Слишком сильное натяжение нити, неправильная длина стежка, неподходящая игла для ткани. | Loosen tension, adjust stitch length, use appropriate needle. |
| Машинное заклинивание | Нить запуталась в области шпульки, скопился ворс, неправильно вставлена шпулька. | Remove bobbin and clean bobbin case, re-insert bobbin correctly. |
| Неровные стежки | Неправильное натяжение нити, неправильная заправка, изношенная игла. | Adjust tension, re-thread machine, replace needle. |
Технические характеристики
Technical specifications for the SINGER M1005 Electric Sewing Machine.
- Бренд: SINGER
- Номер модели: M1005 (Part Number: 230246102)
- Цвет: Белый
- Материал: Пластик
- Вес товара: 3 Килограмма
- Источник питания: Проводной электрический
- Stitch Options: 4 built-in stitches with 11 options
- Max Stitch Width: 4 мм
- Тип бобины: Class 15 (Transparent, Top Drop-in)
- Особые характеристики: Adjustable Thread Tension, Free-Arm Design, Reverse Lever, Extra High-Presser Foot Lifter
Гарантия и поддержка
For warranty information, service, or technical support, please refer to the warranty card included with your product or contact SINGER customer service directly. Keep your purchase receipt as proof of purchase.
You can typically find contact information for SINGER support on their official webна сайте или внутри упаковки продукта.