Introducere
This manual provides comprehensive instructions for the setup, operation, and maintenance of your V7 Dual Bay Docking Station USB 3.0. This device is designed to provide convenient access to 2.5-inch and 3.5-inch SATA hard disk drives (HDDs) and solid-state drives (SSDs), offering high-speed data transfer and a standalone cloning function.
Vă rugăm să citiți cu atenție acest manual înainte de a utiliza produsul pentru a asigura funcționalitatea corectă și a preveni deteriorarea.
Conținutul pachetului

Image: The side of the V7 Dual Bay Docking Station packaging, detailing the included items.
Verificați dacă toate articolele enumerate mai jos sunt prezente în colet:
- 1x V7 Dual Bay Docking Station
- 1x USB 3.0 A to B Cable
- 1x DC 12V/3A Power Adapter
- 1x Manual de utilizare (acest document)
Produs terminatview
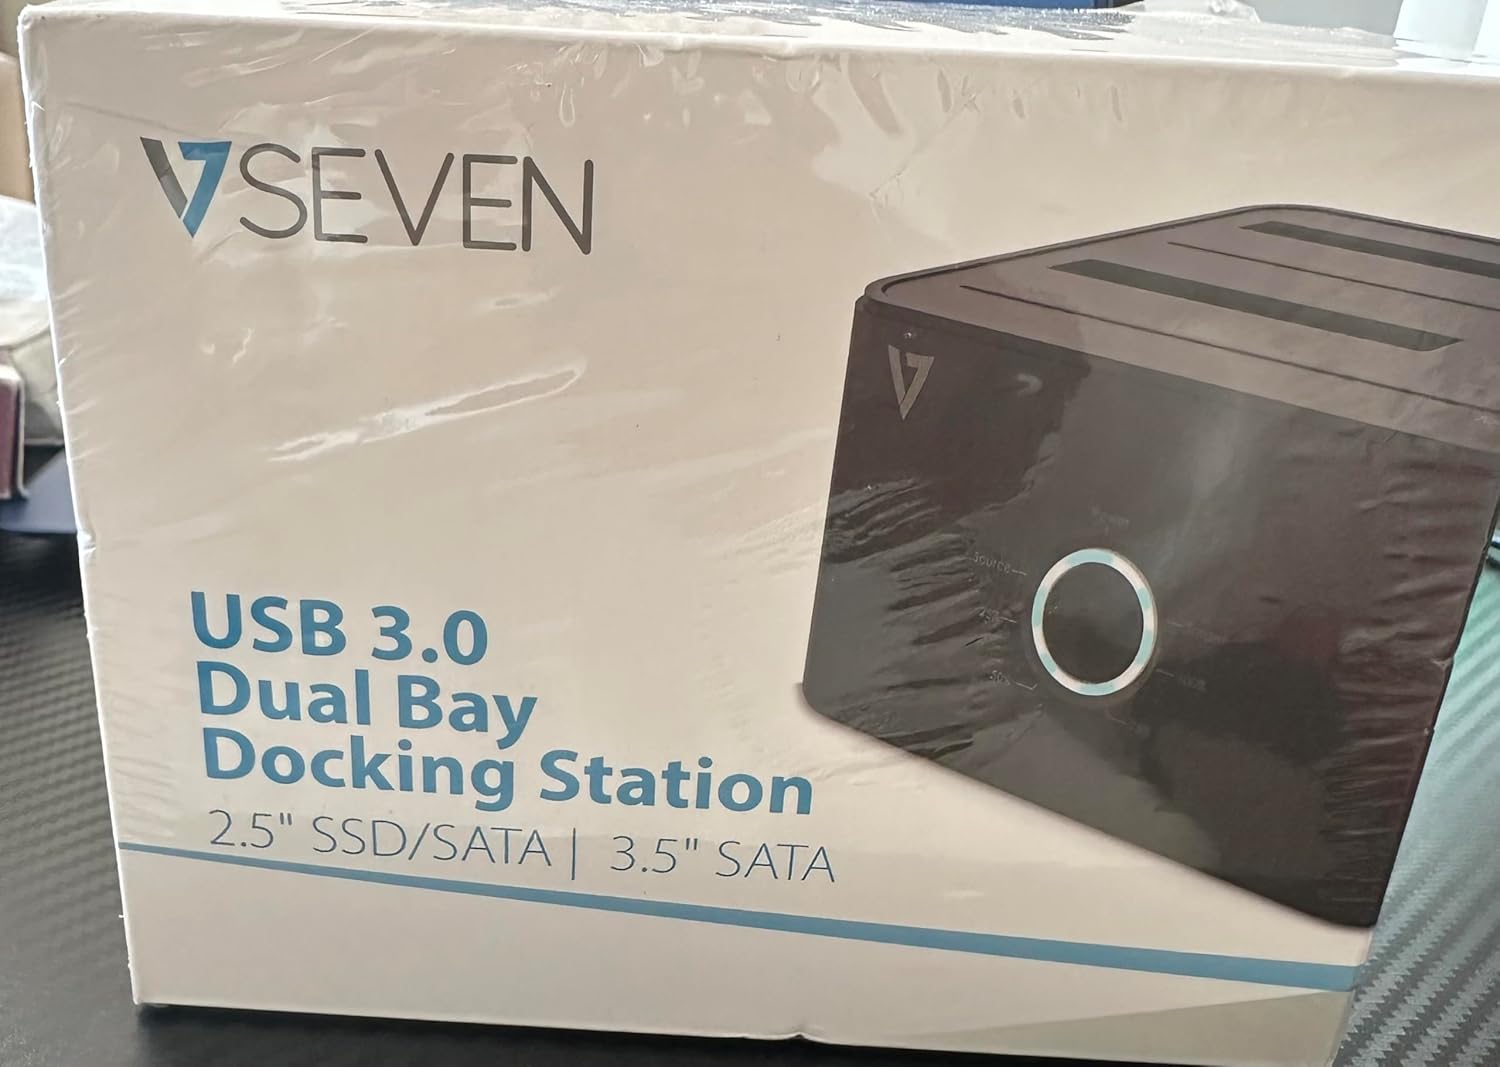
Image: The front of the V7 Dual Bay Docking Station packaging, displaying the product and its name.
The V7 Dual Bay Docking Station provides a versatile solution for managing your 2.5-inch and 3.5-inch SATA drives. Key features include:
- USB 3.0 Super-Speed Data Transfer: Achieves speeds up to 5 Gbps, significantly faster than USB 2.0.
- Design cu două compartimente: Supports two SATA I/II/III HDDs or SSDs simultaneously.
- Standalone Clone Function: Allows direct cloning of one drive to another without requiring a computer.
- Display LED: Provides status indication during operation, especially for cloning.
- Materiale reciclate: Constructed with recycled materials, contributing to environmental sustainability.

Image: The back of the V7 Dual Bay Docking Station packaging, illustrating key features and benefits, including the use of recycled materials.
Porturi și indicatoare:
- USB-B Port (1x): Conectează stația de andocare la computer.
- SATA Drive Bays (2x): For inserting 2.5-inch or 3.5-inch SATA HDDs/SSDs.
- DC Power Input (1x): Pentru conectarea adaptorului de alimentare de 12V/3A.
- Power Button/LED: Controlează alimentarea și indică starea de funcționare.
- Clone Button/LEDs: Initiates the cloning process and indicates progress.
Înființat
- Conectare alimentare: Insert the DC 12V/3A power adapter into the "DC Power Input" port on the docking station, then plug the adapter into a wall outlet.
- Introduceți unități:
- Gently slide your 2.5-inch or 3.5-inch SATA HDD/SSD into the drive bay(s) until it is securely seated. Ensure the SATA connector aligns correctly.
- For cloning, insert the source drive into Bay 1 (Source) and the target drive into Bay 2 (Target). The target drive must be equal to or larger in capacity than the source drive.
- Conectare la computer (pentru transfer de date): If you intend to use the docking station for data transfer with a computer, connect one end of the USB 3.0 A to B cable to the USB-B port on the docking station and the other end to an available USB 3.0 port on your computer.
- Pornire: Press the power button on the docking station. The power LED should illuminate.
Instrucțiuni de operare
A. Data Transfer Mode (Connected to Computer)
- Asigurați-vă că stația de andocare este pornită și conectată la computer prin cablul USB 3.0.
- Insert one or two SATA drives into the bays.
- Your operating system should detect the drives as external storage. You may need to initialize and format new drives through Disk Management (Windows) or Disk Utility (macOS) before use.
- You can now access, read, and write data to the inserted drives as you would with any external storage device.
- Always safely eject the drives from your operating system before powering off the docking station or removing the drives.
B. Standalone Clone Function (Without Computer)
The clone function allows you to duplicate a source drive to a target drive without a computer connection. The target drive must have a capacity equal to or greater than the source drive.
- Preparare:
- Ensure the docking station is disconnected from any computer.
- Introduceți Unitate sursa (the drive you want to copy FROM) into Golful 1.
- Introduceți Direcționare țintă (the drive you want to copy TO) into Golful 2.
- Warning: All data on the target drive will be erased during the cloning process. Back up any important data on the target drive before proceeding.
- Inițiază clona:
- Porniți stația de andocare.
- Press and hold the "Clone" button for approximately 3-5 seconds until the clone progress LEDs begin to flash.
- Confirm Clone:
- Release the "Clone" button. The 25% progress LED should start blinking.
- Press the "Clone" button again briefly to confirm and start the cloning process.
- Monitorizarea progresului: The progress LEDs (25%, 50%, 75%, 100%) will illuminate sequentially to indicate the cloning status.
- Finalizare: When the 100% LED remains solid, the cloning process is complete.
- Opriți și deconectați: Opriți stația de andocare înainte de a scoate unitățile.
Întreţinere
- Păstrați stația de andocare curată și fără praf. Folosiți o cârpă moale și uscată pentru curățare.
- Evitați expunerea dispozitivului la temperaturi extreme, umiditate sau lumina directă a soarelui.
- Nu încercați să dezasamblați sau să reparați dispozitivul singur. Aceasta va anula garanția.
- Asigurați o ventilație adecvată în jurul dispozitivului în timpul funcționării.
Depanare
| Problemă | Cauza posibila | Soluţie |
|---|---|---|
| Dispozitivul nu pornește. | Adaptorul de alimentare nu este conectat sau este defect. | Ensure the power adapter is securely connected to both the docking station and a working power outlet. Try a different outlet. |
| Drives not detected by computer. | USB cable not connected properly; drive not seated correctly; drive uninitialized/unformatted. | Check USB cable connection. Re-seat the drive(s). For new drives, initialize and format them via Disk Management (Windows) or Disk Utility (macOS). Try a different USB port on your computer. |
| Clone function not starting. | Incorrect drive placement; target drive too small; clone button not held long enough. | Ensure source drive is in Bay 1 and target drive in Bay 2. Verify target drive capacity is equal to or larger than source. Hold the clone button for 3-5 seconds until LEDs flash. |
| Viteze mici de transfer de date. | Connected to USB 2.0 port; faulty USB cable. | Ensure the docking station is connected to a USB 3.0 port on your computer. Try a different USB 3.0 cable. |
Specificații
- Model: 9UDBBS-BLK
- Interfață hardware: USB 3.0 (compatibil cu USB 2.0)
- Viteza de transfer de date: Up to 5 Gbps (USB 3.0 Super-Speed)
- Compatibilitate cu unitatea: 2.5" and 3.5" SATA I/II/III HDDs and SSDs
- Baile de mers: 2
- Porturi: 1x USB-B (Host), 2x SATA (Internal), 1x DC Power Input
- Putere de intrare: DC 12V/3A (12 Watts)
- UPC: 662919116557
- Producător: Ingram Micro Inc.
- Material: Made from Recycled Materials
Garanție și suport
For warranty information and technical support, please refer to the official V7 website-ul web sau contactați distribuitorul. Păstrați dovada achiziției pentru a putea solicita garanție.
Pentru asistență suplimentară, vă rugăm să vizitați: www.v7world.com/support (Examplinkul, linkul real poate varia)