PNI PNI-DF780
PNI DF780 Video Intercom System User Manual
Ghid complet pentru instalare, utilizare și întreținere.
Produs terminatview
The PNI DF780 is a state-of-the-art video intercom system designed to enhance security and communication for your property. It features a 7-inch 1080p touchscreen monitor and an IP65-rated outdoor unit, ensuring clear visuals and reliable performance in various weather conditions.
This system is highly expandable, supporting connections for up to 4 monitors, 2 external units, and 2 CCTV cameras, allowing for a customized and comprehensive security setup. It also includes convenient storage options via a card slot for recorded footage.
Conținutul pachetului
Vă rugăm să verificați dacă toate articolele enumerate mai jos sunt incluse în pachetul dumneavoastră:
- 1 x Unitate interioară (Monitor)
- 1 unitate exterioară
- 1 x Monitor Wall Mount Bracket
- Accesorii de montare (șuruburi, ancore)
- 1 x Indoor Monitor Power Supply
- Conexiuni prin cablu
- 1 x Manual de utilizare (acest document)
Componentele produsului
Familiarize yourself with the main components of the PNI DF780 system:

Figura 1: The PNI DF780 system, showing the 7-inch indoor monitor on the left and the outdoor camera unit on the right. Both units are silver and black.

Figura 2: Faţă view of the PNI DF780 system, highlighting the sleek design of both the indoor monitor and the outdoor unit.

Figura 3: Latura view of the PNI DF780 indoor monitor, showing its slim profile.

Figura 4: Spate view of the PNI DF780 indoor monitor, revealing the mounting points and connection ports.

Figura 5: The indoor monitor alongside its dedicated wall mount bracket, ready for installation.

Figura 6: Spate view of the outdoor unit, displaying the wiring terminals and a diagram for connections, including volume adjustment and lock control.
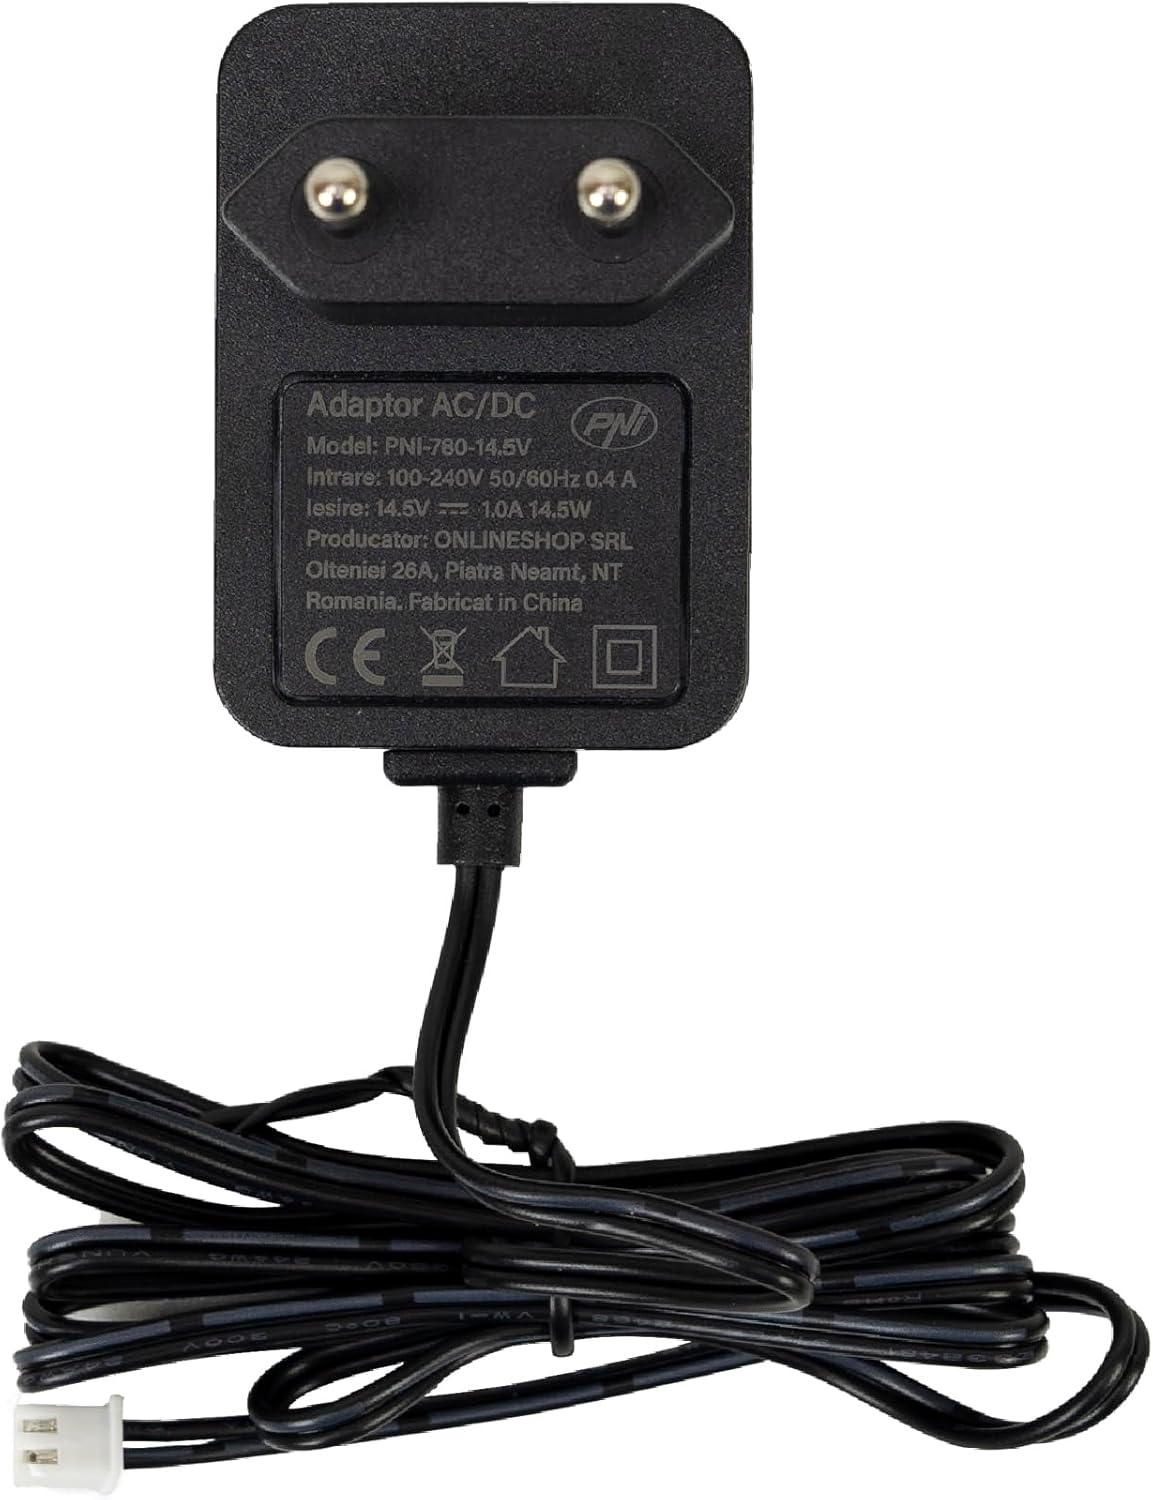
Figura 7: The outdoor unit disassembled, showing its internal components and the protective casing.

Figura 8: Spate detaliat view of the indoor monitor, showing various connection ports for external units, CCTV cameras, and the microSD card slot.

Figura 9: The power adapter for the PNI DF780 system, model PNI-780-14.5V, providing 14.5V DC output.
Specificatii tehnice
| Caracteristică | Caietul de sarcini |
|---|---|
| Marca | PNI |
| Numele modelului | PNI-DF780 |
| Ecran LCD | 7 inci |
| Rezoluția ecranului | 1024 x 600 |
| Rezoluție captură video | 1080p (2MP CMOS Camera) |
| Evaluarea internațională de protecție | IP65 (Unitate exterioară) |
| Memorie externă | microSD card, max 128GB (not included) |
| LED-uri IR | 6 buc |
| Vizibilitatea nocturnă | Până la 5 metri |
| Distanța de lucru | Până la 100 metri |
| Dimensiuni monitor (L x l x Î) | 207 x 144 x 23 mm (8.07 x 0.98 x 5.51 inchi) |
| Dimensiunile camerei (L x l x Î) | 125 x 56 x 21 mm |
| Alimentare electrică | 12-15V DC |
| Extensibilitate | Supports 4 Monitors, 2 External Units, 2 CCTV Cameras |
| Caracteristici | Intercom, External Monitoring, Alarm (motion detection), Photo Storage, Video Recording, Browse Records, Electromagnetic Yala Control Output (2) |
Instalare și configurare
1. Montarea monitorului interior
- Choose a suitable location indoors, away from direct sunlight and heat sources.
- Folosiți suportul de perete furnizat ca șablon pentru a marca punctele de găurire pe perete.
- Faceți găuri și introduceți ancore de perete dacă este necesar.
- Fixați suportul de perete pe perete folosind șuruburile furnizate.
- Before mounting the monitor, complete all necessary wiring connections (refer to "Wiring Connections" section).
- Carefully slide the monitor onto the mounted bracket until it clicks into place.
2. Montarea unității exterioare
- Select an outdoor location near your entrance, ensuring clear visibility of visitors and protection from direct rain if possible (though the unit is IP65 rated).
- Mark drilling points for the outdoor unit's mounting bracket.
- Dați găuri și fixați suportul pe perete.
- Connect the wiring to the outdoor unit (refer to "Wiring Connections" section and Figure 6).
- Attach the outdoor unit to its mounted bracket.
3. Conexiuni de cablare
The system uses a 4-core cable for connection between the indoor monitor and the outdoor unit. Refer to Figure 8 for indoor monitor connections and Figure 6 for outdoor unit connections.
- Main Intercom Connection: Connect the 4-core cable from the outdoor unit to the designated input on the indoor monitor. Ensure correct polarity for audio, video, and power lines.
- Alimentare electrică: Connect the provided power adapter to the indoor monitor's power input.
- Additional Monitors (Optional): If connecting multiple indoor monitors (up to 4), use serial connection as per the wiring diagram in the manual.
- External Units/CCTV Cameras (Optional): Connect additional outdoor units (up to 2) or CCTV cameras (up to 2) to the respective input ports on the indoor monitor.
- Electric Lock Control (Optional): If using an electromagnetic yala (electric lock), connect it to the designated output terminals on the outdoor unit.
Asigurați-vă că toate conexiunile sunt sigure înainte de a porni sistemul.
Ghid de operare
1. Funcții de bază
- Monitorizare: From the main screen, tap the "Monitor" icon to view the live feed from the outdoor unit camera.
- Interfon: When a visitor presses the call button on the outdoor unit, the indoor monitor will ring. Tap "Intercom" to answer and communicate with the visitor.
- Deblocare ușă: During an intercom call or while monitoring, tap the "Gate" or "Unlock" icon (if an electric lock is connected) to remotely open the door.
- Video Recording & Photo Storage: The system supports automatic video recording and photo capture, especially with motion detection enabled. Ensure a microSD card (up to 128GB) is inserted into the monitor's card slot for storage.
- Browse Records: Tap "Visit record" to review stored video recordings and photos.
- Funcția de alarmă: The system can trigger an alarm upon motion detection. Configure alarm settings in the system menu.
2. Setări sistem
Tap the "Setting" icon on the main screen to access system configurations, including:
- Setări pentru dată și oră
- Display brightness and volume adjustment
- Sensibilitate de detectare a mișcării
- Recording preferences (manual, scheduled, motion-activated)
- Network settings (if applicable for advanced models or future updates)
- Selectarea limbii
Întreţinere
- curatenie: Use a soft, dry cloth to clean the monitor screen and outdoor unit. For stubborn dirt, a slightly damp cloth can be used, but avoid abrasive cleaners or excessive moisture.
- Îngrijirea unității exterioare: Periodically check the outdoor unit for any obstructions to the camera lens or microphone/speaker. Ensure the mounting is secure.
- Actualizări de software: Verifică-l pe cel al producătorului webpentru orice actualizări de firmware disponibile, pentru a asigura performanțe optime și funcții noi.
- Backup de date: Regularly back up important video recordings from the microSD card to another storage device.
Depanare
| Problemă | Cauză/Soluție posibilă |
|---|---|
| Nicio imagine pe monitor. |
|
| Nu se aude sunet în timpul interfonului. |
|
| Funcția de deblocare a ușilor nu funcționează. |
|
| Nu se pot înregistra videoclipuri/fotografii. |
|
Garanție și suport
For detailed warranty information, please refer to the warranty card included with your product or visit the official PNI webPăstrați bonul fiscal ca dovadă a achiziției.
For technical support, troubleshooting assistance beyond this manual, or spare parts, please contact PNI customer service or visit their official store:
Ask a question about this manual
Ask about setup, troubleshooting, compatibility, parts, safety, or missing instructions. Manuals+ will review the question and use this page’s manual context to help answer it.