Introducere
This manual provides comprehensive instructions for the safe installation, operation, and maintenance of your Hudson Valley Lighting Edmonton 8121-AGB 5-Light Lantern. Please read all instructions carefully before beginning installation and retain this manual for future reference.
The Edmonton 5-Light Lantern features an Aged Brass finish and a clear, handblown glass shade, designed for indoor use. It requires incandescent lamp tipuri.
Informații importante privind siguranța
WARNING: RISK OF ELECTRIC SHOCK. Ensure power is turned off at the main circuit breaker or fuse box before installation or servicing.
Always consult a qualified electrician for installation if you are unsure about the process. Follow all local electrical codes and ordinances.
- Nu instalați acest dispozitiv de iluminat în locuri umede sau uscate.amp locații.
- Utilizați numai tipul de bec și wat specificatetage.
- Nu depășiți puterea maximătage indicat pe dispozitiv.
- Manipulați componentele din sticlă cu grijă pentru a preveni spargerea acestora.
- Țineți materialele inflamabile departe de corpul de iluminat.
Conținutul pachetului
Verify that all components are present before beginning installation. If any parts are missing or damaged, contact customer service.
- Fixture Assembly (Canopy, Rods, Frame, Socket Cluster)
- Umbră de sticlă
- Elemente de montare (bară transversală, șuruburi, piulițe de sârmă)
- Manual de instructiuni
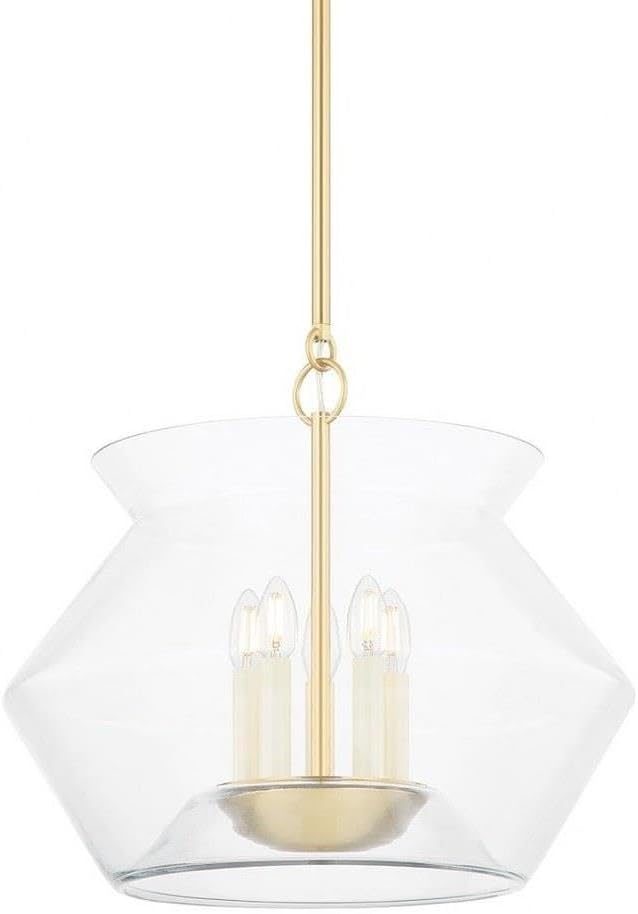
Figure 1: Complete Edmonton 5-Light Lantern assembly.
Configurare și instalare
Se recomandă instalarea efectuată de un profesionist. Asigurați-vă că alimentarea este deconectată de la întrerupătorul de circuit înainte de a continua.
- Pregătiți pentru instalare: Turn off power at the main electrical panel. Clear the work area.
- Montați bara transversală: Attach the mounting crossbar to the junction box using the provided screws. Ensure it is securely fastened.
- Adjust Rod Length (if applicable): Determine the desired hanging height and assemble the appropriate length of extension rods.
- Conectați dispozitivul: Connect the fixture's wires to the house wires according to standard electrical practices (black to black, white to white, ground to ground). Secure connections with wire nuts.
- Asigurați baldachinul: Carefully push the wired fixture up to the ceiling, tucking wires into the junction box. Secure the canopy to the mounting crossbar with the provided screws.
- Instalați becuri: Screw in the recommended incandescent bulbs (not included) into the sockets. Do not exceed the maximum wattage.
- Atașați abajurul de sticlă: Carefully place the handblown glass shade over the fixture and secure it according to the design (specific mechanism not detailed in product description, assume a common securing method like screws or a collar).
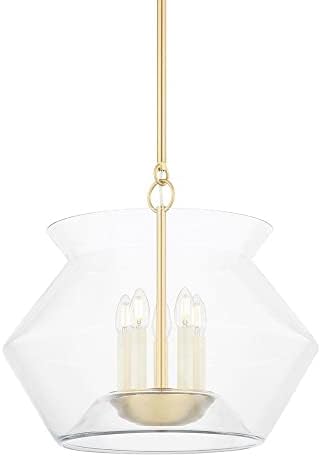
Figure 2: Detail of the fixture's internal components and Aged Brass finish.
Operațiunea
Once installed and power is restored, the Edmonton 5-Light Lantern operates like any standard ceiling fixture. Use a wall switch (not included) to turn the light on and off.
- Asigurați-vă că toate becurile sunt înșurubate bine în socluri.
- If using a dimmer switch, ensure it is compatible with incandescent bulbs and the total wattage de fixare.
Întreţinere
Regular cleaning will help maintain the appearance and performance of your fixture.
- Curățarea dispozitivului de fixare: Turn off power before cleaning. Wipe the metal parts with a soft, dry cloth. Do not use abrasive cleaners, polishes, or solvents as they may damage the finish.
- Curățarea abajurului de sticlă: The clear handblown glass shade can be gently wiped with a soft, damp cloth. For stubborn marks, use a mild glass cleaner applied to the cloth, not directly to the glass. Ensure the glass is completely dry before restoring power.
- Înlocuire bec: Turn off power before replacing bulbs. Allow bulbs to cool completely. Replace with the same type and wattage of incandescent bulbs.
Depanare
| Problemă | Cauza posibila | Soluţie |
|---|---|---|
| Lumina nu se aprinde. |
|
|
| Lumină pâlpâitoare. |
|
|
| Aparatul zumzăie. |
|
|
Specificații
| Atribut | Detaliu |
|---|---|
| Numărul de model | 8121-AGB |
| Marca | Iluminat Hudson Valley |
| Dimensiunile produsului | 20.75 cm L x 20.75 cm l x 18.5 cm Î |
| Tip de finisare | Alama îmbătrânită |
| Material | Oțel aliat |
| Culoare | Alamă |
| Greutatea articolului | 19.25 lire sterline |
| Tip de montare | Up Lighting |
| Utilizare în interior/exterior | De interior |
| Sursa de alimentare | Electric cu fir |
| Voltage | 120 volți |
| Wattage | Max 8 watts per bulb (incandescent) |
| Lamp Tip | Incandescent |
| Componente incluse | Hardware de montare |
| UPC | 806134144029 |
Garanție și suport
This Hudson Valley Lighting product is covered by a Garanție limitată de 1 ani de la producător de la data achiziției. Această garanție acoperă defectele de materiale și de fabricație în condiții normale de utilizare.
For warranty claims, technical support, or replacement parts, please contact Hudson Valley Lighting customer service. Refer to the official Hudson Valley Lighting website pentru informații de contact actuale.
Website: www.hudsonvalleylighting.com