
Toshiba MW2-AG23PF(BK)
Toshiba MW2-AG23PF (BK) Microwave Oven User Manual
Model: MW2-AG23PF(BK) | Brand: Toshiba
Introducere
This manual provides essential information for the safe and efficient operation of your Toshiba MW2-AG23PF (BK) Microwave Oven. Please read it thoroughly before using the appliance and keep it for future reference.

Figura 1: Față view of the Toshiba MW2-AG23PF (BK) Microwave Oven.
Instrucțiuni importante de siguranță
Respectați întotdeauna măsurile de siguranță de bază atunci când utilizați aparate electrice pentru a reduce riscul de incendiu, electrocutare, vătămare corporală sau expunere la energie excesivă a microundelor.
- Nu încercați să folosiți acest cuptor cu ușa deschisă, deoarece acest lucru poate duce la expunerea dăunătoare la energia microundelor.
- Nu așezați niciun obiect între fața frontală a cuptorului și ușă și nu lăsați murdăria sau reziduurile de curățare să se acumuleze pe suprafețele de etanșare.
- Nu folosiți cuptorul dacă este deteriorat. Este deosebit de important ca ușa cuptorului să se închidă corect și să nu existe deteriorări ale: (1) Ușii (îndoite), (2) Balamalelor și zăvoarelor (rupte sau slăbite), (3) Garniturilor și suprafețelor de etanșare ale ușii.
- Cuptorul nu trebuie reglat sau reparat de nimeni, cu excepția personalului de service calificat corespunzător.
- Asigurați-vă că aparatul este împământat corespunzător.
- Nu utilizați substanțe chimice sau vapori corozivi în acest aparat.
- Nu încălziți lichide sau alte alimente în recipiente închise sigilate, deoarece acestea pot exploda.
- Do not deep fry in the oven.
- Nu gătiți alimentele în exces.
- Curățați cuptorul în mod regulat și îndepărtați eventualele depuneri de alimente.
Configurare și instalare
1. Despachetarea
Carefully remove the microwave oven from its packaging. Remove all packing materials, including the turntable and turntable ring. Inspect the oven for any damage, such as dents or a misaligned door. Do not operate the oven if it is damaged.
2. Plasare
Place the microwave oven on a flat, stable surface that can support its weight and the heaviest food item likely to be cooked in it. Ensure adequate ventilation around the unit.
- Minimum clearance: 20 cm (7.9 inches) above the oven, 10 cm (3.9 inches) at the rear, and 5 cm (2 inches) on each side.
- Nu blocați orificiile de ventilație.
- Nu așezați cuptorul lângă surse de căldură sau în locuri publicitare.amp mediu.

Figure 2: External dimensions of the microwave oven (48.5 cm width, 40.3 cm depth, 29.6 cm height) and recommended clearances.
3. Conexiune electrica
Plug the oven into a standard 230V, 50Hz AC power outlet. Ensure the outlet is properly grounded. Do not use extension cords or adapters.
4. Instalarea platanului rotativ
Așezați inelul platoului rotativ în centrul cavității cuptorului. Apoi, așezați platoul rotativ din sticlă în siguranță deasupra inelului platoului rotativ. Asigurați-vă că se rotește liber.
Instrucțiuni de operare
1. Panoul de control pesteview

Figura 3: Detaliat view of the control panel, featuring LED digital display, rotary knobs for function and setting, and push buttons for operation.
- Afișaj digital LED: Afișează timpul, nivelul de putere și starea de gătire.
- Buton de funcție: Selects cooking modes (Microwave, Grill, Combination).
- Setting Knob: Adjusts time, weight, or menu options.
- STOP/CANCEL/ECO Button: Oprește gătitul, șterge setările sau activează modul ECO.
- START/+30S Button: Pornește gătirea sau adaugă 30 de secunde la timpul de gătire.
2. Basic Microwave Operation
Pentru a găti la puterea cuptorului cu microunde:
- Așezați mâncarea într-un recipient potrivit pentru cuptorul cu microunde pe platoul rotativ.
- Închideţi ușa.
- Turn the Function knob to select "Microwave".
- Turn the Setting knob to set the desired cooking time.
- Press the START/+30S button to begin cooking.
The microwave offers 5 power levels: High (900W), Medium-High, Medium, Defrost, and Low. Adjust the power level using the Function or Setting knob as per your model's specific controls.
3. Funcția Grătar
The grill function is ideal for browning and crisping food. Use the metal grill rack provided.
- Așezați mâncarea pe grătar.
- Turn the Function knob to select "Grill".
- Turn the Setting knob to set the desired grilling time.
- Press the START/+30S button.

Figure 4: Illustration of the microwave oven utilizing its grill function for browning food.
4. Combination Function
The combination function combines microwave and grill cooking for faster, more evenly cooked, and browned results. There are typically two combination modes:
- Combinația 1: 30% Microwave, 70% Grill (e.g., for poultry, gratin).
- Combinația 2: 55% Microwave, 45% Grill (e.g., for fish, vegetables).
- Așezați mâncarea pe grătar.
- Turn the Function knob to select "Combi 1" or "Combi 2".
- Turn the Setting knob to set the desired cooking time.
- Press the START/+30S button.
5. ECO Function (Energy Saving)
To reduce energy consumption in standby mode, activate the ECO function. The LED display will turn off.
- Press the STOP/CANCEL/ECO button once to activate ECO mode.
- Press any button or open the door to exit ECO mode.
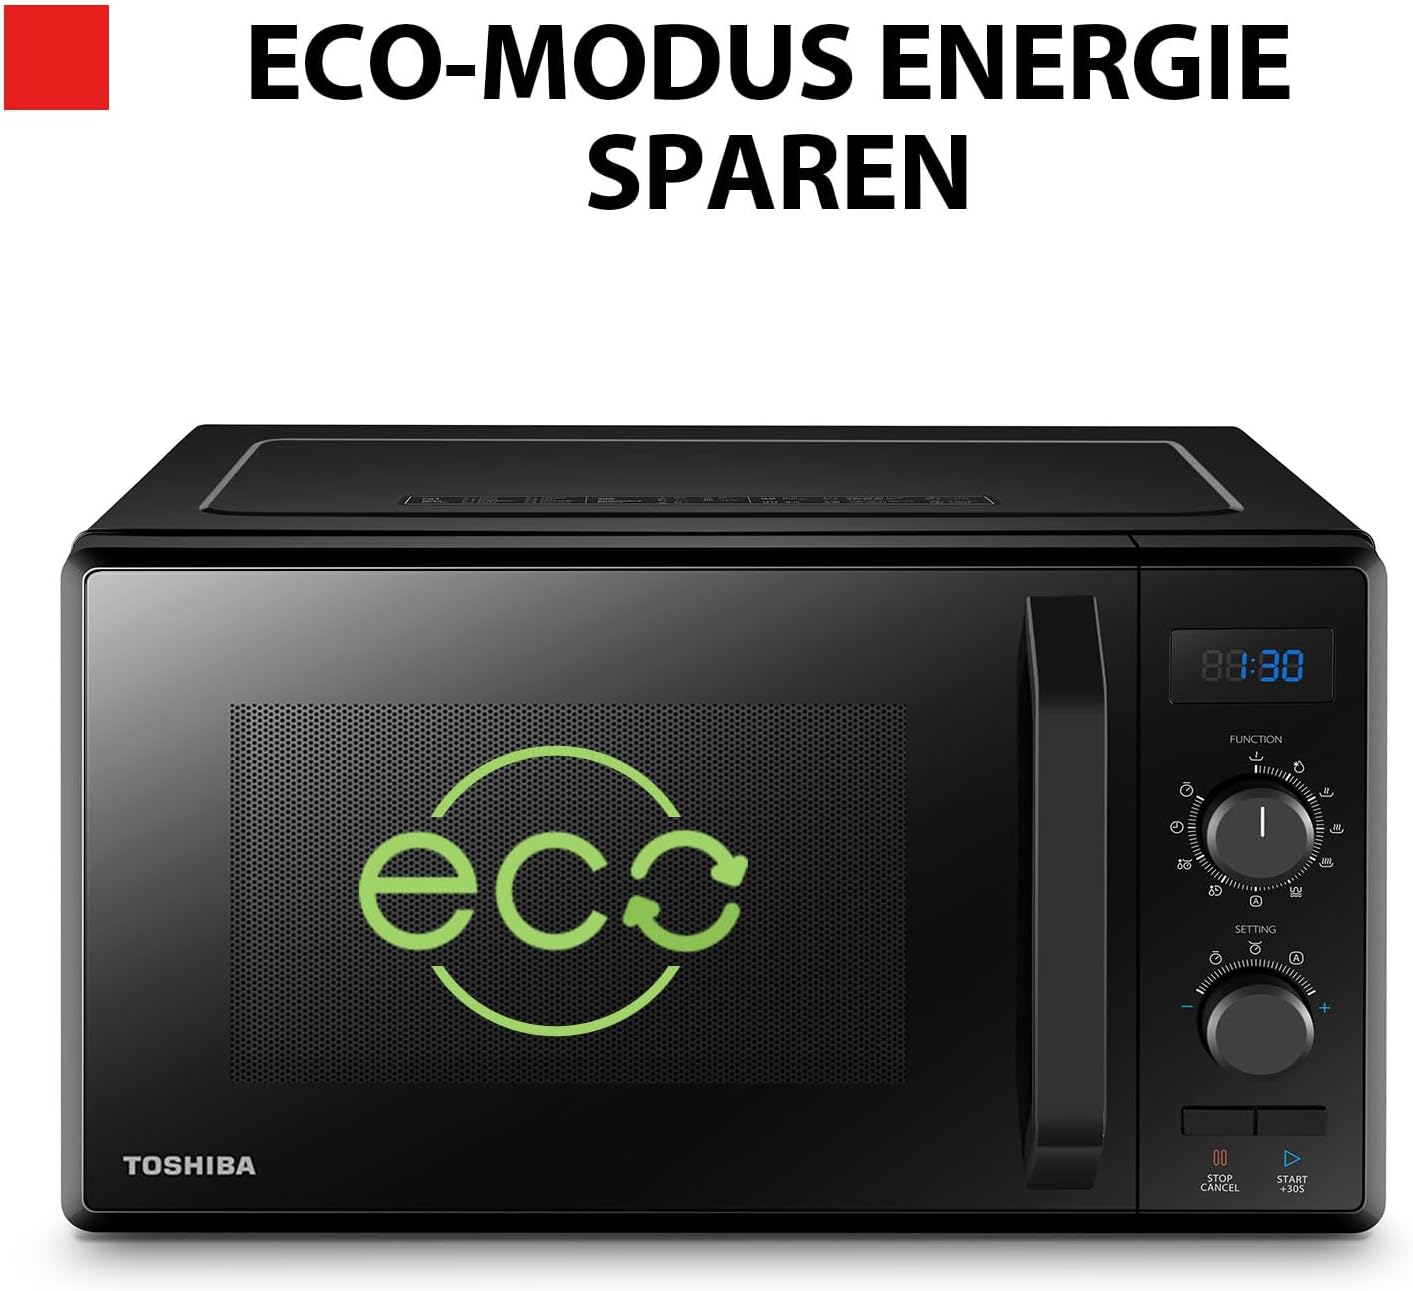
Figure 5: The microwave oven display showing the ECO mode symbol, indicating reduced power consumption.
6. Defrosting by Weight/Time
The oven offers convenient defrosting options:
- Decongelare în funcție de greutate: Select the defrost function, then input the weight of the food. The oven automatically calculates the defrosting time.
- Decongelare după timp: Select the defrost function, then manually set the desired defrosting time.

Figura 6: Examples of food items suitable for multi-defrost mode, including meat, frozen vegetables, fish, and other frozen foods.
7. Quick Start (+30S)
For quick cooking at full power, simply press the START/+30S button. Each press adds 30 seconds to the cooking time, up to a maximum of 95 minutes.
8. Auto Menus
The oven features 8 automatic preset menus for common food items, simplifying cooking. These include Pizza, Potato, Meat, Fish, Vegetables, Drink, Pasta, and Popcorn.
- Turn the Function knob to select the desired auto menu.
- Turn the Setting knob to select the quantity/weight.
- Press the START/+30S button.
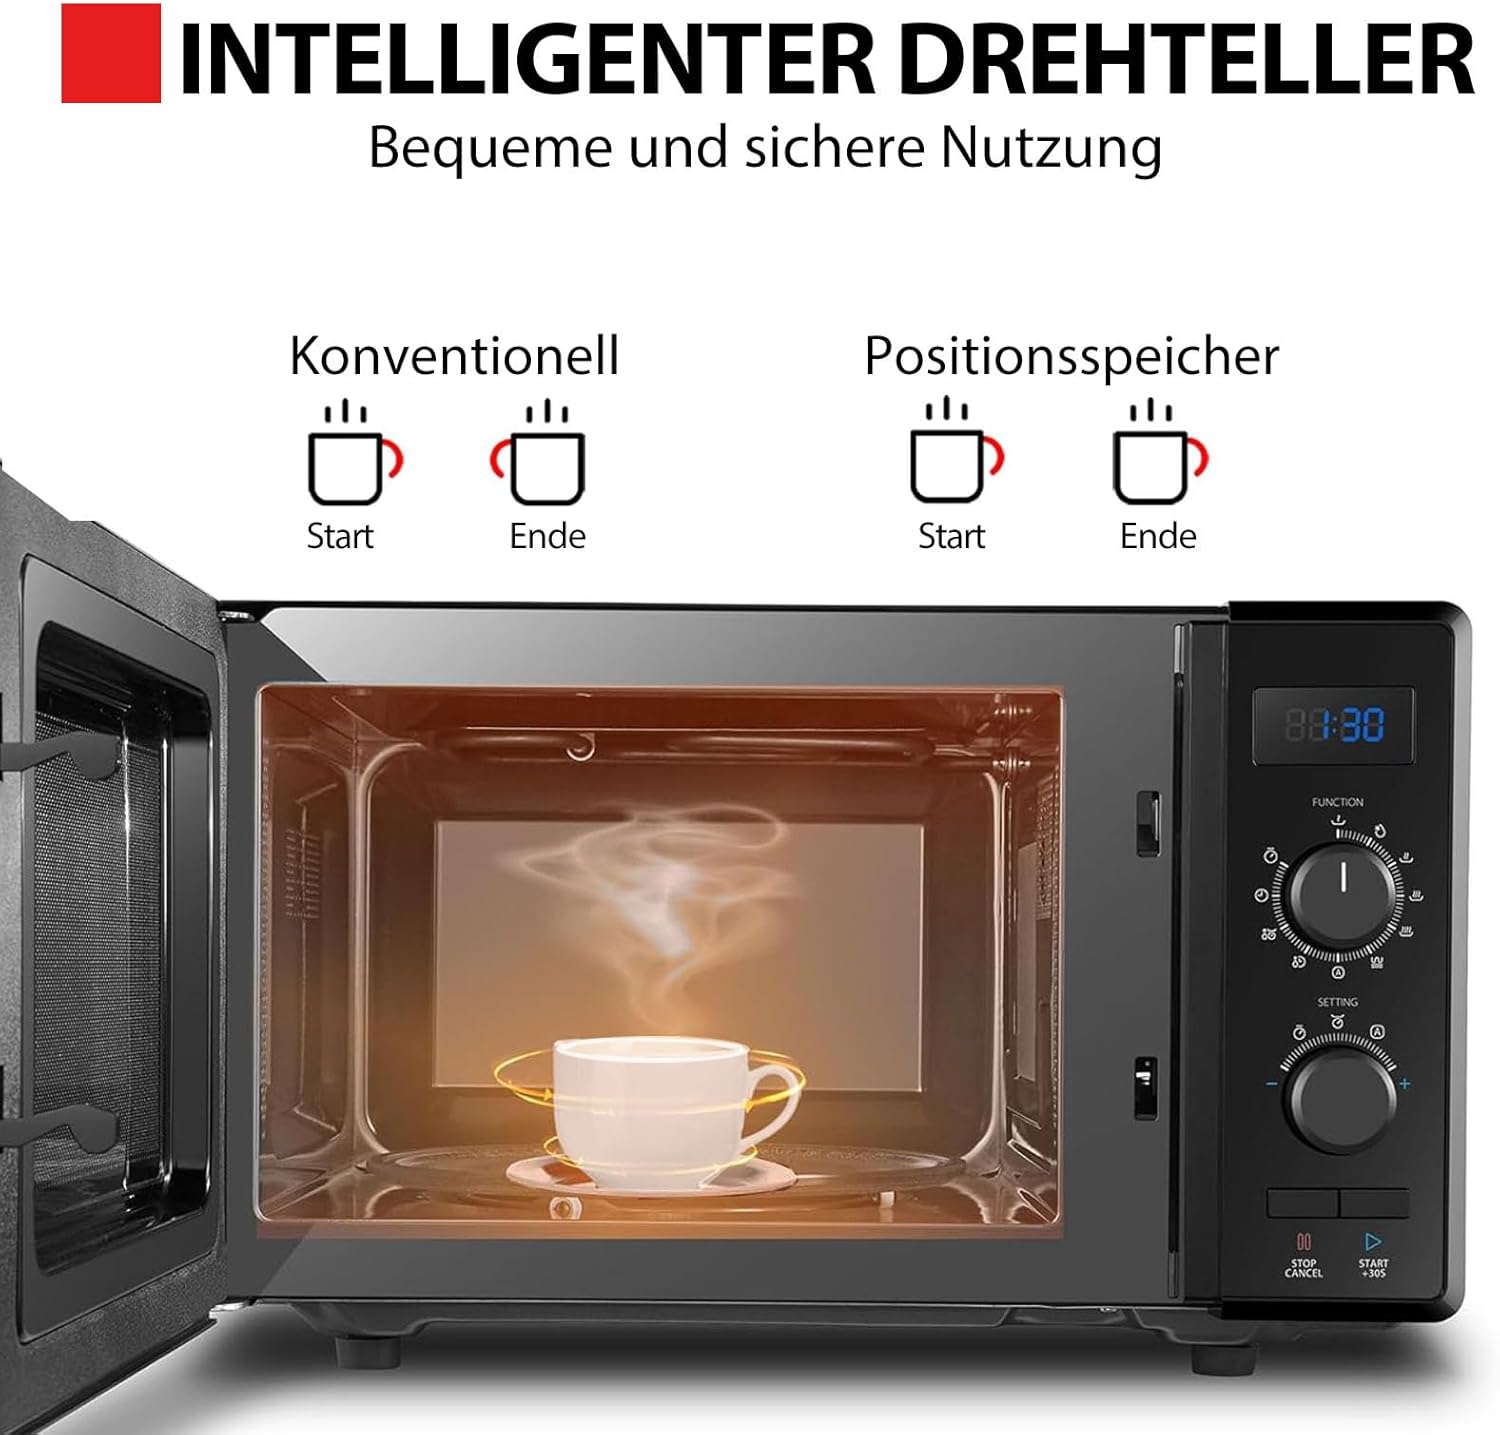
Figure 7: A selection of 8 automatic preset cooking options available on the microwave oven, such as Pizza, Potato, Meat, Fish, Vegetables, Drink, Pasta, and Popcorn.
9. Blocare de siguranță pentru copii
Pentru a preveni operarea nesupravegheată de către copii, activați sistemul de siguranță pentru copii.
- To activate: Press and hold the STOP/CANCEL/ECO button for 3 seconds until a beep sounds and "LOCK" appears on the display.
- To deactivate: Press and hold the STOP/CANCEL/ECO button for 3 seconds until a beep sounds and "LOCK" disappears.
10. Clock and Kitchen Timer
The oven can display the current time and function as a kitchen timer.
- Setarea ceasului: Refer to the control panel diagram for specific steps, usually involving pressing a clock button and using the setting knob.
- Using the Kitchen Timer: This functions independently of cooking. Set the desired time using the setting knob and activate the timer.
11. Position Memory Turntable
The innovative position memory turntable ensures that the turntable returns to its original starting position after cooking, making it easier and safer to remove items with handles.

Figure 8: Comparison of a conventional turntable versus the intelligent turntable with position memory, showing how the latter ensures items return to an accessible position.
Îngrijire și întreținere
Curățarea regulată și întreținerea corespunzătoare vor asigura longevitatea și performanța optimă a cuptorului dumneavoastră cu microunde.
1. Curățarea interiorului cuptorului
- După fiecare utilizare, ștergeți interiorul cu un spray adeziv.amp cârpă și detergent blând.
- For stubborn stains, place a bowl of water with lemon juice inside and microwave for 2-3 minutes to loosen food particles, then wipe clean.
- Nu utilizați substanțe de curățare abrazive sau tampoane de curățat.
2. Cleaning the Oven Exterior
- Ștergeți suprafețele exterioare cu un material moale, damp pânză.
- Evitați pătrunderea apei în orificiile de ventilație.
3. Turntable and Ring Care
- Platoul rotativ din sticlă și inelul platanului pot fi spălate în apă caldă cu săpun sau în mașina de spălat vase.
- Asigurați-vă că sunt complet uscate înainte de a le pune înapoi în cuptor.
4. Garnituri de ușă
Curățați regulat garniturile ușii și piesele adiacente cu un detergent de vată.amp cloth to remove any spills or splashes. This helps ensure a proper seal during operation.
Depanare
Înainte de a contacta serviciul de asistență, verificați următoarele probleme frecvente și soluții:
| Problemă | Cauza posibila | Soluţie |
|---|---|---|
| Cuptorul nu pornește | Cablul de alimentare nu este conectat la priză; Ușa nu este închisă corect; Siguranța este arsă sau întrerupătorul de circuit s-a declanșat. | Asigurați-vă că ștecherul este bine introdus în priză; Închideți bine ușa; Verificați siguranța/întrerupătorul de circuit al locuinței. |
| Microwave output low | Nivel de putere selectat greșit. | Asigurați-vă că este selectat nivelul corect de putere pentru gătirea dorită. |
| Mâncarea nu se gătește uniform | Mâncarea nu este amestecată sau întoarsă; Platoul rotativ nu se rotește. | Stir or turn food halfway through cooking; Check turntable and ring for obstructions. |
| Lumina cuptorului nu funcționează | Becul trebuie înlocuit. | Contactați personalul de service calificat pentru înlocuirea becului. |
| Steam escaping from door or vents | Normal în timpul gătitului. | Acest lucru este normal și nu indică o problemă. |
Specificatii tehnice
| Caracteristică | Caietul de sarcini |
|---|---|
| Numărul de model | MW2-AG23PF(BK) |
| Capacitate | 23 litri |
| Putere de ieșire cuptor cu microunde | 900 Watts (5 levels) |
| Putere de ieșire grătar | 1000 wați |
| Dimensiuni exterioare (L x l x H) | 48.5 x 40.3 x 29.6 cm |
| Dimensiuni interne (L x l x Î) | 31.4 x 34.7 x 22.1 cm |
| Diametrul plăcii turnante | 270 mm |
| Greutate | 17 kilograme |
| Voltage | 230 volți |
| Culoare | Negru |
| Material | Glass (interior lining, turntable) |
| Caracteristici speciale | Defrost, Turntable with Position Memory, ECO Function, Child Safety Lock, Auto Menus |
Garanție și suport
Pentru informații despre garanție și asistență pentru clienți, consultați cardul de garanție inclus împreună cu produsul sau vizitați site-ul oficial Toshiba. webPăstrați bonul fiscal ca dovadă a achiziției pentru orice reclamații în garanție.
For technical assistance or spare parts inquiries, please contact Toshiba customer service. Information regarding spare parts availability is not provided in this document.
Ask a question about this manual
Ask about setup, troubleshooting, compatibility, parts, safety, or missing instructions. Manuals+ will review the question and use this page’s manual context to help answer it.