
1. Introducere
The Polaroid PLRTC18 Shutter Release Timer Remote Control is designed to provide precise control over your camera's shutter, enabling advanced photographic techniques such as time-lapse, long exposures, and delayed shots. This device connects directly to your compatible Canon DSLR camera via a dedicated cable, allowing you to program various timing functions with accuracy.

Figure 1.1: User operating the PLRTC18 remote control with a camera on a tripod.
Please read this manual thoroughly to understand the features and proper operation of your new remote control.
2. Conținutul pachetului
- Polaroid PLRTC18 Shutter Release Timer Remote Control
- Camera Connection Cables (2 types for broad compatibility)
- Manual de utilizare
- baterii AAA (2)
3. Configurare
3.1. Instalarea bateriei
The PLRTC18 requires two AAA batteries for operation. To install:
- Localizați capacul compartimentului bateriei de pe spatele telecomenzii.
- Glisați capacul în direcția indicată de săgeată.
- Introduceți două baterii AAA, asigurându-vă că polaritatea este corectă (+/-), așa cum este marcată în interiorul compartimentului.
- Închideți capacul compartimentului bateriei până când se fixează în siguranță cu un clic.

Figure 3.1: Battery compartment with two AAA batteries.
Nota: To conserve battery life, it is recommended to remove the batteries when the remote control will not be used for an extended period, as there is no dedicated ON/OFF switch.
3.2. Connecting to Your Camera
The remote control connects to your camera using one of the provided cables. Identify the correct cable for your specific Canon DSLR model.
- Plug one end of the appropriate connection cable into the remote control's port.
- Plug the other end of the cable into your camera's remote control terminal. This is typically a 3-pin or mini headphone jack style port, often located on the side of the camera body.
- Asigurați-vă că ambele conexiuni sunt sigure.

Figure 3.2: Connecting the remote control cable to a Canon camera.
4. Instrucțiuni de utilizare
4.1. Controale asupraview
Familiarize yourself with the buttons and LCD display on the remote control:

Figure 4.1: PLRTC18 Remote Control Layout.
- Display LCD: Shows current settings for DELAY, LONG, INTVL (Interval), and N (Number of exposures).
- Buton SET: Folosit pentru a intra în modul de setare și a confirma selecțiile.
- Butoane săgeată (Sus/Jos/Stânga/Dreapta): Used to navigate between settings and adjust values.
- TIMER START/STOP Button: Initiates or stops the programmed timer sequence.
- /LOCK Button: Functions as a manual shutter release (half-press for focus, full-press for shutter) and can lock the remote.
4.2. Setting Timer Functions
The remote control allows you to set four primary timing parameters: Delay, Long Exposure, Interval, and Number of Exposures. All settings can be adjusted up to 99 hours, 59 minutes, and 59 seconds in one-second increments.
- Apăsați tasta SET button to enter the setting mode. The first parameter (DELAY) will begin to flash.
- Utilizați Săgeată stânga/dreapta buttons to navigate between DELAY, LONG, INTVL, and N.
- Utilizați Săgeată sus / jos buttons to adjust the values for the selected parameter (hours, minutes, seconds).
- After setting a value, press SET again to move to the next digit or parameter.
- Once all desired parameters are set, press SET until the display stops flashing and returns to standby mode.
4.2.1. DELAY (Self-Timer)
This sets the amount of time before the first exposure sequence begins. Useful for getting into the shot or allowing camera vibrations to settle.
4.2.2. LONG (Exposure Time)
This sets the duration the camera's shutter will remain open for each exposure. Set your camera to Bulb mode for this function to work correctly.
4.2.3. INTVL (Interval Time)
This sets the time between the end of one exposure and the start of the next. Essential for time-lapse photography.
4.2.4. N (Number of Exposures)
This sets the total number of exposures the remote will trigger. Set to "---" for an unlimited number of shots.
4.3. Starting and Stopping the Timer
Once your desired settings are programmed:
- Apăsați tasta PORNIRE/OPRIRE CRONOMETRU button to begin the programmed sequence. The LCD will display a countdown or active timer.
- To stop an ongoing sequence, press the PORNIRE/OPRIRE CRONOMETRU butonul din nou.
4.4. Manual Shutter Release
The remote control can also function as a simple wired shutter release.
- Apăsare pe jumătate: Apăsați tasta /BLOCARE button halfway down to activate your camera's autofocus.
- Apăsare completă: Apăsați tasta /BLOCARE button fully down to trigger the shutter.
- Locking the Shutter: For continuous shooting or long exposures in Bulb mode (without using the LONG timer function), press the /BLOCARE button fully down and slide it forward to lock it in the depressed position. Slide it back to release.
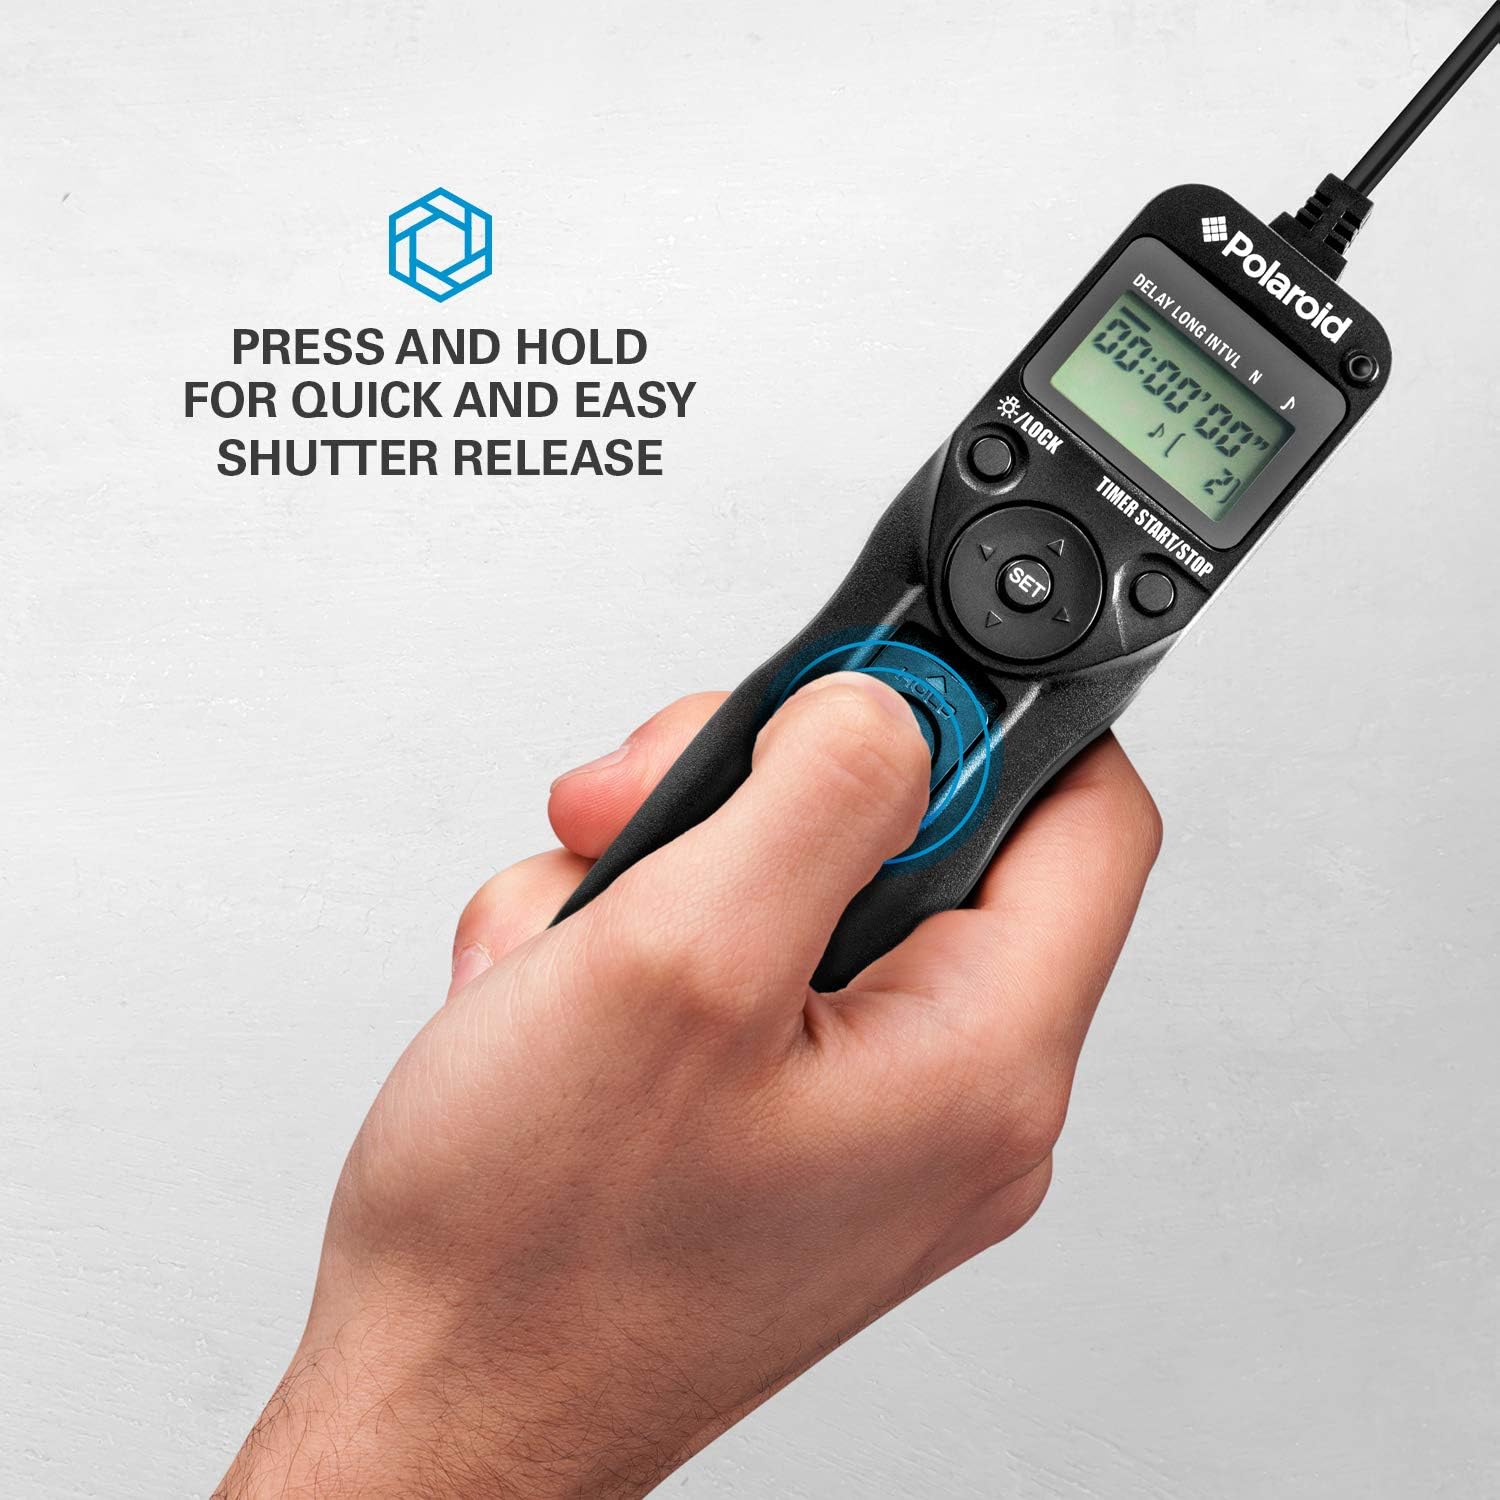
Figure 4.2: Manual shutter release operation.
5. Întreținere
- curatenie: Ștergeți telecomanda cu o lavetă moale și uscată. Nu folosiți substanțe de curățare lichide sau solvenți.
- Îngrijirea bateriei: Remove batteries if the unit will not be used for an extended period to prevent leakage. Replace batteries when the low battery indicator appears on the LCD.
- Depozitare: Depozitați telecomanda într-un loc răcoros și uscat, ferit de lumina directă a soarelui și de temperaturi extreme.
- Îngrijirea cablului: Avoid bending or twisting the connection cables excessively to prevent damage.
6. Depanare
| Problemă | Cauza posibila | Soluţie |
|---|---|---|
| Telecomanda nu pornește. | Bateriile sunt descărcate sau instalate incorect. | Verificați polaritatea bateriilor. Înlocuiți-le cu baterii AAA noi. |
| Camera nu se declanșează. |
|
|
| Timer sequence does not start. | Settings not confirmed or START button not pressed. | Ensure all settings are confirmed with SET și apoi apăsați PORNIRE/OPRIRE CRONOMETRU. |
| Afișajul LCD este întunecat sau pâlpâie. | Baterie descărcată. | Înlocuiți bateriile AAA. |
7. Specificații
- Model: PLRTC18
- Marca: polaroid
- Conectivitate: Cablat
- Funcții cronometru: Delay, Long Exposure, Interval, Number of Exposures
- Setări temporizator: 1 second to 99 hours, 59 minutes, 59 seconds (in 1-second increments)
- Număr de fotografii: 1 to 9999, or unlimited (---)
- Afişa: LCD cu iluminare din spate
- Sursa de alimentare: 2 x baterii AAA
- Culoare: Negru
8. Compatibilitatea camerei
The Polaroid PLRTC18 is compatible with a wide range of Canon Digital SLR cameras that utilize a 3-pin or mini headphone jack style remote control terminal. Compatible models include, but are not limited to:
- Canon G10, G11, G12, G16
- Canon EOS Digital Rebel series
- Canon 60D, 70D
- Canon Elan II/IIE, Elan 7/7E
- Canon Rebel Ti /2000/G/GII/X/XS
- Canon IX/IX Lite
- Canon SX50 HS
- Canon EOS Rebel T1i, T2, T2i, T3, T3i, T4i, T5, T5i, T6
- And similar models with compatible shutter release ports.
Please consult your camera's manual to confirm the type of remote control port it uses.
9. Garanție și asistență
For warranty information or technical support, please refer to the documentation included with your purchase or visit the official Polaroid webPăstrați dovada achiziției pentru reclamații în garanție.