Answer

Aug 01, 2025 - 06:17 AM
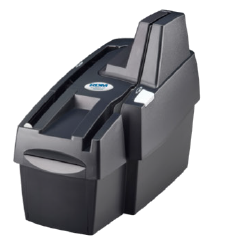
To set up and start using the RDM EC9700i AF Network Series Scanner, follow these steps:

1. Unboxing and Setup:

   - Unbox the scanner and ensure all components are included (power supply and cord, USB 2.0 cable, Ethernet cable, Scanner Care cleaning card sample, Quick Start Guide).

   - Connect the power supply and cord to the scanner and plug it into a power outlet.

   - Connect the USB 2.0 cable to the scanner and your computer. If using Ethernet connectivity, connect the Ethernet cable to the scanner and your network.

   - Power on the scanner.

2. Installation and Connectivity:

   - The scanner features "Plug-and-Play" USB connectivity, which means no drivers or software installation is required on local workstations. Simply connect the scanner to your computer and start scanning.

   - For network or virtual environment use, an Ethernet port is available on some models for additional connectivity options.

3. Document Processing:

   - The scanner is equipped with Progressive MICR Method for optimal magnetic and optical read rates on E13B characters.

   - It can accurately recognize MICR from checks inserted in any orientation, maximizing recognition rates for machine-printed and hand-written characters.

4. Additional Features:

   - The scanner supports inkjet endorsement printing when the inkjet cartridge (sold separately) is installed.

   - Depending on the model (EC9703, EC9704, EC9708), the scanner offers different scanning speeds and additional features like an integrated magnetic stripe reader and thermal receipt printer.

5. Usage and Maintenance:

   - Refer to the Scanner Care cleaning card sample for maintenance instructions to keep the scanner in optimal condition.

   - The scanner ships with a 2-year standard depot warranty, with optional warranty programs available for extended coverage.

By following these steps and referring to the provided Quick Start Guide, users can quickly set up and start using the RDM EC9700i AF Network Series Scanner for efficient check scanning operations.
 User Manual Q&A


Add New Comment