 User Manual Q&A
Answer

Aug 01, 2025 - 01:42 AM
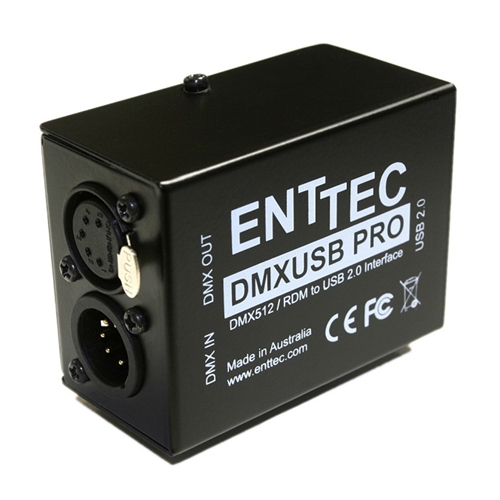
To set up the ENTTEC 245896 DMX USB PRO Interface on your computer, follow these steps as outlined in the user manual:

1. Install Drivers:

   - The DMX USB PRO is supported by FTDI drivers for various operating systems including Windows, Mac, and Linux. You can download the driver setup file from the ENTTEC website or FTDI website.

   - On Windows, execute the setup file and let the drivers install on your machine. You may need to change the COM port number if there are conflicts.

   - On Mac, download and install PRO-MANAGER, which includes the necessary drivers for OSX 10.7 - OSX 10.10. For OSX 10.11 onwards, third-party drivers are not needed.

2. Basic Setup:

   - Connect the DMX USB PRO to your computer via USB and to the DMX512 control network using a DMX cable.

   - Load the control software of your choice onto the computer. You can choose between open-source or professional programs available on the ENTTEC website.

   - Run the software and create your show.

3. LED Status:

   - The DMX USB PRO has a green LED indicator that blinks once on USB connection to signify it is powered on and ready. Continuous blinking indicates DMX is being sent or received.

4. Firmware Update:

   - Use the EMU app to update the firmware of the DMX USB PRO if needed. Firmware 1.44 is for DMX only, while Firmware 2.4 is for RDM and DMX.

5. DMX Send Test:
   - Use the EMU app to test DMX channels by sending DMX through the DMX USB PRO. This allows you to verify that the interface is working as expected.

6. PRO-MANAGER (Legacy Software):

   - If needed, you can use PRO-MANAGER to configure, test, and update the DMX USB PRO. This app runs inside a browser window and provides similar functionalities to EMU.

By following these steps, you should be able to successfully set up and use the ENTTEC 245896 DMX USB PRO Interface on your computer for controlling DMX lighting systems.


Add New Comment