JEYI I9-Seal
JEYI I9-Seal M.2 NVMe SSD Enclosure User Manual
Model: I9-Seal
Introdução
This manual provides comprehensive instructions for the installation, operation, and maintenance of your JEYI I9-Seal M.2 NVMe SSD Enclosure. This device converts an NVMe M.2 solid-state drive into a portable external storage solution with high-speed USB 3.2 Gen 2 connectivity.
Conteúdo da embalagem
Verifique se todos os itens listados abaixo estão incluídos no seu pacote:
- JEYI M.2 NVMe SSD Enclosure
- Almofadas Térmicas
- Chave de fenda
- USB-A to USB-C Cable (10Gbps)
- USB-C to USB-C Cable (10Gbps)
- Cordão

Instruções de configuração
Follow these steps to install your NVMe M.2 SSD into the JEYI I9-Seal enclosure:
- Prepare o recinto: Gently slide open the enclosure to reveal the internal PCB.
- Aplique a almofada térmica: Peel off the protective films from both sides of a thermal pad and carefully place it onto the NVMe SSD chip area. This aids in heat dissipation.
- Insira o SSD NVMe: Align your NVMe M.2 SSD (2280 form factor only) with the M-Key slot on the PCB. Insert the SSD firmly but gently into the slot at an angle.
- Proteja o SSD: Once inserted, gently push down the SSD and secure it with the provided screw using the included screwdriver. Ensure the SSD is flat and securely fastened.
- Feche o recinto: Carefully slide the enclosure cover back into place until it clicks securely.


Instruções de operação
Once your NVMe SSD is securely installed, connect the enclosure to your device:
- Conectar ao dispositivo: Use either the provided USB-C to USB-C cable or the USB-A to USB-C cable to connect the enclosure to a compatible USB port on your computer, smartphone, tablet, or game console.
- Indicador de energia: A small LED indicator on the enclosure will illuminate, signifying that the device is powered on and connected.
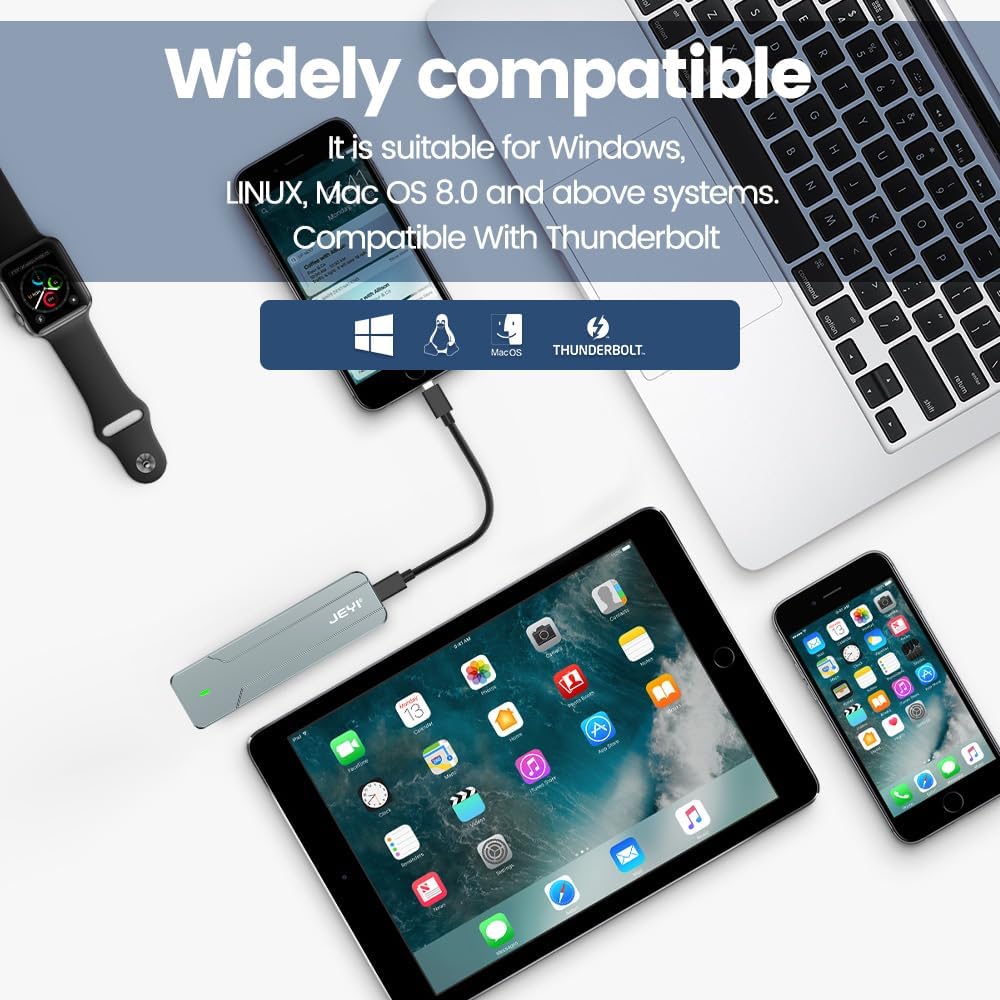
- Disk Recognition: Your operating system (Windows, macOS, Linux, Android, iOS) should automatically detect the new storage device. If it's a new SSD, you may need to initialize and format it through Disk Management (Windows) or Disk Utility (macOS) before use.
- Transferência de dados: You can now perform data backup, file transfers, disk upgrades, data recovery, or use it for storage expansion. The enclosure supports USB 3.2 Gen 2 speeds up to 10Gbps.

Manutenção
To ensure optimal performance and longevity of your JEYI I9-Seal enclosure:
- Gerenciamento de calor: O alumínio casing and thermal pads are designed for efficient heat dissipation. During prolonged high-speed data transfers, the enclosure may become warm to the touch. This is normal and indicates effective heat transfer from the SSD.
- Limpeza: Use um pano macio e seco para limpar a parte externa da caixa. Evite usar produtos de limpeza líquidos ou solventes.
- Armazenar: Quando não estiver em uso, guarde a caixa em local fresco e seco, longe da luz solar direta e de temperaturas extremas.
- Cuidados com os cabos: Handle the USB cables carefully. Avoid sharp bends or excessive pulling to prevent damage.
Solução de problemas
| Problema | Possível causa | Solução |
|---|---|---|
| Gabinete não detectado pelo computador. |
|
|
| Velocidades de transferência de dados lentas. |
|
|
| Enclosure gets very hot. |
|
|
Especificações
| Recurso | Detalhe |
|---|---|
| Modelo | I9-Seal |
| Marca | JEYI |
| interface de hardware | USB 3.2 Gen 2 (USB-C) |
| Taxa de transferência de dados | Até 10 Gbps |
| Tipo de SSD compatível | NVMe M.2 (PCI-E M-Key) |
| Supported SSD Form Factor | 2280 (80mm) only |
| Capacidade Máxima de Armazenamento | 4 TB |
| Chipset | JMS583 A3 |
| Características | UASP Support, TRIM Support, Win to Go (WTG) Support |
| Material | Liga de alumínio |
| Cor | Prata |
| Dimensões do produto | 4.06 x 1.02 x 0.39 polegadas (103 x 26 x 10 mm) |
| Peso do item | 0.317 onças (9 gramas) |
| Sistemas operacionais compatíveis | Windows, macOS, Linux, iOS, Android |

Garantia e Suporte
For warranty information or technical support, please refer to the official JEYI webou entre em contato diretamente com o serviço de atendimento ao cliente. Os detalhes sobre os períodos de garantia específicos e os canais de suporte geralmente são fornecidos com a documentação da compra ou no site do fabricante. website.
Fabricante: JEYI
Website: Visit the JEYI Store on Amazon
Ask a question about this manual
Ask about setup, troubleshooting, compatibility, parts, safety, or missing instructions. Manuals+ will review the question and use this page’s manual context to help answer it.