
1. Introdução
This manual provides instructions for the proper use and maintenance of your MTX Electronic Vernier Caliper, Model 316119. This precision measuring instrument is designed for accurate internal, external, depth, and step measurements up to 150mm.
Constructed from durable tool stainless steel, the caliper features a clear LCD display for easy reading of measurements. Its robust design ensures longevity and resistance to rust, while its compact size makes it highly portable.

Figura 1: geral view of the MTX Electronic Vernier Caliper.
2. Componentes do produto
Familiarize yourself with the main components of the electronic vernier caliper:
- External Jaws: Used for measuring external dimensions.
- Internal Jaws: Used for measuring internal dimensions.
- Vareta de profundidade: Used for measuring depths.
- Main Scale: Graduated scale for reference.
- Sliding Jaw: Moves along the main scale.
- Thumb Roller: For fine adjustment of the sliding jaw.
- Parafuso de travamento: To fix the sliding jaw in position.
- Tela LCD: Digital readout of measurements.
- Botão ON/OFF: Powers the caliper on or off.
- Botão ZERO: Sets the display to zero at any position.
- mm/inch Button: Switches between metric (mm) and imperial (inch) units.
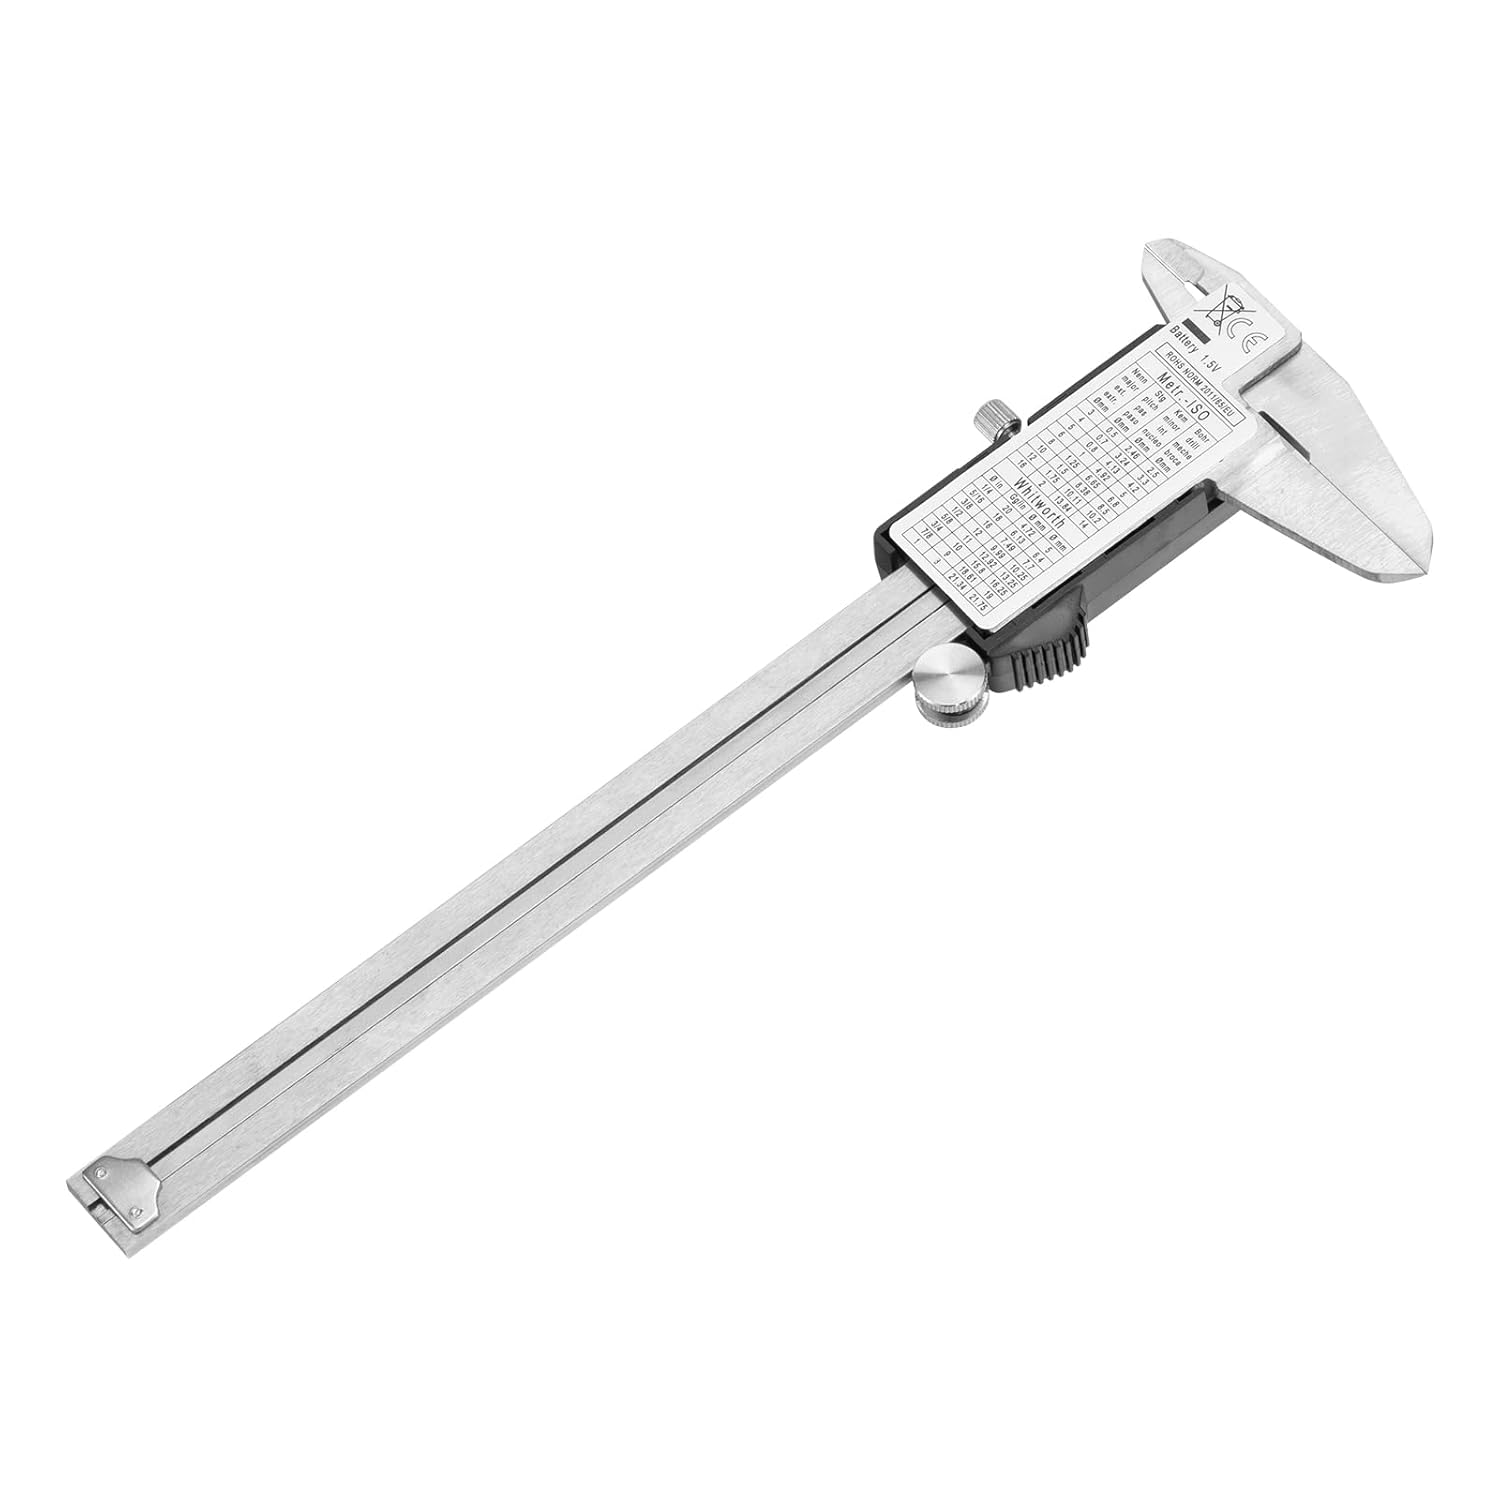
Figure 2: Key components of the electronic vernier caliper.
3. Configuração e Instalação da Bateria
3.1 Instalação da bateria
The caliper requires one 1.5V SR44 type battery. To install or replace the battery:
- Locate the battery compartment cover on the back of the LCD display unit.
- Deslize a tampa aberta.
- Insert the SR44 battery with the positive (+) side facing upwards.
- Feche bem a tampa do compartimento da bateria.
3.2 Limpeza Inicial
Before first use, gently wipe the measuring surfaces with a clean, dry, lint-free cloth to remove any protective oils or dust.
4. Operação básica
4.1 Ligar/Desligar
- Pressione o LIGADO/DESLIGADO button to turn the caliper on.
- Pressione o LIGADO/DESLIGADO button again to turn the caliper off. The caliper may also automatically shut off after a period of inactivity to conserve battery.
4.2 Zerando o display
For accurate measurements, it is crucial to zero the caliper before use:
- Close the external jaws completely, ensuring they are clean and free of debris.
- Pressione o ZERO button. The display should now read 0.00mm or 0.000in.
- The caliper is now ready for measurement.
4.3 Conversão de unidades (mm/polegada)
Pressione o mm / polegada button to switch between metric (millimeters) and imperial (inches) units at any time during measurement.

Figure 3: Caliper display showing a measurement in millimeters.
5. Measurement Techniques
Always ensure the caliper is clean and zeroed before taking measurements.
5.1 External Measurement
To measure the external dimension of an object:
- Open the external jaws wider than the object.
- Place the object between the external jaws.
- Use the thumb roller to gently close the jaws until they make firm contact with the object. Do not apply excessive force.
- Leia a medição no display LCD.

Figure 4: Measuring an external dimension.
5.2 Internal Measurement
To measure the internal dimension of an object (e.g., a hole or groove):
- Insert the internal jaws into the opening.
- Use the thumb roller to gently open the jaws until they make firm contact with the internal surfaces.
- Leia a medição no display LCD.

Figure 5: Measuring an internal dimension.
5.3 Depth Measurement
To measure the depth of a hole or step:
- Place the end of the main scale firmly on the top surface of the object.
- Extend the depth rod into the hole or down to the step until it touches the bottom.
- Leia a medição no display LCD.
6. Manutenção e armazenamento
Proper care will ensure the longevity and accuracy of your caliper.
- Limpeza: After each use, wipe the caliper clean with a dry, soft cloth. Avoid using solvents or harsh chemicals, as these can damage the display or measuring surfaces.
- Cuidados com a bateria: If the caliper will not be used for an extended period, remove the battery to prevent leakage and damage.
- Armazenar: Store the caliper in its original plastic case with foam insert to protect it from impacts, dust, and moisture. Keep it in a dry environment away from direct sunlight and extreme temperatures.
- Evite danos: Do not drop the caliper or subject it to strong impacts. Avoid scratching the measuring surfaces.
7. Solução De Problemas
If you encounter issues with your caliper, refer to the following common problems and solutions:
- A tela está em branco ou piscando:
Solução: Check the battery. Replace with a new 1.5V SR44 battery if necessary. Ensure the battery is inserted correctly. - Leituras imprecisas:
Solução: Ensure the measuring surfaces are clean and free of debris. Close the jaws completely and press the ZERO button to re-zero the caliper. Avoid applying excessive force during measurement. - Sliding jaw movement is stiff:
Solução: Clean the main beam and sliding surfaces with a dry, lint-free cloth. A very small amount of light machine oil can be applied to the main beam, then wiped clean to leave a thin film.
8. Especificações
| Recurso | Especificação |
|---|---|
| Modelo | 316119 |
| Faixa de medição | 0-150 milímetros |
| Material | Tool Stainless Steel |
| Mostrar | Visor digital LCD |
| Fonte de energia | 1 x 1.5V SR44 Battery |
| Erro de medição | 0.02 mm (up to 100 mm), 0.03 mm (100-200 mm) |
| Dimensões do produto | 15 x 15 x 0.1 cm |
| Peso do produto | 320 g |
| Fabricante | MTX |