Introdução
This user manual provides essential information for the safe and efficient operation, installation, and maintenance of your Midea Combo Washer Dryer. Please read this manual thoroughly before using the appliance and retain it for future reference.
Informações de segurança
Siga sempre as seguintes precauções de segurança para evitar ferimentos ou danos ao aparelho:
- Certifique-se de que o aparelho esteja devidamente aterrado antes de usar.
- Não permita que crianças brinquem com o aparelho ou o operem.
- Mantenha materiais inflamáveis longe do aparelho.
- Não lave nem seque peças de roupa que tenham sido limpas, lavadas, imersas ou manchadas com substâncias combustíveis ou explosivas, como gasolina, solventes de lavagem a seco ou outras substâncias inflamáveis ou explosivas.
- Garanta ventilação adequada ao redor do aparelho.
- Desligue o aparelho da tomada antes de limpá-lo ou realizar qualquer manutenção.
Produto acimaview
Familiarize yourself with the main components of your Midea Combo Washer Dryer.

Figura 1: Frente angulada view of the Midea Combo Washer Dryer. This image shows the overall design, including the silver finish and the dark control panel at the top.
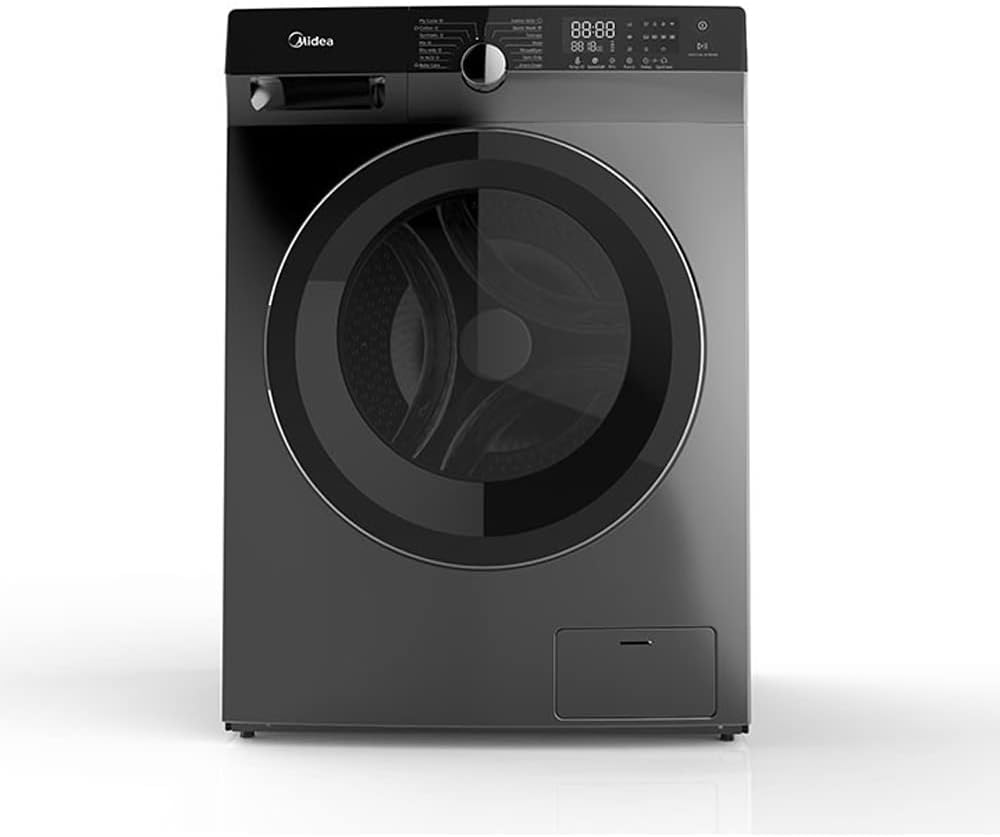
Figura 2: Frente direta view of the Midea Combo Washer Dryer. This perspective highlights the large circular door and the detergent dispenser drawer located at the bottom right.

Figura 3: Principal view of the Midea Combo Washer Dryer's control panel. This image details the touch controls, digital display, and program selection dial.
Componentes principais:
- Painel de controle: Features a program selection dial, touch controls, and a digital display for cycle information.
- Dispensador de detergente: Located at the top left, for adding detergent and fabric softener.
- Tambor: The main compartment for washing and drying clothes.
- Porta: Front-loading door for accessing the drum.
- Filtro da bomba de drenagem: Located at the bottom right, accessible for cleaning.
Configurar
Proper installation is crucial for the performance and longevity of your appliance.
1. Desembalagem:
- Remova cuidadosamente todos os materiais de embalagem.
- Inspect the appliance for any shipping damage.
2. Removing Transit Bolts:
Before operation, it is essential to remove the four transit bolts located at the rear of the machine. These bolts secure the drum during transport and must be removed to prevent excessive vibration and noise during operation. Refer to the installation guide for detailed instructions on removal.
3. Nivelando o aparelho:
Use the adjustable leveling feet to ensure the machine is perfectly level on the floor. An unlevel machine can cause vibration and noise.
4. Conexão de água:
Connect the water inlet hoses to the appropriate hot and cold water taps and to the corresponding inlets on the back of the machine. Ensure all connections are tight to prevent leaks.
5. Drain Hose Connection:
Securely connect the drain hose to a suitable drain pipe or sink, ensuring it is properly positioned to prevent backflow.
6. Conexão elétrica:
Ligue o cabo de alimentação a uma tomada elétrica aterrada de 220 V. Não utilize extensões ou adaptadores.
7. Initial Run:
Before washing clothes, run an empty wash cycle with a small amount of detergent to clean the drum and internal components.
Instruções de operação
Siga estes passos para lavar e secar de forma eficaz:
1. Colocando a roupa na máquina de lavar:
- Open the door and load clothes loosely into the drum. Do not overload the machine.
- Feche a porta com firmeza.
2. Adicionando detergente:
- Puxe a gaveta do dispensador de detergente.
- Add the appropriate amount of detergent to the main wash compartment and fabric softener to its designated compartment.
- Empurre a gaveta de volta para dentro com cuidado.
3. Selecionando um Programa:
- Turn the program selection dial to choose the desired wash or wash+dry cycle (e.g., Normal, Cotton, Synthetics).
- The digital display will show the estimated cycle time and other relevant information.
- Adjust additional options (e.g., temperature, spin speed, delay start) using the touch controls if available for the selected program.
4. Iniciando o Ciclo:
- Pressione o botão Iniciar/Pausa para iniciar o ciclo.
- The machine will automatically proceed through the selected wash and dry phases.
5. After the Cycle:
- Once the cycle is complete, the machine will signal.
- Abra a porta e retire a roupa.
- Deixe a porta ligeiramente entreaberta para permitir que o tambor seque ao ar e evitar odores.
Manutenção
A manutenção regular garante o desempenho ideal e prolonga a vida útil do seu aparelho.
1. Cleaning the Detergent Dispenser:
- Remove the dispenser drawer and rinse it under warm water to remove any detergent residue.
- Limpe a carcaça do dispensador com uma escova.
2. Limpeza do tambor:
- Run a drum clean cycle (if available) or a hot wash cycle with no laundry and a descaling agent periodically.
3. Limpeza do filtro da bomba de drenagem:
- Regularly check and clean the drain pump filter to prevent blockages. Refer to the manual for specific instructions on accessing and cleaning the filter.
4. Limpeza Externa:
- Limpe as superfícies exteriores com um pano macio, damp pano. Não use produtos de limpeza abrasivos.
Solução de problemas
Consulte a tabela abaixo para obter informações sobre problemas comuns e suas soluções.
| Problema | Possível causa | Solução |
|---|---|---|
| Ruído/vibração excessivo | Parafusos de transporte não removidos; aparelho desnivelado; carga desigual. | Remove transit bolts (see Setup); adjust leveling feet; redistribute laundry. |
| Water leaking from detergent drawer | Detergent drawer not fully closed; excessive water pressure; clogged dispenser. | Ensure drawer is fully closed; check water pressure; clean dispenser. |
| Clothes not drying completely or drying takes too long | Overloaded dryer; lint filter clogged; incorrect program selected. | Reduza o tamanho da carga; limpe o filtro de fiapos; selecione o programa de secagem apropriado. |
| A máquina não liga | Cabo de alimentação desconectado; porta não fechada corretamente; sem energiatage. | Verifique a ligação elétrica; certifique-se de que a porta está trancada; verifique o disjuntor da residência. |
Para problemas não listados aqui ou se os problemas persistirem, entre em contato com o suporte ao cliente.
Especificações
| Recurso | Especificação |
|---|---|
| Marca | Midea |
| Número do modelo | MFK1280WDS |
| Capacidade (Lavagem) | 12 quilos |
| Capacidade (seco) | 8 Kilograms (inferred from product title) |
| Cor | Prata |
| Dimensões do produto (P x L x A) | 66 cm x 68.5 cm x 106.5 cm |
| Peso do item | 46 quilos |
| Consumo anual de energia (lavagem) | 150 kWh |
| Estimated Annual Energy Consumption | 165 kWh por ano |
| Nível de ruído | 62 dB |
| Tipo de instalação | Debaixo do balcão |
| Tipo de controle | Totalmente automático, sensível ao toque |
| Volumetage | 220 Volts |
| Velocidade máxima de rotação | 1400 RPM |
| Características especiais | Pés de nivelamento ajustáveis |
| Dobradiças de porta | Certo |
| Tipo de carregamento | Carga frontal |
Garantia e Suporte
For installation services or technical support, please contact Midea customer service at the following numbers:
- Riade: +966 -11- 4094006 Ext – 113
- Jeddah: +966- 12- 6577714
- Dammam: +966-13- 8343691
- Qassim: +966 581044198
- Abha: +966 593322785
Please retain your purchase receipt for warranty claims. Specific warranty terms and conditions may vary by region and are typically provided with the product documentation.