
1. Introdução
The Nespresso Vertuo Coffee and Espresso Machine by De'Longhi offers a versatile brewing experience, allowing you to create a variety of single-serve coffee and espresso drinks. Utilizing patented Centrifusion extraction technology, the machine reads barcodes on Vertuo capsules to automatically adjust brewing parameters, ensuring optimal flavor and crema for each cup. This manual will guide you through the setup, operation, and maintenance of your machine, including the accompanying Aeroccino3 milk frother.

Figure 1: Nespresso Vertuo Coffee and Espresso Machine with Aeroccino3 Milk Frother.
2. O que está na caixa
Upon unboxing your Nespresso Vertuo machine, please ensure all components are present:
- Nespresso Vertuo Coffee and Espresso Machine
- Aeroccino3 Espumador de Leite
- Complimentary Welcome Set of Nespresso Vertuo capsules (assortment may vary)
- Manual do usuário (este documento)
- Guia de início rápido

Figure 2: Nespresso Vertuo machine with a capsule tasting pack.
3. Configuração
- Desembale e posicione: Remove all packaging materials. Place the machine on a stable, flat, heat-resistant surface near a power outlet. Ensure adequate space around the machine for ventilation and operation.
- Encha o tanque de água: Remove the water tank from the back of the machine. Fill it with fresh, potable water up to the 'MAX' line. Reattach the water tank securely to the machine.
- Ligar: Ligue o aparelho a uma tomada elétrica aterrada. O botão liga/desliga acenderá.
- Enxágue após o primeiro uso: Before first use, perform a rinse cycle. Ensure the water tank is filled. Place a large container under the coffee outlet. Close the machine head and lock it. Press the brew button. The machine will run water through the system to clean it. Repeat this process 2-3 times.

Figure 3: Machine dimensions for proper placement.

Figura 4: parte superior view illustrating capsule insertion.
Vídeo de demonstração de configuração
Video 1: This video demonstrates the process of inserting a Nespresso Vertuo capsule and initiating the brewing process. It highlights the machine's ability to read the capsule's barcode to automatically set brewing parameters.
4. Operação
- Pré-aqueça: Ensure the machine is plugged in and the water tank is filled. The machine heats up in approximately 15-20 seconds. The light on the button will stop blinking when ready.
- Inserir cápsula: Turn the lever to the 'UNLOCK' position and lift the machine head. Insert a Nespresso Vertuo capsule with the dome side down. Close the machine head and turn the lever to the 'LOCK' position.
- Coloque o copo: Position your coffee cup on the drip tray. The drip tray is adjustable to accommodate different cup sizes.
- Preparar: Press the brew button once. The machine will automatically read the barcode on the capsule and begin the brewing process, adjusting the water volume, temperature, and extraction speed for the specific coffee or espresso.
- Ejeção da cápsula: After brewing, turn the lever to the 'UNLOCK' position and lift the machine head. The used capsule will automatically be ejected into the integrated capsule container.

Figure 5: Machine automatically adapts brewing parameters based on capsule barcode.

Figure 6: Available cup sizes: Espresso (1.35 oz), Double Espresso (2.7 oz), Gran Lungo (5.0 oz), and Coffee (7.7 oz).
Using the Aeroccino3 Milk Frother
The Aeroccino3 provides smooth hot or cold milk froth for your coffee recipes.
- Espuma quente: Pour milk into the frother up to the lower 'MAX' line. Press the button once. The light will turn red, and the frother will begin.
- Espuma Fria: Pour milk into the frother up to the lower 'MAX' line. Press and hold the button for 2 seconds. The light will turn blue, and the frother will begin.
- Hot Milk (no froth): Remove the whisk from the frother. Pour milk up to the upper 'MAX' line. Press the button once.
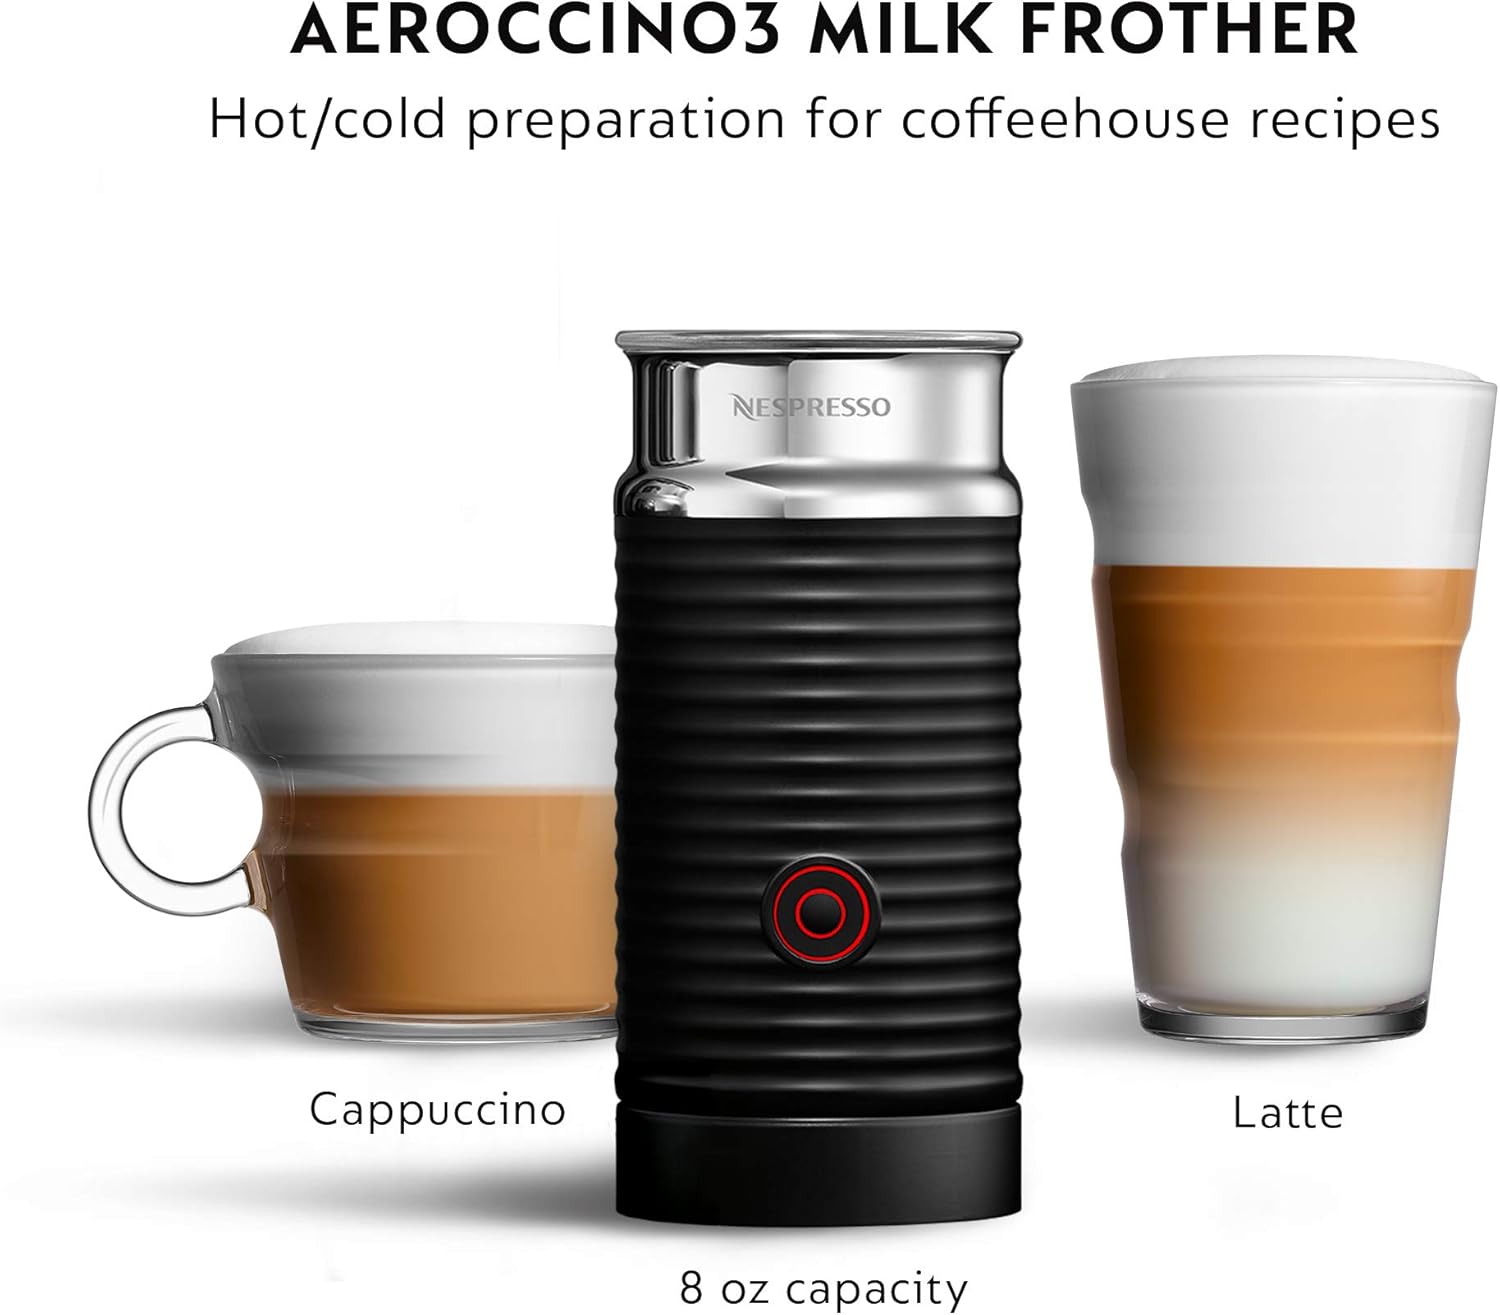
Figure 7: Aeroccino3 Milk Frother for hot/cold milk preparation.
5. Manutenção
A limpeza regular garante o desempenho ideal e a longevidade da sua máquina Nespresso.
- Limpeza diária: Esvazie e enxágue a bandeja de gotejamento e o recipiente de cápsulas usadas diariamente. Limpe a parte externa da máquina com um pano úmido.amp pano.
- Tanque de água: Limpe o reservatório de água regularmente com detergente neutro e enxágue bem.
- Aeroccino3: Clean the frother immediately after each use. The jug is not dishwasher safe. Rinse the inside with water and wipe with a soft cloth. Do not immerse the base in water.
- Descalcificação: Descale the machine every 3 months or after 300 capsules, whichever comes first. Refer to the full user manual for detailed descaling instructions.
Capsule Disposal Demonstration Video
Video 2: This video illustrates the automatic ejection of used capsules into the disposal bin, a key part of daily maintenance.
6. Solução De Problemas
If you encounter issues with your Nespresso machine, please refer to the following common solutions. For more complex problems, consult the full user manual or contact Nespresso customer support.
- No Coffee Flow / Slow Flow: Check water tank level. Ensure the capsule is correctly inserted and the machine head is locked. Perform a rinse cycle. Descale the machine if necessary.
- Vazamento: Ensure the water tank is properly seated. Check for any cracks in the water tank or seals.
- Lights Blinking Erratically: This may indicate a need for descaling or a general error. Refer to the user manual's indicator light section.
- Café não está suficientemente quente: Preheat your cup before brewing. Ensure the machine has completed its preheating cycle.
For a comprehensive troubleshooting guide, please refer to the official Guia do usuário (PDF).
7. Especificações
| Recurso | Detalhe |
|---|---|
| Marca | Nespresso |
| Nome do modelo | ENV135BAE |
| Dimensões do produto | 9"P x 12.2"L x 12.3"A |
| Peso do item | 12.96 libras |
| Cor | Piano Preto |
| Volumetage | 110 Volts |
| Modo de operação | Totalmente automático |
| Tipo de entrada de café | Capsule (Nespresso Vertuo only) |
| Capacidade do reservatório de água | 54 onças. |
| Tempo de aquecimento | 15-20 segundos |
| Desligamento automático | Após 9 minutos de inatividade |
8. Garantia e suporte
Your Nespresso Vertuo machine comes with a manufacturer's warranty. For specific details regarding warranty coverage and duration, please refer to the documentation included with your purchase or visit the official Nespresso website.
Planos de proteção adicionais podem estar disponíveis para compra:
- Plano de proteção de 3 anos
- Plano de proteção de 4 anos
- Proteção Completa (plano mensal que cobre compras elegíveis)
For further assistance, product registration, or to order new capsules, please visit Nespresso. com or contact Nespresso customer service.

Figure 8: Nespresso.com benefits for customers.
9. Reciclagem
Nespresso is committed to sustainability. All aluminum capsules collected by Nespresso are recycled. You can participate in the recycling program by returning your used capsules through designated collection points or by utilizing the provided recycling bags for mail-in services. This ensures that the aluminum is reused and coffee grounds are composted.

Figure 9: Nespresso capsules are made from recyclable aluminum.