
Introduction
This instruction manual provides essential information for the safe and effective use of your Vivitar KidsTech Kidzcam Digital Camera. Please read this manual thoroughly before operating the device and retain it for future reference. This camera is designed for children and beginners to capture photos and videos with simple, intuitive controls.
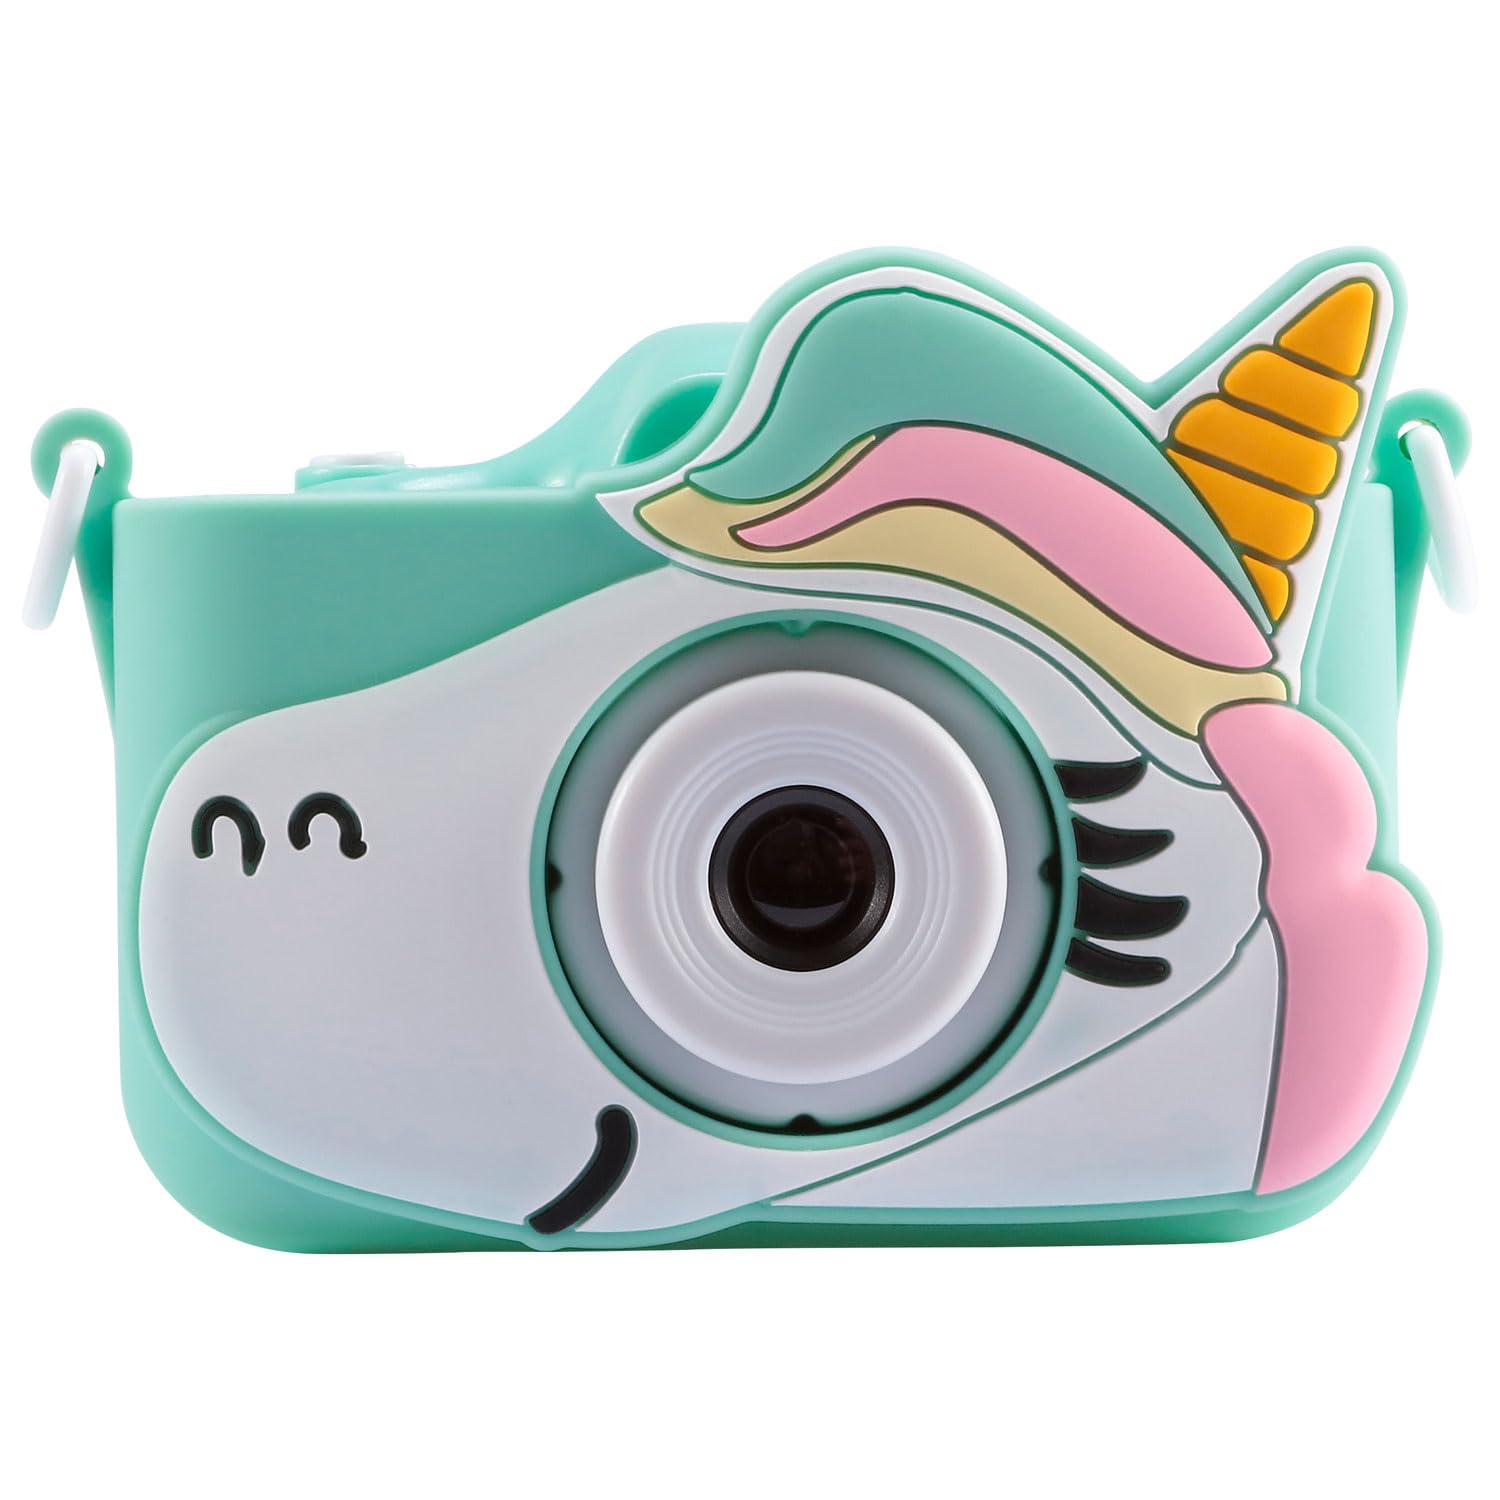
Image: Vivitar KidsTech Kidzcam Digital Camera (Green).
What's in the Box
Upon opening the package, ensure all the following items are present:
- Vivitar KidsTech Kidzcam Digital Camera (Green)
- USB Cable / Adapter
- Protective Silicone Case (Unicorn design)
- Wrist Strap (beaded)


Image: Protective silicone case and camera with wrist strap.
Setup
1. Charging the Camera
Before first use, fully charge the camera's internal battery.
- Connect the small end of the provided USB cable to the camera's USB port.
- Connect the large end of the USB cable to a USB power adapter (not included) or a computer's USB port.
- The charging indicator light will illuminate. Once charging is complete, the light may change color or turn off.
- Disconnect the USB cable when charging is complete.
2. Powering On/Off
- To power on: Press and hold the Power button (usually located on the top or back of the camera) for a few seconds until the screen illuminates.
- To power off: Press and hold the Power button again until the screen turns off.

Image: Rear view of the camera with screen and buttons.
Operating Instructions
1. Navigating the Menu
Use the directional buttons (Up, Down, Left, Right) and the OK/Shutter button to navigate through the camera's menu options displayed on the LCD screen.
2. Taking Photos
- Turn on the camera.
- Ensure the camera is in photo mode. If not, navigate to the photo icon on the screen and select it.
- Frame your shot using the LCD screen.
- Press the Shutter button (often the OK button or a dedicated button on top) to capture the image.
3. Recording Videos
- Turn on the camera.
- Navigate to the video mode icon on the screen and select it.
- Press the Record button (often the Shutter/OK button) to start recording. A timer or indicator will show that recording is in progress.
- Press the Record button again to stop recording.
4. Viewing Photos and Videos
- Turn on the camera.
- Navigate to the playback/gallery icon on the screen and select it.
- Use the directional buttons to scroll through your captured photos and videos.
- Press the OK button to view a photo or play a video.
5. Transferring Files to a Computer
- Ensure the camera is powered off.
- Connect the camera to your computer using the provided USB cable.
- The camera should appear as a removable disk or device on your computer.
- Open the camera's folder to access and transfer your photos and videos.
- Safely eject the camera from your computer before disconnecting the USB cable.
Maintenance
1. Cleaning the Camera
- Use a soft, dry cloth to wipe the camera body.
- For the lens and screen, use a specialized lens cleaning cloth. Do not use abrasive cleaners or solvents.
- Ensure the camera is powered off before cleaning.
2. Battery Care
- Avoid exposing the camera to extreme temperatures.
- Charge the battery regularly, even if the camera is not in frequent use, to maintain battery health.
3. Storage
- Store the camera in a cool, dry place away from direct sunlight.
- Use the protective silicone case to prevent scratches and minor impacts.
Troubleshooting
If you encounter issues with your camera, refer to the following common problems and solutions:
| Problem | Solution |
|---|---|
| Camera will not turn on. | Ensure the battery is charged. Connect the camera to a power source using the USB cable and try again. |
| Cannot take photos/videos. | Check if the camera is in the correct mode (photo or video). Ensure there is sufficient internal storage. |
| Images/videos are blurry. | Ensure the lens is clean. Hold the camera steady when capturing. |
| Computer does not recognize the camera. | Ensure the camera is powered off before connecting. Try a different USB port or cable. Restart your computer. |
Specifications
| Feature | Detail |
|---|---|
| Brand | Vivitar |
| Model Name | Kidzcam |
| Color | Kidzcam Camera (Green) |
| Photo Sensor Technology | CMOS |
| Effective Still Resolution | 1080p |
| Maximum Webcam Image Resolution | 1080 mp |
| Video Resolution | 1080i |
| Supported File Format | MP4 |
| Screen Size | 2 inches |
| Connectivity Technology | USB |
| Display Type | LCD |
| Built-In Media | Cable / Adapter (for connectivity) |
| UPC | 681066116609 |
| ASIN | B0GGTYLHVV |
Warranty Information
This Vivitar KidsTech Kidzcam Digital Camera comes with a 30-day limited warranty from the date of purchase. This warranty covers manufacturing defects. Please retain your proof of purchase for warranty claims. For specific terms and conditions, refer to the warranty card included with your product or visit the official Vivitar website.
Support
For further assistance, technical support, or inquiries regarding your Vivitar KidsTech Kidzcam Digital Camera, please visit the official Vivitar website or contact their customer service department.
- Vivitar Official Website: www.vivitar.com
- Refer to the packaging for specific contact information or support hours.


