1. Wprowadzenie
This manual provides detailed instructions for the installation, operation, and maintenance of your ELUSH 60Amp MPPT Solar Charge Controller. This device is designed to efficiently manage power from your solar panels to charge various battery types, including LiFePO4, AGM, and Gel batteries, in 12V, 24V, and 48V systems.
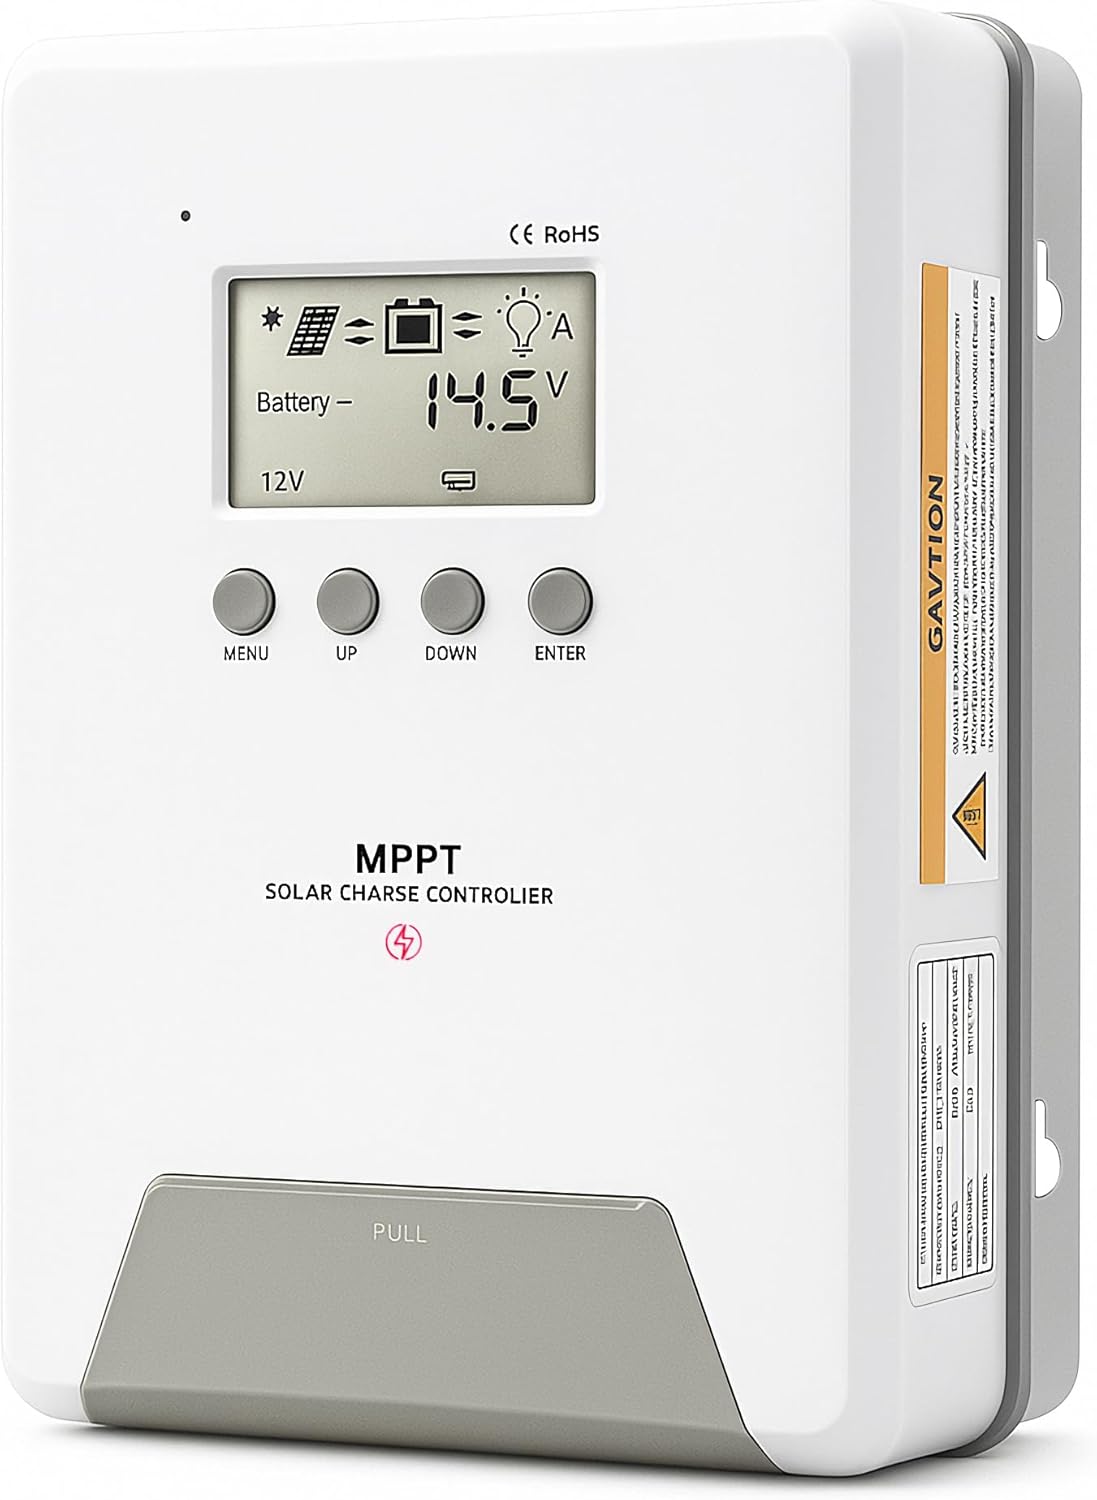
Image 1.1: ELUSH 60Amp Kontroler ładowania słonecznego MPPT.
2. Główne cechy
- Zaawansowana technologia MPPT: Maximizes energy harvest from solar panels with tracking efficiency no less than 99% and peak conversion efficiency up to 98%.
- System Auto-Detection: Automatically detects 12V, 24V, and 48V DC system voltages upon startup.
- Szeroka kompatybilność baterii: Supports Sealed (AGM), Gel, Flooded lead-acid batteries, and Lithium batteries (LiFePO4, Ternary Lithium/Li-ion).
- Przejrzysty wyświetlacz LCD: Zapewnia monitorowanie w czasie rzeczywistym objętości fotowoltaicznejtage, pojemność bateriitage/current, charging power, accumulated energy generation, and load status.
- Essential Built-in Protections: Includes safeguards against overvoltage, przetężenie, niedomiartage i wysoką temperaturę.
- Efektywne odprowadzanie ciepła: Features a high-quality aluminum heatsink for stable operation and optimal performance.

Image 2.1: MPPT Technology highlighting 99% tracking efficiency and 98% peak conversion efficiency.
3. Safety Information and System Protection
The ELUSH MPPT Solar Charge Controller is equipped with multiple protection features to ensure safe and reliable operation of your solar power system. Always adhere to local electrical codes and safety guidelines during installation and operation.
- Zabezpieczenie przed nadmiernym rozładowaniem: Prevents batteries from being discharged below a safe voltagpoziom.
- Zabezpieczenie przed przeciążeniem: Safeguards against excessive current draw from the load terminals.
- Short-circuiting Protection: Protects against short circuits in the solar panel, battery, or load circuits.
- Ochrona przed odwrotną polaryzacją: Prevents damage from incorrect battery or solar panel connections.
- Zabezpieczenie przed przeładowaniem: Ensures batteries are not overcharged, extending their lifespan.
- Kompensacja temperatury: Adjusts charging parameters based on battery temperature for optimal charging.
- Zabezpieczenie przed prądem wstecznym: Zapobiega cofaniu się prądu z akumulatora do panelu słonecznego w nocy.

Image 3.1: Visual representation of the controller's system protection features.
4. Instalacja i okablowanie
Prawidłowa instalacja jest kluczowa dla bezpiecznego i wydajnego działania regulatora ładowania słonecznego. Postępuj zgodnie z poniższymi krokami.
4.1 Sekwencja połączeń
Always connect components in the following order to prevent damage:
- Podłącz baterię: Connect the battery to the controller's battery terminals. Ensure correct polarity (+ to + and - to -). The battery terminals should be installed with safety fuses. Ensure the distance does not exceed 150mm.
- Podłącz obciążenie: Podłącz obciążenia prądu stałego do zacisków obciążenia kontrolera.
- Connect the solar panel: Connect the solar panel to the controller's solar energy terminals. Ensure correct polarity.
- Power on the controller: The controller will automatically power on once all connections are secure.
Notatka: If you want to connect an inverter, connect it directly to the battery, not to the load terminal of the controller.

Image 4.1: Diagram showing the connection points for solar energy, battery, and load.

Image 4.2: Step-by-step visual guide for connecting the system components.
4.2 Hidden Installation Wiring
For a clean and secure installation, the wiring can be routed and hidden. After all connections are properly made and tested, tighten the screws on the terminals and close the bottom cover of the controller to complete the installation. This protects the wiring and provides a neat appearance.
5. Instrukcja obsługi
The controller features an intuitive LCD display and buttons for monitoring and configuration.
5.1 Wyświetlacz LCD i przyciski
The LCD screen provides real-time information about your system. The buttons allow you to navigate menus and adjust settings.
- Czujnik temperatury: Located on the controller, it measures ambient temperature for accurate charging compensation.
- Wyświetlacz LCD: Shows PV voltage, pojemność bateriitage, charging current, load status, and other system parameters.
- Przycisk MENU: Used to enter and exit menu settings.
- Przycisk W GÓRĘ: Navigates upwards through menu options or increases values.
- Przycisk DÓŁ: Navigates downwards through menu options or decreases values.
- Przycisk ENTER: Potwierdza wybór lub przechodzi do podmenu.
Image 5.1: The controller's LCD display and button layout for user interaction.
5.2 Automatyczna objętośćtage Recognition and Battery Compatibility
The controller automatically detects the system voltage (12V, 24V, or 48V) upon startup. It is compatible with a wide range of battery types, ensuring efficient and safe charging for your specific setup.
- Lithium-ion batteries (Li): For standard lithium-ion chemistries.
- Lithium Iron Phosphate batteries (LiFePO4): Specifically designed for LiFePO4 batteries.
- Lead-acid batteries (BAT): Includes Sealed (AGM), Gel, and Flooded types.

Image 5.2: Illustration of automatic voltage recognition and compatibility with various battery types.
6. Specyfikacje
| Marka | ELUSH |
| Numer modelu | DM60A |
| Obecna ocena | 60A |
| Objętość systemutage | 12V/24V/48V Auto Detection |
| Maks. Objętość wejścia PVtage | 150 V |
| Tworzywo | Aluminium |
| Typ wyświetlacza | LCD |
| Kolor | Czarny |
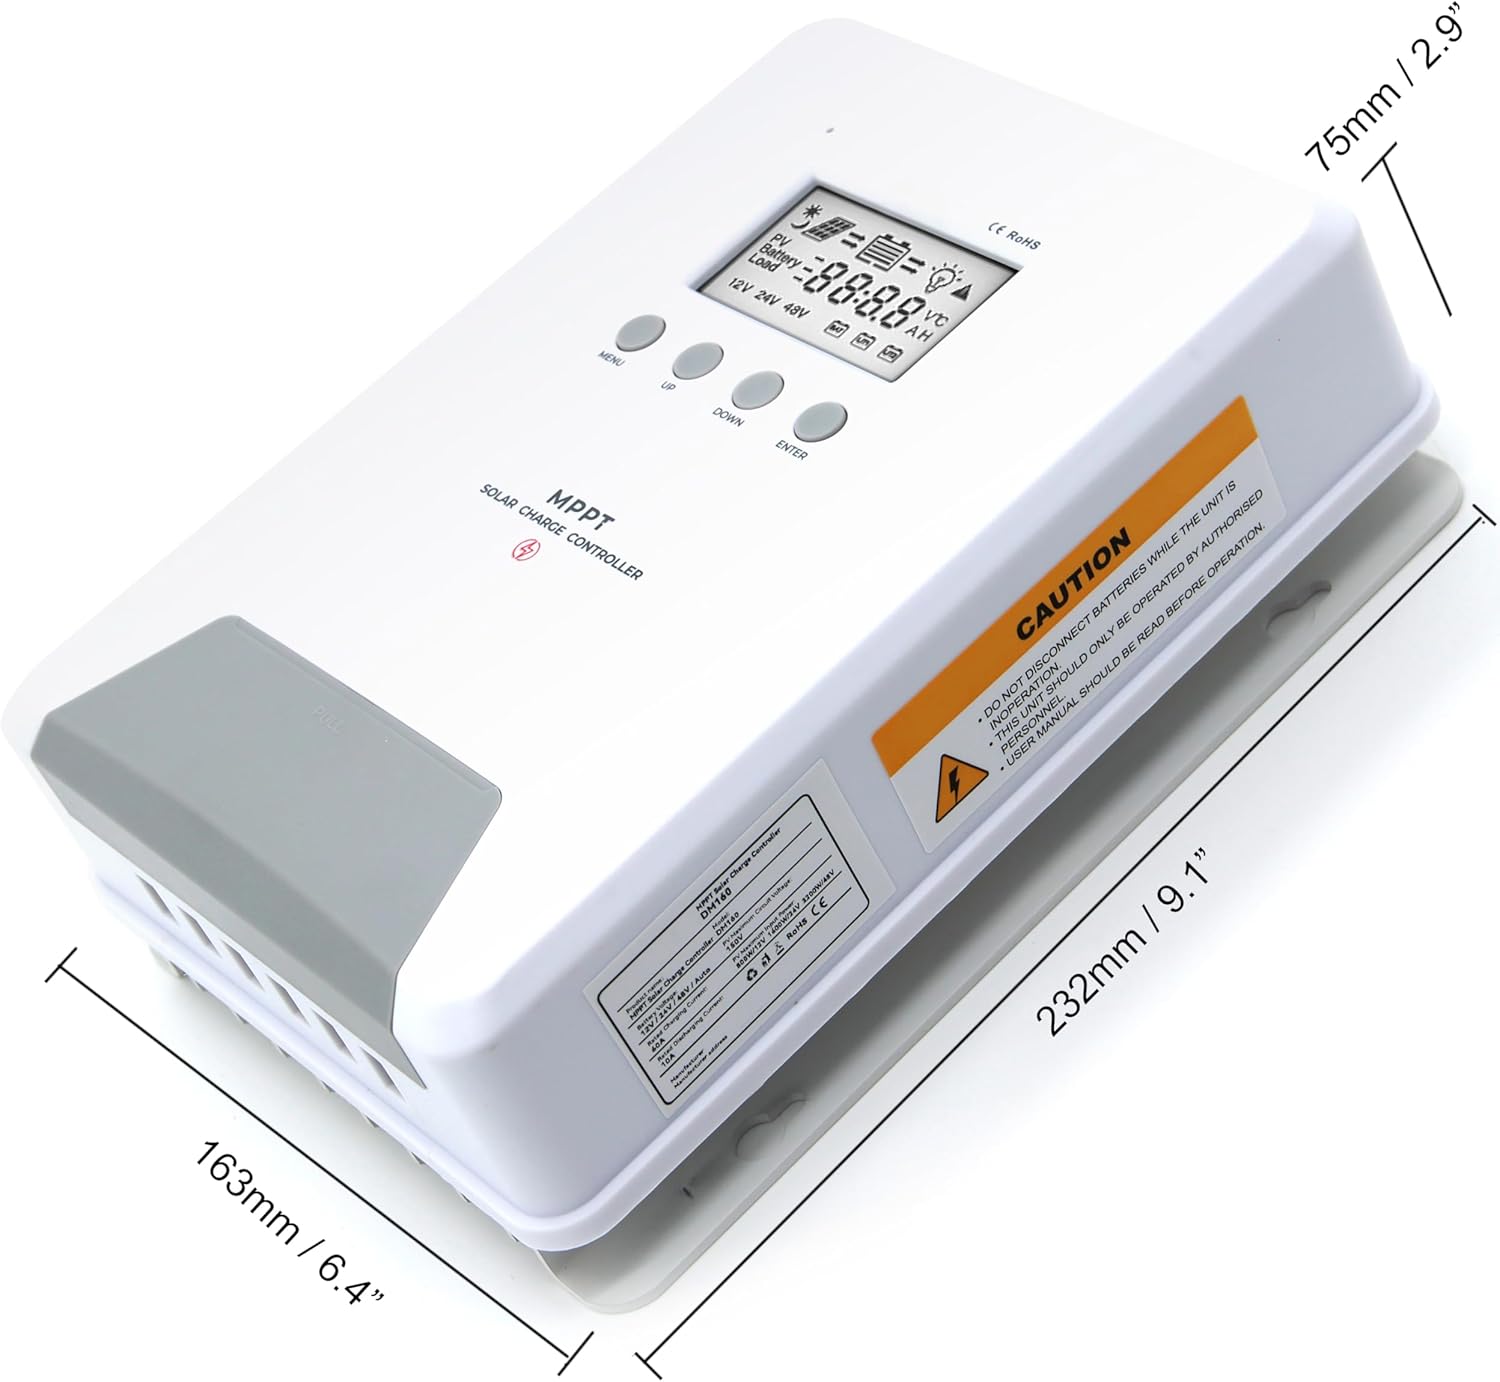
Image 6.1: Physical dimensions of the ELUSH 60Amp Kontroler ładowania słonecznego MPPT.
7. Konserwacja
Aby zapewnić optymalną wydajność i długowieczność regulatora ładowania słonecznego, zaleca się regularną konserwację:
- Sprawdź połączenia: Okresowo sprawdzaj wszystkie połączenia przewodów pod kątem szczelności i korozji. Luźne połączenia mogą spowodować przegrzanie i uszkodzenie.
- Wyczyść kontroler: Utrzymuj kontroler w czystości, chroniąc go przed kurzem i zanieczyszczeniami. Do czyszczenia obudowy używaj suchej ściereczki. Upewnij się, że otwory wentylacyjne nie są zablokowane.
- Monitoruj wydajność: Regularly check the LCD display for normal operating parameters. Note any unusual readings or error codes.
- Stan baterii: Ensure your batteries are well-maintained according to their manufacturer's guidelines.
8. Rozwiązywanie Problemów
If you encounter issues with your ELUSH MPPT Solar Charge Controller, refer to the following basic troubleshooting steps:
- Brak wyświetlacza/brak zasilania: Sprawdź połączenia akumulatora i upewnij się, że jego pojemność jest odpowiedniatage znajduje się w zakresie działania kontrolera. Sprawdź, czy bezpieczniki są nienaruszone.
- Akumulator nie ładuje się: Confirm solar panel connections and polarity. Check for sufficient sunlight and ensure solar panel voltage jest powyżej pojemności bateriitage. Verify battery type settings are correct.
- Ładowanie nie działa: Check load connections and ensure the load current does not exceed the controller's rating. Verify load output settings on the controller.
- Kody błędów: If the LCD displays an error code, consult the full product manual (if available) or contact technical support for specific guidance.
- Przegrzanie: Ensure the controller is installed in a well-ventilated area, away from direct sunlight or heat sources. Check for any obstructions to the heatsink.
9. Gwarancja i wsparcie
ELUSH provides professional technical support for its products. If you have any questions, require assistance with installation, operation, or troubleshooting, please feel free to contact us. Refer to your purchase documentation for specific warranty terms and contact information.