1. Koniec produktuview
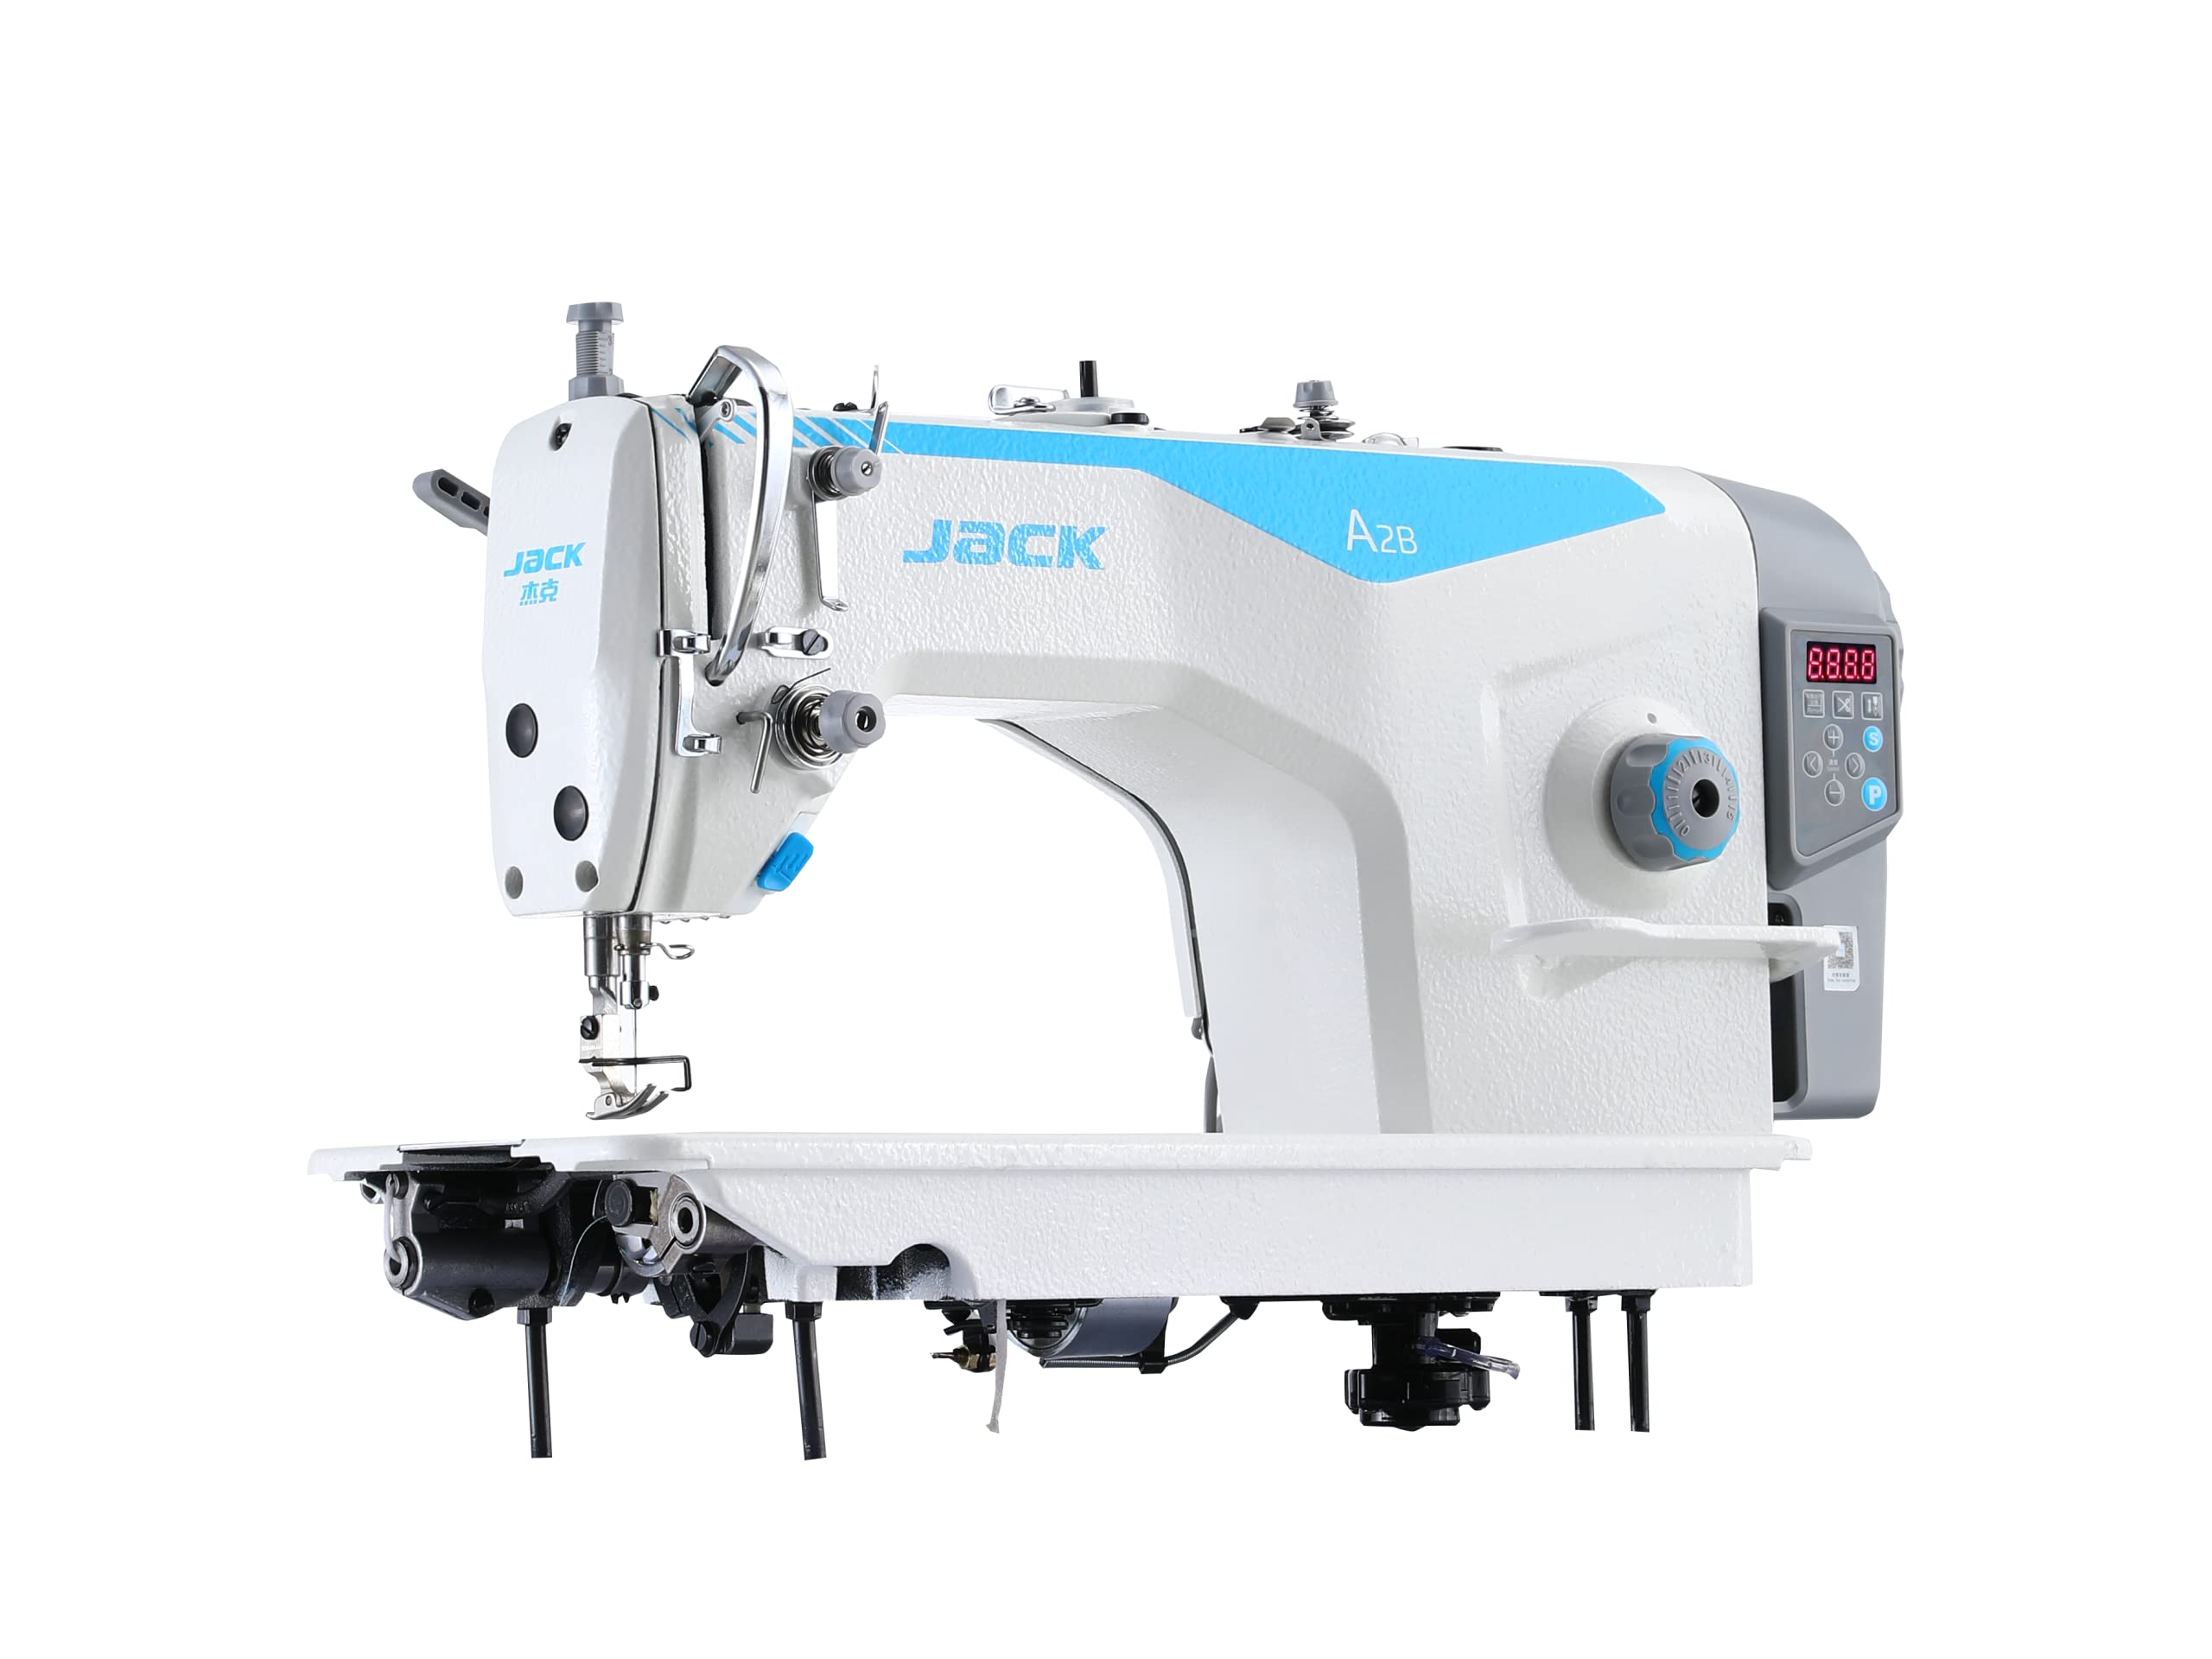
The JACK A2B Digital Industrial Sewing Machine is engineered for high-performance and reliability in professional and manufacturing environments. This machine integrates advanced digital technology with robust construction, making it suitable for a wide range of heavy-duty sewing applications.
Główne cechy obejmują:
- Trwała konstrukcja: Built with a cast aluminum frame and stainless steel base for long-term use.
- Praca z dużą prędkością: Capable of up to 5500 stitches per minute, with adjustable stitch length up to 6mm.
- Advanced Digital Features: Includes automatic needle threading, an integrated stitch regulator, and needle up/down functionality for precise control.
- Wszechstronne zastosowania: Ideal for apparel manufacturing, quilting, home decor, and heavy fabric sewing.
- Lepsza widoczność: Equipped with a bright LED light to illuminate the work area.

Figure 1: The JACK A2B Digital Industrial Sewing Machine.
2. Informacje dotyczące bezpieczeństwa
Read all instructions before operating the machine. Failure to follow safety guidelines may result in injury or damage to the machine.
- Zawsze odłączaj urządzenie od zasilania przed czyszczeniem, serwisowaniem lub gdy nie jest używane.
- Keep fingers and hands away from the needle, presser foot, and other moving parts during operation.
- Do not operate the machine with damaged cords or if it has been dropped or damaged.
- Upewnij się, że maszyna jest ustawiona na stabilnej, równej powierzchni.
- Używaj wyłącznie zalecanych akcesoriów i przystawek.
- Trzymaj dzieci i zwierzęta z dala od maszyny podczas pracy.
3. Przewodnik konfiguracji
3.1 Rozpakowywanie i umieszczanie
Carefully remove all packaging materials. Place the sewing machine on a sturdy, level table or stand. Ensure adequate space around the machine for comfortable operation and material handling.
3.2 Połączenie zasilania
Connect the power cord to a grounded electrical outlet. The machine operates on a corded electric power source. Verify that the voltage pasuje do lokalnego źródła zasilania.
3.3 Kontrole wstępne
- Check that the needle is correctly installed and not bent.
- Ensure the bobbin is properly wound and inserted.
- Verify that all covers and guards are securely in place.
4. Instrukcja obsługi
4.1 Panel sterowania ponadview
The digital control panel provides access to various machine functions and settings. Refer to the image below for button identification.
Rysunek 2: Cyfrowy panel sterowania.
- Wyświetlacz cyfrowy: Shows current stitch length, speed, and error codes.
- Regulacja prędkości: Use '+' and '-' buttons to increase or decrease sewing speed.
- Regulacja długości ściegu: Use dedicated buttons to set stitch length up to 6mm.
- Igła w górę/w dół: Controls the final resting position of the needle.
- Automatic Thread Trimmer: Activates the automatic thread cutting function.
4.2 Nawlekanie maszyny
Follow these steps to thread the upper thread:
- Załóż szpulkę z nicią na trzpień szpulki.
- Guide the thread through the thread guides as indicated in the machine's physical markings.
- Przeciągnij nić przez tarcze napinające.
- Nawlecz dźwignię podnoszącą.
- Use the automatic needle threader or manually thread the needle from front to back.
4.3 Nawijanie szpulki
The machine features an integrated bobbin winder for convenience.

Figure 3: Bobbin Winder.
- Załóż pustą szpulkę na wrzeciono nawijacza szpulki.
- Przeprowadź nić ze szpulki przez tarczę naprężającą szpulkę.
- Owiń nić kilka razy wokół szpulki.
- Push the bobbin winder spindle towards the right to engage.
- Start the machine; the bobbin will wind automatically. Stop when full.
4.4 Korzystanie ze światła LED
The integrated LED light illuminates the sewing area, improving visibility and reducing eye strain.

Figure 4: LED Work Light.
The LED light can typically be turned on or off via a dedicated button on the machine head or control panel, or it may activate automatically when the machine is in operation.
5. Konserwacja
Regularna konserwacja zapewnia długowieczność i optymalną wydajność Twojej maszyny do szycia.
5.1 Czyszczenie
- Codziennie: Remove lint and dust from the bobbin case, feed dogs, and needle plate area using a small brush.
- Tygodnik: Wyczyść całą powierzchnię maszyny miękką, suchą szmatką.
- Miesięczny: For thorough cleaning, consult a qualified technician or refer to the detailed cleaning instructions in the full service manual.
5.2 Smarowanie
Industrial sewing machines require regular lubrication. Refer to the machine's lubrication points diagram in the comprehensive manual. Use only high-quality sewing machine oil. Over-oiling can cause issues.
5.3 Wymiana igły
Replace the needle regularly, especially if it becomes bent, dull, or if you experience skipped stitches. Use the correct needle type (DBx1 11-18#) for your fabric and thread.

Figure 5: Needle and Presser Foot Area.
6. Rozwiązywanie Problemów
W tej sekcji omówiono typowe problemy, na które możesz natrafić.
| Problem | Możliwa przyczyna | Rozwiązanie |
|---|---|---|
| Pominięte ściegi | Incorrect needle, bent needle, improper threading, wrong tension. | Wymień igłę, nawlecz maszynę, wyreguluj naprężenie. |
| Zerwanie nici | High tension, poor quality thread, burrs on needle plate, incorrect threading. | Reduce tension, use quality thread, check for burrs, re-thread. |
| Nierówne ściegi | Incorrect tension, worn feed dogs, inconsistent fabric feeding. | Adjust tension, clean feed dogs, ensure consistent fabric handling. |
| Maszyna nie uruchamia się | No power, safety switch engaged, motor issue. | Check power connection, ensure safety switches are disengaged, consult technician. |
6.1 Kody błędów
The digital display may show error codes to indicate specific issues.

Figure 6: E-04 High Voltage Alarm.
- E-04 (High Voltage Alarm): Indicates an issue with the power supply or internal voltage regulation. Disconnect power, wait a few minutes, and reconnect. If the error persists, contact support.
- For other error codes, refer to the comprehensive service manual or contact customer support.
7. Specyfikacje
Below are the general specifications for the JACK A2B Digital Industrial Sewing Machine.
| Funkcja | Szczegół |
|---|---|
| Marka | PODNOŚNIK |
| Model | A2B |
| Kolor | Biały |
| Waga przedmiotu | 65 kilograma |
| Tworzywo | Solid Alloy |
| Wymiary produktu (dł. x szer. x wys.) | 60 gł. x 60 szer. x 30 wys. cm |
| Źródło zasilania | Elektryczny przewodowy |
| Działanie elektryczne | Tak |
| Max. Stitch Speed | 5500 ściegów na minutę |
| Maksymalna długość ściegu | 6 mm |
| Rodzaj igły | DBx1 11-18# |
| Podnoszenie stopki dociskowej | 5-13 mm |

Rysunek 7: Szczegółowe specyfikacje modelu.
8. Gwarancja i wsparcie
8.1 Informacje o gwarancji
The JACK A2B Digital Industrial Sewing Machine comes with a 3-letnia gwarancja. This warranty covers manufacturing defects and ensures ongoing support and maintenance if required. Please retain your proof of purchase for warranty claims.
8.2 Obsługa klienta
For technical assistance, troubleshooting beyond this manual, or warranty service, please contact your authorized JACK dealer or the manufacturer's customer support. Contact details can typically be found on the product packaging or the official JACK webstrona.