
Wstęp
This manual provides detailed instructions for the installation, operation, and maintenance of your EsaSam Double Din Car Stereo Multimedia Radio. Please read this manual thoroughly before using the product to ensure proper function and safety.
This multimedia radio is designed for Toyota Camry models from 2006 to 2011. It features a 9-inch touchscreen, GPS navigation, MP5 player, DSP, RDS FM radio, Carplay, and Android Auto capabilities.
Produkt ponadview
The EsaSam Car Stereo is an advanced in-dash multimedia system. Key features include:
- Android 11 Operating System (or Android 12 based on specific batch)
- 9-inch Capacitive Multi-Touch IPS Screen (1024*600 or 1280*720 resolution)
- Built-in GPS Navigation with support for online and offline maps
- Bezprzewodowe odtwarzanie CarPlay i Android Auto
- Bluetooth 4.0 do prowadzenia rozmów w trybie głośnomówiącym i strumieniowego przesyłania muzyki
- Radio FM/AM/RDS
- Built-in WiFi and 4G LTE support (SIM card slot)
- Obsługa sterowania z kierownicy
- Includes AHD Rear View Kamera
- Various RAM/ROM configurations (e.g., 8 core m400s 4GB RAM + 64GB ROM)
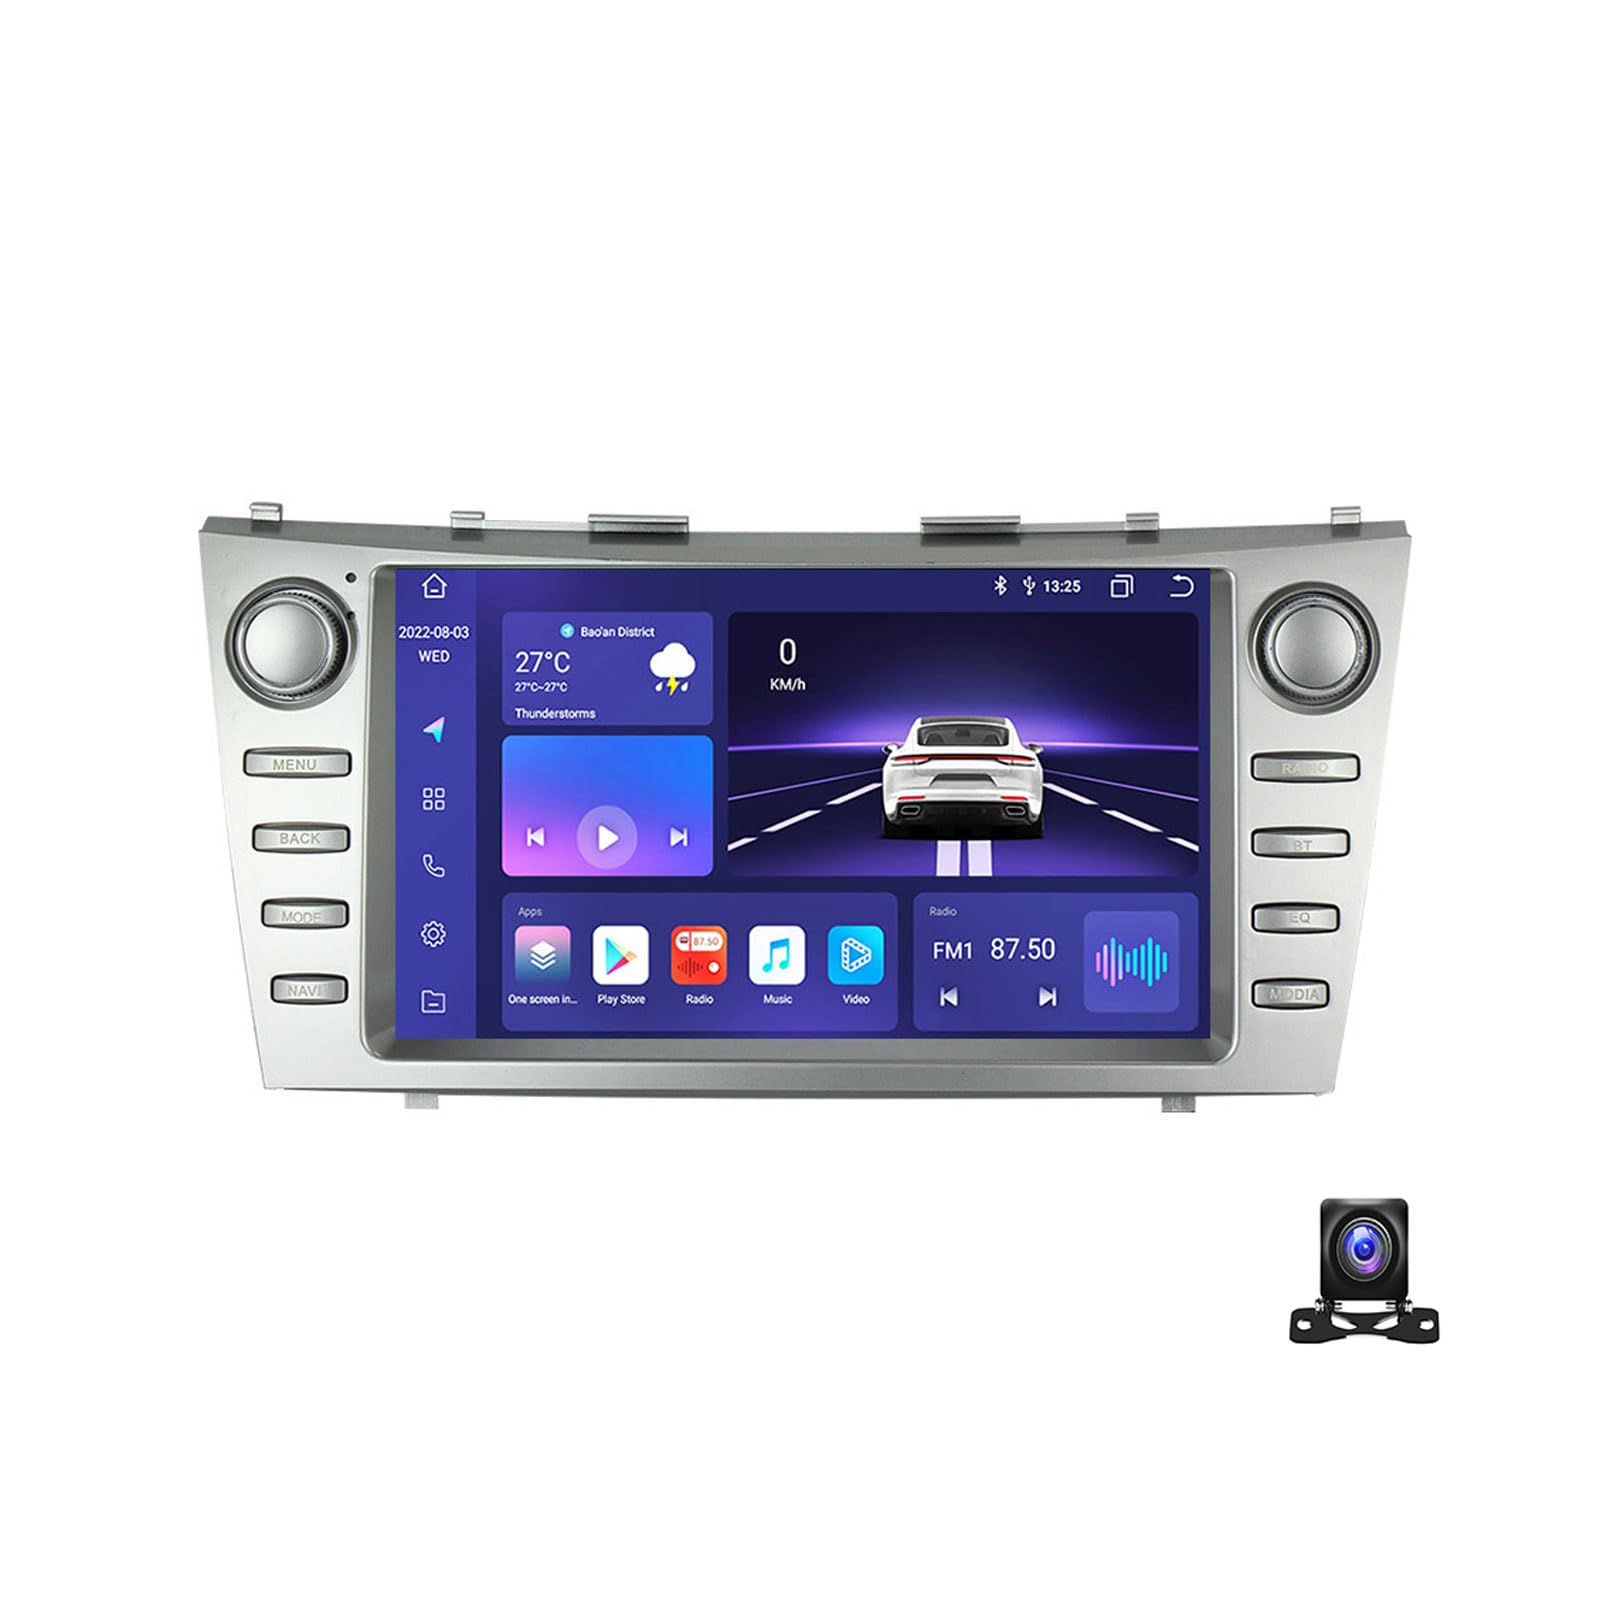
Figure 1: EsaSam Double Din Car Stereo Unit. This image shows the front view of the car stereo with its 9-inch touchscreen display.
Zgodność pojazdu
This unit is compatible with Toyota Camry models manufactured between 2006 and 2011. Before installation, verify that your vehicle's original center console matches the product's design to ensure proper fitment.

Figure 2: Comparison of original Toyota Camry dashboard radio and the EsaSam unit installed. The top left shows the original radio, top right shows the EsaSam unit, and the bottom image shows the EsaSam unit installed in the dashboard.
Konfiguracja i instalacja
Zaleca się zlecenie instalacji profesjonalnemu instalatorowi. Przed rozpoczęciem instalacji należy upewnić się, że akumulator pojazdu jest odłączony.
Połączenia okablowania
Connect the provided wiring harness to the corresponding ports on the car stereo and your vehicle's wiring system. Pay close attention to the power, speaker, and accessory connections.
- Przewód zasilający: Podłącz żółty przewód (stałe 12 V), czerwony przewód (akcesoria 12 V) i czarny przewód (uziemienie).
- Przewody głośnikowe: Connect each speaker wire to its corresponding positive and negative terminals.
- Antena GPS: Podłącz antenę GPS i umieść ją w miejscu z wolnym dostępem do światła. view nieba.
- Antena 4G: If applicable, connect the 4G antenna for cellular data connectivity.
- Tył View Kamera: Podłącz tył AHD view camera to the dedicated input. Ensure the reverse trigger wire is connected to the vehicle's reverse light circuit.
- Kable USB: Connect the USB extension cables for external storage or device charging.

Figure 3: Wiring connections and accessories for the EsaSam car stereo. This image illustrates various cable connections including RCA, audio out, reversing camera, microphone, GPS antenna, and 4G antenna. It also shows detailed wiring for AUX-IN, AMP control, cooling fan, and video outputs.
Pierwsze włączenie i konfiguracja
- Po zabezpieczeniu wszystkich połączeń podłącz ponownie akumulator pojazdu.
- Turn on the vehicle's ignition. The stereo should power on.
- Postępuj zgodnie z instrukcjami wyświetlanymi na ekranie, aby dokonać wstępnej konfiguracji, obejmującej m.in. wybór języka i strefy czasowej.
- Sterowanie z kierownicy (SWC): To configure SWC, navigate to system settings and follow the on-screen instructions to map your vehicle's steering wheel buttons. This may involve learning or configuring the CANBUS protocol.
- Hasło fabryczne: For M200S~M800S models, the factory password is 3368. For M100S~M150S models, the factory password is 8888.

Figure 4: Initial setup steps for the car stereo. This image shows connecting the unit, navigating to device sound settings, and confirming the cooling fan operation, alongside features like Carplay, 4G LTE, and 5GHz WiFi.
Instrukcja obsługi
Interfejs z ekranem dotykowym
The unit features a responsive 9-inch IPS touchscreen. Navigate through menus and applications by tapping, swiping, and pinching (for zoom, where applicable).
Nawigacja (GPS)
The stereo comes with built-in GPS. You can use pre-installed offline maps (requires WiFi for initial download) or online navigation apps (e.g., Google Maps) via WiFi or 4G connection.
- To use offline maps, connect to WiFi and download the desired map regions.
- For online navigation, ensure the unit is connected to the internet via WiFi or a 4G SIM card.
Figure 5: GPS Navigation interface. This image displays the navigation screen with map data and supported GPS systems like GPS, BDS, and GLONASS.
Funkcjonalność Bluetooth
Pair your smartphone via Bluetooth 4.0 for hands-free calling and audio streaming.
- Przejdź do ustawień Bluetooth w zestawie stereo.
- Włącz Bluetooth w swoim smartfonie i wyszukaj dostępne urządzenia.
- Select the stereo's Bluetooth name (e.g., "CarBT") from your phone's list and pair.
- Po sparowaniu możesz wykonywać i odbierać połączenia oraz odtwarzać muzykę przez głośniki samochodowe.

Figure 6: Bluetooth function interface. This image shows the Bluetooth menu with options for music, contacts, and call records, along with an illustration of hands-free calling.
Carplay / Android Auto
The unit supports wireless Carplay and Android Auto. Connect your smartphone to access compatible apps, navigation, and media directly on the stereo screen.
- Połączenie bezprzewodowe: Ensure your phone's WiFi and Bluetooth are enabled. Follow the on-screen instructions on the stereo to connect.
- Wired Connection (if applicable): Connect your phone via a USB cable to the designated USB port.
Figure 7: Carplay and Android Auto interface. This image shows the Carplay and Android Auto screens, detailing connection steps for both wireless and wired methods.
Radio FM/AM/RDS
Access the radio function to listen to FM and AM stations. RDS (Radio Data System) provides additional information like station name and song title where available.
- Użyj funkcji skanowania, aby automatycznie wyszukać i zapisać dostępne stacje.
- Ręczne dostrojenie do określonych częstotliwości.
- Zapisz swoje ulubione stacje jako ustawienia wstępne, aby mieć do nich szybki dostęp.
Tył View Kamera
Po włączeniu biegu wstecznego wyświetlacz automatycznie przełączy się na tył. view camera feed, providing a clear image for safe parking and maneuvering.
Rysunek 8: Kamera cofania AHD view. This image illustrates the clear picture quality of the AHD rear-view camera, showing the vehicle's rear perspective on the stereo screen.
Konserwacja
Czyszczenie ekranu
Delikatnie przetrzyj ekran dotykowy miękką, niepozostawiającą włókien ściereczką. W przypadku uporczywych plam delikatnie przetrzyj.ampPrzetrzyj ściereczkę wodą lub środkiem do czyszczenia ekranów. Unikaj materiałów ściernych i silnych środków chemicznych.
Aktualizacje oprogramowania
Periodically check for software updates to ensure optimal performance and access to new features. Updates can typically be performed via WiFi connection.
Rozwiązywanie problemów
| Problem | Możliwa przyczyna | Rozwiązanie |
|---|---|---|
| Urządzenie nie włącza się. | Nieprawidłowe okablowanie, przepalony bezpiecznik, luźne połączenia. | Check power connections (yellow, red, black wires). Inspect vehicle's fuse box for blown fuses. Ensure all connectors are securely seated. |
| Brak dźwięku z głośników. | Nieprawidłowo podłączone przewody głośnikowe, zbyt niski poziom głośności, włączony wyciszenie. | Verify speaker wiring. Increase volume. Check if the unit is muted. |
| Sygnał GPS jest słaby lub niedokładny. | GPS antenna improperly placed, obstructions. | Przenieś antenę GPS w miejsce z wolnym dostępem view nieba (np. deska rozdzielcza, przestrzeń pod przednią szybą). |
| Problemy z połączeniem Bluetooth. | Telefon nie jest wykrywalny, proces parowania jest nieprawidłowy. | Ensure Bluetooth is enabled on both devices. Restart both the stereo and your phone. Re-attempt pairing. |
| Sterowanie z kierownicy nie działa. | SWC not configured, incorrect CANBUS settings. | Go to system settings and reconfigure the Steering Wheel Control function. Consult a professional if issues persist. |
Specyfikacje
| Funkcja | Szczegół |
|---|---|
| Model | 8 core m400s 4g+64g |
| System operacyjny | Android 11 (or Android 12, depending on specific batch) |
| Rozmiar ekranu | 9 cali |
| Rozdzielczość ekranu | 1024*600 or 1280*720 (Capacitive Multi-Touch IPS) |
| Edytor | 8-core (Specifics vary by model, e.g., Unisoc UIS8581A for M200S/M400S) |
| BARAN | 4 GB DDR3 |
| ROM | 64 GB |
| Wersja Bluetooth | 4.0 (or 5.0 for some models) |
| Wi-Fi | Built-in WiFi (Support 5GHz WiFi 802.11 b/g/n) |
| 4G LTE | Supported (with SIM card slot) |
| Tuner radiowy | FM/AM/RDS (FM: 87.5-108.5MHz, AM: 520-1700 Hz) |
| GPS | Built-in, supports online/offline maps (GPS, BDS, GLONASS) |
| Carplay/Android Auto | Bezprzewodowy |
| Obsługa formatu wideo | HD 1080P |
| Wyjście audio | AUX-IN, Subwoofer audio output |
| Dołączone akcesoria | Frame, Power Adapter, AHD Rear View Camera, GPS Antenna, 4G Antenna (for 4G models) |

Figure 9: Car multimedia player parameter table. This table provides a detailed comparison of different models (M100CP, M200S, M300S, M400S, M500S, M600S, M700S, M800S) including their internet connectivity, OS, core processor, RAM/ROM, Carplay/Android Auto support, Bluetooth version, resolution, screen type, cooling fan, DSP, and RDS features.
Gwarancja i wsparcie
For warranty information and technical support, please refer to the documentation provided with your purchase or contact EsaSam customer service. Keep your purchase receipt for warranty claims.
Additional accessories like DVR, TPMS, DAB+, and OBD2 require separate purchase and are not included with the standard unit.

Figure 10: Optional accessories and UI designs. This image shows additional features like ADAS DVR, OBD II, and TPMS (sold separately), along with various user interface designs.