
VTOMAN JS-391
Instrukcja obsługi rozrusznika VTOMAN V10 Pro 4500A
Model: JS-391 | Brand: VTOMAN
1. Wprowadzenie
The VTOMAN V10 Pro 4500A Jump Starter is a versatile and powerful device designed to provide reliable jump-starting for a wide range of vehicles, including all gasoline engines and diesel engines up to 10.0 liters. Beyond its primary function, it serves as a portable power bank for charging electronic devices and features an integrated LED flashlight for emergency situations. This manual provides essential information on the proper setup, operation, maintenance, and troubleshooting of your VTOMAN V10 Pro Jump Starter.

Figure 1: VTOMAN V10 Pro 4500A Jump Starter with included accessories.
2. Co znajduje się w pudełku
Po rozpakowaniu upewnij się, że w przesyłce znajdują się wszystkie poniższe elementy:
- 1 x VTOMAN V10 Pro Jump Starter Unit
- 1 x Smart Jumper Cable with LED Indicator
- 1 x kabel USB-A do typu C
- 1 x kabel typu C do typu C
- 1 x Storage Case
- 1 x Instrukcja obsługi (ten dokument)

Figure 2: All components included in the VTOMAN V10 Pro Jump Starter kit.
3. Konfiguracja i ładowanie początkowe
Before first use, fully charge your VTOMAN V10 Pro Jump Starter. The unit features a battery indicator to show the charge level (25%, 50%, 75%, 100%).
3.1. Ładowanie rozrusznika awaryjnego
The VTOMAN V10 Pro can be charged using the provided USB-C to Type-C cable or USB-A to Type-C cable.
- Ładowanie w domu: Connect the jump starter to a wall adapter (not included) using one of the provided USB cables. A full charge typically takes about 5 hours.

Figure 3: Charging the jump starter using a wall adapter.
- Charging in Car: Connect the jump starter to your car's USB port or a car charger (not included) using one of the provided USB cables. A full charge typically takes about 5 hours.

Figure 4: Charging the jump starter inside a car.
3.2. Understanding the Ports and Indicators
Familiarize yourself with the various ports and indicators on your jump starter:
- Gniazdo rozruchowe: Do podłączania inteligentnych kabli rozruchowych.
- USB-C Input/Output Port (PD15W): For charging the unit or charging compatible devices.
- Dual USB-A Output Ports (Quick Charging): Do ładowania urządzeń elektronicznych.
- 15V/10A DC Output Port: For powering 12V DC devices like air compressors or car refrigerators.
- Latarka LED: Zapewnia oświetlenie o wielu trybach.
- Wskaźnik baterii: Shows the remaining charge level (25%, 50%, 75%, 100%).
- Przycisk zasilania: Włączanie/wyłączanie urządzenia i przełączanie trybów latarki.
Rysunek 5: Koniecview of the jump starter's ports and indicators.
4. Instrukcja obsługi
4.1. Rozruch pojazdu za pomocą kabli rozruchowych
The VTOMAN V10 Pro is capable of jump-starting all 12V vehicles, including all gasoline engines and diesel engines up to 10.0 liters. This includes cars, trucks, motorcycles, tractors, lawnmowers, SUVs, snowmobiles, boats, vans, and RVs.

Figure 6: The jump starter's broad compatibility with different vehicle types.
LED Indicator on Jumper Cable and Operation:
| Wskaźnik LED | Działanie |
|---|---|
| Zielona dioda LED (stała) | Połączenie jest prawidłowe, można bezpośrednio uruchomić pojazd. |
| Czerwona dioda LED | Odwrotne podłączenie, należy skorygować polaryzację baterii klamps. |
| Zielona dioda LED (miga) | Pojemność akumulatora pojazdutage is too low, try to press "BOOST" button. When Green LED illuminates (solid), then start the vehicle within 30s. |
| Brak światła | The vehicle battery may be damaged. First of all, make sure the correct connection. Try to press "BOOST" button. When Green LED illuminates (solid), then start the vehicle within 30s. |
Regular Jump Start Mode:
This mode is used when your vehicle's battery is low but not completely dead.
- Insert the smart jumper cable into the jump start socket on the VTOMAN V10 Pro.
- Podłącz czerwony clamp do dodatniego (+) bieguna akumulatora pojazdu i czarnego zaciskuamp do zacisku ujemnego (-).
- Ensure the Green LED on the smart jumper cable illuminates solid, indicating a correct connection.
- Uruchom pojazd.

Figure 7: Visual guide for regular jump start procedure.
Boost Mode (for Totally Dead Batteries):
If your vehicle's battery is totally dead or the voltage is too low to detect, use the Boost function.
- Insert the smart jumper cable into the jump start socket on the VTOMAN V10 Pro.
- Podłącz czerwony clamp do dodatniego (+) bieguna akumulatora pojazdu i czarnego zaciskuamp do zacisku ujemnego (-).
- If the Green LED blinks or there is no light, press the "BOOST" button on the smart jumper cable. The Green LED should then illuminate solid.
- Uruchom pojazd w ciągu 30 sekund.

Figure 8: Visual guide for boost mode jump start procedure.
4.2. Funkcjonalność powerbanku
The VTOMAN V10 Pro can charge various electronic devices using its USB-C and dual USB-A output ports, as well as the 15V/10A DC output.
- Connect your device to the appropriate output port on the jump starter using its charging cable.
- Rozrusznik automatycznie rozpocznie ładowanie Twojego urządzenia.

Figure 9: The jump starter's capability to charge multiple devices.
4.3. Latarka LED
The integrated 400 lumen LED flashlight offers three modes for various situations:
- Tryb normalny: Aby włączyć latarkę, naciśnij i przytrzymaj przycisk zasilania przez 3 sekundy.
- Tryb stroboskopowy: Short press the power button once while the flashlight is on to activate strobe.
- Tryb SOS: Short press the power button again to activate SOS.
- Wyłączyć coś: Short press the power button a third time to turn off the flashlight.

Figure 10: The jump starter's LED flashlight modes for emergency and camping.
5. Konserwacja
To ensure the longevity and optimal performance of your VTOMAN V10 Pro Jump Starter, follow these maintenance guidelines:
- Regularne ładowanie: Aby zachować sprawność akumulatora, ładuj urządzenie co 3–6 miesięcy, nawet jeśli nie jest używane.
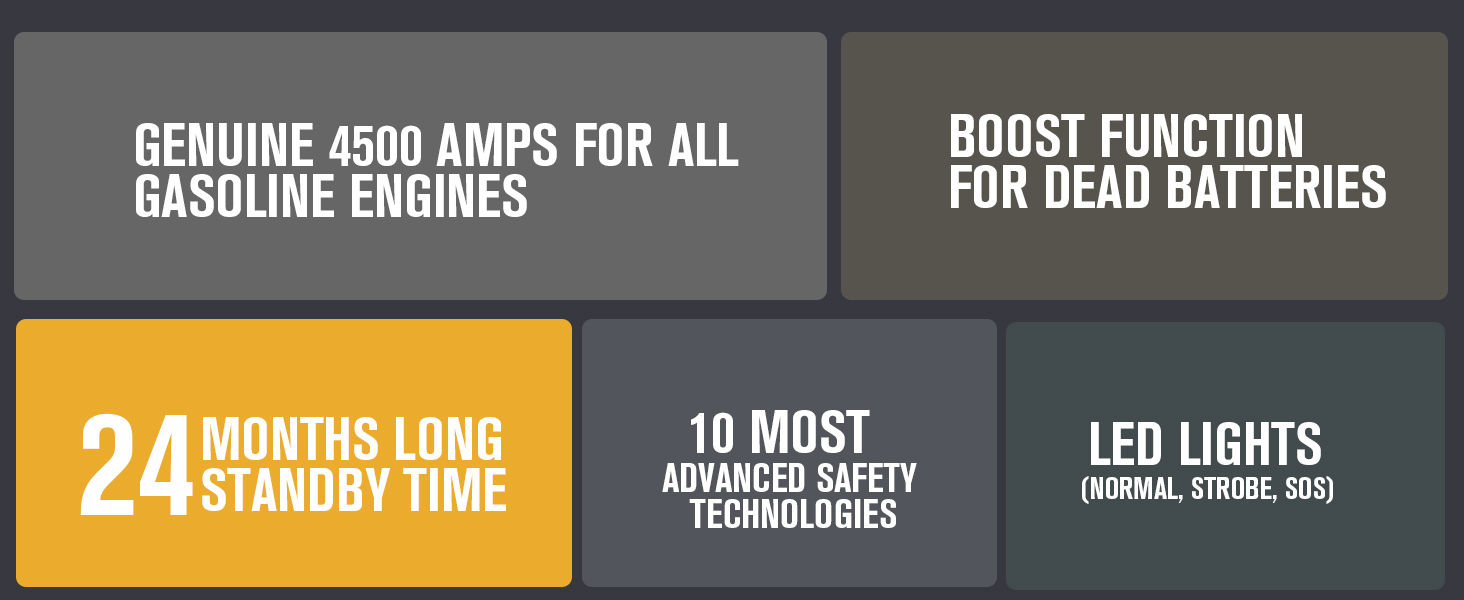
- Składowanie: Store the jump starter in its provided storage case in a cool, dry place away from direct sunlight and extreme temperatures. The unit has a long standby time of 24 months.

Figure 11: The jump starter's impressive 24-month standby time.
- Czyszczenie: Do czyszczenia urządzenia należy używać miękkiej, suchej ściereczki. Nie należy używać silnych środków chemicznych ani materiałów ściernych.
- Sprawdź kable: Periodically check the jumper cables for any signs of damage, fraying, or corrosion.
6. Rozwiązywanie Problemów
Refer to the LED indicator guide in Section 4.1 for immediate troubleshooting steps related to jump-starting. Below are common issues and their solutions:
- Urządzenie nie włącza się: Upewnij się, że urządzenie jest naładowane. Naciśnij mocno przycisk zasilania.
- Vehicle Not Starting (Green LED solid): The vehicle's battery might be severely discharged, or there could be another issue with the vehicle (e.g., starter motor, fuel system). Try Boost Mode if the battery is completely dead.
- Red LED on Jumper Cable: Indicates reverse polarity. Disconnect the clamps and reattach them correctly (red to positive, black to negative).
- Green LED Blinking or No Light: Pojemność akumulatora pojazdutage is too low. Press the "BOOST" button on the smart jumper cable. If the Green LED illuminates solid, start the vehicle within 30 seconds. If still no light or blinking, the vehicle battery may be damaged.
- Urządzenie nie ładuje się z powerbanku: Ensure the jump starter has sufficient charge. Check the charging cable and device compatibility with the output ports.
7. Specyfikacje
| Funkcja | Szczegół |
|---|---|
| Numer modelu | JS-391 |
| Pojemność baterii | 88.8 Wh (2 Lithium Polymer batteries included) |
| Szczytowy prąd wyjściowy | 4500 Amps |
| Rozpocznij bieżący | 800 Amps |
| Wejście/wyjście USB-C | 5V/3A 15 W |
| USB-A Output (Standard) | 5V/2.4A |
| Wyjście USB-A (szybkie ładowanie) | 5V/3A, 9V/2A, 12V/1.5A |
| Wyjście DC | 15V/10A |
| Latarka LED | 400 Lumen (Normal, Strobe, SOS modes) |
| Temperatura pracy | -4°F do 140°F (-20°C do 60°C) |
| Wymiary | 1.3" gł. x 2.6" szer. x 8.8" wys. |
| Waga przedmiotu | 0.45 kilograma (15.8 uncji) |
| Ochrona bezpieczeństwa | Spark-proof, Reverse-charge, Over-current, Over-charge, Reverse-polarity, High-temp, Low-temp, Short-circuit, Over-voltage, Over-load protection. |

Figure 12: The 10 advanced safety technologies integrated into the jump starter.
8. Gwarancja i wsparcie
VTOMAN stands behind the quality of its products. Your VTOMAN V10 Pro Jump Starter comes with:
- 18 miesięcy gwarancji: Obejmuje wady produkcyjne i usterki powstałe w trakcie normalnego użytkowania.
- Dożywotnie wsparcie techniczne: Dedicated customer service is available to assist you with any questions or issues you may encounter.
For further assistance or to download the full user manual, please visit the official VTOMAN webodwiedź witrynę lub zapoznaj się z udostępnionym podręcznikiem PDF: VTOMAN V10 Pro User Manual (PDF)
Ask a question about this manual
Ask about setup, troubleshooting, compatibility, parts, safety, or missing instructions. Manuals+ will review the question and use this page’s manual context to help answer it.