
1. Wprowadzenie
Thank you for choosing DURLK Rechargeable Walkie Talkies. This manual provides essential information for the safe and efficient operation of your device. Please read it thoroughly before use and retain it for future reference.

Image: Three DURLK walkie talkies in green, orange, and blue, highlighting their rechargeable nature and included charging cable.
These walkie talkies are designed for reliable two-way communication, featuring a long-range capability, clear sound, and multiple functions suitable for various outdoor activities and family use.

Image: Diverse usage scenarios for the walkie talkies, emphasizing their versatility.
2. Zawartość opakowania
Upewnij się, że wszystkie przedmioty są obecne i w dobrym stanie po rozpakowaniu:
- 3 x DURLK Rechargeable Walkie Talkies
- 3 x paski
- 1 x kabel ładujący USB typu C 3 w 1
- 1 x Instrukcja obsługi
3. Koniec produktuview
Familiarize yourself with the components and controls of your walkie talkie:
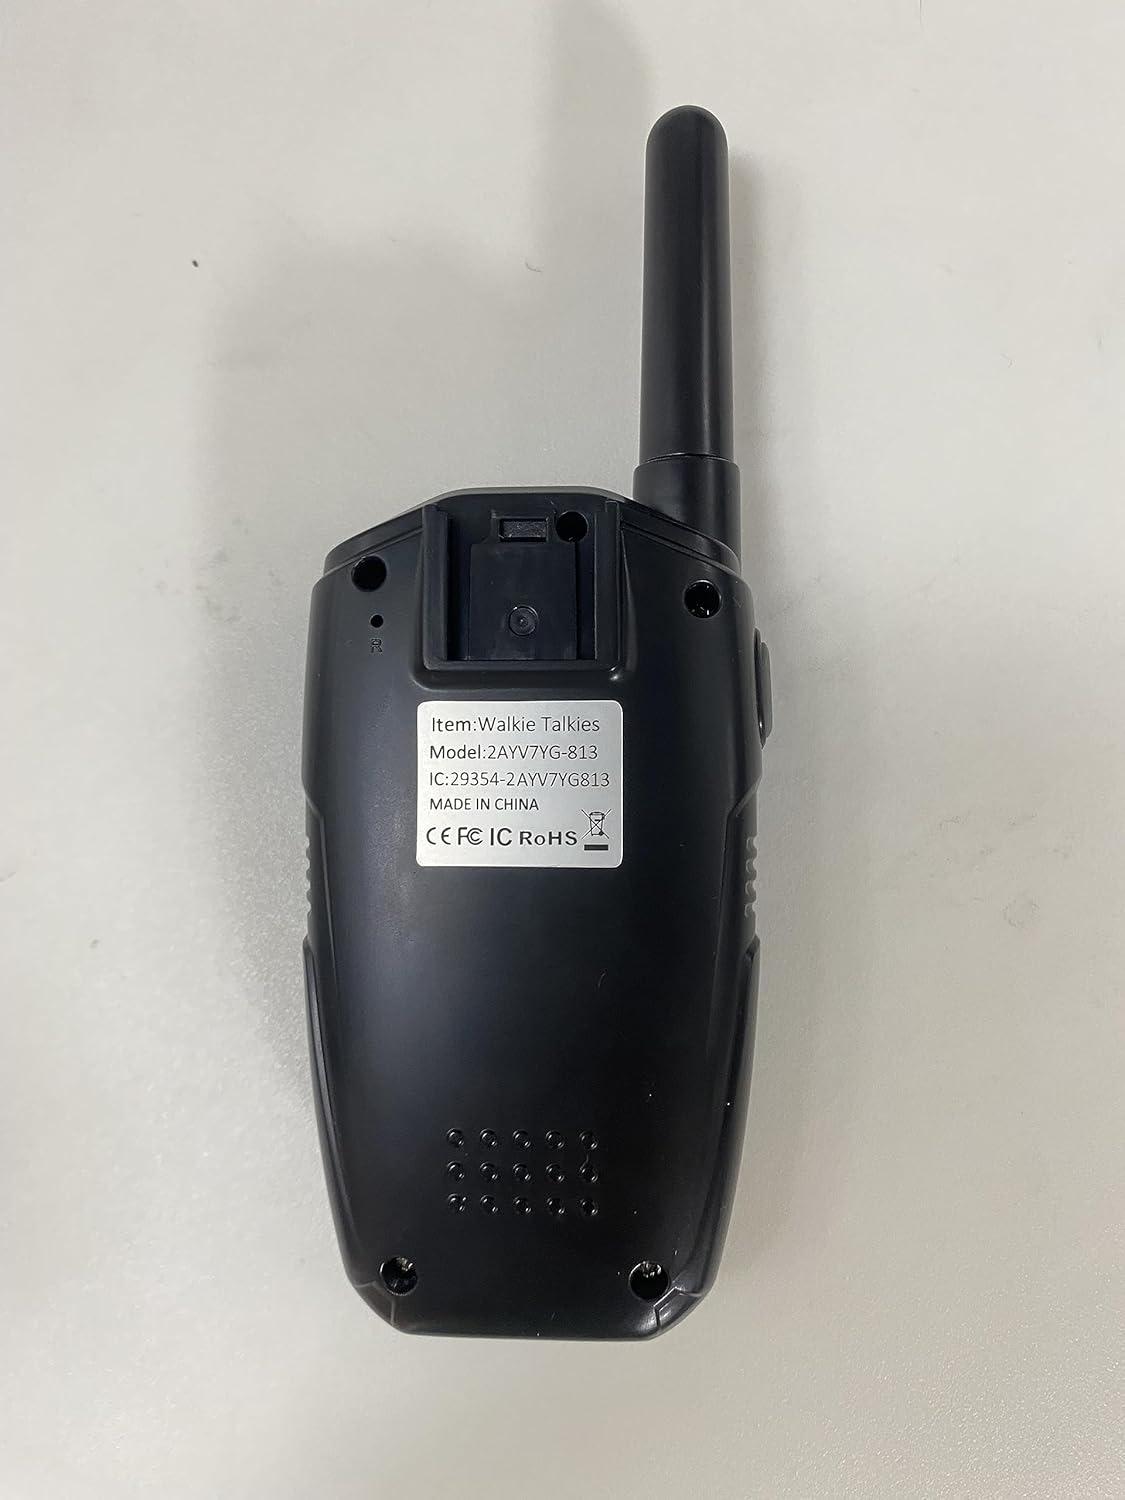
Image: Detailed diagram of the walkie talkie's external features and controls.
- Antena: Do przesyłania i odbierania sygnałów.
- Latarka LED: Zapewnia oświetlenie.
- Port ładowania typu C: Do ładowania wewnętrznego akumulatora.
- Przycisk PTT (Naciśnij i mów): Naciśnij i przytrzymaj, aby przesłać swój głos.
- Remove Belt Clip: Mechanism to detach the belt clip.
- Wyświetlacz LCD: Shows channel, sub-code, battery status, and other indicators.
- Flashlight Button (LAMP): Włącza latarkę LED.
- Przycisk menu/blokady: Accesses menu settings and locks/unlocks the keypad.
- Przycisk w górę (▲): Navigates menu options or increases values.
- Power/Call Button (ON/C): Long press to power on/off; short press to send a call tone.
- Przycisk w dół (▼): Navigates menu options or decreases values.
- MON Button (Monitor): Tymczasowo wyłącza funkcję wyciszania szumów, aby wykrywać słabe sygnały.
- Sound Speaker: Wyprowadza otrzymany dźwięk.
4. Konfiguracja
4.1. Ładowanie baterii
Your DURLK walkie talkies are equipped with built-in 1200mAh Li-ion batteries. For optimal performance, fully charge the devices before first use.
- Connect the 3-in-1 USB Type-C charging cable to a compatible USB power source (e.g., wall adapter, power bank, computer USB port).
- Plug the Type-C connectors into the charging ports on each walkie talkie.
- Wskaźnik baterii na wyświetlaczu LCD pokaże stan ładowania.
- Charging typically takes approximately 2 hours for a full charge, providing up to 3-4 days of standby time or 24 hours of work time.

Image: Walkie talkies being charged simultaneously with the included 3-in-1 Type-C cable.
Video: A DURLK seller video demonstrating the charging process and features of the walkie talkies.
4.2. Attaching Belt Clip
To attach the belt clip, align it with the designated slots on the back of the walkie talkie and push it down until it clicks securely into place.
5. Instrukcja obsługi

Image: Quick visual guide on basic walkie talkie operation.
5.1. Włączanie/wyłączanie zasilania
- Włączanie: Naciśnij i przytrzymaj Power/Call (ON/C) button for approximately 3 seconds until the display lights up.
- Aby wyłączyć: Naciśnij i przytrzymaj Power/Call (ON/C) Naciśnij przycisk przez około 3 sekundy, aż wyświetlacz się wyłączy.
5.2. Wybór kanału
Your walkie talkies have 22 main channels. To communicate, all devices must be set to the same main channel.
- Naciśnij Menu/Zablokuj button once. The channel number on the LCD will flash.
- Użyj W górę (▲) or W dół (▼) przyciski umożliwiające wybór żądanego kanału (1-22).
- Naciśnij PTT przycisk potwierdzający wybór kanału.
5.3. Sub-Channel (Interference Eliminator Code) Setting
The walkie talkies feature 121 interference eliminator codes (CTCSS/DCS) to minimize interference from other radios. For private communication, ensure all devices are on the same main channel and sub-channel.
- After setting the main channel, press the Menu/Zablokuj button again. The sub-channel code will flash.
- Użyj W górę (▲) or W dół (▼) buttons to select your desired sub-channel (0-121).
- Naciśnij PTT button to confirm the sub-channel selection.
5.4. Talking (PTT Button)
- Aby przesłać swój głos, naciśnij i przytrzymaj PTT Przycisk znajduje się z boku krótkofalówki. Mów wyraźnie do mikrofonu.
- Uwolnij PTT przycisk, aby wysłuchać odpowiedzi.
5.5. Regulacja głośności
Dostosuj głośność głośnika za pomocą W górę (▲) I W dół (▼) buttons when not in menu mode.
5.6. VOX (Transmisja aktywowana głosem)
VOX mode allows hands-free operation. When activated, the walkie talkie will automatically transmit when it detects your voice.
- Naciśnij Menu/Zablokuj button repeatedly until the VOX setting appears on the LCD.
- Użyj W górę (▲) or W dół (▼) buttons to select the desired VOX sensitivity level (1-3) or turn it off (OF).
- Naciśnij PTT przycisk aby potwierdzić.
5.7. Blokada klawiatury
Aby zapobiec przypadkowej zmianie ustawień, możesz zablokować klawiaturę.
- Naciśnij i przytrzymaj Menu/Zablokuj button for 3 seconds. A lock icon will appear on the LCD.
- Aby odblokować, naciśnij i przytrzymaj Menu/Zablokuj ponownie przez 3 sekund.
5.8. Latarka LED
The built-in LED flashlight can be used for illumination in low-light conditions or as an emergency signal.
- Naciśnij LAMP Naciśnij przycisk raz, aby włączyć latarkę.
- Naciśnij LAMP ponownie, aby go wyłączyć.
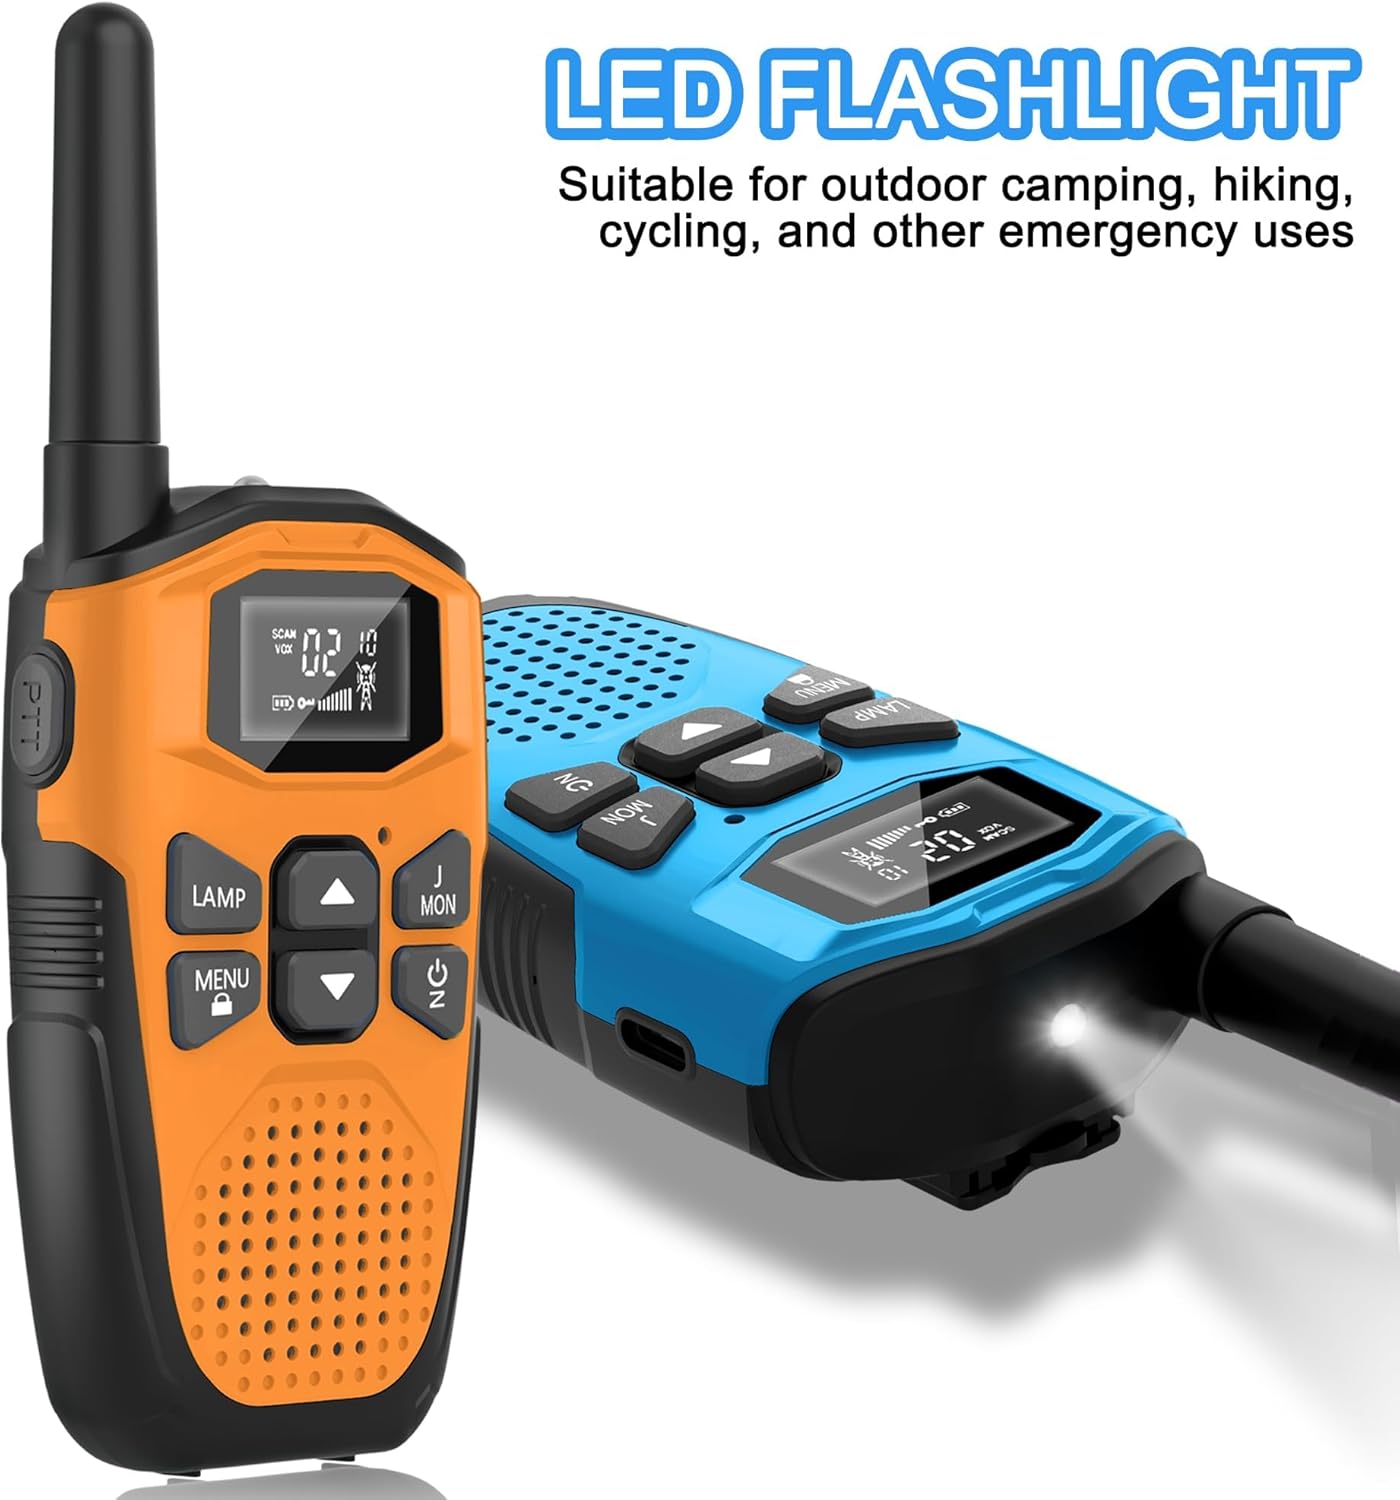
Image: Walkie talkie with its LED flashlight activated.
5.9. Dźwięk połączenia
To alert other users on the same channel, you can send a call tone.
- Naciśnij krótko Power/Call (ON/C) button to send a call tone.
5.10. Łów
Funkcja skanowania umożliwia znalezienie aktywnych kanałów.
- Naciśnij Poniedziałek button once to activate scanning. The walkie talkie will scan through channels until it finds an active one.
- Naciśnij Poniedziałek ponownie, aby zatrzymać skanowanie.
5.11. Auto Power Saving
The device automatically enters power-saving mode after a period of inactivity to conserve battery life.
5.12. Alarm niskiego poziomu baterii
When the battery level is low, a low battery icon will flash on the LCD display, and an audible alert may sound. Recharge the walkie talkie promptly.
6. Informacje o zasięgu
The effective communication range of your DURLK walkie talkies varies depending on terrain and conditions:
- Open Areas (e.g., rural areas, suburbs, seaside with no obstructions): Up to 3 km (approximately 1.86 miles).
- Cities or Towns (with buildings and obstructions): Up to 1.5 km (approximately 0.93 miles).

Image: Visual representation of walkie talkie range in various environments.
7. Konserwacja
- Czyszczenie: Użyj miękkiego, damp Do czyszczenia zewnętrznej części krótkofalówki użyj ściereczki. Nie używaj silnych środków chemicznych ani ściernych środków czyszczących.
- Pielęgnacja baterii: Avoid fully discharging the battery frequently. Recharge the devices regularly, even if not in use, to maintain battery health. Store in a cool, dry place.
- Składowanie: When storing for extended periods, ensure the battery is partially charged (around 50%) and store in a cool, dry environment.
8. Rozwiązywanie Problemów
| Problem | Możliwa przyczyna | Rozwiązanie |
|---|---|---|
| Brak zasilania | Niski lub rozładowany akumulator | Charge the walkie talkie fully. |
| Nie można komunikować się z innymi jednostkami | Different channels or sub-codes | Ensure all walkie talkies are on the same main channel and sub-code. |
| Słaba jakość dźwięku/zakłócenia | Out of range, obstructions, or interference | Move closer to the other unit, reduce obstructions, or change to a different channel/sub-code. |
| Klawiatura nie reaguje | Klawiatura jest zablokowana | Unlock the keypad by pressing and holding the Menu/Lock button for 3 seconds. |
9. Specyfikacje
- Model: 2AYV7YG-813
- Marka: DURLK
- Kanały: 22 kanały FRS
- Sub-Codes: 121 (CTCSS/DCS)
- Bateria: Built-in 1200mAh Li-ion (Rechargeable)
- Ładowanie: USB typu C
- Czas czuwania: Do 96 godzin (4 dni)
- Czas pracy: Do 24 godzin
- Max Talking Range: Up to 5 km (open areas), 1.5 km (cities/towns)
- Cechy szczególne: Automatic Squelch, Keypad Lock, LED Flashlight, VOX (Hands-Free), Auto Scan, Auto Power Saving, Low Battery Alert, Drop-Protection, Water Resistant
- Typ wyświetlacza: LCD z podświetleniem
- Waga przedmiotu: 90 gram

Image: Back of the walkie talkie displaying model information.
10. Gwarancja i wsparcie
DURLK products are manufactured with quality and performance in mind. For warranty information, technical support, or customer service inquiries, please refer to the contact details provided on the product packaging or visit the official DURLK webstrona.
Proszę zachować dowód zakupu na wypadek ewentualnych roszczeń gwarancyjnych.