DOOMAY 5293B
Instrukcja obsługi budzika cyfrowego DOOMAY
Model: 5293B
Marka: DOOMAY
1. Wprowadzenie
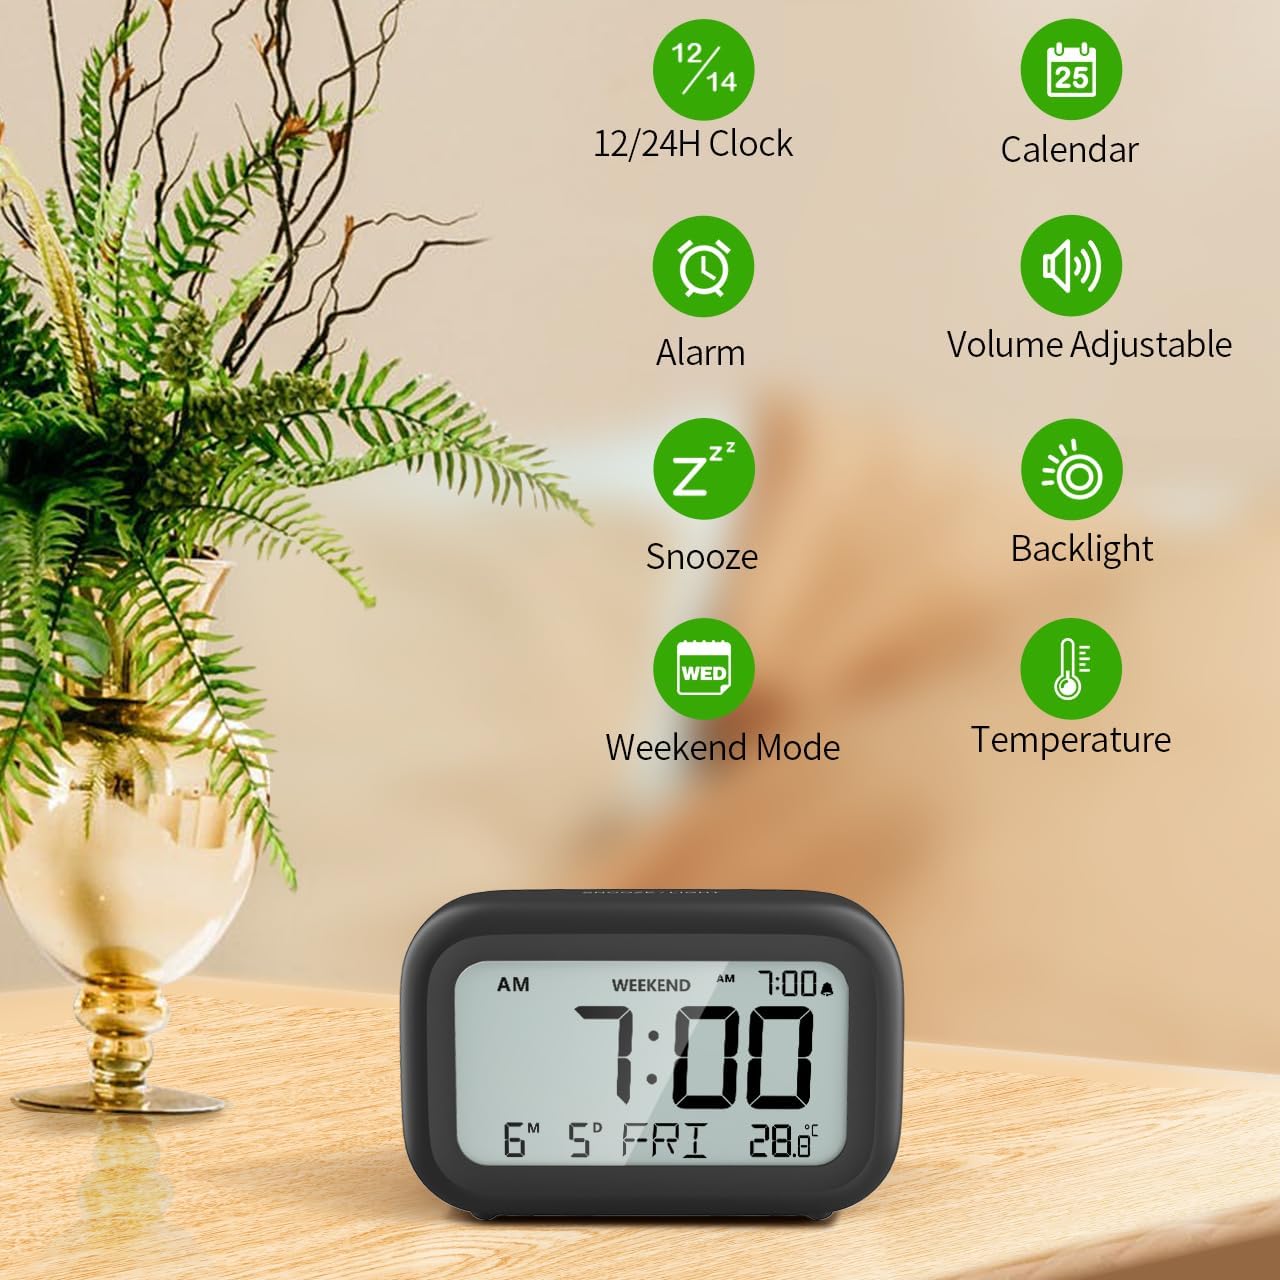
Thank you for choosing the DOOMAY Digital Alarm Clock. This compact and modern alarm clock is designed for convenience and reliability, featuring an LCD display, adjustable volume, snooze function, weekend mode, and indoor temperature display. This manual provides detailed instructions to help you set up and operate your new alarm clock effectively.

Rycina 1: Przód view of the DOOMAY Digital Alarm Clock.
2. Zawartość opakowania
- DOOMAY Digital Alarm Clock (1 unit)
- AAA Batteries (2 units)
- Instrukcja obsługi (ten dokument)
3. Konfiguracja
3.1 Instalacja baterii
The DOOMAY Digital Alarm Clock is powered by two AAA batteries. These batteries are included in the package.
- Znajdź pokrywę komory baterii znajdującą się z tyłu budzika.
- Aby otworzyć komorę, przesuń pokrywę w dół.
- Włóż dwie baterie AAA, zwracając uwagę na prawidłową biegunowość (+ i -), zgodnie ze wskazaniami wewnątrz komory.
- Załóż pokrywę komory baterii, przesuwając ją do góry, aż zatrzaśnie się na swoim miejscu.

Rysunek 2: Tył view with battery compartment and control buttons.
Notatka: When the display flashes '8888' and the clock beeps, it indicates that the batteries are low and need to be replaced.
4. Instrukcja obsługi
The DOOMAY Digital Alarm Clock offers various functions for timekeeping, alarming, and environmental monitoring. Refer to the buttons on the back of the clock for settings.
Rysunek 3: Koniecview funkcji zegara.
4.1 Ustawianie czasu i daty
Aby ustawić aktualną godzinę i datę:
- Naciśnij i przytrzymaj USTAWIĆ button (usually represented by a clock icon or '12/24H' button) on the back of the clock until the numbers on the display begin to flash.
- Użyj + I - buttons to adjust the flashing value (Year, Month, Day, Hour, Minute).
- Naciśnij USTAWIĆ button again to confirm the setting and move to the next value.
- Once all values are set, the display will stop flashing. The day of the week will automatically update based on the date.
For a visual guide, refer to the video below, specifically from 0:18 for Date Setting I 0:32 for Time Setting.
4.2 Ustawianie alarmu
To set your alarm time:
- Naciśnij ALARM button (bell icon) on the back of the clock. The alarm time will appear and flash.
- Użyj + I - buttons to adjust the desired alarm hour and minute.
- Naciśnij ALARM button again to confirm the alarm setting.
- To turn the alarm ON or OFF, simply press the ALARM button once. An alarm icon will appear on the display when the alarm is active.
For a visual guide, refer to the video below, specifically from 0:13 for turning alarm ON/OFF I 0:37 for Alarm Setting.
4.3 Funkcja drzemki
When the alarm sounds, gently touch the SNOOZE / LIGHT button located on the top of the clock. This will activate the snooze function, providing an additional 9 minutes of sleep before the alarm sounds again. You can repeat this process multiple times.

Rysunek 4: Aktywacja funkcji drzemki.
To turn off the alarm completely after it sounds, press any button on the back of the clock.
For a visual guide, refer to the video below, specifically from 0:46 for Snooze function.
4.4 Tryb weekendowy
The Weekend Mode allows you to set the alarm to only sound from Monday to Friday, preventing it from disturbing you on weekends.
- Naciśnij WEEKEND button (calendar icon) on the back of the clock to toggle Weekend Mode ON or OFF.
- When Weekend Mode is active, 'WEEKEND' will be displayed on the screen, and the alarm will be automatically disabled on Saturday and Sunday.

Figure 5: Weekend Mode and Alarm Volume Levels.
For a visual guide, refer to the video below, specifically from 0:50 for Weekend Mode ON/OFF.
4.5 Funkcja podświetlenia
The clock features a convenient 5-second on-demand backlight for viewmierzenie czasu w warunkach słabego oświetlenia.
- Simply touch the SNOOZE / LIGHT button on the top of the clock to activate the backlight.
- The backlight will illuminate for approximately 5 seconds and then automatically turn off to conserve battery life.

Figure 6: Backlight in use.
For a visual guide, refer to the video below, specifically from 0:54 for 5 Seconds Backlight.
4.6 Wyświetlacz temperatury
The clock displays the indoor temperature. You can switch between Celsius (°C) and Fahrenheit (°F) units.
- Naciśnij ° C / ° F button on the back of the clock to toggle between Celsius and Fahrenheit.

Rysunek 7: Wyświetlacz temperatury wewnętrznej.
4.7 Format czasu 12/24-godzinnego
You can switch the time display between 12-hour (with AM/PM indicator) and 24-hour formats.
- Naciśnij 12/24 godziny button on the back of the clock to switch between the two formats.
For a visual guide, refer to the video below, specifically from 0:58 for 12/24Hr Time Format Switchable.
4.8 Regulacja głośności alarmu
The alarm clock offers two volume levels for the alarm sound: LOW (70dB) and HIGH (85dB).
- While setting the alarm, or when the alarm is sounding, you can cycle through the volume levels by pressing the appropriate button (often the + or - button, or a dedicated volume button if available). Refer to the icons on the back of your clock.
For a visual guide, refer to the video below, specifically from 0:42 for 2 Levels of Volume Adjustable.
Operating Instructions Video Guide
Video 1: Comprehensive guide on setting up and operating the DOOMAY Digital Alarm Clock. This video demonstrates battery installation, setting time and date, alarm functions, snooze, weekend mode, backlight, and volume adjustment.
5. Konserwacja
- Czyszczenie: Przetrzyj zegar miękką, suchą ściereczką. Nie używaj środków czyszczących ani rozpuszczalników o działaniu ściernym.
- Wymiana baterii: Replace batteries when the low battery indicator appears (flashing '8888' and beeping). Always use new AAA batteries.
- Składowanie: Jeśli zegar nie będzie przechowywany przez dłuższy czas, należy wyjąć baterie, aby zapobiec ich wyciekaniu.
6. Rozwiązywanie Problemów
| Problem | Możliwa przyczyna | Rozwiązanie |
|---|---|---|
| Wyświetlacz zegara jest pusty lub przyciemniony. | Baterie są rozładowane lub nieprawidłowo zainstalowane. | Wymień baterie na nowe baterie AAA, zwracając uwagę na prawidłową biegunowość. |
| Alarm nie włącza się. | Alarm is not activated or Weekend Mode is ON. | Press the ALARM button to activate. Check if Weekend Mode is active and disable if necessary. |
| Nieprawidłowa godzina/data. | Not set correctly or batteries were removed. | Follow instructions in Section 4.1 to reset time and date. |
| Podświetlenie nie pozostaje włączone. | To jest normalne działanie. | The backlight is designed to illuminate for 5 seconds to conserve battery life. It is not a continuous backlight. |
7. Specyfikacje
- Model: 5293B
- Typ wyświetlacza: Cyfrowy LCD
- Źródło zasilania: 2 baterie AAA (w zestawie)
- Wymiary produktu: 4.29" szer. x 2.72" wys. (ok. 10.9 cm x 6.9 cm)
- Tworzywo: Akrylonitryl-butadien-styren (ABS)
- Cechy: Alarm, Snooze, Weekend Mode, Indoor Temperature (°C/°F), 12/24H Time Format, 5-second Backlight
- Głośność alarmu: 2 levels (70dB, 85dB)
- Waga przedmiotu: 4.48 uncji (około 127 g)
8. Gwarancja i wsparcie
DOOMAY products are manufactured with high-quality materials and craftsmanship. For any questions, concerns, or technical support regarding your DOOMAY Digital Alarm Clock, please contact the seller or refer to the product listing on the platform where it was purchased. Please retain your proof of purchase for warranty claims.