
1. Wprowadzenie
This manual provides essential information for the safe and efficient use of your Philips 329P1H 32-inch 4K UHD LCD Monitor. This monitor features a 32-inch 4K UHD (3840 x 2160) display, an integrated USB-C docking station with power delivery, a pop-up webcam with Windows Hello™ facial recognition, and various eye-care technologies. Please read this manual thoroughly before operating the device.
2. Informacje dotyczące bezpieczeństwa
Observe the following safety precautions to prevent damage to the monitor or injury to yourself:
- Nie wystawiaj monitora na działanie deszczu i wilgoci.
- Nie otwierać monitora casing. Wszelkie prace serwisowe powierzaj wykwalifikowanemu personelowi.
- Zapewnij odpowiednią wentylację wokół monitora.
- Należy używać wyłącznie zasilacza dołączonego do monitora.
- Unikaj umieszczania monitora w bezpośrednim świetle słonecznym lub w pobliżu źródeł ciepła.
- Czyść ekran miękką, niepozostawiającą włókien ściereczką. Nie używaj płynnych środków czyszczących bezpośrednio na ekranie.
3. Zawartość opakowania
Information regarding the exact contents of the product package is not available. Typically, a monitor package includes:
- Philips 329P1H Monitor
- Kabel zasilający
- Kabel USB-C
- Kabel HDMI (może się różnić w zależności od regionu)
- Szybki przewodnik
4. Konfiguracja
4.1 Konfiguracja fizyczna
Carefully remove the monitor and its components from the packaging. Assemble the stand according to the instructions provided in the Quick Start Guide. Place the monitor on a stable, level surface.
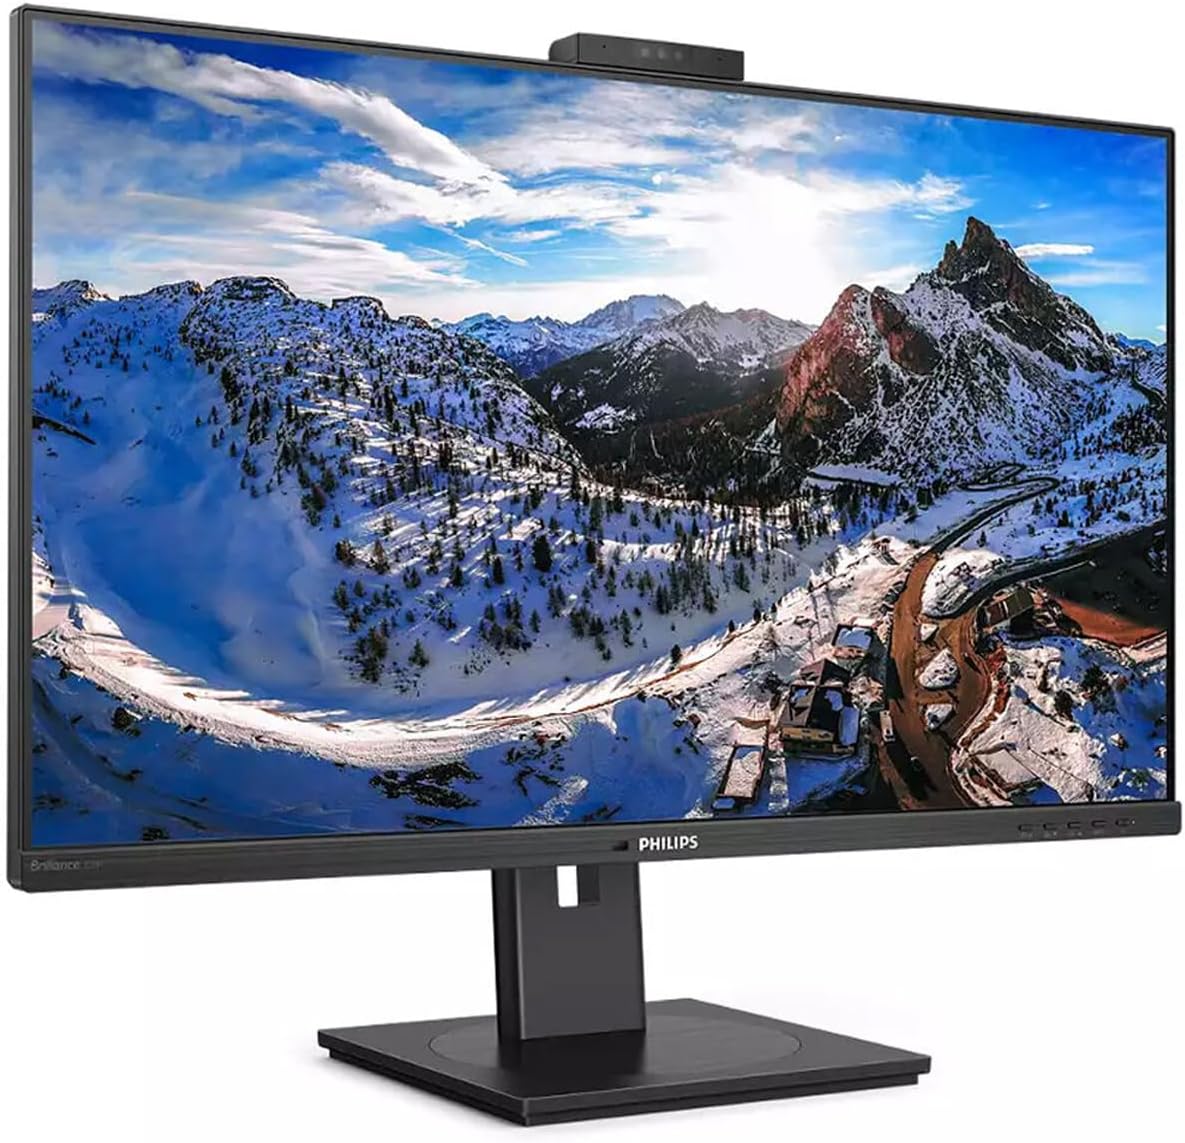
Rycina 4.1: Przód view of the Philips 329P1H Monitor.
4.2 Kable połączeniowe
- Podłączenie zasilania: Podłącz kabel zasilający do wejścia zasilania monitora, a następnie do gniazdka sieciowego.
- Połączenie wideo: Connect a video cable (e.g., HDMI, DisplayPort, or USB-C) from your computer to the corresponding input on the monitor. For 4K UHD resolution, ensure your graphics card and cable support the required bandwidth.
- Dokowanie USB-C: If your laptop supports USB-C with power delivery, connect the supplied USB-C cable from your laptop to the monitor's USB-C port. This single cable can provide video, data, and power charging to your laptop.
- Urządzenia peryferyjne USB: Connect your keyboard, mouse, or other USB devices to the USB ports on the monitor.
- Połączenie Ethernet: Connect an RJ-45 Ethernet cable from your network router/modem to the monitor's RJ-45 port for network access through the USB-C connection.
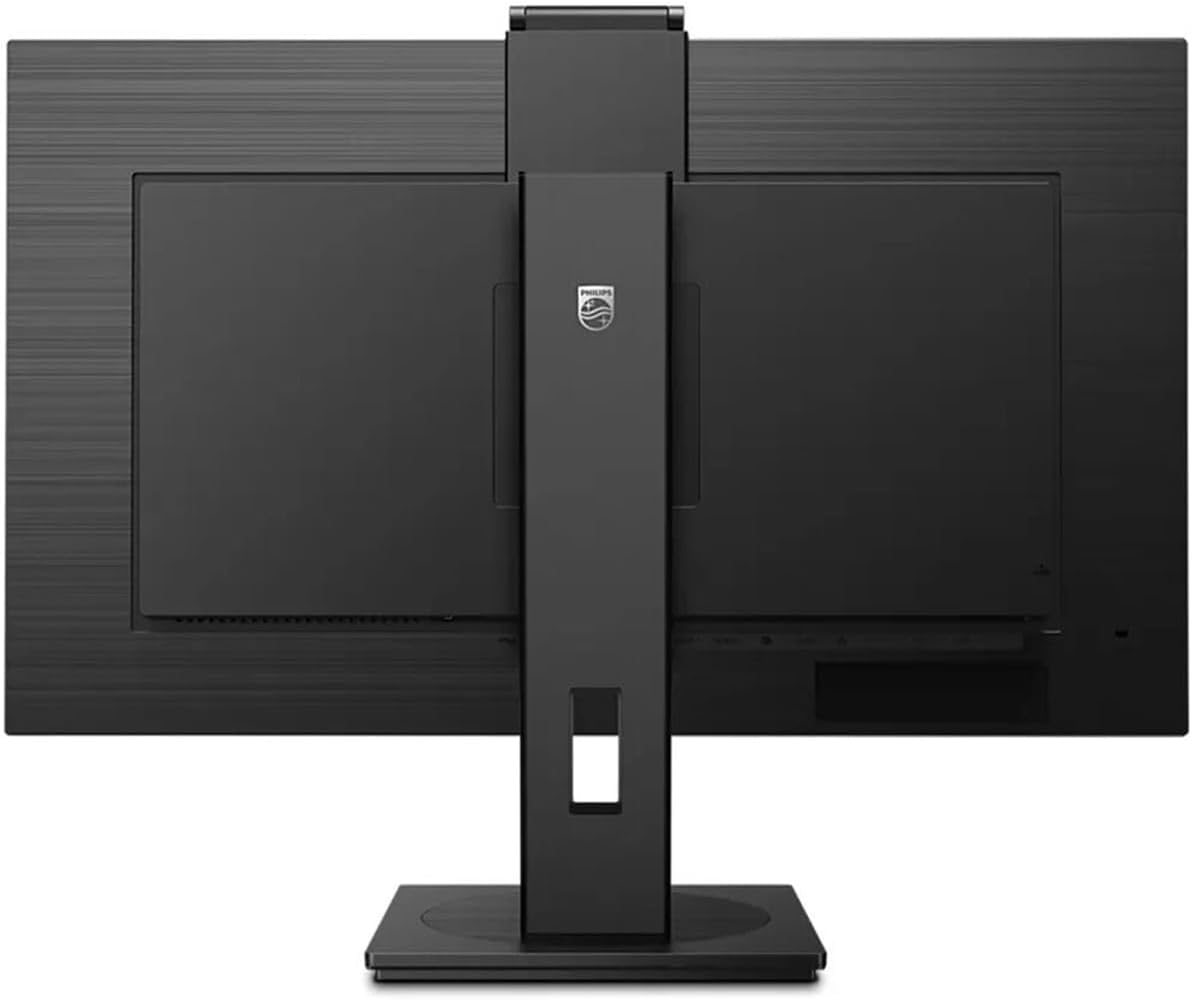
Rysunek 4.2: Tył view monitora z portami wejściowymi.
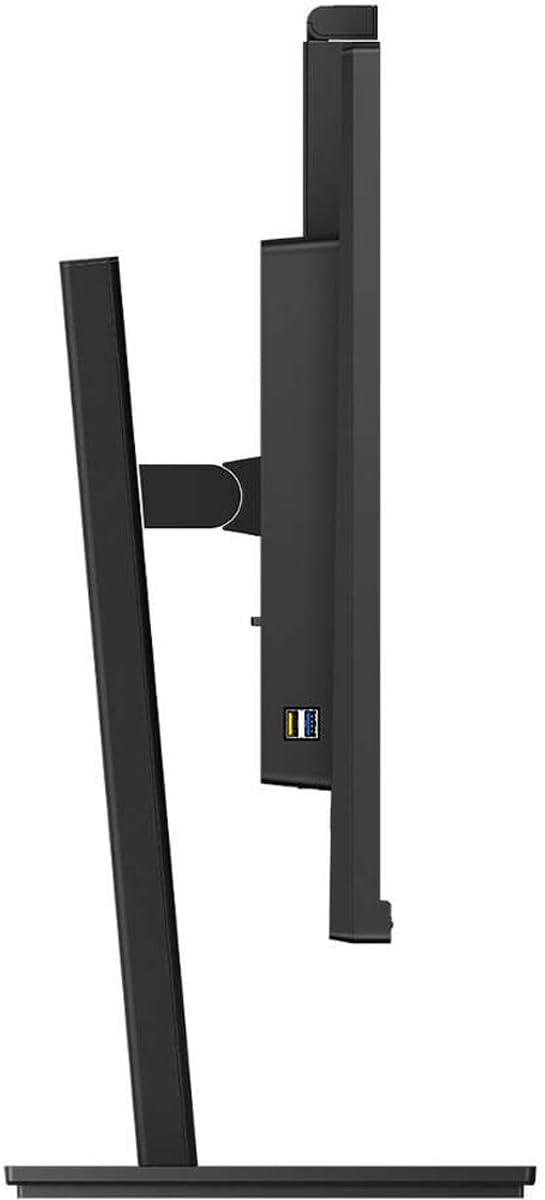
Rysunek 4.3: Strona view showing USB ports.
4.3 Konfiguracja początkowa
After connecting all necessary cables, power on the monitor and your computer. The monitor should automatically detect the input signal. If not, use the monitor's On-Screen Display (OSD) menu to select the correct input source.
5. Instrukcja obsługi
5.1 Włączanie/wyłączanie zasilania
Naciśnij przycisk zasilania znajdujący się na monitorze, aby go włączyć lub wyłączyć. Kontrolka zasilania zaświeci się, gdy monitor jest aktywny.
5.2 Funkcjonalność dokowania USB-C
The integrated USB-C docking station allows for a single-cable solution for video, data transfer, and laptop power charging (up to 90W). Connect your compatible laptop via the USB-C port on the monitor to utilize this feature. Peripherals connected to the monitor's USB ports and the RJ-45 Ethernet port will also be accessible to your laptop.
5.3 Wyskakujące okienko Webkamera z funkcją Windows Hello™
The monitor features an innovative pop-up webcam. When needed, the webcam extends from the top of the monitor. It is equipped with advanced sensors for Windows Hello™ facial recognition, enabling secure and fast login to Windows devices. When not in use, the webcam can be securely tucked back into the monitor for privacy.
5.4 Technologie wyświetlania
- UltraClear 4K UHD (3840 x 2160): Provides highly detailed and crisp images for professional applications.
- Technologia IPS: Oferty szerokie viewing angles (178/178 degrees) and consistent color accuracy, suitable for graphic design and professional use.
- Technologia bez migotania: Regulates brightness to reduce screen flicker, minimizing eye fatigue during extended use.
- Tryb LowBlue: A software solution that reduces harmful shortwave blue light emissions, promoting eye comfort.
- PowerSensor: Detects user presence and automatically reduces monitor brightness when the user steps away, saving up to 80% energy.
- LightSensor: Adjusts picture brightness based on ambient room lighting conditions for optimal viewing and minimal power consumption.
6. Konserwacja
6.1 Czyszczenie monitora
Aby wyczyścić ekran monitora, delikatnie przetrzyj go miękką, niepozostawiającą włókien ściereczką. W przypadku uporczywych zabrudzeń delikatnie przetrzyj.ampen the cloth with water or a mild, non-abrasive screen cleaner. Do not spray liquids directly onto the screen. For the monitor casing, należy używać miękkiej, suchej ściereczki.
6.2 Przechowywanie
If storing the monitor for an extended period, ensure it is powered off and disconnected from the power source. Store it in a cool, dry place, ideally in its original packaging to protect it from dust and physical damage.
7. Rozwiązywanie Problemów
Jeśli masz problemy z monitorem, zapoznaj się z poniższymi typowymi rozwiązaniami:
| Problem | Możliwa przyczyna | Rozwiązanie |
|---|---|---|
| Brak obrazu na ekranie | Odłączony kabel zasilający; Odłączony lub poluzowany kabel wideo; Wybrano nieprawidłowe źródło sygnału wejściowego. | Sprawdź połączenia kabli zasilania i wideo. Upewnij się, że wybrano prawidłowe źródło sygnału w menu OSD. |
| Obraz jest niewyraźny lub zniekształcony | Nieprawidłowa rozdzielczość; uszkodzony kabel wideo. | Set the display resolution to 3840 x 2160. Try a different video cable. |
| Webkamera nie działa | USB-C cable not connected or faulty; Webcam privacy setting enabled; Operating system driver issue. | Ensure the USB-C cable is securely connected and supports data transfer. Check privacy settings in your operating system. For Mac Mini users, if the camera disconnects after sleep mode, try restarting the monitor or ensuring the USB-C cable is fully functional. Update USB drivers if necessary. |
| Brak dźwięku z głośników monitora | Zbyt niska głośność; na komputerze wybrano nieprawidłowe wyjście audio. | Dostosuj głośność monitora za pomocą OSD. Wybierz monitor jako domyślne urządzenie wyjściowe audio w ustawieniach dźwięku komputera. |
8. Specyfikacje
The following table outlines the key technical specifications for the Philips 329P1H monitor:
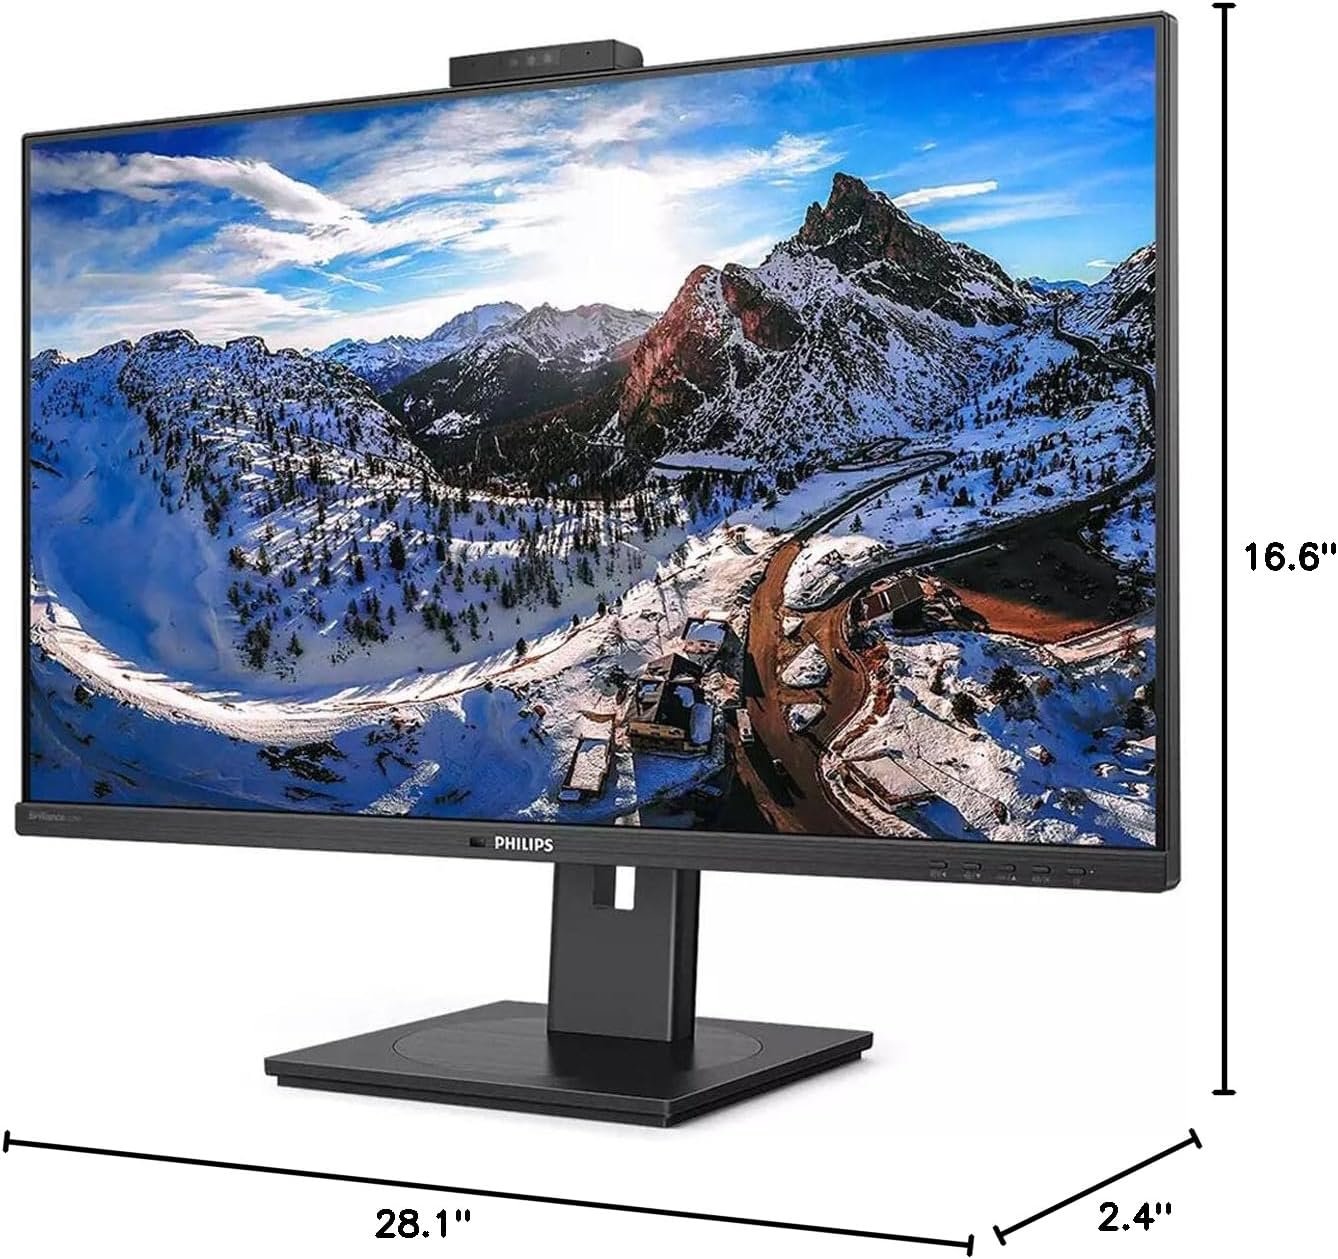
Rysunek 8.1: Wymiary monitora.
| Funkcja | Specyfikacja |
|---|---|
| Numer modelu | 329P1H |
| Rozmiar ekranu | 31.5 cala (viewzdolny) |
| Maksymalna rozdzielczość ekranu | 3840 x 2160 (4K UHD) |
| Proporcje obrazu | 16:9 |
| Czas reakcji | 4 ms GTG |
| Jasność | 350 nitów |
| Częstotliwość odświeżania | 75 Hz |
| Typ panelu | IPS |
| Technologia podświetlenia | WLED |
| Łączność | USB Type-C (with Power Delivery), HDMI, DisplayPort, RJ-45 Ethernet |
| Webkrzywka | Pop-up with Windows Hello™ |
| Waga przedmiotu | 18.06 funta |
| Wymiary produktu (dł. x szer. x wys.) | 2.4 x 28.1 x 16.6 cala |
| Kolor | Teksturowana czerń |
9. Gwarancja i wsparcie
Aby uzyskać informacje dotyczące gwarancji i pomocy technicznej, zapoznaj się z kartą gwarancyjną dołączoną do produktu lub odwiedź oficjalną stronę pomocy technicznej firmy Philips webZachowaj paragon jako dowód zakupu na wypadek reklamacji.