1. Wprowadzenie
Thank you for choosing the InFocus P120 INL412 Multimedia Projector. This manual provides essential information for the safe and efficient operation of your projector. Please read it thoroughly before using the device and retain it for future reference. The InFocus P120 INL412 is designed for versatile multimedia presentations, offering clear and vibrant images for various applications.
2. Informacje dotyczące bezpieczeństwa
To ensure safe operation and prevent damage to the projector, please observe the following safety precautions:
- Nie blokuj otworów wentylacyjnych. Zapewnij odpowiednią ilość miejsca wokół projektora, aby zapewnić prawidłowy przepływ powietrza i zapobiec przegrzaniu.
- Unikaj patrzenia bezpośrednio w obiektyw projektora, gdyamp jest włączony, ponieważ jasne światło może uszkodzić wzrok.
- Nie umieszczaj projektora na niestabilnym wózku, stojaku ani stole. Projektor może spaść, powodując poważne obrażenia u dziecka lub osoby dorosłej oraz poważne uszkodzenie urządzenia.
- Disconnect the power cord from the wall outlet if the projector will not be used for an extended period.
- Wszelkie czynności serwisowe należy zlecać wykwalifikowanemu personelowi. Nie należy podejmować prób samodzielnego otwierania ani naprawy projektora.
- Keep the projector away from water or moisture. Do not expose it to rain or immerse it in liquid.
- Use only the power cord supplied with the projector or an authorized replacement.
3. Zawartość opakowania
Verify that all items listed below are included in your projector package:
- InFocus P120 INL412 Multimedia Projector
- Przewód zasilający
- Pilot z bateriami
- Kabel VGA
- Instrukcja obsługi (ten dokument)
- Szybki przewodnik
4. Koniec produktuview
Familiarize yourself with the main components of your InFocus P120 INL412 projector.
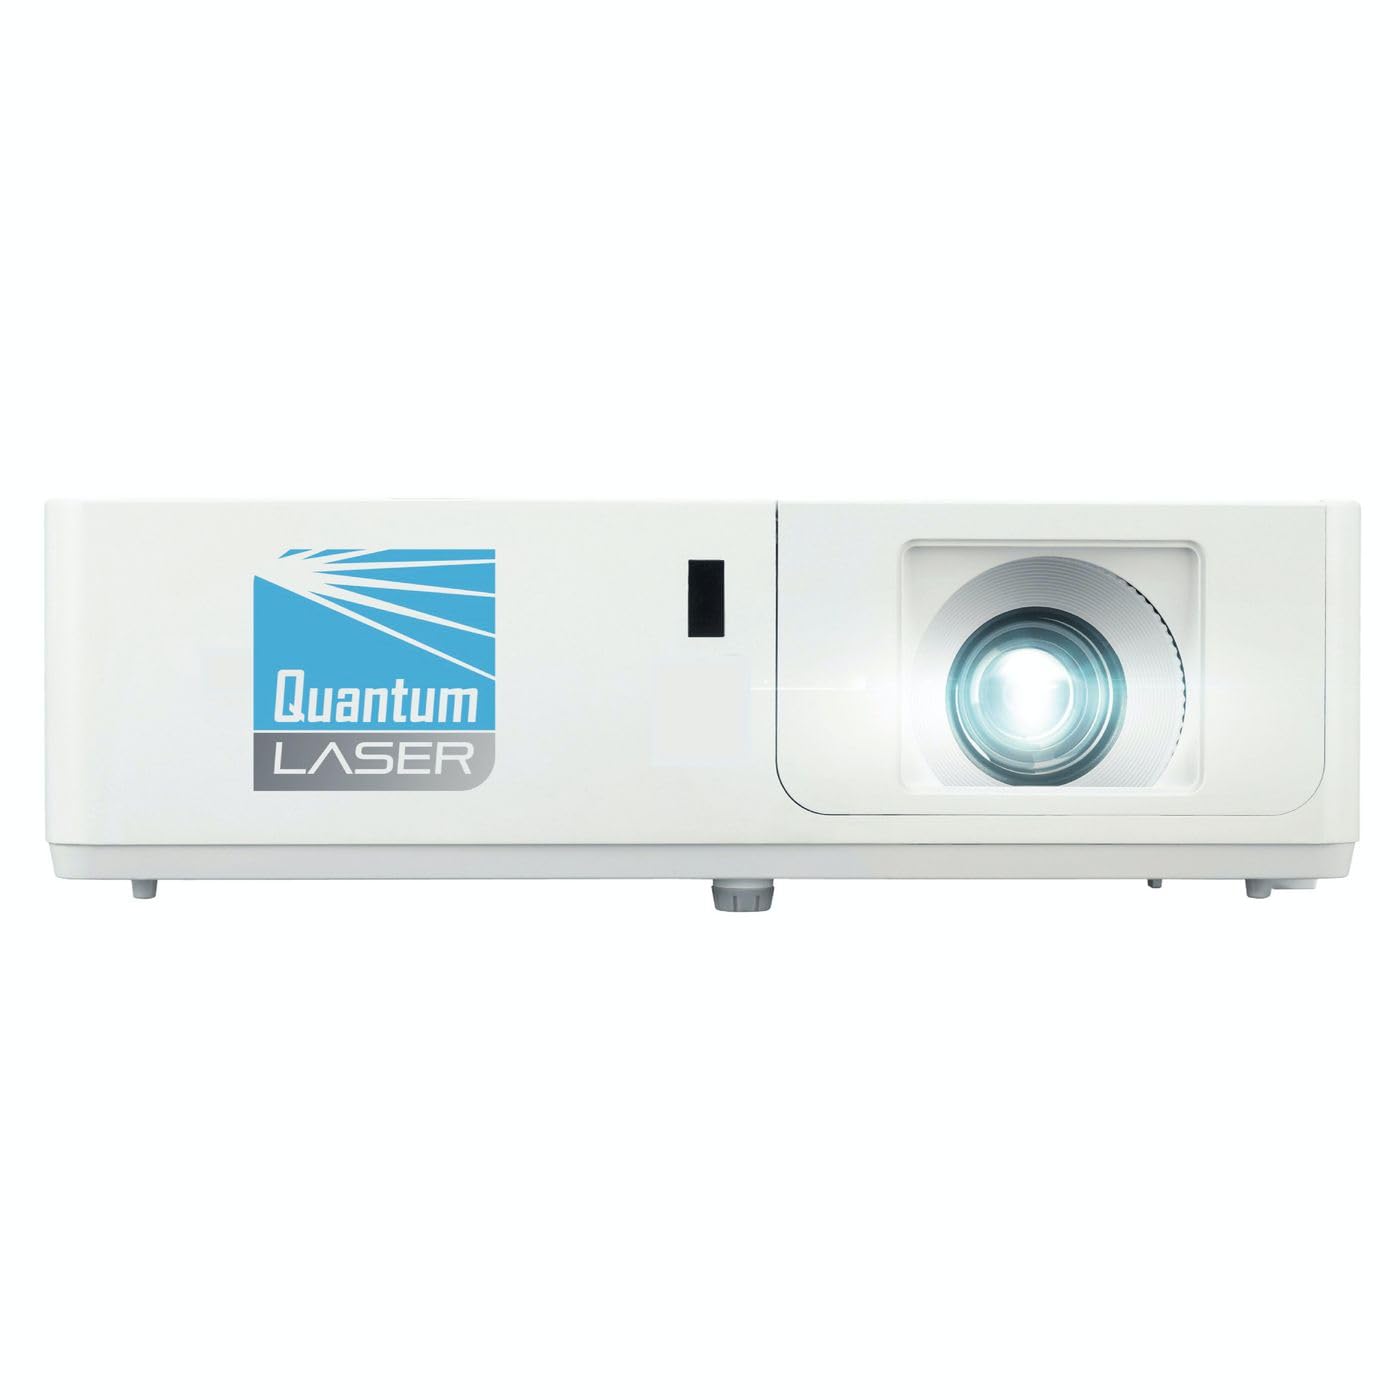
Obraz 1: Przód view of the InFocus P120 INL412 Multimedia Projector, showing the lens and ventilation grilles.
4.1 Panel przedni
- Soczewka projekcyjna: Wyświetla obraz na ekranie.
- Pierścień ostrości: Dostosowuje klarowność wyświetlanego obrazu.
- Pierścień zoomu: Dostosowuje rozmiar wyświetlanego obrazu.
- Odbiornik IR: Odbiera sygnały z pilota.
4.2 Panel górny
- Panel sterowania: Buttons for power, menu navigation, source selection, and keystone correction.
- Kontrolki: Display the projector's status (e.g., power, lamp, temperature).
4.3 Panel tylny (łączność)
- Wejście HDMI: Connects to HDMI-enabled devices (laptops, Blu-ray players).
- Wejście VGA: Łączy się z komputerami wyposażonymi w wyjście VGA.
- Port USB: For service or connecting USB devices (if supported by model).
- Wejście/wyjście audio: For connecting external audio sources or speakers.
- Wejście zasilania: Podłącza przewód zasilający.
5. Konfiguracja
Wykonaj poniższe kroki, aby dokonać wstępnej konfiguracji projektora:
- Umieszczenie: Place the projector on a stable, flat surface or mount it securely. Ensure the projector is positioned at an appropriate distance from the screen to achieve the desired image size.
- Podłączenie zasilania: Connect the power cord to the projector's power inlet and then to a grounded electrical outlet.
- Podłącz urządzenie źródłowe: Connect your source device (e.g., laptop, DVD player) to the projector using an appropriate cable (HDMI, VGA, etc.). Ensure the cable is securely connected to both the source and the projector.
- Włączanie: Press the power button on the projector's control panel or the remote control to turn on the projector. The power indicator light will illuminate.
- Adjust Focus and Zoom: Once an image is projected, rotate the focus ring on the lens until the image is sharp and clear. Use the zoom ring to adjust the image size to fit your screen.
- Korekcja Keystone'a: If the image appears trapezoidal, use the keystone correction function (either via buttons on the projector/remote or through the on-screen menu) to square the image.
6. Instrukcja obsługi
6.1 Włączanie/wyłączanie zasilania
- Włączanie: Press the power button once. The projector will go through a warm-up sequence.
- Aby wyłączyć: Press the power button twice. The first press will prompt a shutdown confirmation; the second press will initiate shutdown. Allow the projector to cool down completely before unplugging.
6.2 Wybór źródła
Press the 'Source' button on the projector or remote control to cycle through available input sources (HDMI, VGA, etc.) until your desired source is displayed.
6.3 Nawigacja po menu
Press the 'Menu' button to access the on-screen display (OSD) menu. Use the arrow buttons to navigate through options and 'Enter' or 'OK' to select. Use the 'Exit' or 'Menu' button to close the OSD.
- Ustawienia obrazu: Adjust brightness, contrast, color, aspect ratio, and picture mode.
- Ustawienia wyświetlania: Configure keystone, projection mode (front/rear, desktop/ceiling), and resolution.
- Ustawienia audio: Control volume and audio output options.
- Ustawienia systemowe: Manage language, timer, power-saving modes, and factory reset.
7. Konserwacja
Regularna konserwacja zapewnia optymalną wydajność i wydłuża żywotność projektora.
- Czyszczenie soczewek: Delikatnie przetrzyj obiektyw projektora miękką, niepozostawiającą włókien ściereczką przeznaczoną specjalnie do powierzchni optycznych. Nie używaj środków ściernych ani nadmiernej siły.
- Czyszczenie szafki: Use a soft, dry cloth to clean the projector's exterior. For stubborn marks, dampen the cloth slightly with water. Avoid using harsh chemicals.
- Czyszczenie/wymiana filtra powietrza: Check the air filter periodically. If your model has a removable filter, clean it with a soft brush or vacuum cleaner. Replace the filter as recommended in the on-screen menu or when visibly dirty to maintain proper ventilation.
- Lamp Wymiana: Projektor lamp ma skończony okres życia. Kiedy lamp life indicator appears, or the image brightness significantly decreases, replace the lamp according to the instructions provided in the full service manual or by a qualified technician. Always allow the projector to cool down completely before attempting lamp wymiana.
8. Rozwiązywanie Problemów
Aby zapoznać się z typowymi problemami i ich rozwiązaniami, zapoznaj się z poniższą tabelą:
| Problem | Możliwa przyczyna | Rozwiązanie |
|---|---|---|
| Obraz nie jest wyświetlany | Odłączony przewód zasilający, nieprawidłowe źródło sygnału wejściowego, wyłączone urządzenie źródłowe. | Check power connections. Select correct input source. Ensure source device is powered on. |
| Obraz jest rozmazany | Lens out of focus, incorrect projection distance. | Adjust the focus ring on the lens. Reposition the projector closer or further from the screen. |
| Obraz ma kształt trapezu | Projektor nie jest ustawiony prostopadle do ekranu. | Use keystone correction (manual or automatic) to square the image. |
| Projektor przegrzewa się i wyłącza | Zablokowana wentylacja, brudny filtr powietrza. | Ensure clear space around vents. Clean or replace the air filter. |
| Pilot nie działa | Dead batteries, obstruction between remote and projector, incorrect angle. | Replace batteries. Ensure clear line of sight to IR receiver. Point remote directly at the projector. |
9. Specyfikacje
Key technical specifications for the InFocus P120 INL412 Multimedia Projector:
| Funkcja | Specyfikacja |
|---|---|
| Numer modelu | P120 INL412 (Item model number: 7296144) |
| Typ wyświetlacza | DLP |
| Rozdzielczość natywna | 1280x800 |
| Maksymalna rozdzielczość wyświetlacza | 1280x800 |
| Technologia łączności | USB (and other standard inputs like HDMI, VGA) |
| Wymiary produktu | 5.25 x 0.31 x 1.66 cala |
| Waga przedmiotu | 6.6 funta |
| Producent | W centrum uwagi |
10. Gwarancja i wsparcie
The InFocus P120 INL412 Multimedia Projector comes with a standard manufacturer's warranty. Please refer to the warranty card included in your package for specific terms and conditions, including warranty duration and coverage details. For technical support, service, or further inquiries, please visit the official InFocus support webstronie lub skontaktuj się z działem obsługi klienta.
Aby uzyskać najbardziej aktualne informacje dotyczące pomocy technicznej, odwiedź stronę: www.infocus.com/support