Wstęp
This manual provides detailed instructions for the safe and effective use of your pxton PX-8S-01 two-way radio. Please read this manual thoroughly before operating the device to ensure optimal performance and longevity.
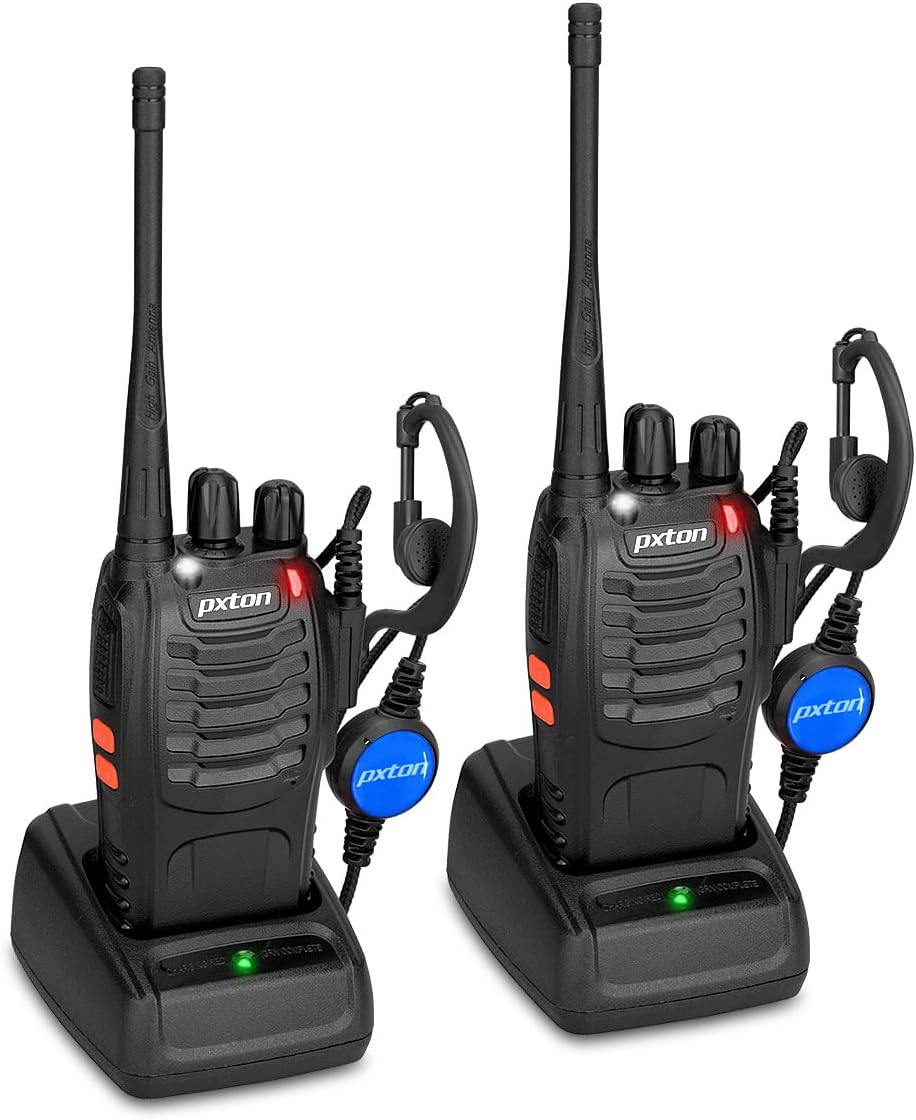
Image: Two pxton PX-8S-01 two-way radios with charging bases and earpieces.
Zawartość opakowania
Sprawdź, czy w przesyłce znajdują się wszystkie elementy:
- pxton PX-8S-01 Two-Way Radio (2 units)
- Lithium-Ion Battery (2 units)
- USB Charger (2 units)
- Upgraded Earpiece (2 units)
- Zaczep na pasek (2 szt.)
- Wrist Strap (2 units)
- Antena (2 sztuki)
- Instrukcja obsługi (1 szt.)

Image: Contents of the pxton PX-8S-01 package.
Produkt ponadview
Familiarize yourself with the components of your pxton PX-8S-01 two-way radio:

Image: Labeled diagram of the pxton PX-8S-01 two-way radio components.
- Integrated Sensitive Antenna: Do przesyłania i odbierania sygnałów.
- Zmiana kanału: Pokrętło umożliwiające wybór jednego z 16 dostępnych kanałów.
- Przełącznik zasilania/regulacja głośności: Rotary knob to turn the radio on/off and adjust the volume.
- Flesz: Wbudowane światło LED do oświetlenia.
- Wskaźnik LED: Wyświetla stan radia (np. nadawanie, odbiór, ładowanie).
- Przycisk PTT (Naciśnij i mów): Naciśnij i przytrzymaj, aby nadać, zwolnij, aby odebrać.
- MONI Button (Monitor): Press to temporarily disable squelch and listen for weak signals.
- Przycisk latarki: Aktywuje wbudowaną latarkę.
- Gniazda SP/MIC: Ports for connecting external audio accessories like earpieces or speaker microphones.
- Clear Speaker: Wyprowadza otrzymany dźwięk.
- Wbudowany mikrofon: Przechwytuje Twój głos w celu transmisji.
Organizować coś
1. Instalacja baterii
- Sprawdź, czy radio jest wyłączone.
- Dopasuj akumulator do rowków z tyłu radia.
- Przesuń akumulator do góry, aż zatrzaśnie się na miejscu.
- Aby wyjąć baterię, naciśnij zatrzask zwalniający (jeśli jest obecny) i przesuń baterię w dół.
2. Ładowanie akumulatora
- Connect the USB charger to a power source.
- Umieść radio z zainstalowanym akumulatorem w podstawce ładującej.
- Wskaźnik LED na ładowarce pokazuje stan ładowania (np. czerwony oznacza ładowanie, zielony oznacza pełne naładowanie).
- A full charge from 0 capacity typically takes 3-4 hours.
3. Mocowanie akcesoriów
- Antena: Przykręć antenę zgodnie z ruchem wskazówek zegara do złącza na górze radia, aż będzie można ją dokręcić palcami. Nie dokręcaj zbyt mocno.
- Sprzączka: Przymocuj klips do paska do przeznaczonego na to gniazda z tyłu radia za pomocą dołączonych śrub.
- Słuchawki: Włóż wtyczkę słuchawki do gniazd SP/MIC z boku radia. Upewnij się, że jest ona całkowicie włożona, aby zapewnić prawidłowe połączenie.
Instrukcja obsługi
1. Włączanie/wyłączanie zasilania i regulacja głośności
- To power on the radio, rotate the Power Switch/Volume Control knob clockwise. You will hear a "click" and a voice prompt indicating the current channel.
- Kontynuuj kręcenie pokrętłem zgodnie z ruchem wskazówek zegara, aby zwiększyć głośność, lub przeciwnie do ruchu wskazówek zegara, aby ją zmniejszyć.
- To power off, rotate the knob counter-clockwise until you hear a "click."
2. Wybór kanału
- Rotate the Channel Switch knob to select one of the 16 available channels.
- The radio will announce the selected channel number.
- Upewnij się, że wszystkie radia w Twojej grupie ustawione są na ten sam kanał komunikacyjny.
3. Nadawanie i odbieranie
- Aby przesłać, naciśnij i przytrzymaj PTT (Naciśnij i mów) button. Speak clearly into the microphone. The LED indicator will illuminate red.
- Release the PTT button to stop transmitting and return to receive mode. The LED indicator will turn green when receiving a signal.
4. Funkcja VOX (wymiana sterowana głosem)
The VOX function allows hands-free operation. When activated, the radio will automatically transmit when it detects your voice, without needing to press the PTT button.
- VOX settings are typically programmed via software. Refer to advanced programming instructions if available.
- When using VOX, ensure the microphone is positioned correctly to pick up your voice effectively.
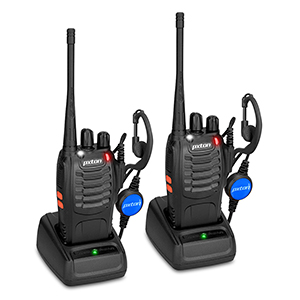
Image: VOX/Handfree function icon.
5. Funkcja latarki
- Naciśnij dedykowany Przycisk latarki to turn the built-in LED flashlight on or off.
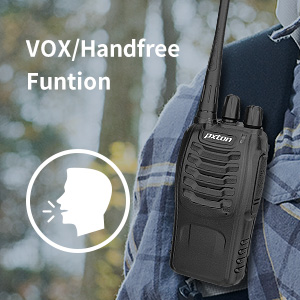
Image: Flashlight function icon.
6. Funkcja skanowania
The scan function allows the radio to automatically scan through channels to find active transmissions.
- To activate the scan function, typically this is done via a programmed side key or by selecting a specific channel. Refer to your radio's programming guide for details.
- When scanning, the radio will stop on an active channel until the transmission ends, then resume scanning.
7. Alarm awaryjny
The radio features an emergency alarm function for critical situations.
- To activate the emergency alarm, press the designated Emergency Alarm button (if programmed) or a specific key combination. This will typically emit a loud siren sound and/or transmit an alert signal.

Image: Emergency Alarm function icon.
8. Regulacja wyciszania szumów
Squelch suppresses background noise when no signal is being received. The PX-8S-01 has an adjustable squelch feature.
- Squelch levels are typically set via programming software. A higher squelch level requires a stronger signal to open the receiver, reducing static but potentially missing weak signals.
- The MONI button can be used to temporarily override the squelch and listen to all signals, including weak ones or background noise.
Image: Squelch adjustment icon.
9. Kody prywatności (CTCSS/DCS)
The radio supports 165 privacy codes (50 CTCSS / 210 DCS) per programmable channel to help filter out unwanted conversations.
- When a CTCSS/DCS code is set, you will only hear transmissions from other radios using the same channel and the same CTCSS/DCS code.
- Similarly, other radios will only hear your transmissions if they are on the same channel and using the same code.
- These codes are typically programmed using specialized software.
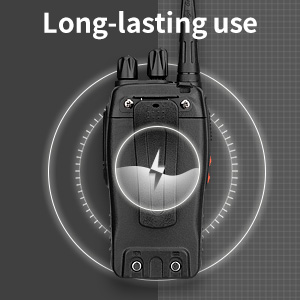
Image: CTCSS/DCS privacy codes icon.
Konserwacja
- Czyszczenie: Użyj miękkiego, damp Do czyszczenia obudowy radia należy używać ściereczki. Nie należy używać silnych środków chemicznych ani rozpuszczalników.
- Pielęgnacja baterii:
- Unikaj przeładowywania i całkowitego rozładowywania akumulatora.
- Baterie, które nie są używane, przechowuj w chłodnym i suchym miejscu.
- Jeżeli radio nie będzie używane przez dłuższy czas, należy wyjąć baterię.
- Składowanie: Przechowuj radio w suchym i wolnym od kurzu miejscu, chroniąc je przed ekstremalnymi temperaturami.
- Antena: Nie zginaj ani nie modyfikuj anteny, gdyż może to wpłynąć na jej działanie.
Rozwiązywanie problemów
| Problem | Możliwa przyczyna | Rozwiązanie |
|---|---|---|
| Radio się nie włącza. | Bateria jest rozładowana lub nie została prawidłowo zainstalowana. | Naładuj akumulator. Upewnij się, że akumulator jest prawidłowo zainstalowany. |
| Nie można nadawać ani odbierać. | Incorrect channel selected. Battery low. Radio out of range. | Verify both radios are on the same channel. Charge battery. Move closer to the other radio. |
| Słaba jakość dźwięku lub szumy. | Weak signal. Squelch level too low/high. Interference. | Move to an area with fewer obstructions. Adjust squelch level (if programmable). Check for sources of interference. |
| Krótki zasięg komunikacji. | Przeszkody (budynki, teren). Niski poziom naładowania baterii. | Przenieś się na otwartą przestrzeń. Upewnij się, że akumulator jest w pełni naładowany. |
| Earpiece not working. | Earpiece not fully inserted. Faulty earpiece. | Ensure earpiece plug is fully inserted into the SP/MIC jack. Try a different earpiece if available. |
Specyfikacje
- Model: PX-8S-01
- IDENTYFIKATOR FCC: 2AX68PX-888S
- Liczba kanałów: 16
- Zakres częstotliwości: UHF
- Maksymalny zasięg rozmowy: Up to 5 miles (unobstructed)
- Kody prywatności: 165 (50 CTCSS / 210 DCS)
- Typ baterii: Litowo-jonowy (w zestawie)
- Pojemność bateriitage: 3.7 V (prąd stały)
- Czas pracy baterii: 8-96 hours standby, 8-12 hours continuous use (actual time varies with usage)
- Czas ładowania: 3-4 hours (from 0 capacity)
- Poziom wodoodporności: Wodoodporny
- Wymiary produktu: 1.1" gł. x 1.89" szer. x 8.34" wys.
- Waga przedmiotu: 1.34 funta (za parę)
- Cechy szczególne: Rechargeable, VOX, TOT, Emergency Alarm, Battery Low Alert, Flashlight, Scan Function

Image: Size comparison of the pxton PX-8S-01 radio.
Informacje dotyczące bezpieczeństwa
Your pxton PX-8S-01 walkie-talkie has been granted FCC transmission and reception certification and authorization (FCC ID: 2AX68PX-888S). This device is intended for use only within the frequency points authorized by the FCC certification range.
Należy przestrzegać następujących wskazówek bezpieczeństwa:
- Nie należy używać radia w atmosferach zagrożonych wybuchem (np. w obecności gazów łatwopalnych, cząstek pyłu, proszków metalicznych).
- Do not modify the radio or its accessories. Unauthorized modifications can void your warranty and violate FCC regulations.
- Przechowuj radio i jego akcesoria poza zasięgiem dzieci.
- Use only pxton-approved batteries and chargers. Using unapproved accessories can cause damage or injury.
- Avoid exposing the radio to extreme temperatures, direct sunlight, or moisture for prolonged periods.
- If the radio emits smoke or an unusual odor, immediately turn off the power and remove the battery. Contact customer support.
Gwarancja i wsparcie
pxton provides lifetime customer service for its walkie-talkies. If you encounter any questions or issues with your PX-8S-01 radio, please contact pxton customer support through the platform where you purchased the product. Our professional team is available to assist you with troubleshooting and support.
For further assistance, please refer to the official pxton webodwiedź witrynę lub skontaktuj się bezpośrednio z działem obsługi klienta.