Wstęp
This manual provides detailed instructions for the safe and efficient operation of your SINGER M1005 Electric Sewing Machine. The M1005 is designed for various sewing projects, offering 4 built-in stitches with 11 options, adjustable thread tension, and a reverse lever for securing seams. Please read this manual thoroughly before using the machine to ensure proper setup and function.
Ważne instrukcje bezpieczeństwa
Podczas korzystania z urządzeń elektrycznych należy zawsze przestrzegać podstawowych zasad bezpieczeństwa, w tym:
- Przeczytaj wszystkie instrukcje przed użyciem tej maszyny do szycia.
- Keep these instructions in a convenient place near your machine.
- Always unplug the machine from the electrical outlet immediately after using and before cleaning, removing covers, lubricating, or making any other user servicing adjustments mentioned in the instruction manual.
- Nie dopuszczać do używania jako zabawki. Należy zachować szczególną ostrożność, gdy urządzenie jest używane przez dzieci lub w ich pobliżu.
- Używaj tego produktu wyłącznie zgodnie z jego przeznaczeniem opisanym w niniejszej instrukcji.
- Never operate this sewing machine if it has a damaged cord or plug, if it is not working properly, or if it has been dropped or damaged.
- Trzymaj palce z dala od wszystkich ruchomych części. Należy zachować szczególną ostrożność wokół igły maszyny do szycia.
- Zawsze używaj właściwej płytki igłowej. Niewłaściwa płytka może spowodować złamanie igły.
- Nie ciągnij ani nie popychaj materiału podczas szycia. Może to spowodować odchylenie igły i jej złamanie.
- Wyłącz maszynę do szycia podczas dokonywania jakichkolwiek regulacji w okolicy igły, takich jak nawlekanie igły, wymiana igły, nawlekanie szpulki lub wymiana stopki dociskowej.
Produkt ponadview
The SINGER M1005 is a compact and user-friendly electric sewing machine designed for ease of use and portability.
Główne cechy:
- 4 Stitches in 11 Options: Select from various straight stitches, zigzag stitches, blind hem stitch, and multi-stitch zigzag using the Stitch Selector Dial.
- Regulowane naprężenie nici: Allows for fine-tuning stitch quality for different fabrics and threads.
- Górna szpulka typu drop-in: Features a transparent bobbin cover for easy monitoring of thread supply and simple bobbin insertion.
- Free-Arm Design: Facilitates sewing of cylindrical items like trouser hems and sleeve cuffs.
- Dźwignia biegu wstecznego: Conveniently located for securing the beginning and end of seams with reverse stitches.
- Extra High-Presser Foot Lifter: Provides additional clearance for sewing multiple layers or thicker fabrics.
- Przenośna konstrukcja: Lightweight for easy transport and storage.
Zawartość zestawu:
Your SINGER M1005 sewing machine package includes the following items:
- 1 Maszyna do szycia
- All-purpose Foot
- Dodatkowa igła
- Finger Guard (pre-installed, removable)
- Bobbins: Class 15 (Transparent)
- Ręczny nawlekacz igły
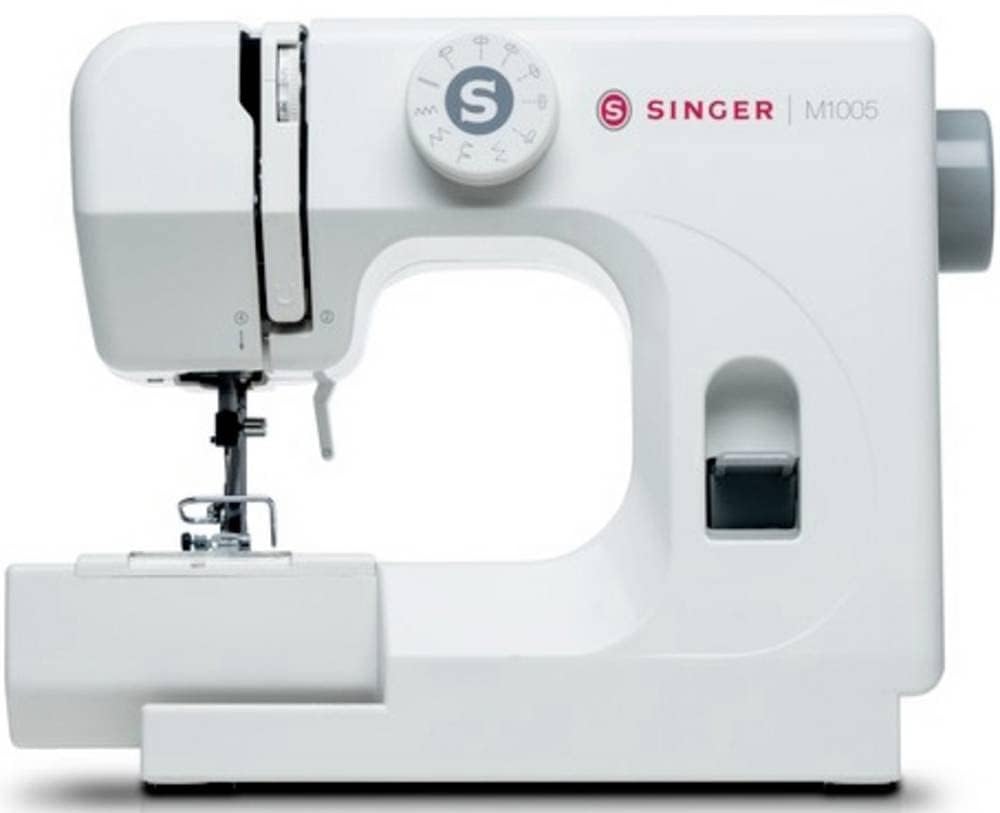
Rysunek 1: The SINGER M1005 Electric Sewing Machine, showcasing its compact design and ready-to-use setup.
Organizować coś
1. Podłączenie zasilania
- Umieść maszynę na stabilnej, płaskiej powierzchni.
- Upewnij się, że wyłącznik zasilania jest w pozycji „WYŁ”.
- Podłącz przewód zasilający do wejścia zasilania urządzenia, a następnie do odpowiedniego gniazdka elektrycznego.
2. Nawijanie szpulki
Proper bobbin winding ensures smooth stitching.
- Nawiń szpulkę nici na trzpień szpulki.
- Przeprowadź nić przez górny prowadnik nici i wokół tarczy naprężającej szpulkę.
- Przeciągnij nić przez mały otwór w szpulce od wewnątrz na zewnątrz.
- Place the bobbin onto the bobbin winder spindle.
- Przesuń wrzeciono nawijacza szpulki dolnej w prawo.
- Turn on the machine and gently press the foot controller (if applicable) or press the start button to begin winding.
- Once the bobbin is full, push the spindle back to the left and cut the thread.
3. Inserting the Top Drop-in Bobbin
The transparent bobbin cover allows for easy monitoring.
- Ensure the needle is in its highest position.
- Otwórz przezroczystą osłonę szpulki.
- Place the wound bobbin into the bobbin case with the thread unwinding counter-clockwise.
- Przeprowadź nić przez sprężynę napinającą, a następnie przez szczelinę prowadnika nici.
- Pull out approximately 10-15 cm (4-6 inches) of thread.
- Wymień pokrywę szpulki dolnej.
4. Nawlekanie górnej nici
Correct upper threading is crucial for proper stitch formation.
- Podnieś dźwignię stopki dociskowej.
- Nawiń szpulkę nici na trzpień szpulki.
- Przeprowadź nić przez górny prowadnik nici.
- Follow the numbered threading path down the right channel, up the left channel, and through the take-up lever from right to left.
- Kontynuuj prowadzenie nici w dół do prowadnika nici igielnicy.
- Nawlecz igłę od przodu do tyłu.
- Pull approximately 15-20 cm (6-8 inches) of thread through the needle eye.
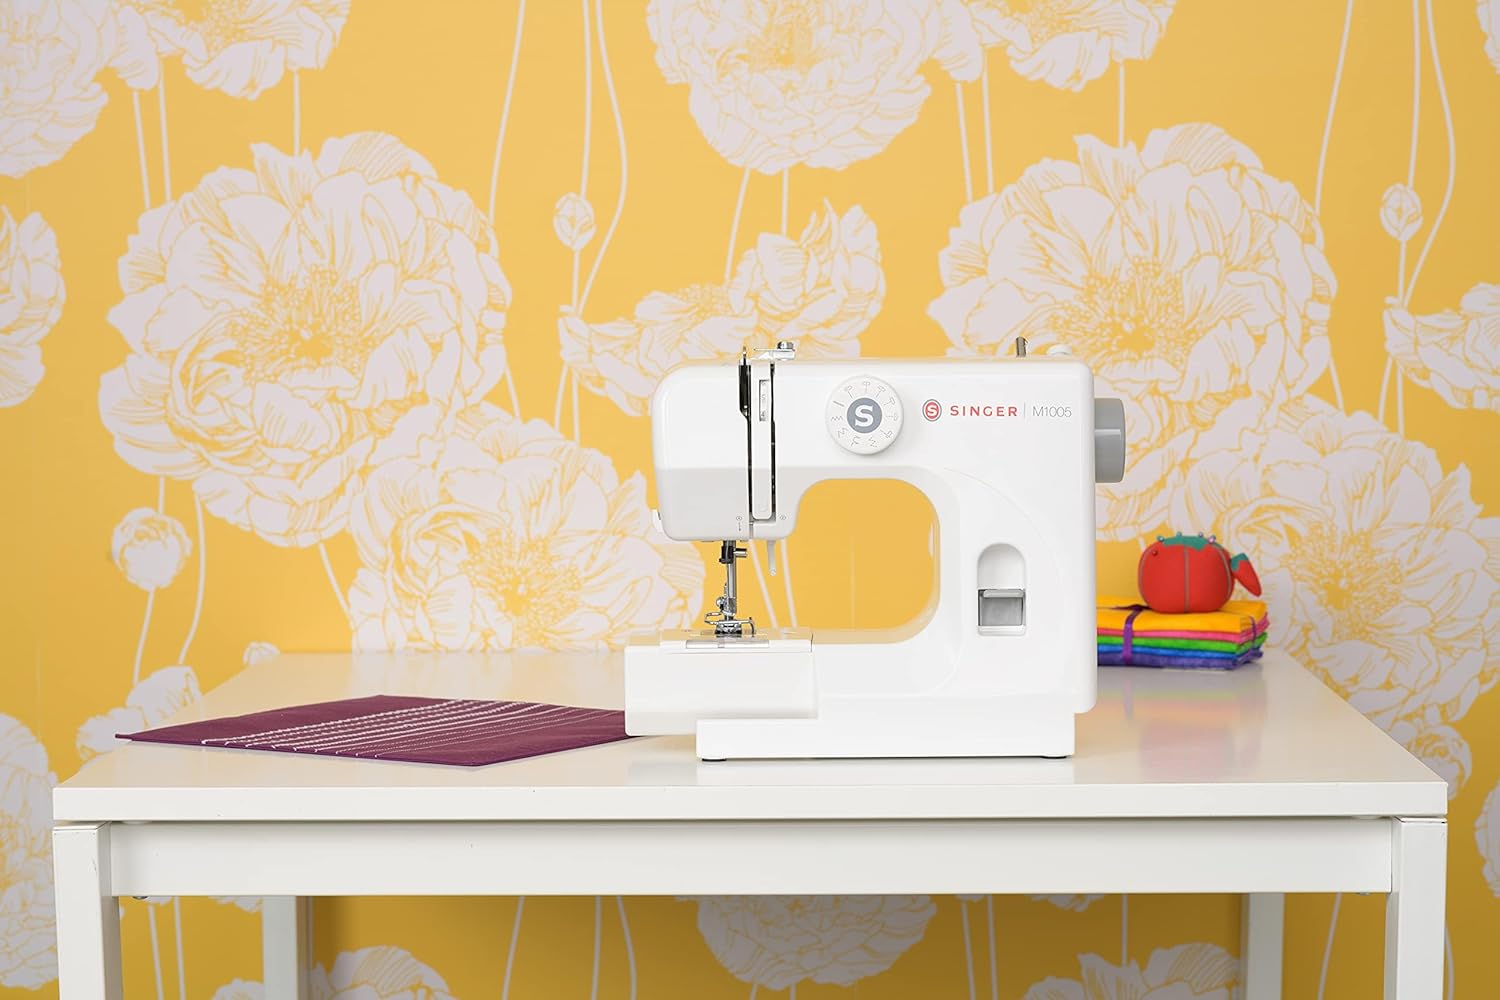
Rysunek 2: Przód view of the SINGER M1005, highlighting the stitch selector dial and general threading area.
Instrukcja obsługi
1. Wybór ściegu
The SINGER M1005 offers 4 core stitch types with 11 different options.
- Włącz Pokrętło wyboru ściegu to choose your desired stitch pattern.
- Available stitches include various straight stitches (different lengths/positions), three types of zigzag stitches (different lengths/widths), one blind hem stitch, and one multi-stitch zigzag.
- The optimum stitch width for this machine is 4 mm.
2. Regulacja naprężenia nici
Adjust the needle thread tension to achieve balanced stitches.
- The tension dial is usually located on the front of the machine.
- Turn the dial to a higher number for tighter tension, and a lower number for looser tension.
- Test on a scrap piece of fabric to find the ideal setting for your fabric and thread combination.
3. Using the Reverse Lever
The reverse lever is used to secure the beginning and end of seams.
- To sew in reverse, press and hold the Dźwignia cofania located on the front of the machine.
- Release the lever to resume forward stitching.
4. Free-Arm Sewing
To utilize the free-arm feature for sewing cuffs, pant hems, or other small circular items:
- Remove the accessory storage compartment (if present) by sliding it off to the left.
- The narrow free arm is now exposed, allowing you to slide fabric around it.
5. Extra High-Presser Foot Lifter
For thicker fabrics or multiple layers, the presser foot can be raised higher than its standard position.
- Lift the presser foot lifter to its highest position.
- For extra clearance, push the lifter up further to engage the extra high position.
Konserwacja
Regular maintenance ensures the longevity and optimal performance of your sewing machine. Always unplug the machine before performing any maintenance.
1. Czyszczenie maszyny
- Usuwanie kłaczków: Za pomocą małej szczoteczki usuń kłaczki i kurz z okolic szpulki i ząbków transportera.
- Czyszczenie zewnętrzne: Przetrzyj zewnętrzne powierzchnie miękką, damp płótno. Nie używaj ostrych chemikaliów.
2. Wymiana igły
Replace the needle regularly (after 8-10 hours of sewing) or if it becomes bent, dull, or broken.
- Wyłącz maszynę i odłącz ją od zasilania.
- Poluzuj igłę clamp wkręt.
- Wyjmij starą igłę.
- Włóż nową igłę płaską stroną skierowaną do tyłu maszyny i wsuń ją tak wysoko, jak to możliwe.
- Dokręć igłęamp dobrze przykręcić.
Rozwiązywanie problemów
Rozwiązania typowych problemów, na które możesz natrafić, znajdziesz w tej sekcji.
| Problem | Możliwa przyczyna | Rozwiązanie |
|---|---|---|
| Pominięte ściegi | Niewłaściwa igła, wygięta igła, nieprawidłowe nawlekanie. | Wymień igłę na igłę właściwego typu/rozmiaru i ponownie prawidłowo nawlecz maszynę. |
| Zrywanie wątku | Incorrect threading, tension too tight, damaged needle, poor quality thread. | Re-thread machine, adjust tension, replace needle, use good quality thread. |
| Marszczenie się tkaniny | Zbyt mocne naprężenie, niewłaściwa długość ściegu, niewłaściwa igła do rodzaju materiału. | Loosen tension, adjust stitch length, use appropriate needle. |
| Zacinanie się maszyny | Nić zaplątana w okolicy szpulki, nagromadzenie kłaczków, nieprawidłowe włożenie szpulki. | Remove bobbin and clean bobbin case, re-insert bobbin correctly. |
| Nierówne ściegi | Incorrect thread tension, improper threading, worn needle. | Adjust tension, re-thread machine, replace needle. |
Specyfikacje
Technical specifications for the SINGER M1005 Electric Sewing Machine.
- Marka: PIOSENKARZ
- Numer modelu: M1005 (Part Number: 230246102)
- Kolor: Biały
- Tworzywo: Plastikowy
- Waga przedmiotu: 3 kilograma
- Źródło zasilania: Elektryczny przewodowy
- Stitch Options: 4 built-in stitches with 11 options
- Max Stitch Width: 4 mm
- Typ szpulki: Class 15 (Transparent, Top Drop-in)
- Cechy szczególne: Adjustable Thread Tension, Free-Arm Design, Reverse Lever, Extra High-Presser Foot Lifter
Gwarancja i wsparcie
For warranty information, service, or technical support, please refer to the warranty card included with your product or contact SINGER customer service directly. Keep your purchase receipt as proof of purchase.
You can typically find contact information for SINGER support on their official webmiejscu lub w opakowaniu produktu.