
Wstęp
This manual provides comprehensive instructions for the Vivitar Podcast and Social Media Microphone MIC918. This high-quality condenser microphone is designed for clear audio capture for various applications, including podcasting, live streaming, gaming, voice-overs, and vocal recording. It features a simple plug-and-play USB connection, integrated volume control, and a stable tripod stand for optimal positioning.
Informacje dotyczące bezpieczeństwa
- Nie wystawiaj mikrofonu na działanie wody ani nadmiernej wilgoci.
- Unikaj ekstremalnych temperatur i bezpośredniego światła słonecznego.
- Nie próbuj demontować ani modyfikować mikrofonu. Spowoduje to unieważnienie gwarancji.
- Trzymaj mikrofon z dala od silnych pól magnetycznych.
- Do czyszczenia używaj wyłącznie miękkiej, suchej ściereczki.
Produkt ponadview
Zawartość opakowania
- Vivitar MIC918 Microphone Unit
- statyw
- Integrated USB Connection Cable
Microphone Components
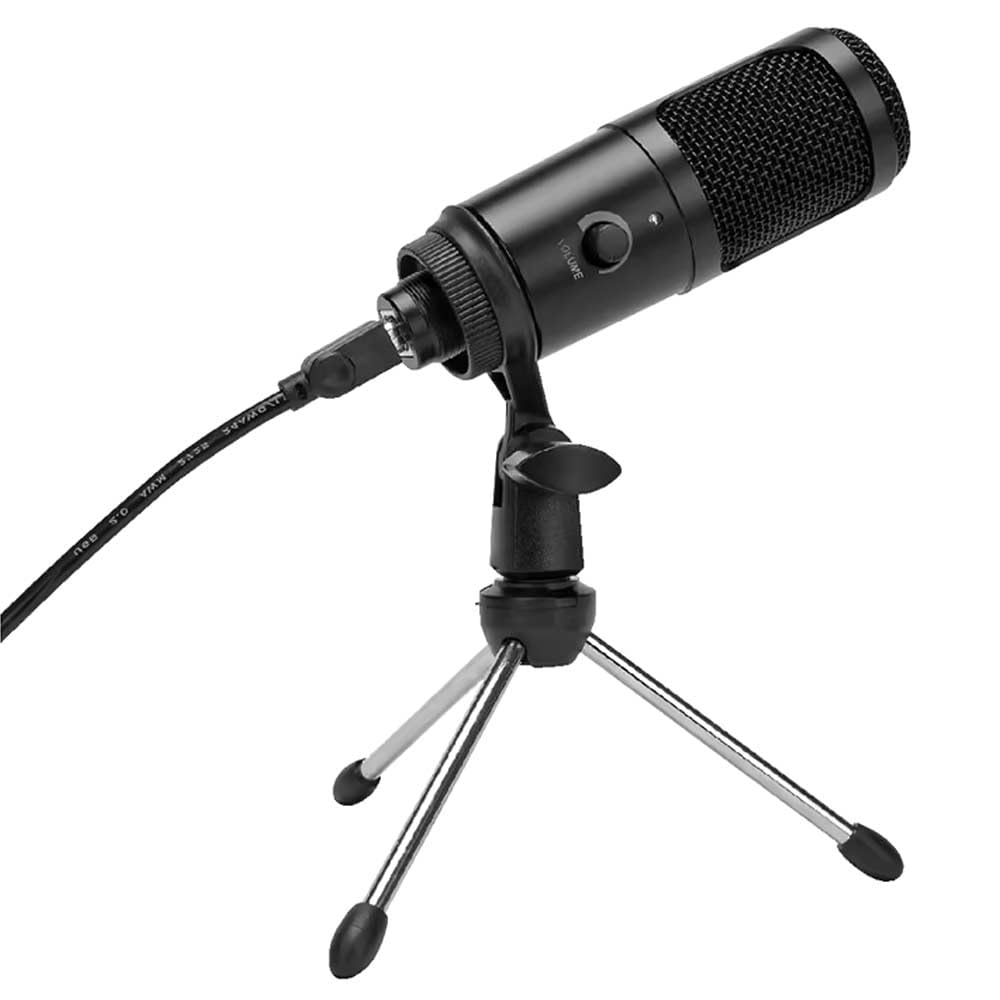
Rysunek 1: Vivitar MIC918 Microphone unit attached to its tripod stand, showing the integrated USB cable.

Rysunek 2: Strona view of the Vivitar MIC918 Microphone, highlighting the volume control knob and the Vivitar brand logo.
The microphone unit features a durable metal construction. The front side includes a volume control knob for easy audio level adjustments. The microphone is designed with a unidirectional polar pattern to focus on sound directly in front of it, reducing background noise.
Organizować coś
Podłączanie mikrofonu
- Złóż stojak: If not already assembled, unfold the tripod stand and ensure it is stable on a flat surface. Securely attach the microphone unit to the stand's mounting point. The rotating shaft ring allows for angle adjustment.
- Połącz z urządzeniem: Plug the integrated USB cable from the microphone into an available USB port on your computer, laptop, or compatible gaming console.
- Podłącz i graj: The Vivitar MIC918 is a plug-and-play device. Your operating system (Windows, macOS, etc.) should automatically detect and install the necessary drivers. No additional software installation is typically required.
- Wybierz jako urządzenie wejściowe: After connecting, navigate to your device's sound settings or the audio settings within your recording/streaming software. Select the "Vivitar MIC918" or similar USB audio device as your primary input (microphone) device.
Operacyjny
Regulacja głośności
The microphone features a built-in volume control knob located on its side (refer to Figure 2). Rotate this knob clockwise to increase the microphone's input sensitivity (volume) and counter-clockwise to decrease it. Adjust this to achieve the desired recording level without distortion.
Pozycjonowanie mikrofonu
For optimal audio capture, position the microphone directly in front of the sound source (e.g., your mouth for speaking or singing). The tilting tripod stand allows you to adjust the microphone's angle to best suit your needs. Due to its unidirectional polar pattern, the microphone is most sensitive to sounds coming from the front and less sensitive to sounds from the sides or rear, helping to minimize ambient noise.
Konserwacja
- Czyszczenie: Use a soft, dry, lint-free cloth to wipe the microphone's exterior. Do not use liquid cleaners, aerosols, or solvents.
- Składowanie: When not in use, store the microphone in a clean, dry place, away from dust and extreme temperatures.
- Obsługiwanie: Obchodź się z mikrofonem ostrożnie. Unikaj jego upuszczania i narażania na silne uderzenia.
Rozwiązywanie problemów
| Problem | Możliwa przyczyna | Rozwiązanie |
|---|---|---|
| Brak dźwięku z mikrofonu. | Mikrofon nie jest prawidłowo podłączony. Wybrano nieprawidłowe urządzenie wejściowe. Głośność mikrofonu jest zbyt niska. | Ensure USB cable is securely plugged into both the microphone and the device. Verify that "Vivitar MIC918" is selected as the input device in your system's sound settings or recording software. Increase the volume using the knob on the microphone and check system input levels. |
| Poor sound quality (e.g., muffled, too quiet, background noise). | Nieprawidłowe ustawienie mikrofonu. Wysoki poziom hałasu otoczenia. Input level too high or too low. | Position the microphone closer to the sound source and ensure it's facing directly towards it. Nagrywaj w cichszym otoczeniu. Adjust the microphone's volume knob and system input levels to an optimal range, avoiding clipping or being too faint. |
| Microphone not recognized by computer. | Wadliwy port lub kabel USB. System driver issue. | Spróbuj podłączyć mikrofon do innego portu USB w komputerze. Restart your computer. If the issue persists, check your operating system's device manager for any driver conflicts or updates. |
Specyfikacje
| Funkcja | Specyfikacja |
|---|---|
| Marka | Vivitar |
| Numer modelu | MIC918 |
| Łączność | USB (podłącz i graj) |
| Typ mikrofonu | Skraplacz |
| Wzór biegunowy | Jednokierunkowy |
| Stosunek sygnału do szumu | 78dB |
| Materiał obudowy | Metal |
| Waga przedmiotu | 0.95 funta (ok. 0.43 kg) |
| Pozycja Wymiary (dł. x szer. x wys.) | 8.86 x 5.36 x 2.49 cala (ok. 22.5 x 13.6 x 6.3 cm) |
| Źródło zasilania | Elektryczny przewodowy (przez USB) |
| Kompatybilne urządzenia | Computers, Laptops, Gaming Consoles |
Informacje o gwarancji
The Vivitar Podcast and Social Media Microphone MIC918 comes with a 3-Year USA Warranty. For specific terms, conditions, and to register your product, please refer to the official Vivitar webOdwiedź stronę internetową lub skontaktuj się bezpośrednio z działem obsługi klienta. Zachowaj dowód zakupu na wypadek reklamacji.
Obsługa klienta
For further assistance, technical support, or inquiries regarding your Vivitar MIC918 microphone, please visit the official Vivitar website or contact their customer service department. Contact information can typically be found on the Vivitar webstronie w sekcji „Pomoc” lub „Kontakt”.