Wstęp
This manual provides detailed instructions for the setup, operation, and maintenance of your groov e Atlas Radio Alarm Clock with Wireless Charger. Please read this manual thoroughly before using the device to ensure proper function and to maximize your user experience. Keep this manual for future reference.
Zawartość opakowania
Sprawdź, czy w opakowaniu znajdują się wszystkie elementy:
- groov e Atlas Radio Alarm Clock
- Zasilacz
- Instrukcja obsługi
Cechy produktu
- Ładowanie bezprzewodowe (5 W): Conveniently charge compatible smartphones by placing them on the top surface.
- Radio FM: Tune into your favorite FM stations.
- Wyświetlacz LED: Clear digital time display.
- Zasilanie sieciowe: Reliable power supply for continuous operation.
- Stacja ładująca USB: Dodatkowy port USB do ładowania innych urządzeń.
- Podwójny alarm: Ustaw dwa niezależne alarmy na różne godziny pobudki.
- Ściemniacz wyświetlacza: Adjust the brightness of the LED display.
Organizować coś
- Podłącz zasilanie: Insert the power adapter into the 'DC IN' port on the back of the alarm clock, then plug the adapter into a wall outlet. The display will light up.
- Ustaw czas:
- Press and hold the 'TIME SET' button located on the back of the unit.
- Use the 'TUN-' or 'TUN+' buttons on the top panel to adjust the hour.
- Press 'TIME SET' again to confirm the hour and move to minutes.
- Use 'TUN-' or 'TUN+' to adjust the minutes.
- Press 'TIME SET' once more to confirm and exit time setting.
- To switch between 12-hour and 24-hour format, press the '12/24H' button on the back.

Obraz: Tył view of the groov e Atlas alarm clock, highlighting the DC IN power input and the USB charging port. The '12/24H TIME SET' and 'SLEEP' buttons are also visible.
Instrukcja obsługi
Setting Alarms (ALM1 / ALM2)
- Press the 'ALM1' or 'ALM2' button to select the alarm you wish to set. The alarm icon will flash on the display.
- Use the 'TUN-' or 'TUN+' buttons to adjust the alarm hour.
- Press the 'ALM1' or 'ALM2' button again to confirm the hour and move to minutes.
- Use 'TUN-' or 'TUN+' to adjust the alarm minutes.
- Press the 'ALM1' or 'ALM2' button a third time to confirm the alarm time. The alarm icon will remain lit, indicating the alarm is active.
- To deactivate an alarm, press the corresponding 'ALM1' or 'ALM2' button until the alarm icon disappears from the display.
Obsługa radia FM
- Włącz/Wyłącz: Press the 'ON/OFF' button to turn the radio on or off.
- Automatyczne skanowanie: Press the 'SCAN' button to automatically scan and save available FM stations.
- Strojenie ręczne: Use the 'TUN-' or 'TUN+' buttons to manually adjust the frequency. Press and hold for faster tuning.
- Zaprogramowane stacje: Use 'MEM-' or 'MEM+' to cycle through saved preset stations.
- Dostosuj głośność: Use the 'VOL-' or 'VOL+' buttons to control the radio volume.
Obraz: Góra view of the groov e Atlas alarm clock, illustrating the layout of the control buttons for volume, tuning, memory, scan, and power.
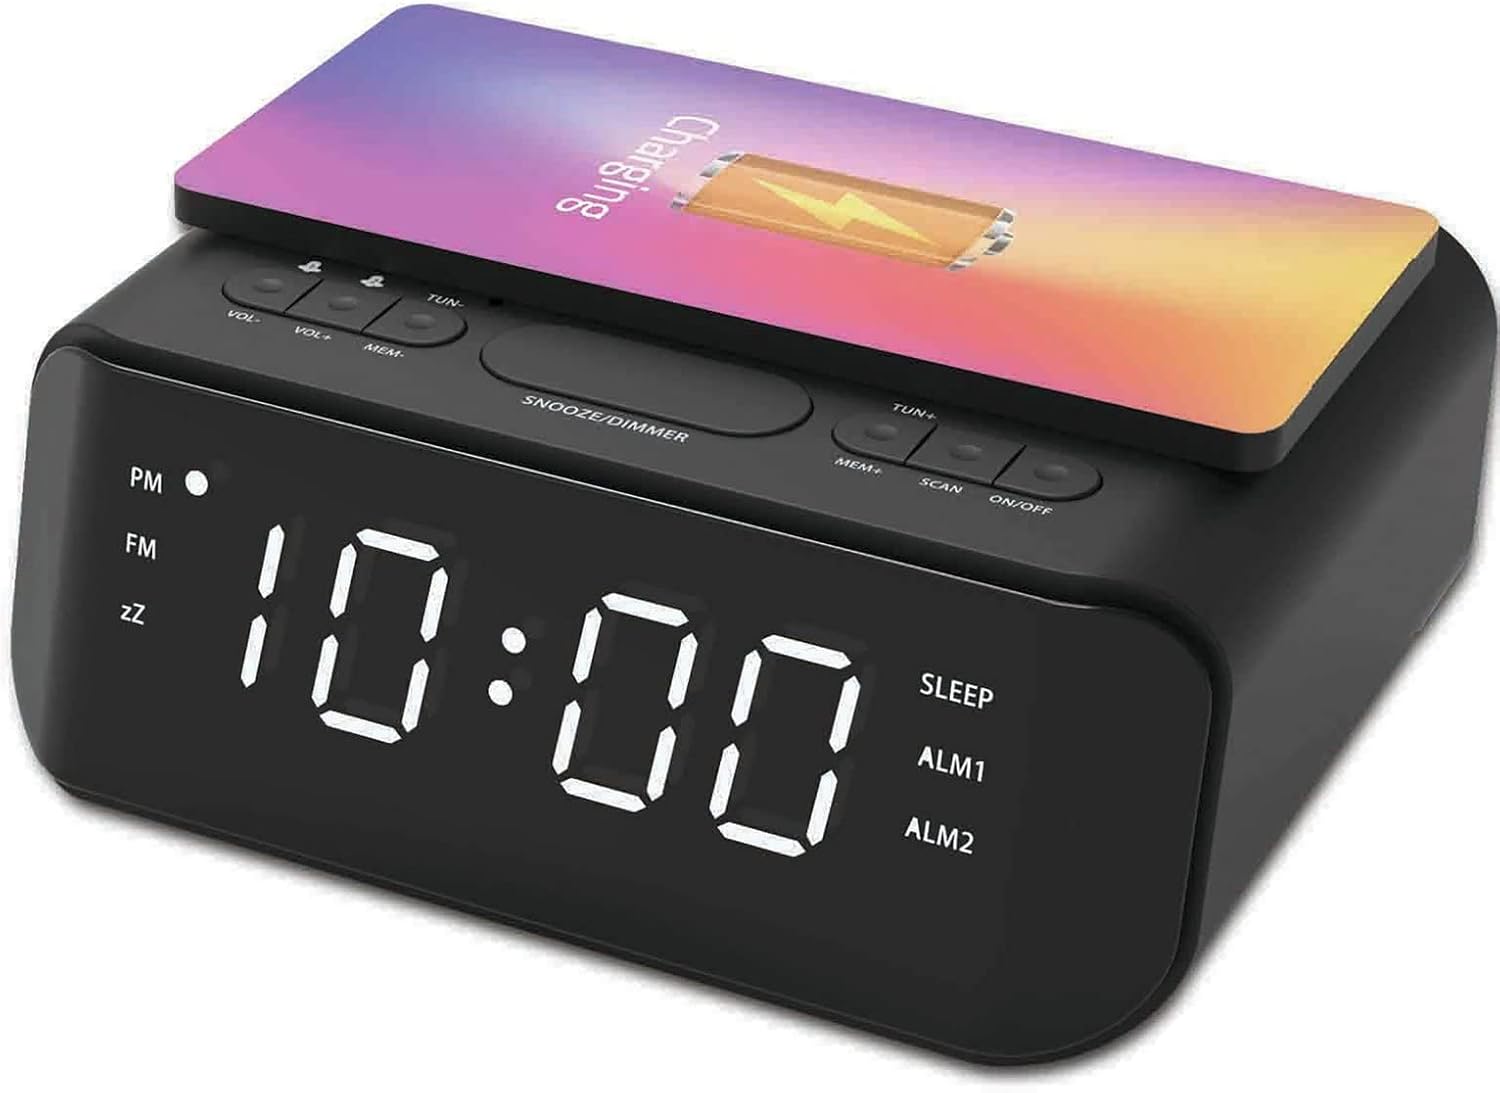
Ładowanie bezprzewodowe
- Ensure your smartphone is compatible with 5W Qi wireless charging.
- Place your compatible smartphone centrally on the wireless charging pad located on the top surface of the alarm clock.
- The phone's display should indicate that charging has begun. If not, adjust the phone's position.

Image: A smartphone placed on the groov e Atlas alarm clock's top surface, showing the charging indicator on the phone's screen, confirming wireless charging is active.
Ładowanie przez USB
- Connect a USB charging cable (not included) to the USB port on the back of the alarm clock.
- Podłącz drugi koniec kabla do urządzenia.
- Twoje urządzenie rozpocznie ładowanie.
Wyświetlacz ściemniacza
Press the 'SNOOZE/DIMMER' button to cycle through different brightness levels for the LED display. This allows you to adjust the display to your preferred visibility, especially in dark environments.
Konserwacja
- Czyszczenie: Do czyszczenia powierzchni budzika należy używać miękkiej, suchej ściereczki. Nie należy używać płynnych środków czyszczących ani materiałów ściernych.
- Składowanie: Jeśli nie używasz urządzenia przez dłuższy czas, odłącz je od zasilania i przechowuj w chłodnym, suchym miejscu.
- Bezpieczeństwo: Do not expose the device to water, high humidity, or extreme temperatures. Avoid dropping or subjecting the device to strong impacts.
Rozwiązywanie problemów
| Problem | Możliwa przyczyna | Rozwiązanie |
|---|---|---|
| Urządzenie nie włącza się. | Zasilacz nie jest podłączony lub gniazdko jest uszkodzone. | Ensure the power adapter is securely plugged into the device and a working wall outlet. Try a different outlet. |
| Ładowanie bezprzewodowe nie działa. | Telefon nie jest zgodny ze standardem Qi lub jest nieprawidłowo umieszczony. | Verify your phone supports Qi wireless charging. Reposition the phone centrally on the charging pad. Remove any thick phone cases. |
| Alarm nie włącza się. | Alarm nie został włączony lub głośność jest zbyt niska. | Check if the alarm icon is lit on the display. Increase the alarm volume using the 'VOL+' button. |
| Odbiór radia jest słaby. | Słaby sygnał lub pozycja anteny. | Extend and adjust the position of the FM antenna wire on the back of the unit for better reception. |
Specyfikacje
- Numer modelu: GVWC06BK
- Marka: groov e
- Kolor: Czarny
- Typ wyświetlacza: Cyfrowa dioda LED
- Źródło zasilania: Mains Powered (AC Adapter included)
- Wyjście ładowania bezprzewodowego: 5W
- Wyjście ładowania USB: 5V/1A
- Funkcje alarmu: Podwójny alarm, drzemka
- Radio: FM
- Tworzywo: Akrylonitryl-butadien-styren (ABS)
- Kształt: Prostokątny
- Typ montażu: Mocowanie na stole
- Typ ruchu: Kwarc
- Baterie: Not included (requires 1 battery for backup, type not specified in data)
Gwarancja i wsparcie
Your groov e Atlas Radio Alarm Clock GVWC06BK comes with a standard manufacturer's warranty. Please refer to the warranty card included in your package for specific terms and conditions, including the warranty period and coverage details.
For technical support, troubleshooting assistance, or warranty claims, please contact groov e customer service through their official webwitryny lub danych kontaktowych podanych na karcie gwarancyjnej.
Zachowaj dowód zakupu, aby móc skorzystać z niego w razie pytań dotyczących gwarancji.